
During the exploration phase, I spent two weeks exploring different chair designs and figuring out how to incorporate the logo into the design. I created numerous sketches and reviewed them with my friends and family to get feedback.
 In the skill acquisition phase, I spent a week using CAD software to create 3D models of the chair design. I also learned how to use a CNC machine to cut the plywood sheets into the required shapes and sizes.
 In the looping phase, I went back and forth between the sketches and CAD designs, making changes as needed. This process took one week.
 During the shopping phase, I sourced high-quality materials such as 3/4 inch plywood, wood glue, all-thread, and other metal hardware. I also sourced the necessary tools for fabrication, such as a jigsaw and clamps.

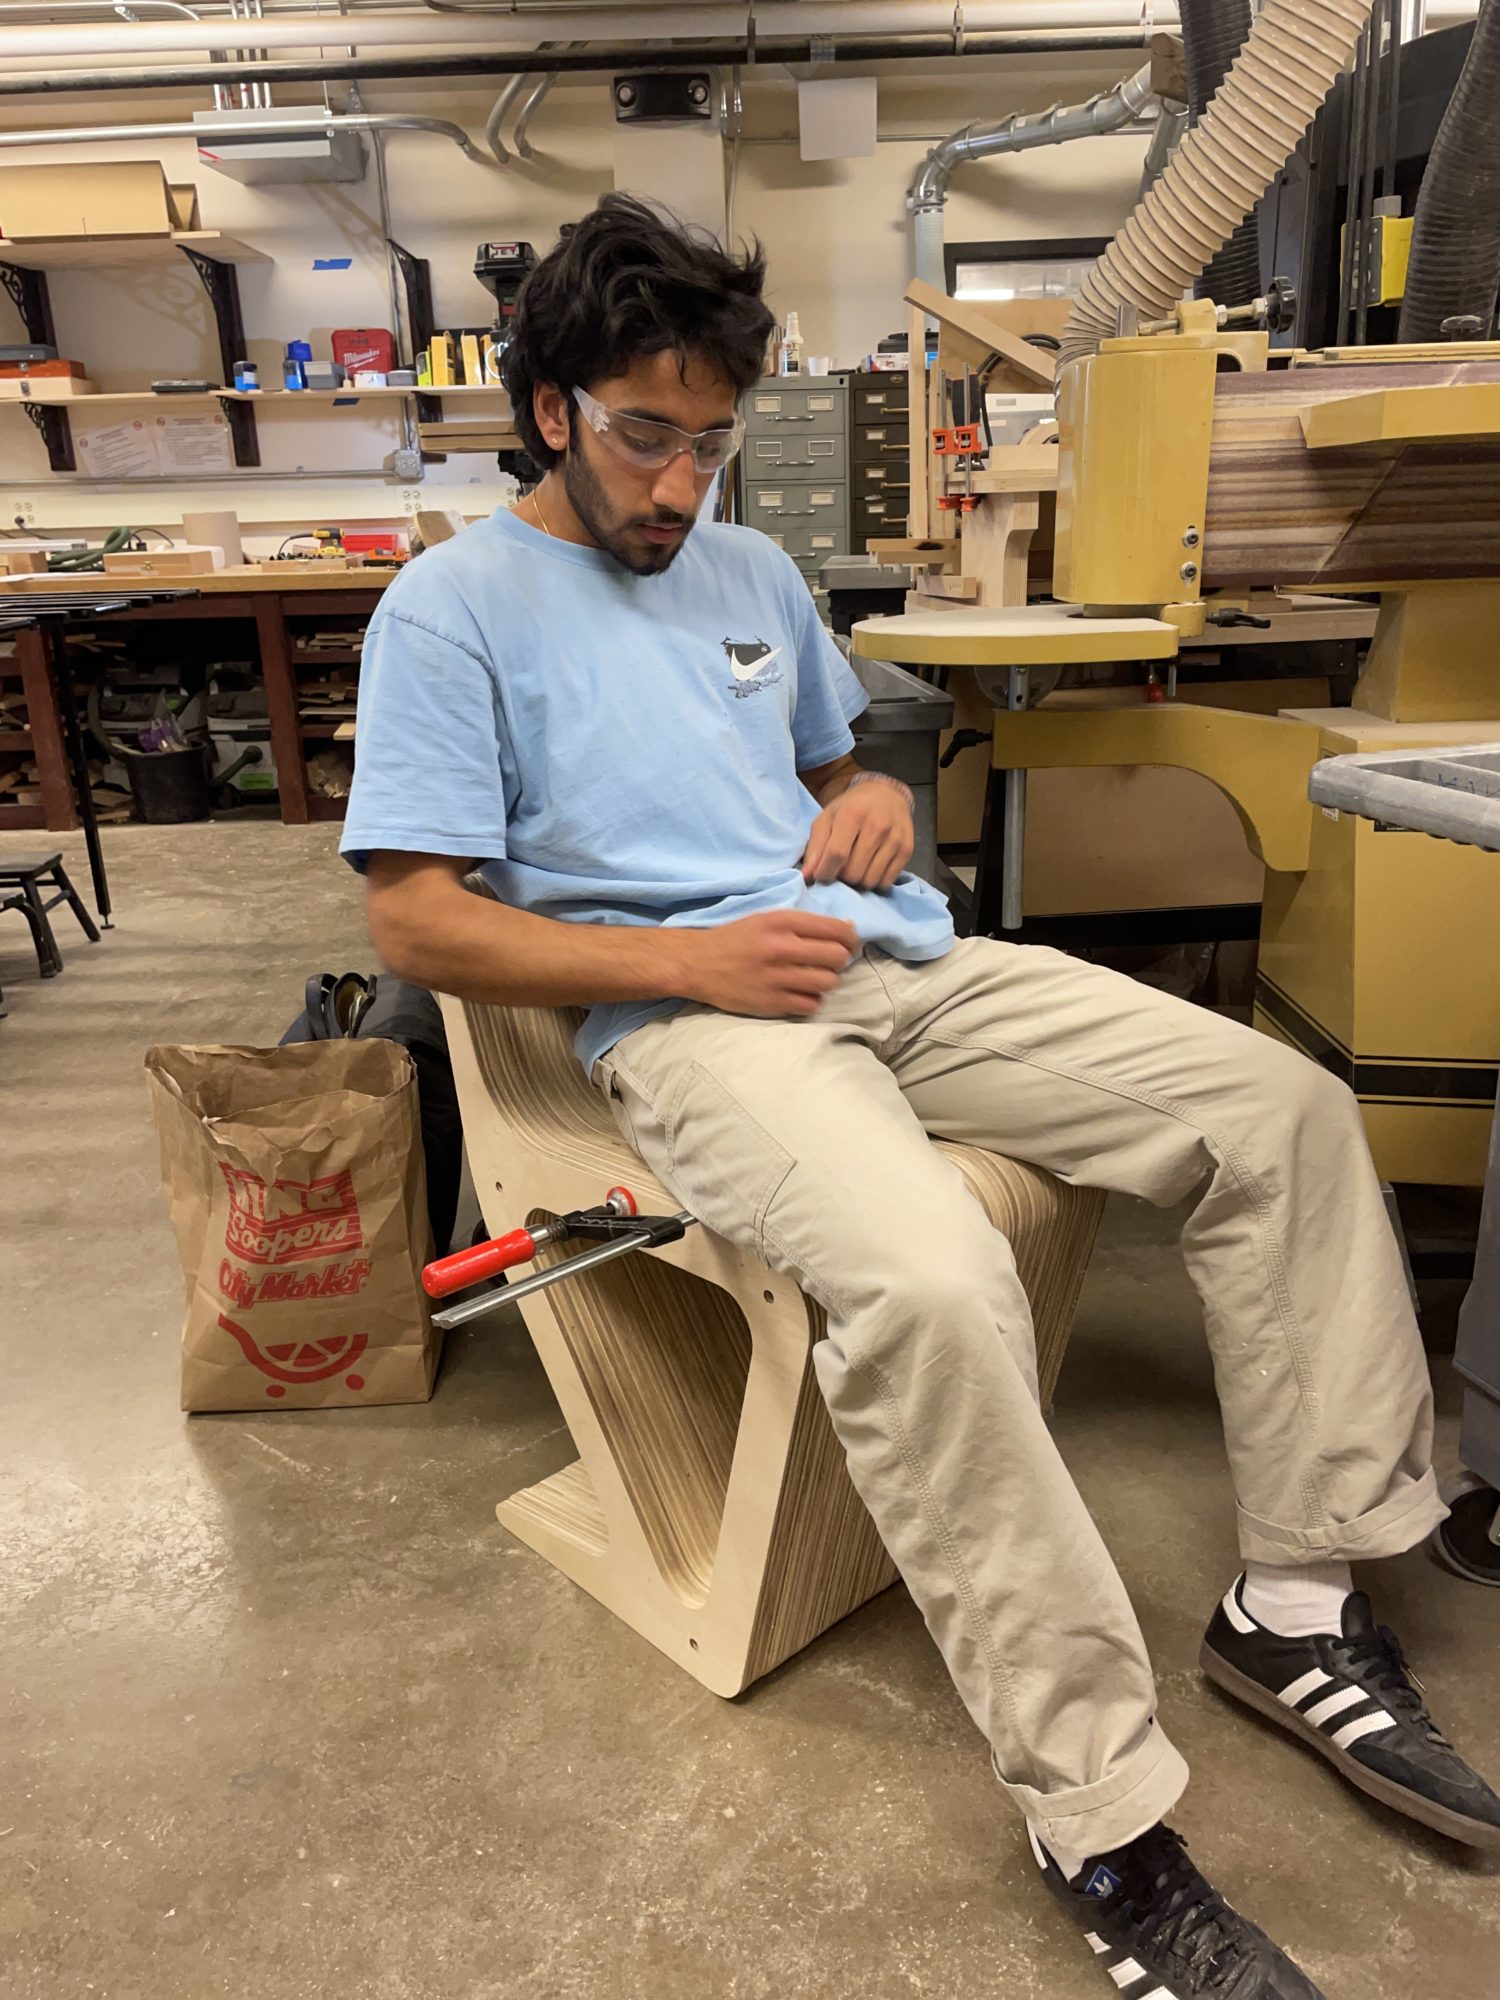
 The fabrication phase took a couple of weeks, during which I used a CNC machine to cut the plywood sheets into the required shapes and sizes. I then used wood glue and clamps to assemble the chair’s plywood profile pieces. Once the glue dried, I sanded down the rough edges.


 Finally, during the documentation phase, I took pictures of the semi-completed chair.


 Fabrication Process:
- Create a 3D CAD model of the chair design using Autodesk Fusion 360.
- Export the CAD model as an STL file.
- Use a CNC machine to cut the plywood sheets into the required shapes and sizes using the STL file.
- Sand down each plywood profile piece, route the ⅜ inch holes, and pick the pieces to be placed on the outside of the chair.
- Counterbore the pieces placed on the outer portion of the chair to make room for the nuts, washers, and all thread attachments.
- Place the nuts, washers, and all thread.
- Apply wood glue to chair pieces and clamp them together.
- Allow the glue to dry overnight.
- Sand down any rough edges with sandpaper and an orbital sander.
- Cut excess all thread with a jigsaw and Dremel for the finish.
- Apply Loctite and maybe place new nuts if the old ones were damaged by the Dremel.
Next Steps:
- Apply a clear coat of paint to protect the chair from wear and tear.
- Think about applying a stain or different.
- Potentially make a side table/drawer from the internal pieces.
- Sliders would have to be attached due to the ¼ inch tolerance.
Conclusion:
Compared to my initial plans, the final design turned out better than expected. The chair’s unique shape and exposed hardware embodied the Japanese wabi-sabi aesthetic I was going for. If I could do anything differently, I would have started a bit earlier on the CNC process and thus had more time to experiment with different finishes to achieve different looks on the final product.
The chair is currently being used in my apartment, and I have received numerous compliments on its design. Overall, I am happy with the chair’s aesthetics, and I feel it embodies the vision I had for the project.