
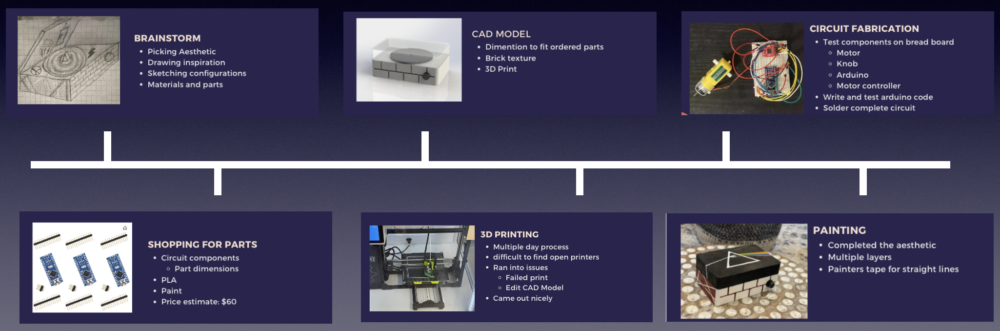
Timeline
Brainstorm
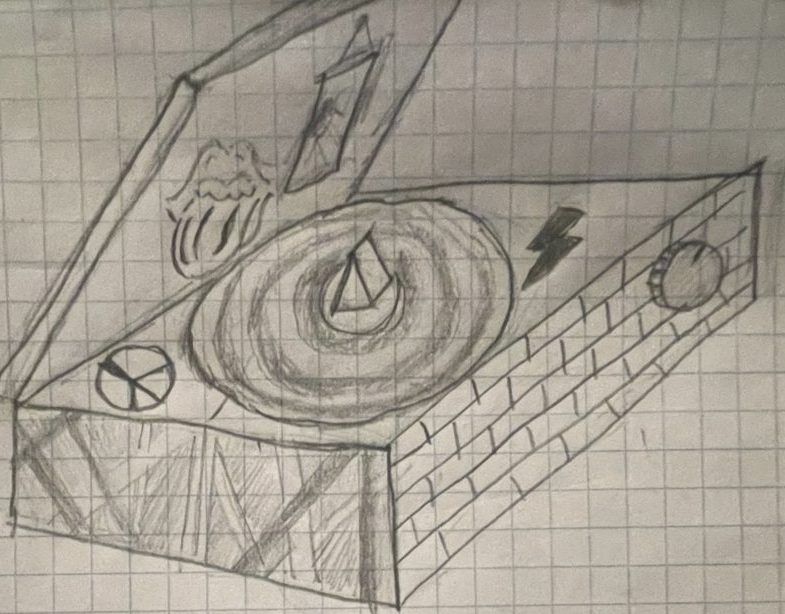
I began the process of my project by brainstorming ideas. I knew I wanted to incorporate music into my project somehow. I really enjoy classic rock from bands like Pink Floyd, Led Zeppelin and Van Halen. I wanted to incorporate the aesthetic of classic rock in some way and I figured the best way to do that was with a record player because that the music playing method that the songs form the 70’s and 80’s were initially made for. It was also a great way for me to incorporate a moving part with a motor driven turn table.
Shopping for Parts
Required Parts:
- Motor
- Adding motion to turn table
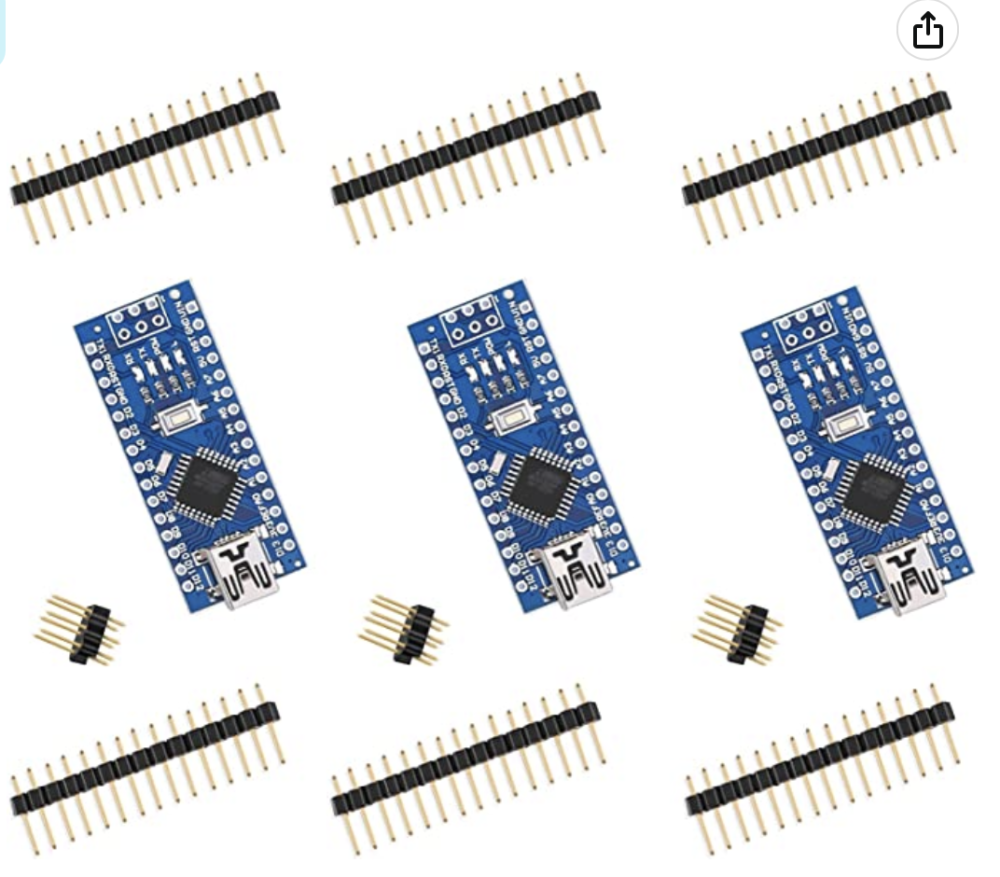
- Nano Board
- Brains of the circuitry
- 28 AWG Wire
- Wiring final circuit together
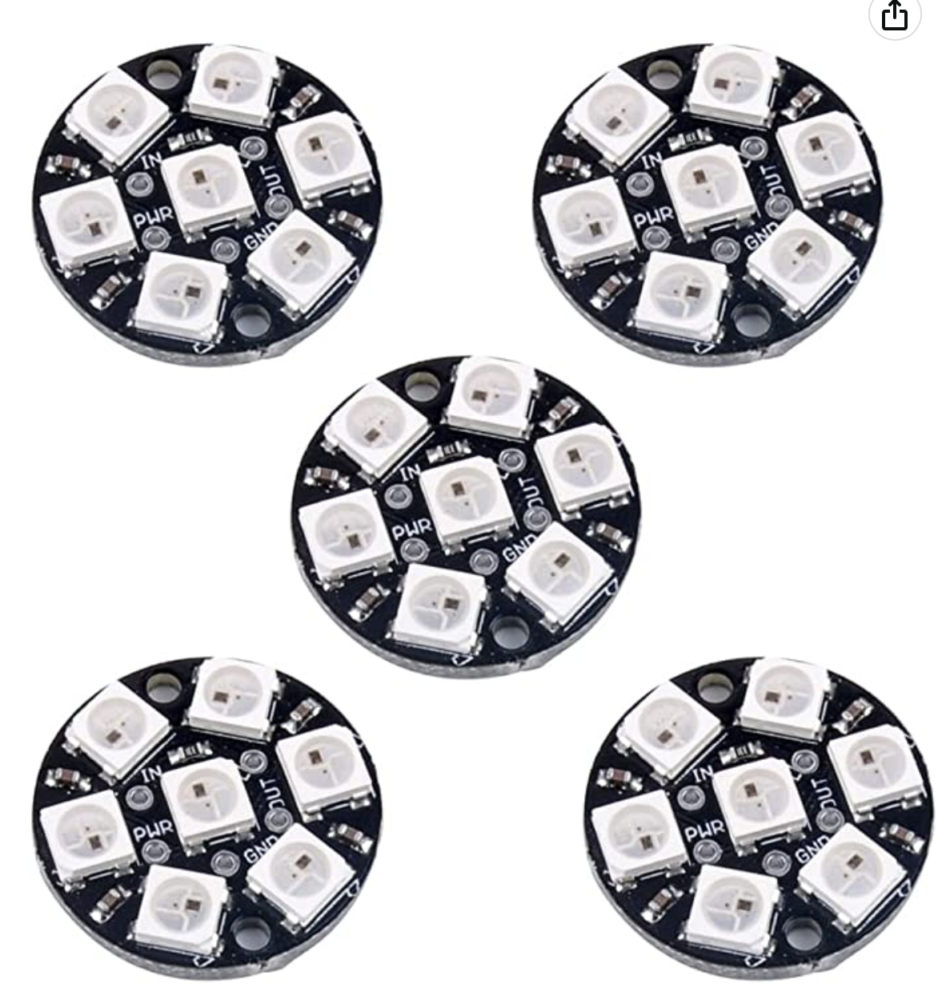
- LED Ring Lights
- Adding extra color and pop to project
- Ran into supply chain issue and will hopefully arrive in time for expo
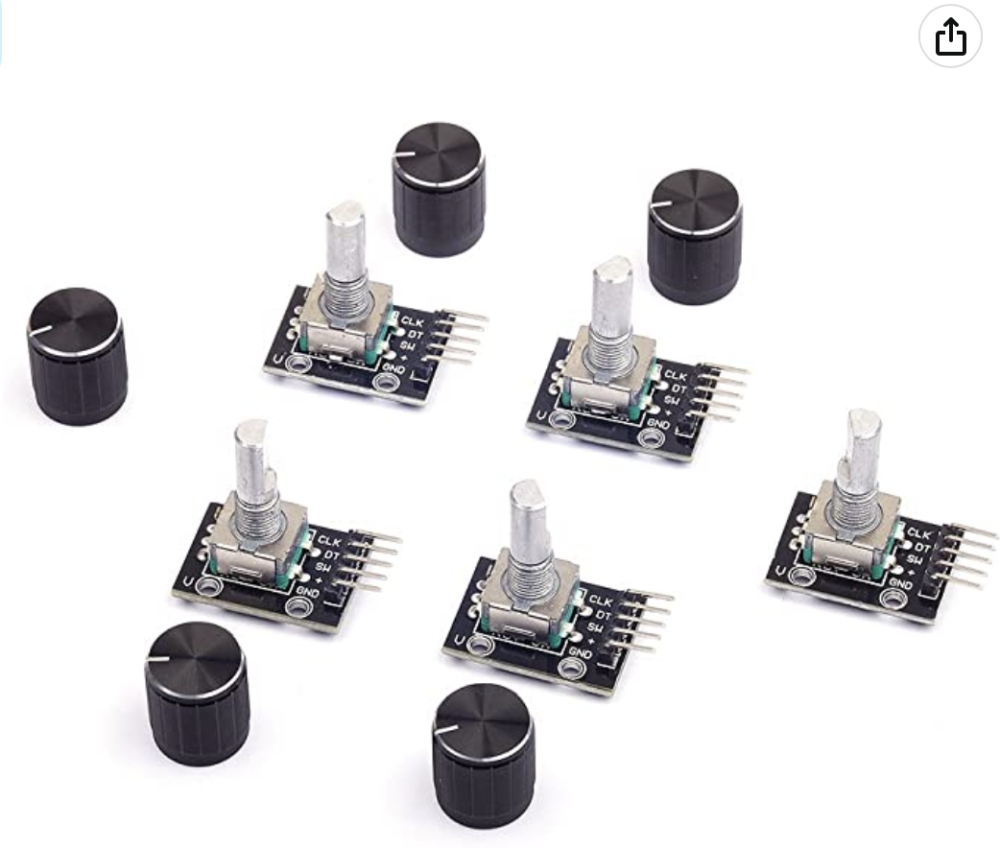
- Rotary Encoder Module
- Dial to control spinning speed
- White PLA
- For 3D printing body and turntable
- Paint
- Adding aesthetic decoration

Luckily for me I already had access to some of these materials. The motor I already had from a tinker kit that was required for my sophomore year project class. I got the white PLA from my roommate who had around half a spool left for me to use. My dad’s has an art hobby and lives only 30 minutes away from Boulder so I was able to use all sorts of art supplies that he had laying around the house. I was able to find the remaining parts on amazon which toteled about $60, although, each part came with more components than I needed so I have extra materials for future self projects which is always nice.
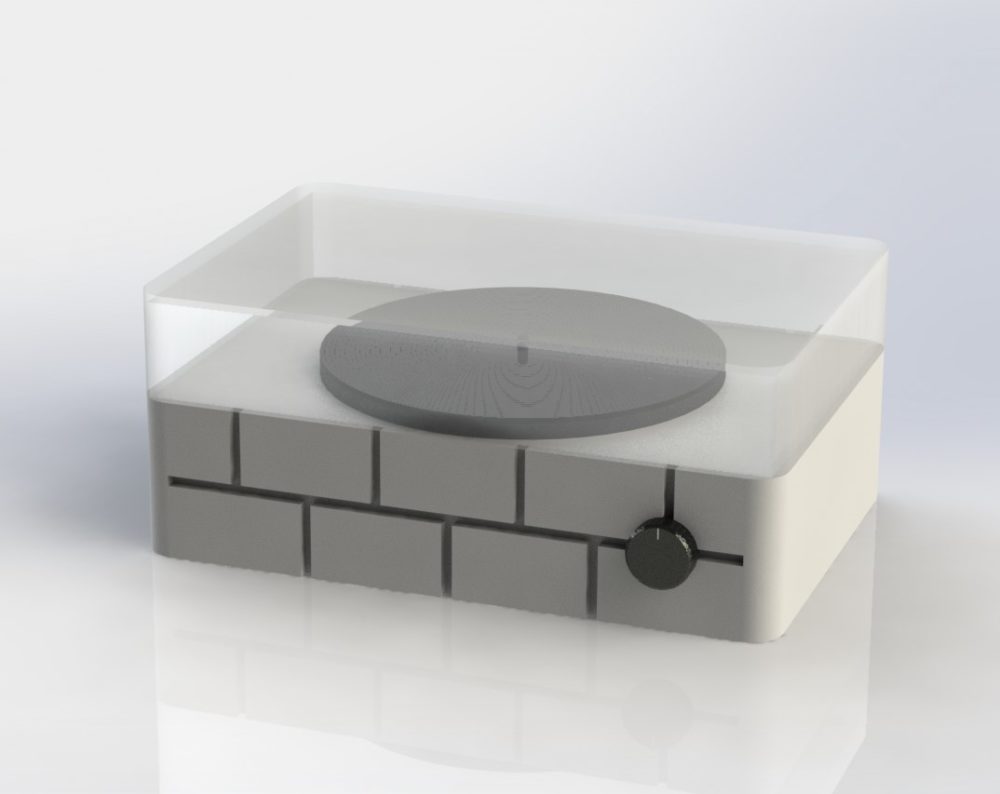
CAD Model
My CAD model consisted of 3 pieces:
- Base
- Lid
- Turntable
For the base I needed to add a hole to the base with the dimensions of the knob I ordered. On the front and back of the base I added a brick design to resemble Pink Floyd’s the wall and add character to the design. My CAD files can be found here. Once I completed the CAD model I was ready to 3d print.
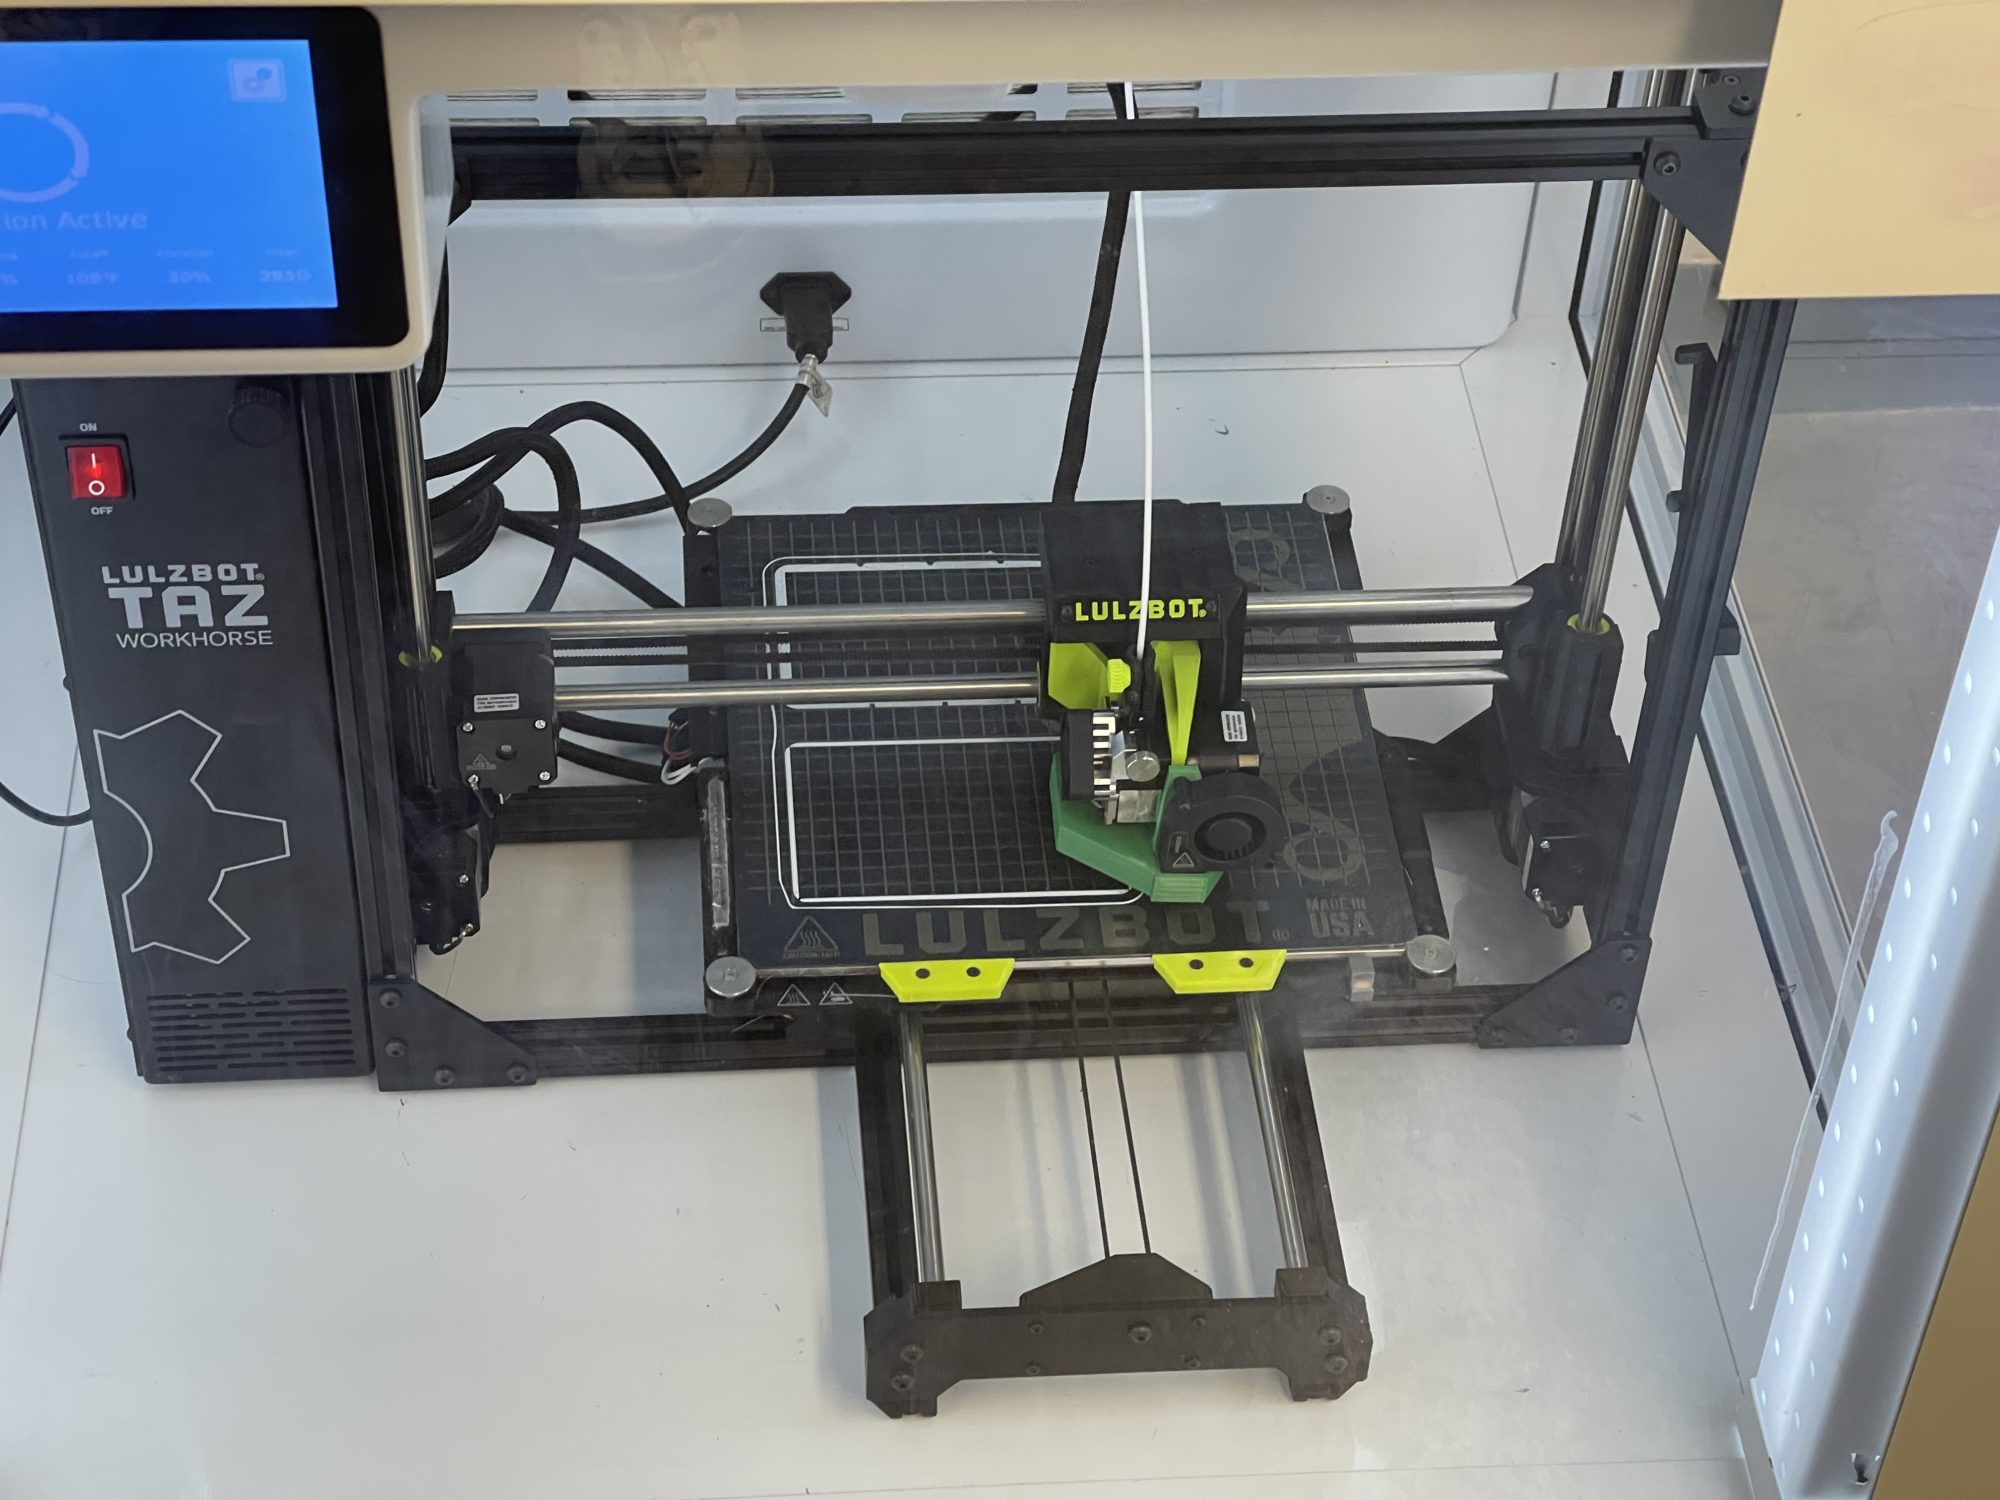
3D Printing
The print for my three components ended up being a 13 hour print. I initially started my print the first time, but when I came back in the morning I realized that the print had failed. So I had to restart my print the next day. I waited for a while to see if the print would fail again and sure enough it did. I realized that the problem was in my CAD file for the lid. I needed to add fillets to the inside corners of the box to increase the wall thickness at the corners of the lid. Once I made this change I was able to successfully print the total project overnight and it came out better than I expected. However, I ran into an issue with the hole at the bottom of the turntable which is meant to mount to the motor because the support material was unable to come off and reveal the hold. Therefore, I had to use an Exacto knife to try and cut out the hole. This resulted in the hole being too large and requiring me to mount the motor and the turntable together with hot glue.

Circuit Fabrication
While I waited for my parts to arrive in the mail, I constructed a motor circuit on a bread board to and leared how to code Arduino code to operate the speed and direction of the motor. Once the parts were delivered I added the rotary knob to the breadboard circuit to implement the code to be able to control the speed off the motor based on the knob. Once I was satisfied with the breadboard circuit, I took my purchased wire into the idea forge electronic center and soldered the components into the final circuit that would go into the base of the record player.

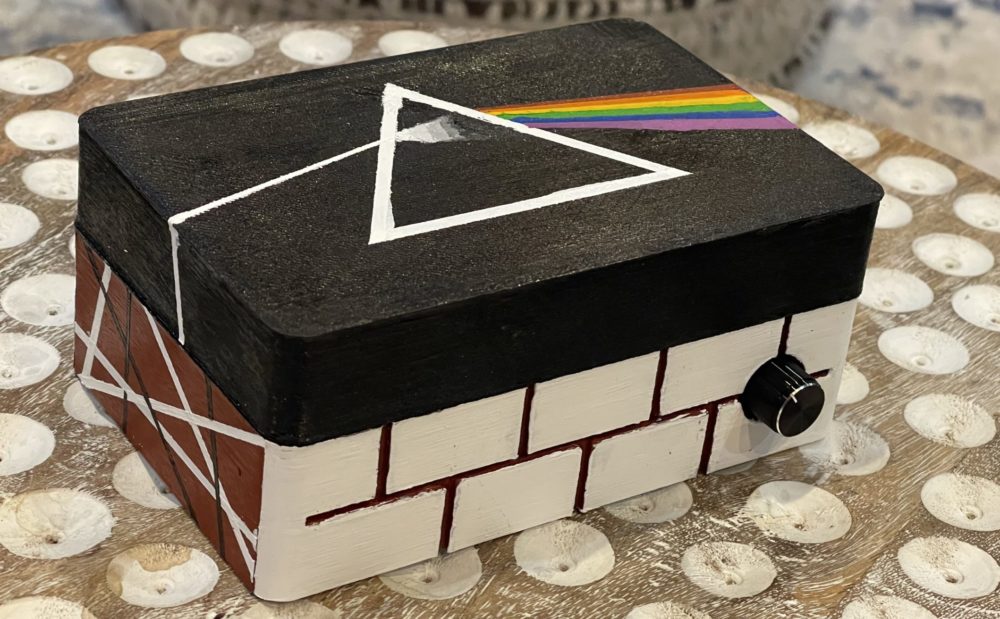
Painting
Before I put the circuit into the base of the record player, I wanted to paint the entire thing because I was knew it would require me moving the record player around a lot and I did not want to damage the circuit. I began by painting the lid completely black and painted the album are of “The Dark Side of the Moon”. Next I painted the left and right side of the base red to begin the design of Eddie Van Halen’s guitar design. Using painters tape, I taped small around the outline of each white and black line to ensure the lines of the design would be straight. Once the sides were down I painted the gaps between the bricks red and finished by painting the bricks with a brute white to make them pop more and cover up mistakes I made with the red.
Assembly
Once the paint had dried I was ready to mount the circuit within the base of the record player and test that all of the circuit connections were working. I then super glued the turntable to the motor and the project was ready to present!
Conclusion
From of the beginning of the project, I could have never imagined all of the obstacles I ran into while making this project. I initially had planned to incorporate more designs into the aesthetic of the project, however, when painting I realized that I liked the look of the larger less cluttered designs. I also planned to have the LED by the time I had my final presentation, but I am still waiting for them to arrive and still need to solder them to the circuit. Looking back I wish I had made the hole for the knob smaller because the knob is detachable which reveals a thinner shaft that could be put through a smaller hole and attached via a nut. This design flaw required my to use hit glue to mount the knob is place which is not a sturdy and prone to failure. I also regret not making the record play a little bit bigger so I could have fit more large designs on the project. Regardless, I am happy with how the project turned out and this project really put my manufacturing skills to the test. I improved my abillity and confidence to construct working circuits and create CAD models that could be 3D printed.