

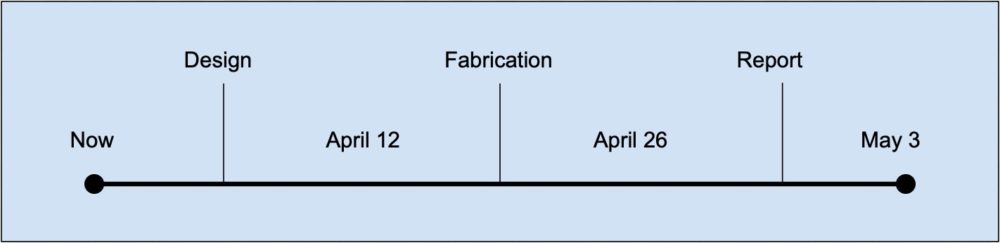
Timeline:
Process:
I began the fabrication process by sourcing materials. In my design plans I intended on using mdf for the main body and a piece of hardwood for the drawer front. I was on a bit of a tight budget, so I was patient and I waited for some quality scrap material to find its way into the CLC woodshop’s scrap pile. Eventually, I was blessed with some excellent material. I got a couple nice pieces of quarter inch mdf board that were large enough to match the dimensions of my plans as well as a piece of inch thick butcher block that would serve perfectly as the drawer front.
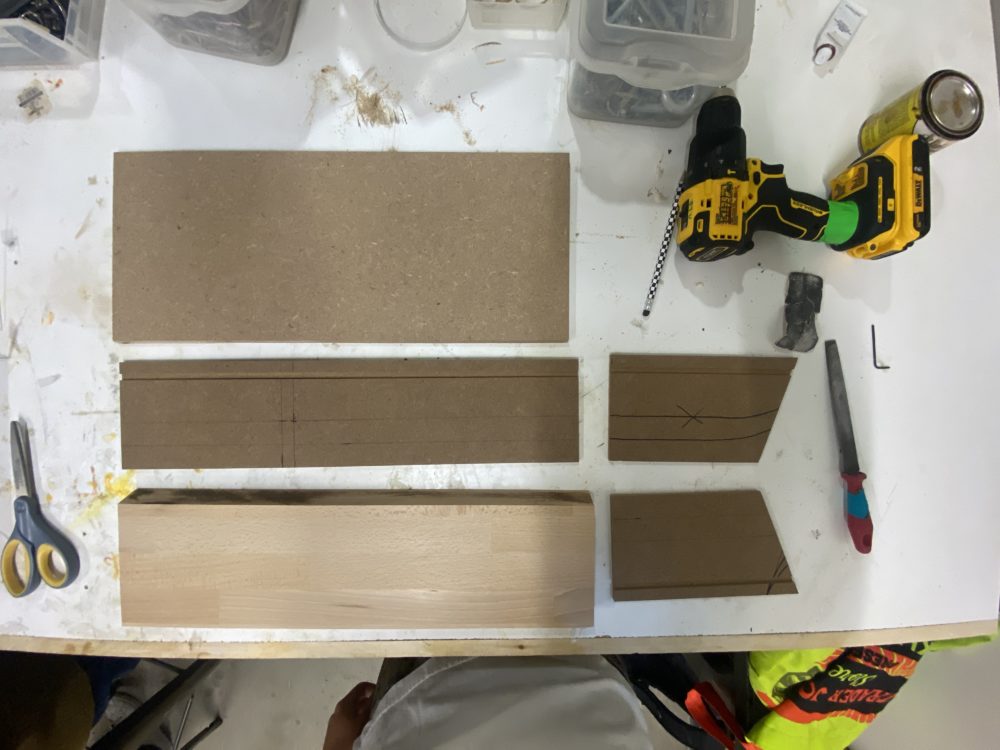
Once I had my materials, I could begin cutting them to the proper dimensions. My first goal was to rip the length of the mdf board on the table saw to the height of the body of the drawer. After that, I adjusted the height of the table saw to cut a groove along the edge pieces of mdf that I could notch the bottom piece of the drawer into. Once that was done, I went ahead and brought my strip of mdf that would eventually become the walls of the drawer over to the compound miter saw in order to chop the pieces to the appropriate length and make sure the side walls were cut at an appropriate angle to match the angle that existed on my current desk.
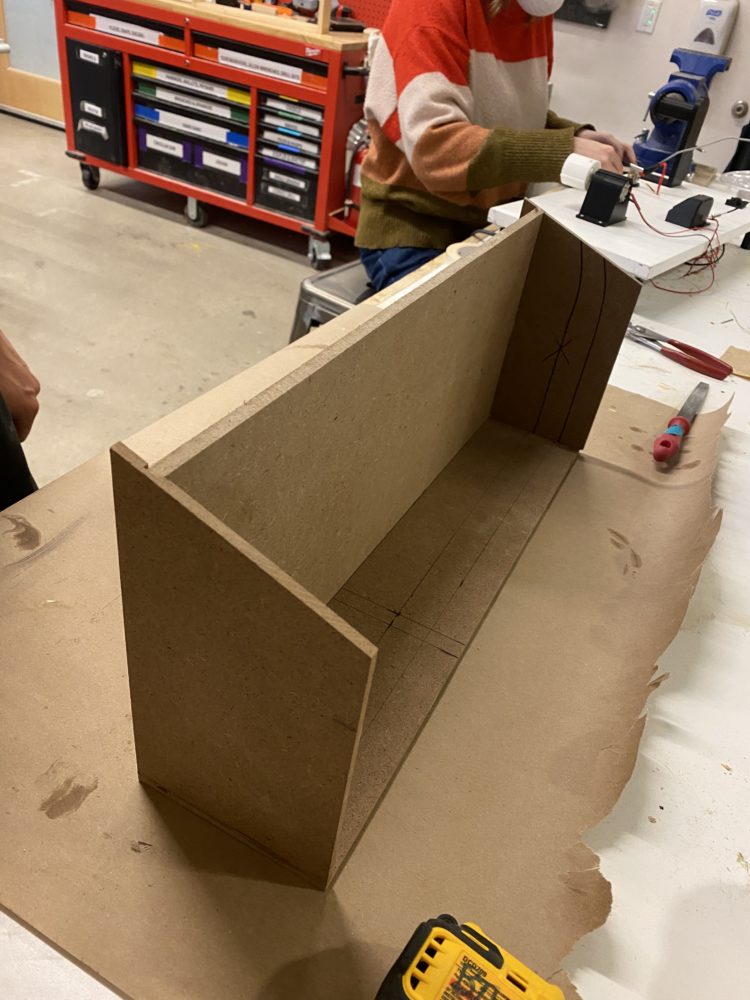
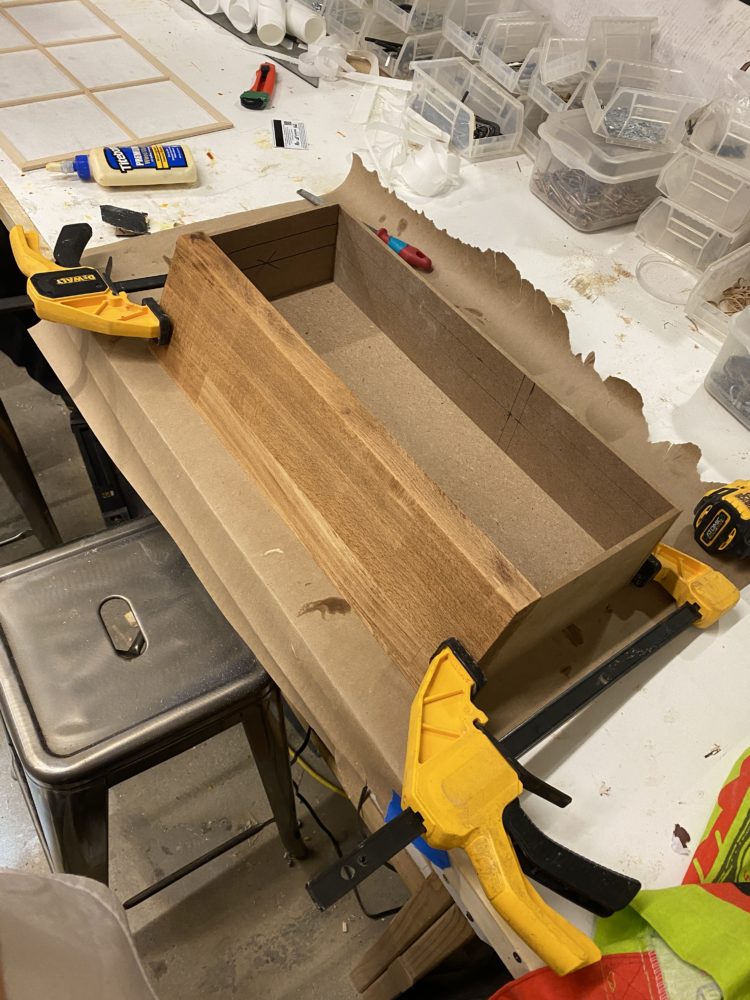
After I had all of the walls of the desk drawer cut, I found the piece of mdf that I was planning on using for the bottom of the drawer and I cut it to the proper dimensions of the drawer bottom. This step was pretty simple for the most part except on the front facing edge of the drawer bottom I had to angle the blade of the table saw to give the board a slanted edge for the drawer front to attach to. I had all of the cuts done for the body of the drawer so at this point I went ahead and did a dry fitting of all of these pieces and was very please with the results. With the drawer bottom wedged into the grooves on the walls the drawer body stayed together on friction alone.
Now that the body was done, I moved onto the drawer front. The first step here was to make two angled cuts that would give the drawer front an angled face. I did this in the same way that I did the other angled cut on the drawer bottom by angling the blade of the table saw to the appropriate degree before making the cut. Once this was done I cut the piece to length on the miter saw. At this point I was done making all of the cuts for the project.
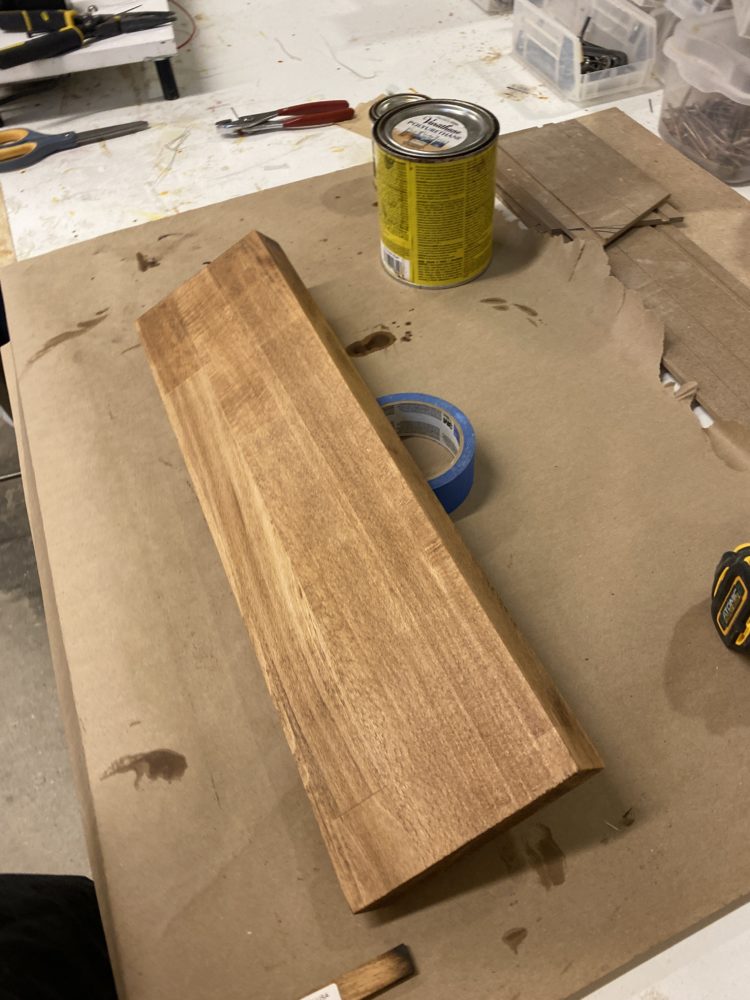
Now that the pieces were all cut out it was time to glue them all together, but before I did that I had to first sand and stain the drawer front. It was already decently smooth so I first sanded it all flat with 150 grit sandpaper on a palm sander. After that, I used a 220 grit sand paper to hand sand the piece. Finally, I moved onto 400 grit sandpaper to give the drawer front an ultra smooth finish.
Once I had sanded the whole thing down, it was time to apply some stain, I used a walnut colored oil based poly stain. I didn’t want the finish to be too dark so I only did one coat. Once the coat was dry I was able to move onto the glue up.
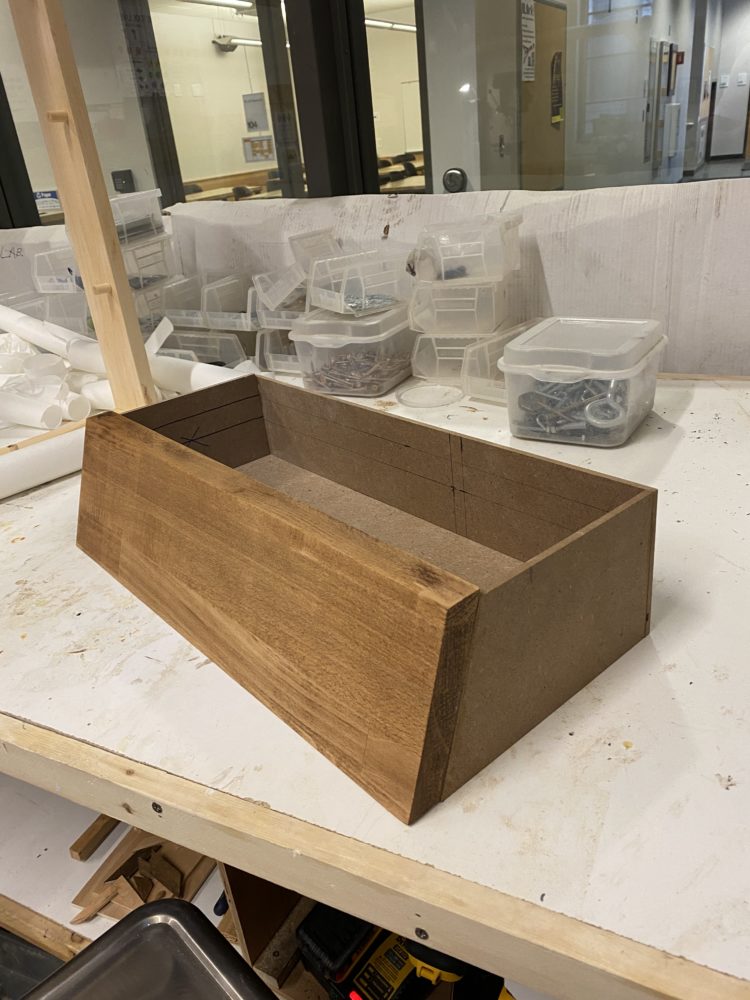
I first put glue in all of the grooves and glued up the body of the drawer. I let this dry before putting glue on the front facing edge of the drawer body and clamping it to the drawer front. Once it was dry I was all done! All that was left to do was to make sure it fit into my desk.
Conclusion:
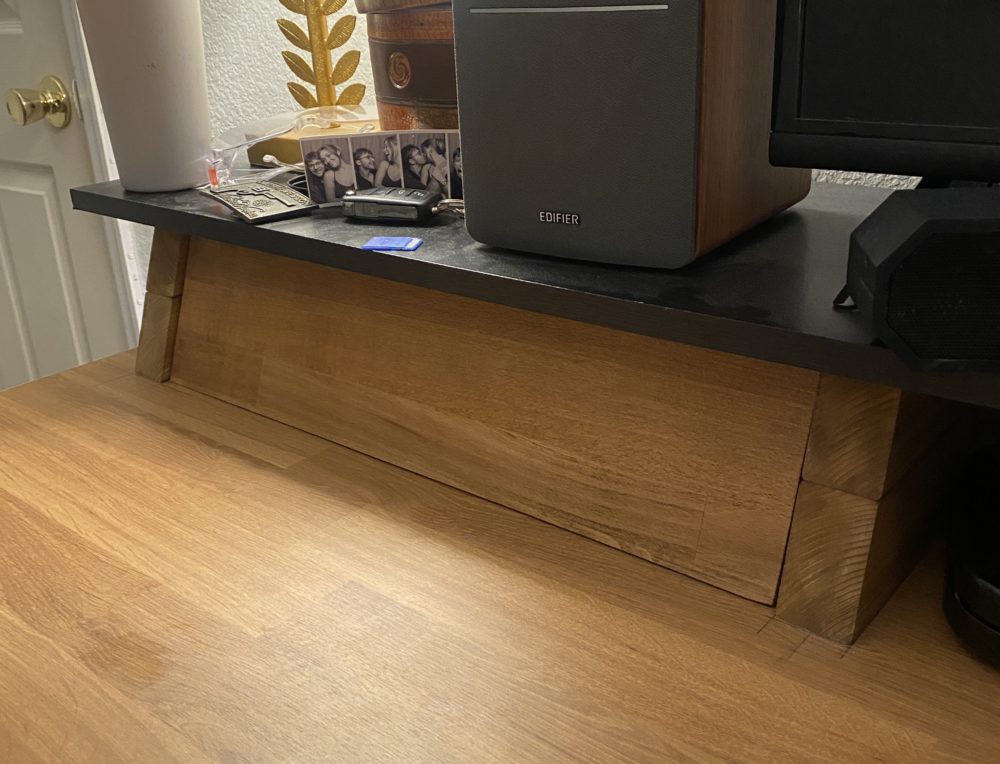
I am super happy with the results that I ended up with. I think that the drawer’s aesthetic perfectly matched the existing modern industrial aesthetic of my desk and that it actually looks really good. The final product is nearly identical to my plans and the whole fabrication process went relatively smoothly. Only thing that I wish I had done differently was making the dimensions of the desk drawer body just slightly less wide.
Presentation: