
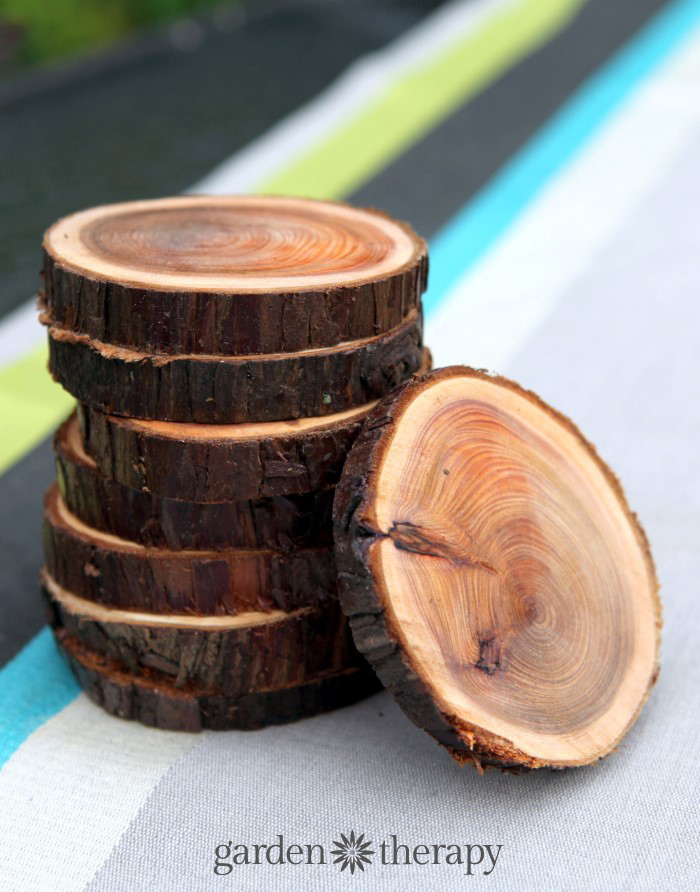
For this project, I have decided to use a branch from a tree to create some coasters. My aesthetic for this project is a rustic aesthetic. While I had previous intentions of creating a coaster out of a variety of types of wood and combine them all into one singular coaster, using a branch better appeals to my aesthetic.
During the past week, I have been trying to find the right piece of wood that would look good for a coaster. This offered more difficulty as I wanted to find an already fallen branch to use. Although most of the branches I could find were either to small, fractured, or in an unusable shape. However, after a long time of looking on trails, I managed to find one that is a perfect fit for this project.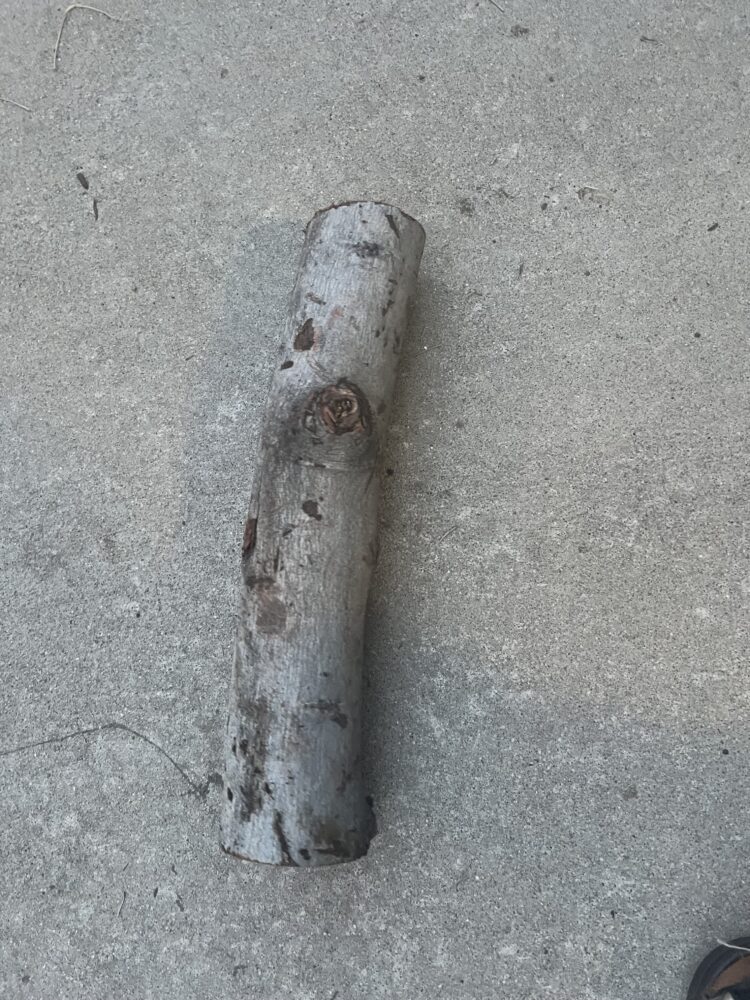
While this picture looks very simple and absurd that it took me a while to find, it was well worth the effort. I cut of both ends to make it a flat surface. The branch has a diameter of 4 inches which is the perfect size for a coaster. With this sized branch I should be able to make around 10 individual coasters with 1/3″ height.
From here, I will need to cut the branch to sizes and sand it a ton. Once all of the coasters are cut out I will begin by sanding it with 80 grit sandpaper. Following this, I will proceed to sand it with 120 grit sandpaper and finally 280 grit sandpaper until I have my desired smoothness. Once all of the coasters are sanded, I will be applying a finish to it as I don’t want the coasters to warp from the condensation of a cold drink. There are a couple of options I can take in selecting a finish. There are two pain options, either a stain that will apply a slight tint or a lacquer/varnish that will apply a clear coat to the surface. I am currently leaning on the edge of applying a stain rather than a clear finish. There can be reasons to use both, although I believe that by adding a tint to the wood, it will enhance the detail of the branch itself and make the distinct lines more pronounce. 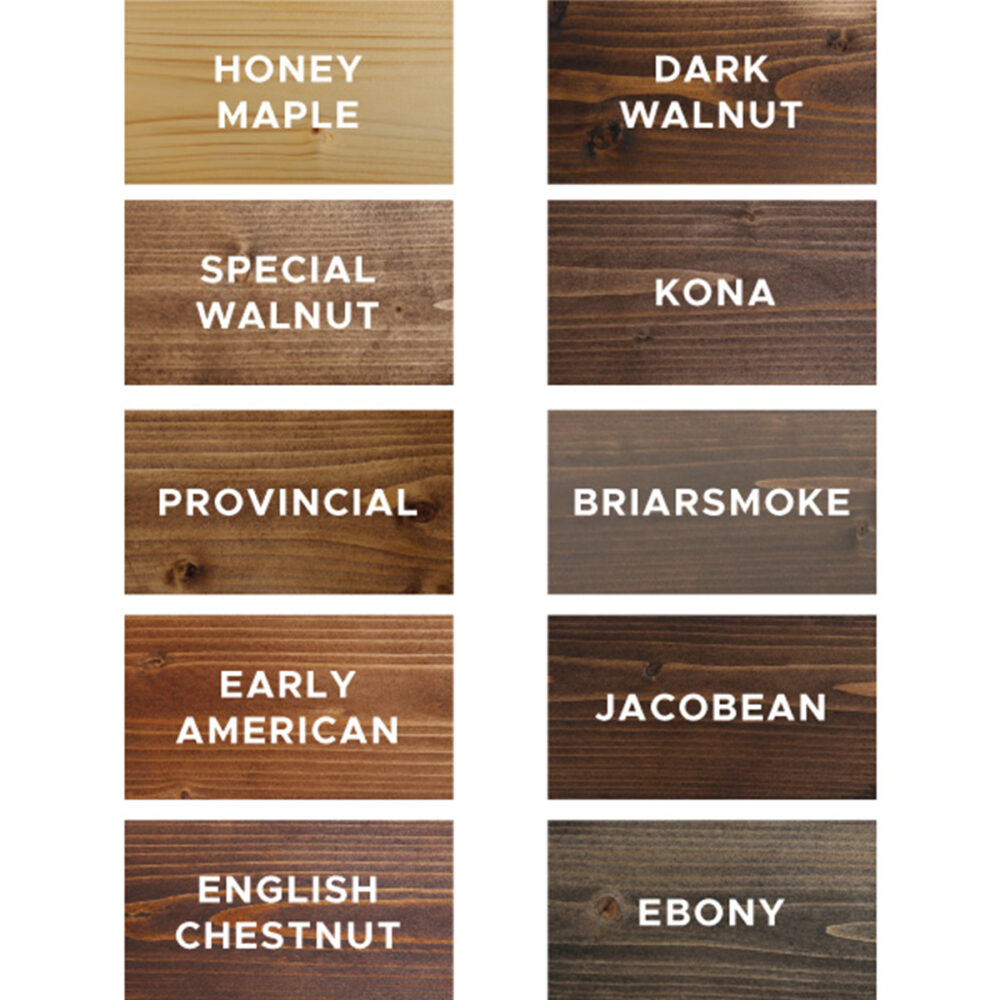
References:
https://angelamariemade.com/favorite-wood-stain-colors/..
https://gardentherapy.ca/natural-branch-coasters/..
2 Comments. Leave new
Hey Kyle,
Love the idea for this project, but I do have a couple of suggestions on your finish. A stain would do a good job of bringing out some of the natural variations in the rings of the branch, but it would not do a great job of protecting the material, especially the bark around the edges. I would suggest that you possibly combine this with the varnish for a long-lasting finish, but another option you could consider is charring the wood slightly. This would bring out the character of those branch rings without too much hassle and may give a nice result combined with a lacquer.
Good work on this post Kyle! I really like the idea for this project and I think the stick you found will be perfect for this application. I was wondering how the different stain options would impact the aesthetic of your design and how this will impact your decision. I was also curious about where you will be doing the woodworking required for the project. I think that the live edge you are leaving on the coasters will really add to the rustic aesthetic and I can’t wait to see how they turn out!