
For my upcycling project, I decided to make a picture frame using a mid century modern aesthetic. I choose this aesthetic because I like the principals of using different materials, while remaining somewhat minimal in design. I also enjoy photography as a hobby and wanted to make a custom frame for my favorite pictures.
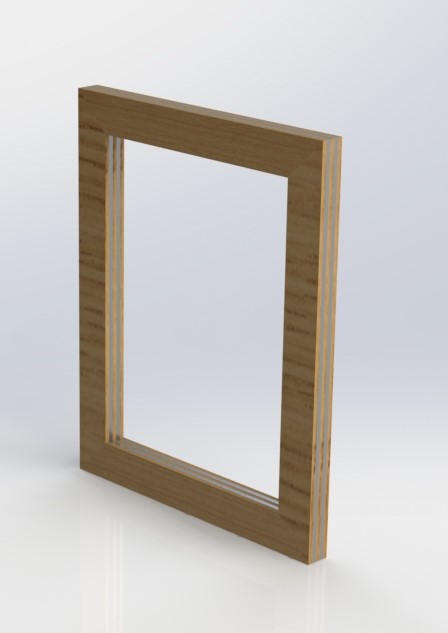
CAD assembly of picture frame
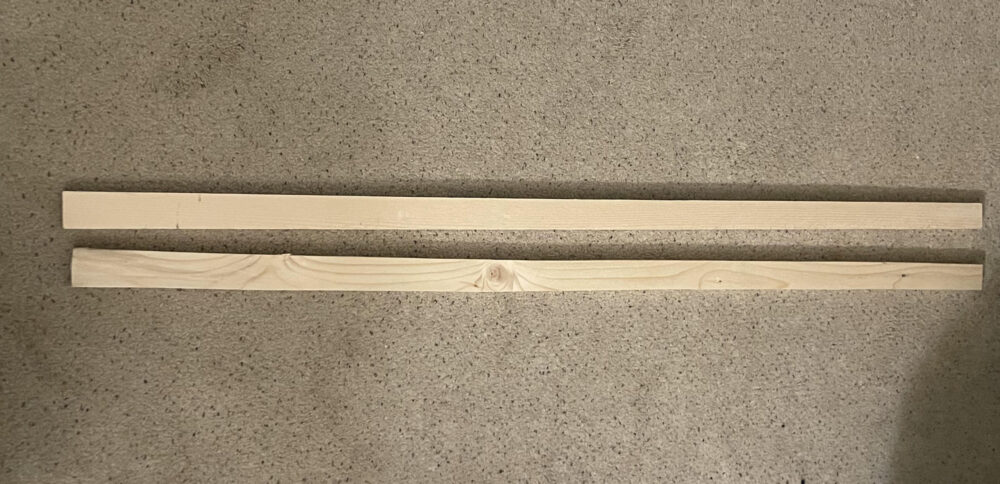
So far, I have collected several 2 inch by 1 inch pieces of wood, but I doubt that it will be enough for the frame. To solve this, I am considering using different types of wood for each layer, just in case I cannot find a similar size and color wood as the ones I have found already. I am not too concerned about this part because if needed, I can just scrap the pieces I found and find a piece that is large enough to complete the project.
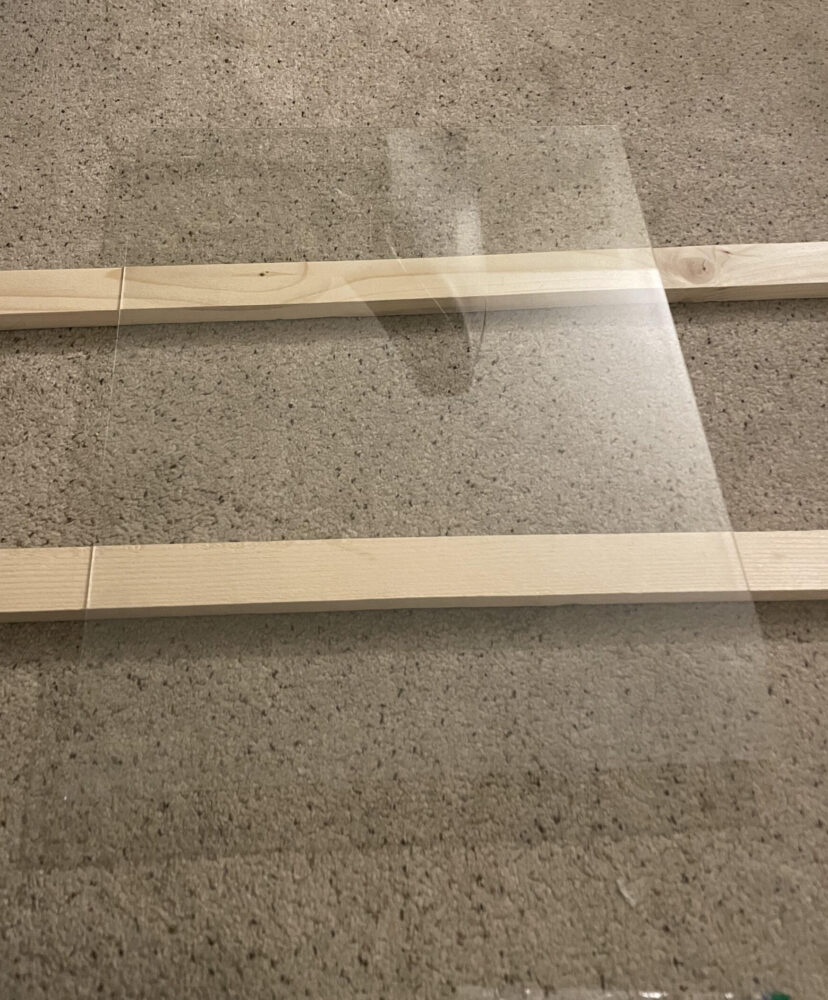
I remembered I picked up a picture frame from a thrift store awhile ago, but I haven’t used it because when I got home I found out it was broken. So, to reuse it, I am planning on taking the glass pane out and using it on this project. One of my main concerns earlier in the project was finding the correct size glass, if I couldn’t, I’d have to cut the glass down to size, which I have never attempted before. Reusing my old frame’s glass should work out perfectly because it is already sized for a standard 16 inch by 20 inch picture. I also pulled the hardware off to reuse on my frame.
The last main component of the picture frame is the metal layers. I haven’t found my material yet, but I did find several sheets and bars of aluminum and steel at the BTU lab on campus. I was looking for a bar that was approximately an eighth inch, but I didn’t find enough. My plan is to check the other maker spacers across campus and see if I can find a single piece to complete the project.
To actually make the frame, I plan on using the idea forge’s mills, drills, and saws. I was hoping to use the ITLL but there were no available workshops to gain access there in time. If I can find all my materials by the weekend, I should have plenty of time to manufacture the frame the following week. Fortunately, I have experience using the tools needed for my project so I shouldn’t be spending too much time learning how. I do think the majority of the manufacturing time will come from the small details of trying to smoothly transition the layer from wood to metal.
2 Comments. Leave new
Kevin, this is a phenomenal project and I really like the design your going for thus far. Your CAD rendering looks great and I think your doing great utilizing the mid-century modern aesthetic. If I had to offer advice or propose a question it would be what type of glue will you use for connecting the pieces of the frame? Will you work in the idea forge woodshop?
Hey Kevin, this is a great idea for a project and I really like how your cad rendering turned out! I’m curious, how exactly do you plan on joining the wooden corners of the frame? There are many ways to accomplish this but only a few that are strong and simple. I would recommend a mitered joint with a reinforcement spline, since this is this simplest way to achieve a strong corner joint here in my opinion, but I’d like to hear what your plan is.