
Admittedly, I haven’t made any progress on constructing my upcycling project. However, I have though a little bit more about how I would like the final form to look and which recycled elements I will use to construct it. This post will mainly focus on the initial research that I have done into what it will take to make the project work, as well as a few more thoughts about the construction.
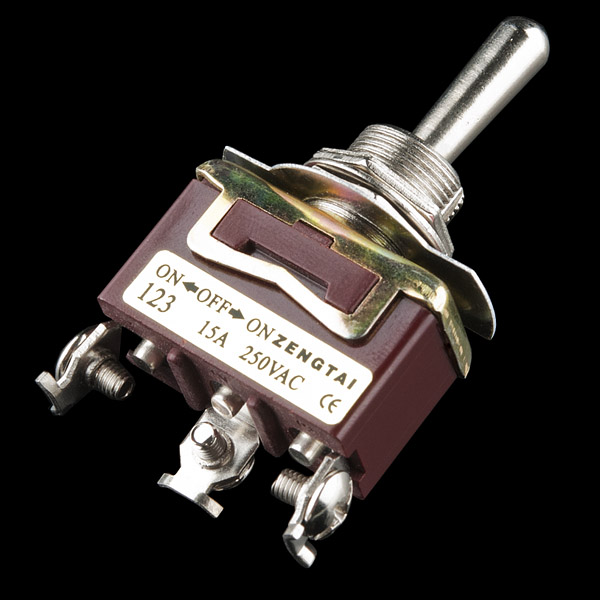
Based on some of the comments on the last post, it seemed like people agreed that the tactile element of old computer was what gave much of the character to the design. I would like to focus a bit more on that aspect, and incorporate some additional varieties recycled switches on top of the old keyboard switches that I was planning to use. One though I had was to make a main power switch by repurposing an old toggle switch that I have
. 
For the construction of the case, I am leaning towards using recycled laser cut board scraps, and using the laser cutter to cut the various panels. I think it would be interesting if I could think of some way to incorporate the cream-colored plastic aesthetic that a lot of old computers have, however I think that it would be difficult to achieve that while also sticking to recycled materials.

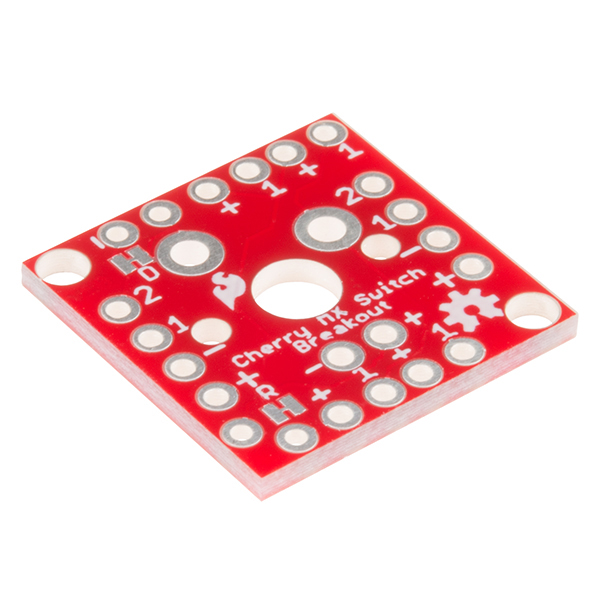
I have done a bit of research on what it would take to reuse the keyboard switches. I found a switch breakout board on sparkfun.com that would allow me to have easy solder points when wiring up the switch. There is also some available on amazon as well.

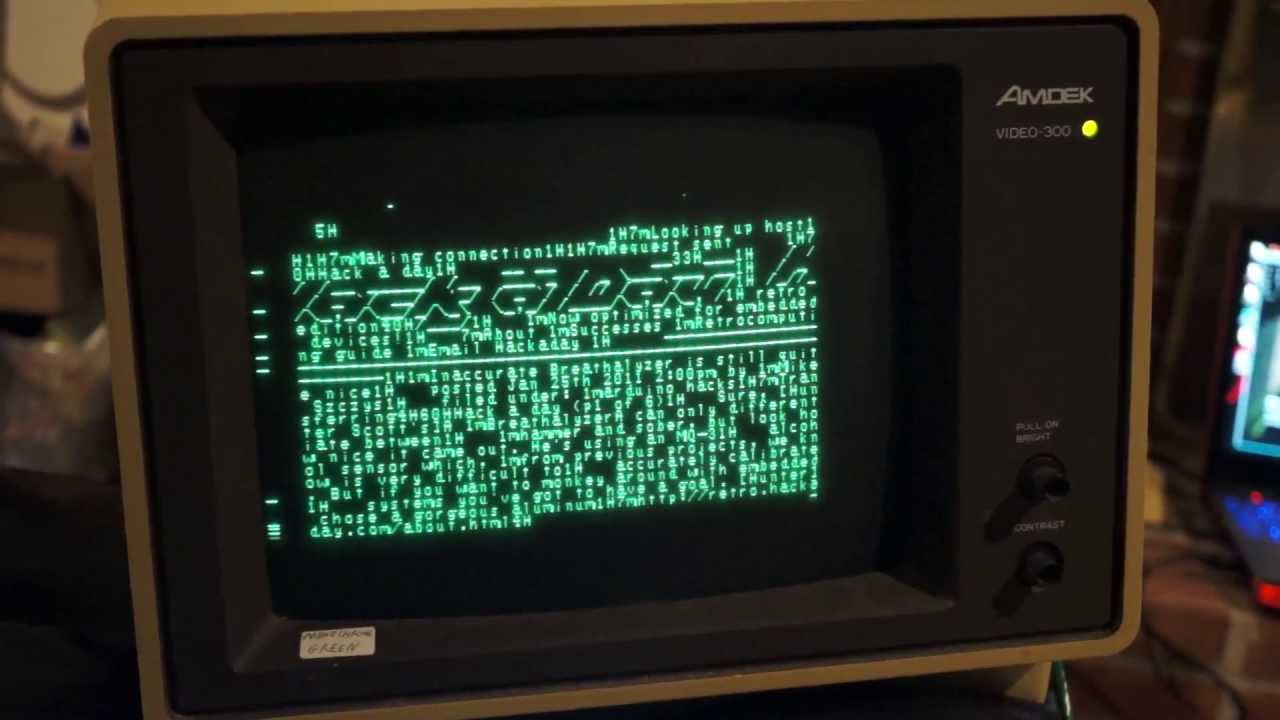
For the display, my goal is to replicate the look of old monochrome displays while using recycled materials. I have some glass panes left over from when I repaired my window, and I plan to repurpose these. To create the effect of a crt display, I am planning on laser cutting a piece of paper with the text based interface that you would see, and then gluing it to the glass pane. I will then use some LEDs from the ITLL to backlight the display.

Sources:
https://www.sparkfun.com/products/13773
2 Comments. Leave new
Because I had not seen your previous posts, it was quite difficult to know what you were talking about. It would have been great to give a brief recap on your project, so this could be a stand-alone post. How do you plan to use the scrap pieces (like fitting them together)? Using the window panels and LED’s is ingenious, almost like you are making a computer yourself! I look forward to seeing your progress.
Thanks for your feedback, I can see how If you hadn’t seen my previous post that it would be hard to follow. I will still use a laser cutter to cut the scrap pieces, and then fit them together with a tab and slot design. I’m hoping that some of the burn marks on the scrap wood create an interesting look.