
For my upcycle project, I have decided to create a piece of scrap metal art out of used fasteners. My initial ideas were to create a sculpture of a person, possibly in the middle of an action or in a specific pose. I got most of my inspiration from my cousin, who is a sculpture artist currently in Glasgow, where she commonly uses various metals as her medium. I also have been inspired by metal garden sculptures seen at a garden centers. I have created some basic sketches of ideas (shown in figure 1) and I thought it would be really cool to use allen wrenches to imitate rib bones and a hammer head to replicate the head of an animal or some sort.
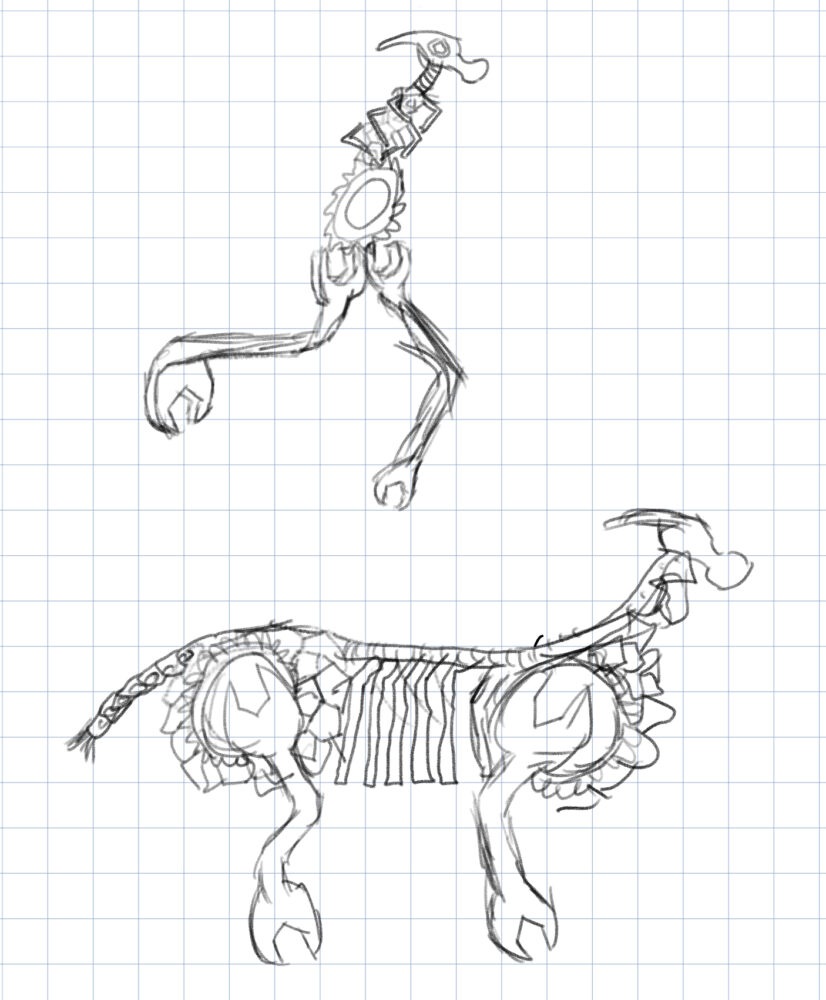
Figure 1: Initial sketches
Unfortunately, this has been a really busy semester for me so I didn’t have a lot of time to source any used tools, so this steered me to use basic fasteners to make it simpler to source. I used the Ideaforge supply closet to source most of my materials. Things that caught my eye were springs, gears, and odd sized bolts. My plan was to browse around to find random things, then I would be able to mess around with trying to make a person or animal. This was a fun process where I had to look at every piece from a different perspective, discovering what can be used to replicate what (i.e. arm, leg, head, hat, etc.). I went through a couple designs I liked, one being what looked like a king with his staff (Figure 2). Another was a cool looking pendant or ornament of some sort (Figure 3).
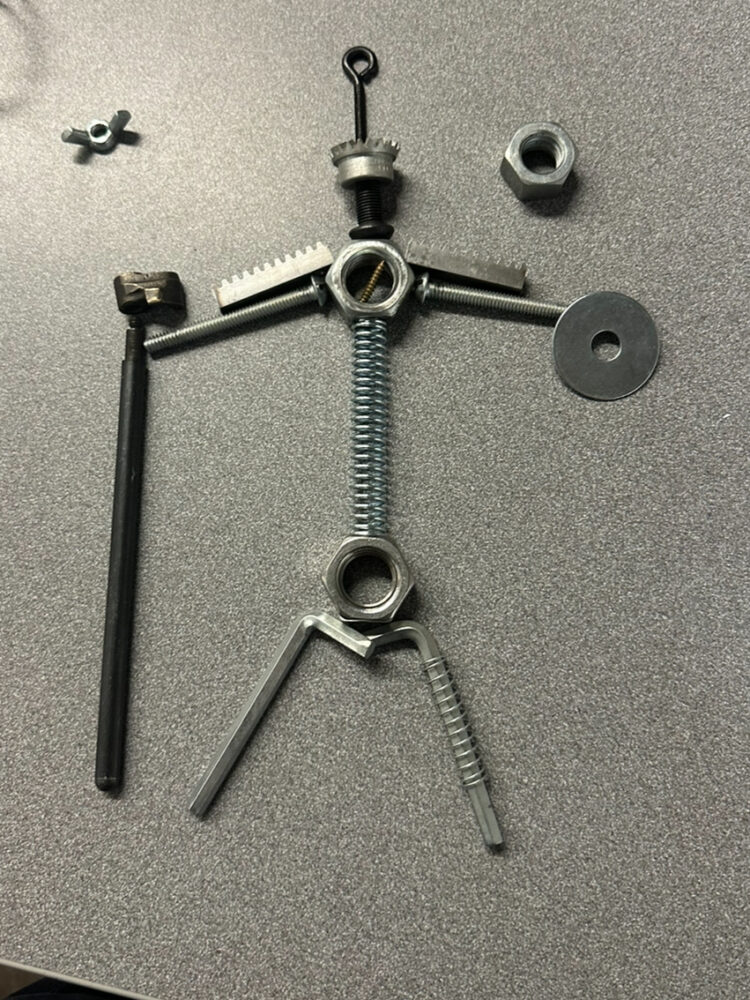
Figure 2: Initial concept of a King/Knight person
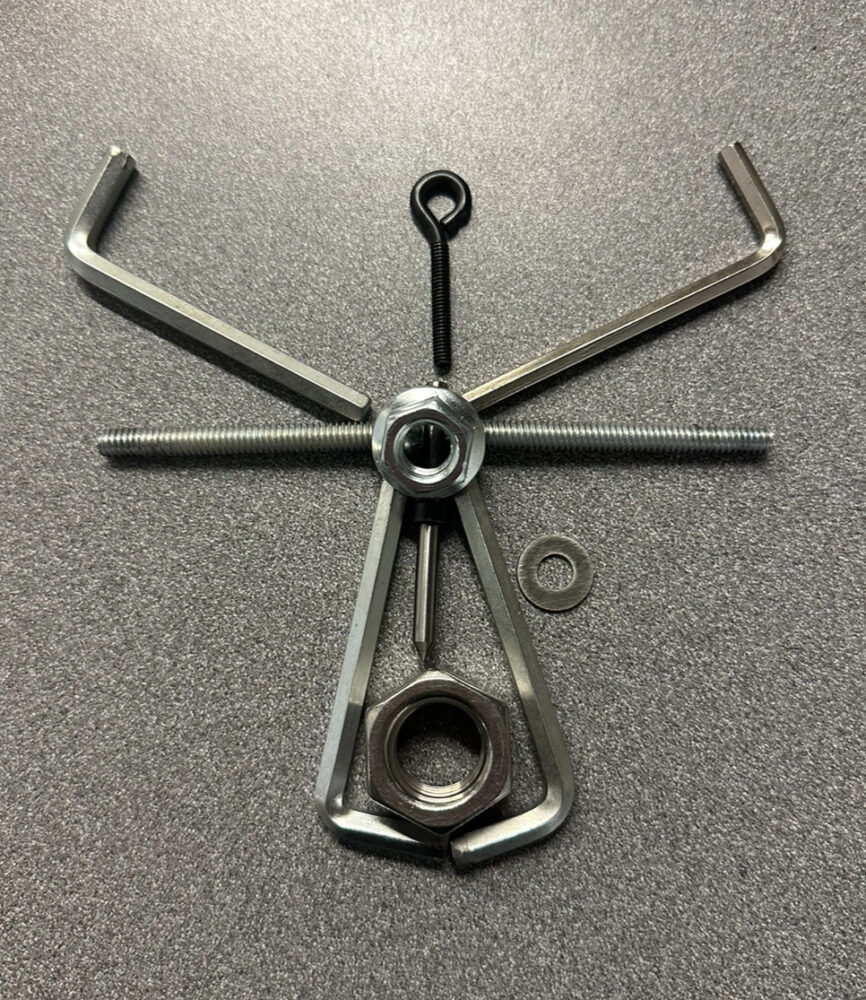
Figure 3: Ornament like concept
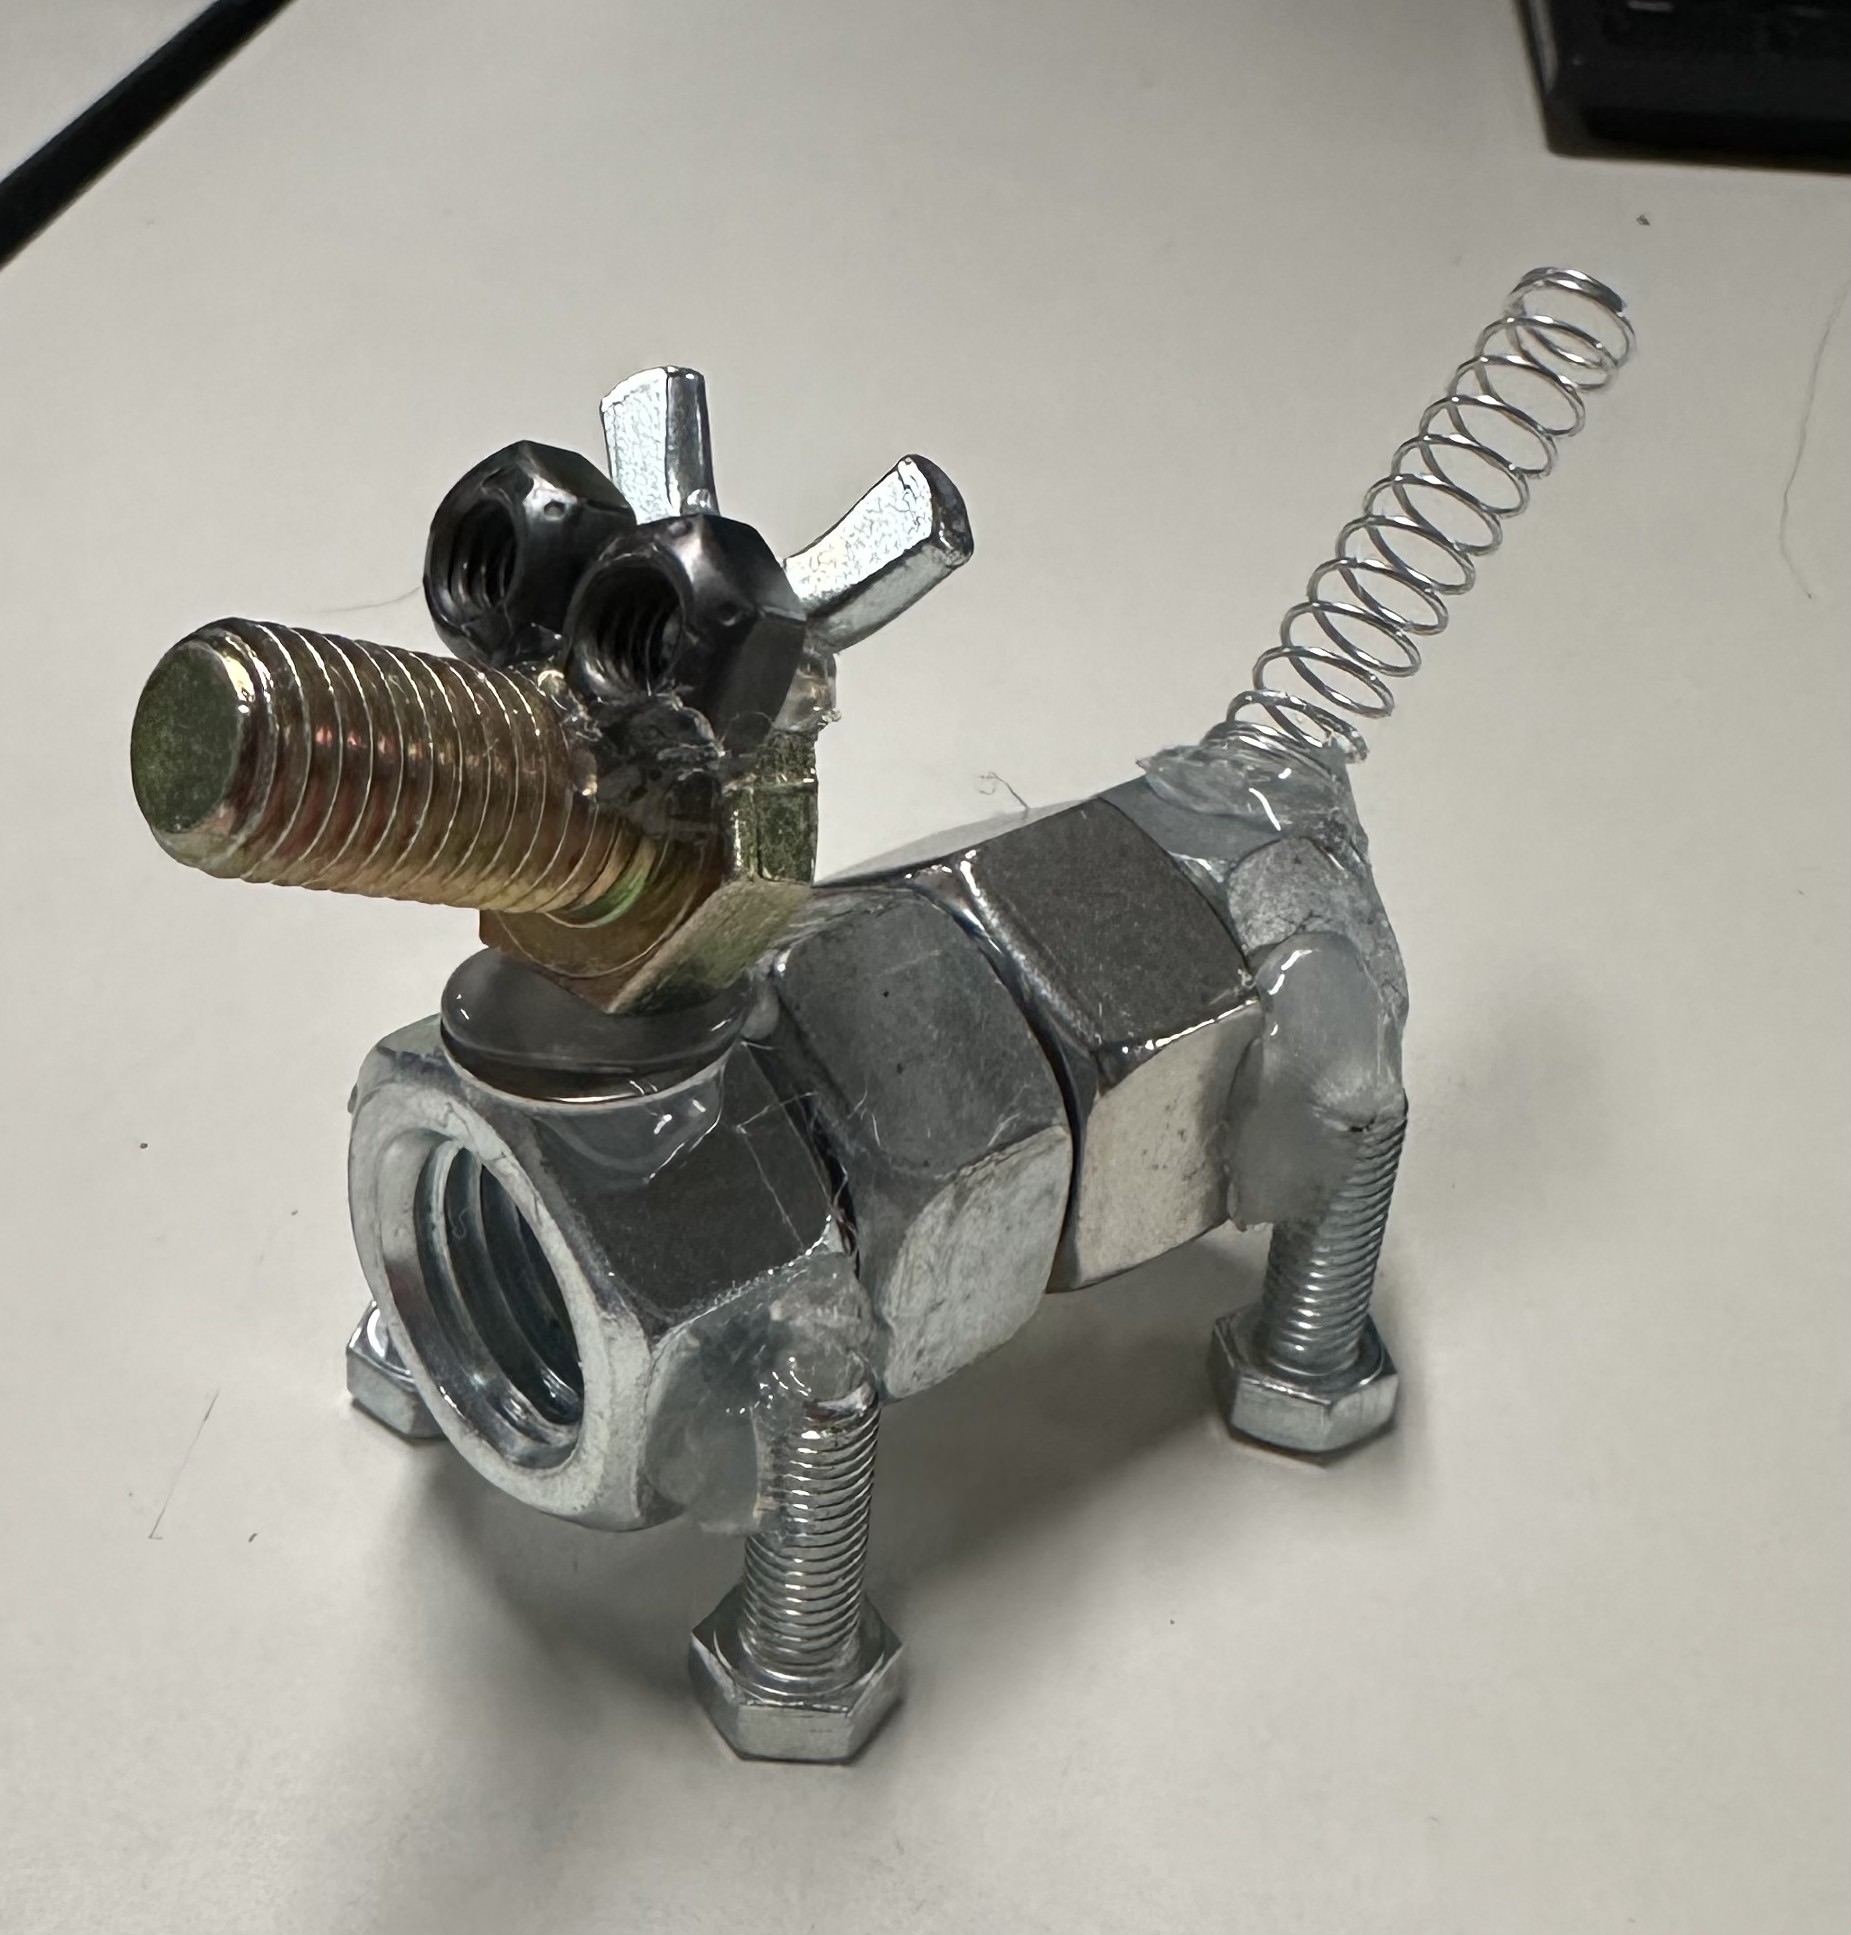
I liked these ideas, but I was bothered by the way they would be mounted. These designs could only be hung, either on the wall or from something, and I really wanted something you could just set on your desk no problem. Thus, I came up with a dog design, giving the sculpture four legs for grounded support. I thought this was a really cute idea, a homage to my dog Theo. Unlike the other designs, I hot-glued the pieces together as a prototype, so that I could see how it stands and make sure I liked the look (Figure 4).

Figure 4: Final design
Now my next step is to sandblast my parts so they are prepped for welding. This is so there are no toxic coatings on the fasteners that will burn up during welding. Once all that is done, I will be able to go ahead an weld the finished piece together.
2 Comments. Leave new
Super cool concept I love metal sculture art, and it’s cool to hear that your cousin is really involved in that type of work. I love the final design you made here, looks like a very nice little figurine for a shelf/desk. I’d love to see this type of design a bit larger and welded together, I feel like that would be a big skill to learn for this type of project and I’ll bet it would be much easier to do on a larger design.
Super cool concept I love metal sculture art, and it’s cool to hear that your cousin is really involved in that type of work. I love the final design you made here, looks like a very nice little figurine for a shelf/desk. I’d love to see this type of design a bit larger and welded together, I feel like that would be a big skill to learn for this type of project and I’ll bet it would be much easier to do on a larger design.