
Changes In Plan
Previously I was planning on creating a barbell and plates, but felt as if the aesthetic component of that project would be a bit low-effort and lacking. I realized that there would be very little I could do to influence the form of the plates and bar, and it was simply not a good choice for the scope of this project and class. So, I switched to designing a 3D printed, custom computer mouse.
Vision
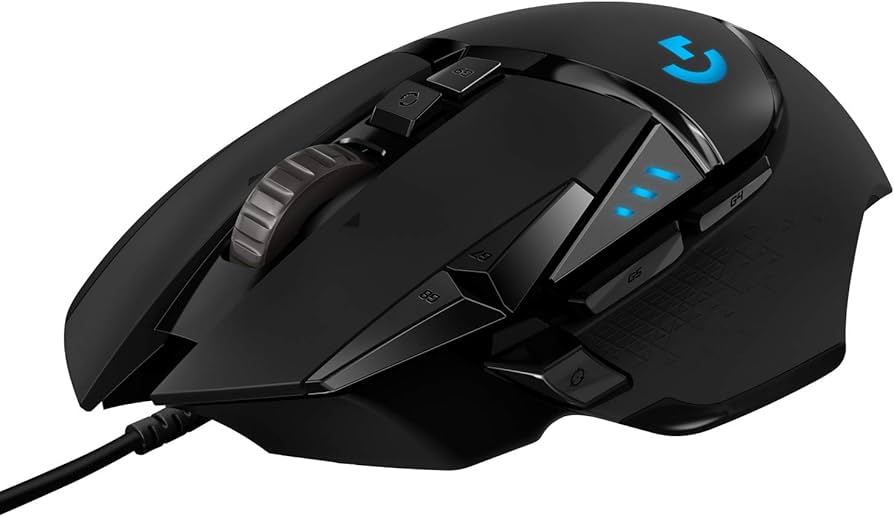
I have had the same computer mouse for what is probably getting close to a decade at this point, and I feel it is time to switch. Although I love my trusty Logitech G502 (example shown below), the software has become finicky and I am ready for a new mouse.
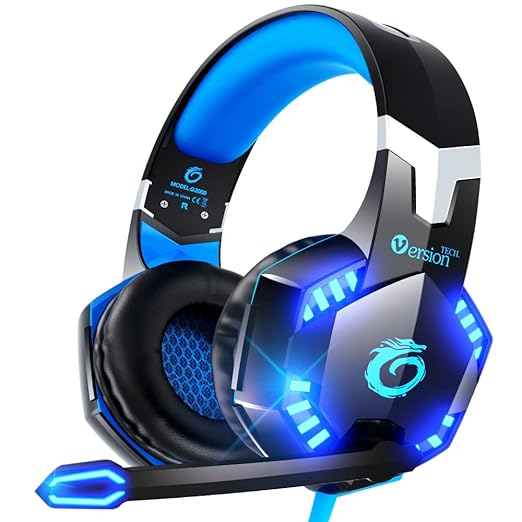
While I like the feel of the mouse in my hand, and the number of programmable buttons it has, I am tired of having to deal with Logitech’s software. I also feel slightly embarrassed whenever I use the mouse in public, due to its ‘epic gamer’ aesthetic, which I will include an image below I feel is representative of what I am talking about.
After doing some research, I found many people have made their own 3D printed mice before (examples shown below).
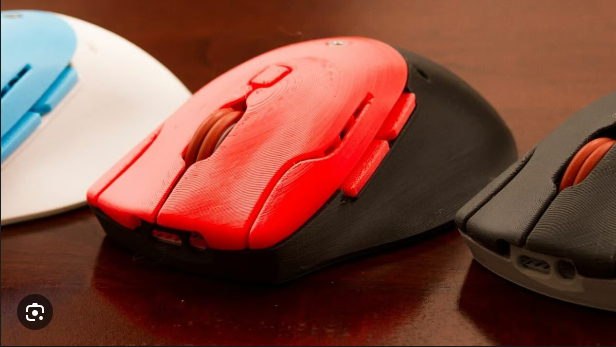
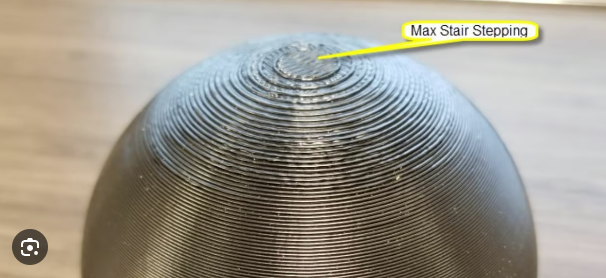
While seeing this gave me the confidence I can indeed make this project functional, I did NOT like the aesthetic of most of these mice. I am a nerd about 3D printing, so it kills me inside whenever I see ‘stepping’ layer lines (shown below).
Aesthetics wise, I want a mouse that feels and looks professional. At the same time, I think it would be a bit boring to just have a black and grey mouse. I think I want to use the colors of light minimalism, and a mix of minimalist and ‘dark aero’ form. I think these colors and form will meld well, and fit with the natural, curving geometry that will be required to have a comfortable mouse.
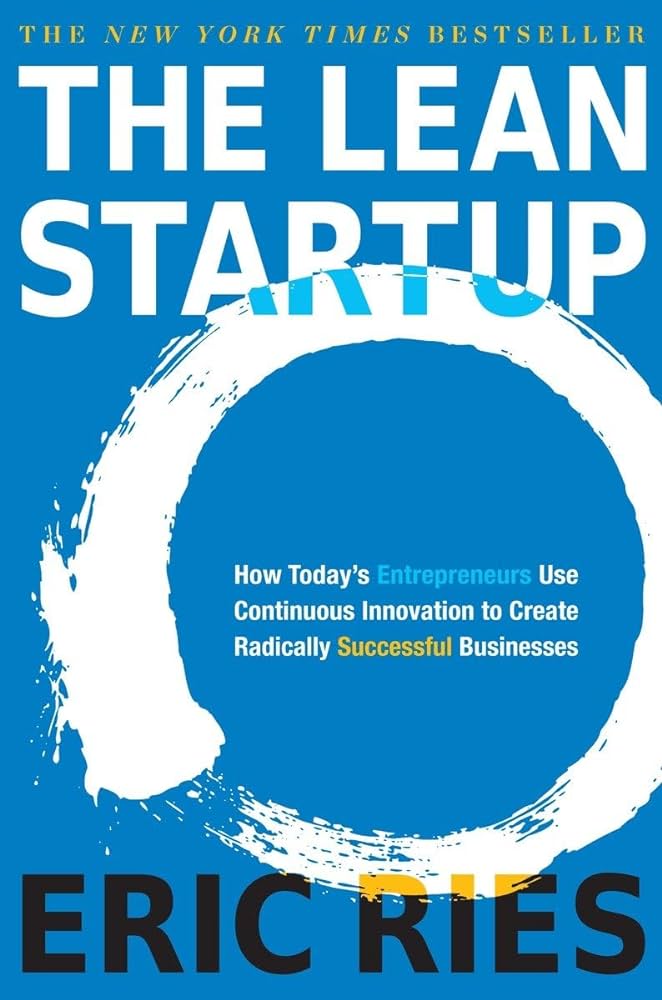
Function wise, I want to be wary of attempting to integrate all my desired features and accomplishing none. I have recently been learning a lot about product development, specifically the LEAN method (see ‘THE LEAN STARTUP ‘), and I plan on integrating this into my project. Here is a list of things I ideally want my mouse to have:
- 8 programable buttons, in addition to the left/right click and scroll wheel up/down, left/right, and click
- adjustable sensitivity
- wireless capability
- regular plastic and soft touch plastic surfaces
However, I know this is a lot, and it does not make sense to attempt all of this immediately. Instead, I will pursue a ‘minimum viable product’ (MVP) first, and then improve upon it. This will be an aesthetically pleasing, wired mouse with left/right click, a movement sensor, and scroll wheel.
Manufacturing
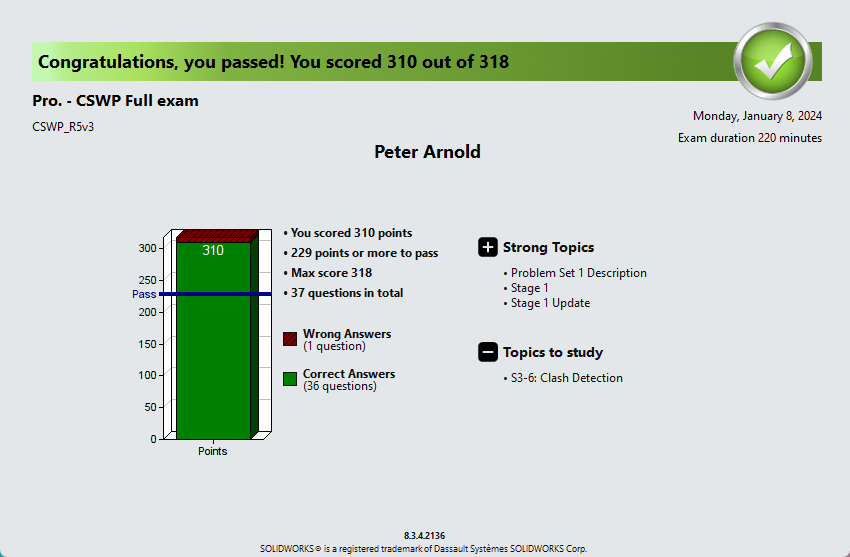
While I am a bit unfamiliar with the electronics side of the manufacturing and integration, I am very experiences with the CAD and 3D printing side of things. I am CSWP certified (score below), and have a personal 3D printer at my house.
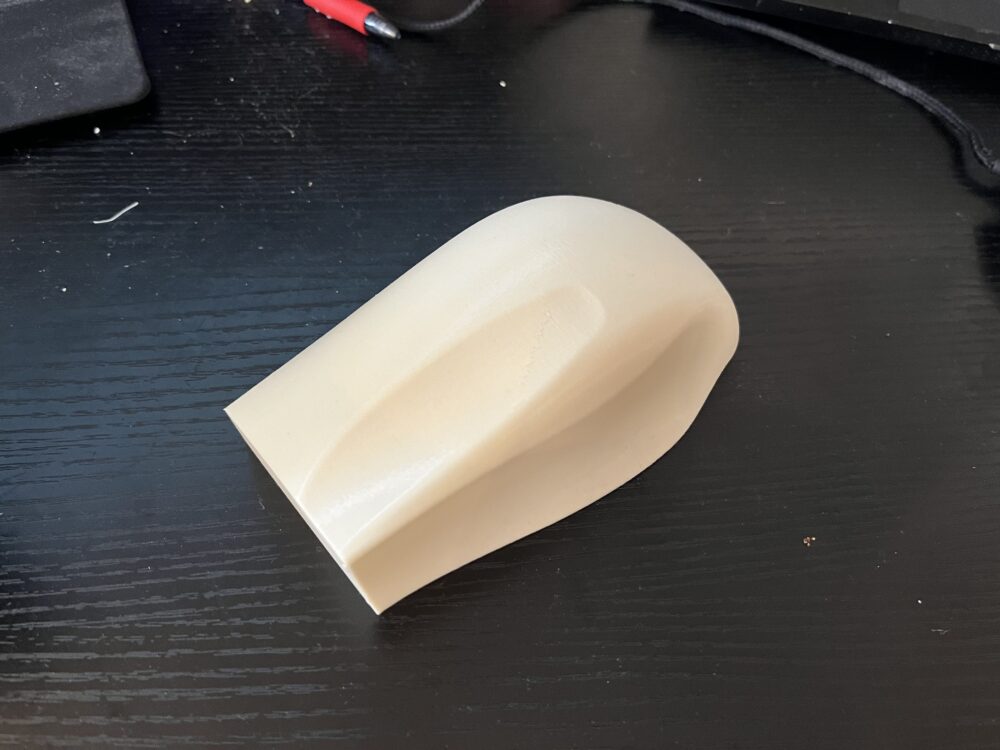
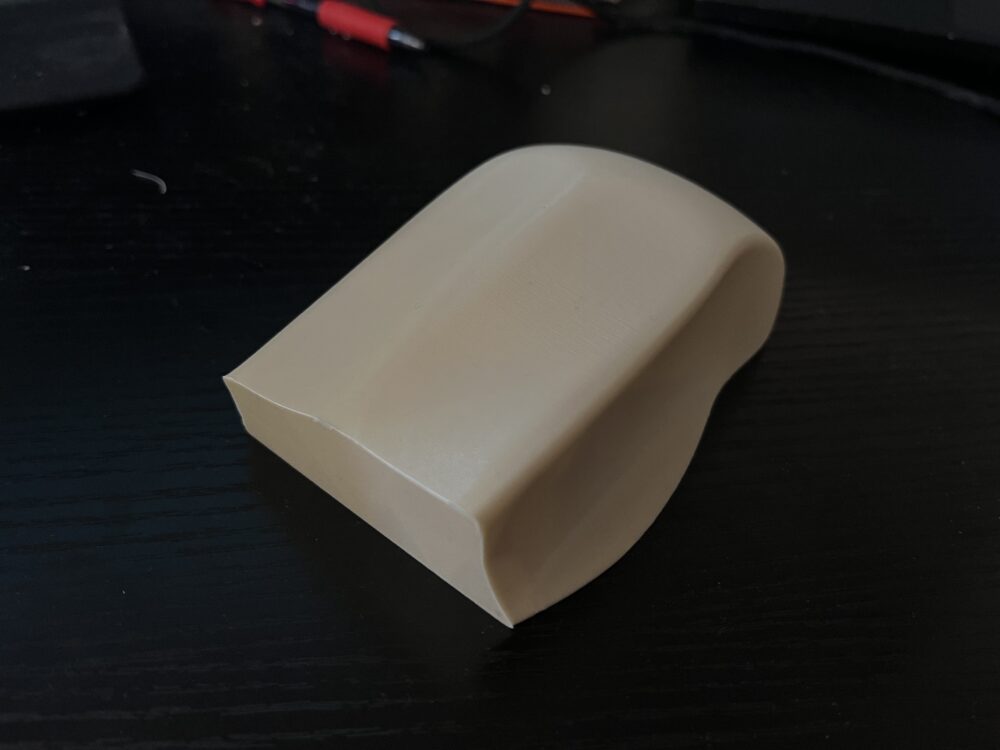
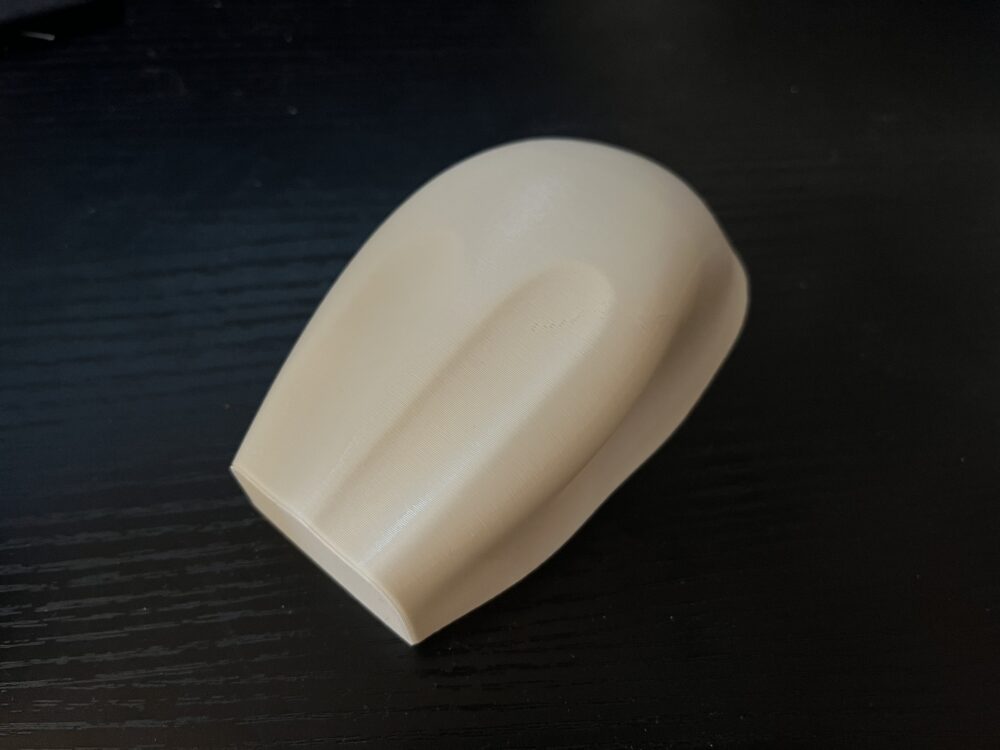
I plan on creating the outer body of the mouse utilizing surface modeling in SolidWorks in order to achieve a natural, smooth geometry. I will iterate and 3D print PLA+ shells of these simple bodies until I am happy with the feel of it in my hand, then move on to separating this body into individual components for the MVP. At this point I will split the single body into its individual components and utilize the ‘master modeling’ reference method for external part references. I will begin to plan the assembly and placement of all the individual components, including electronics (with stand in simplified models).
I will print at least one of these versions to test assembly and feel. If it is going well, I will continue with electronics integration. If either of those steps do not go well, I will likely abandon trying to make a working mouse for the scope of this class, and instead focus on creating a shell that is aesthetic and comfortable. I will continue to add buttons and geometry as well as surfaces for different materials like soft-touch TPE.
For the final product, In order to smooth layers and increase part strength, I will put the PLA parts in an acetone vapor chamber. This will consist of a small bowl of acetone at the bottom of an enclosed tub with a computer fan or such to circulate the acetone vapors, which will chemically melt the PLA+ and smooth any layer lines or stepping.
Initial Work
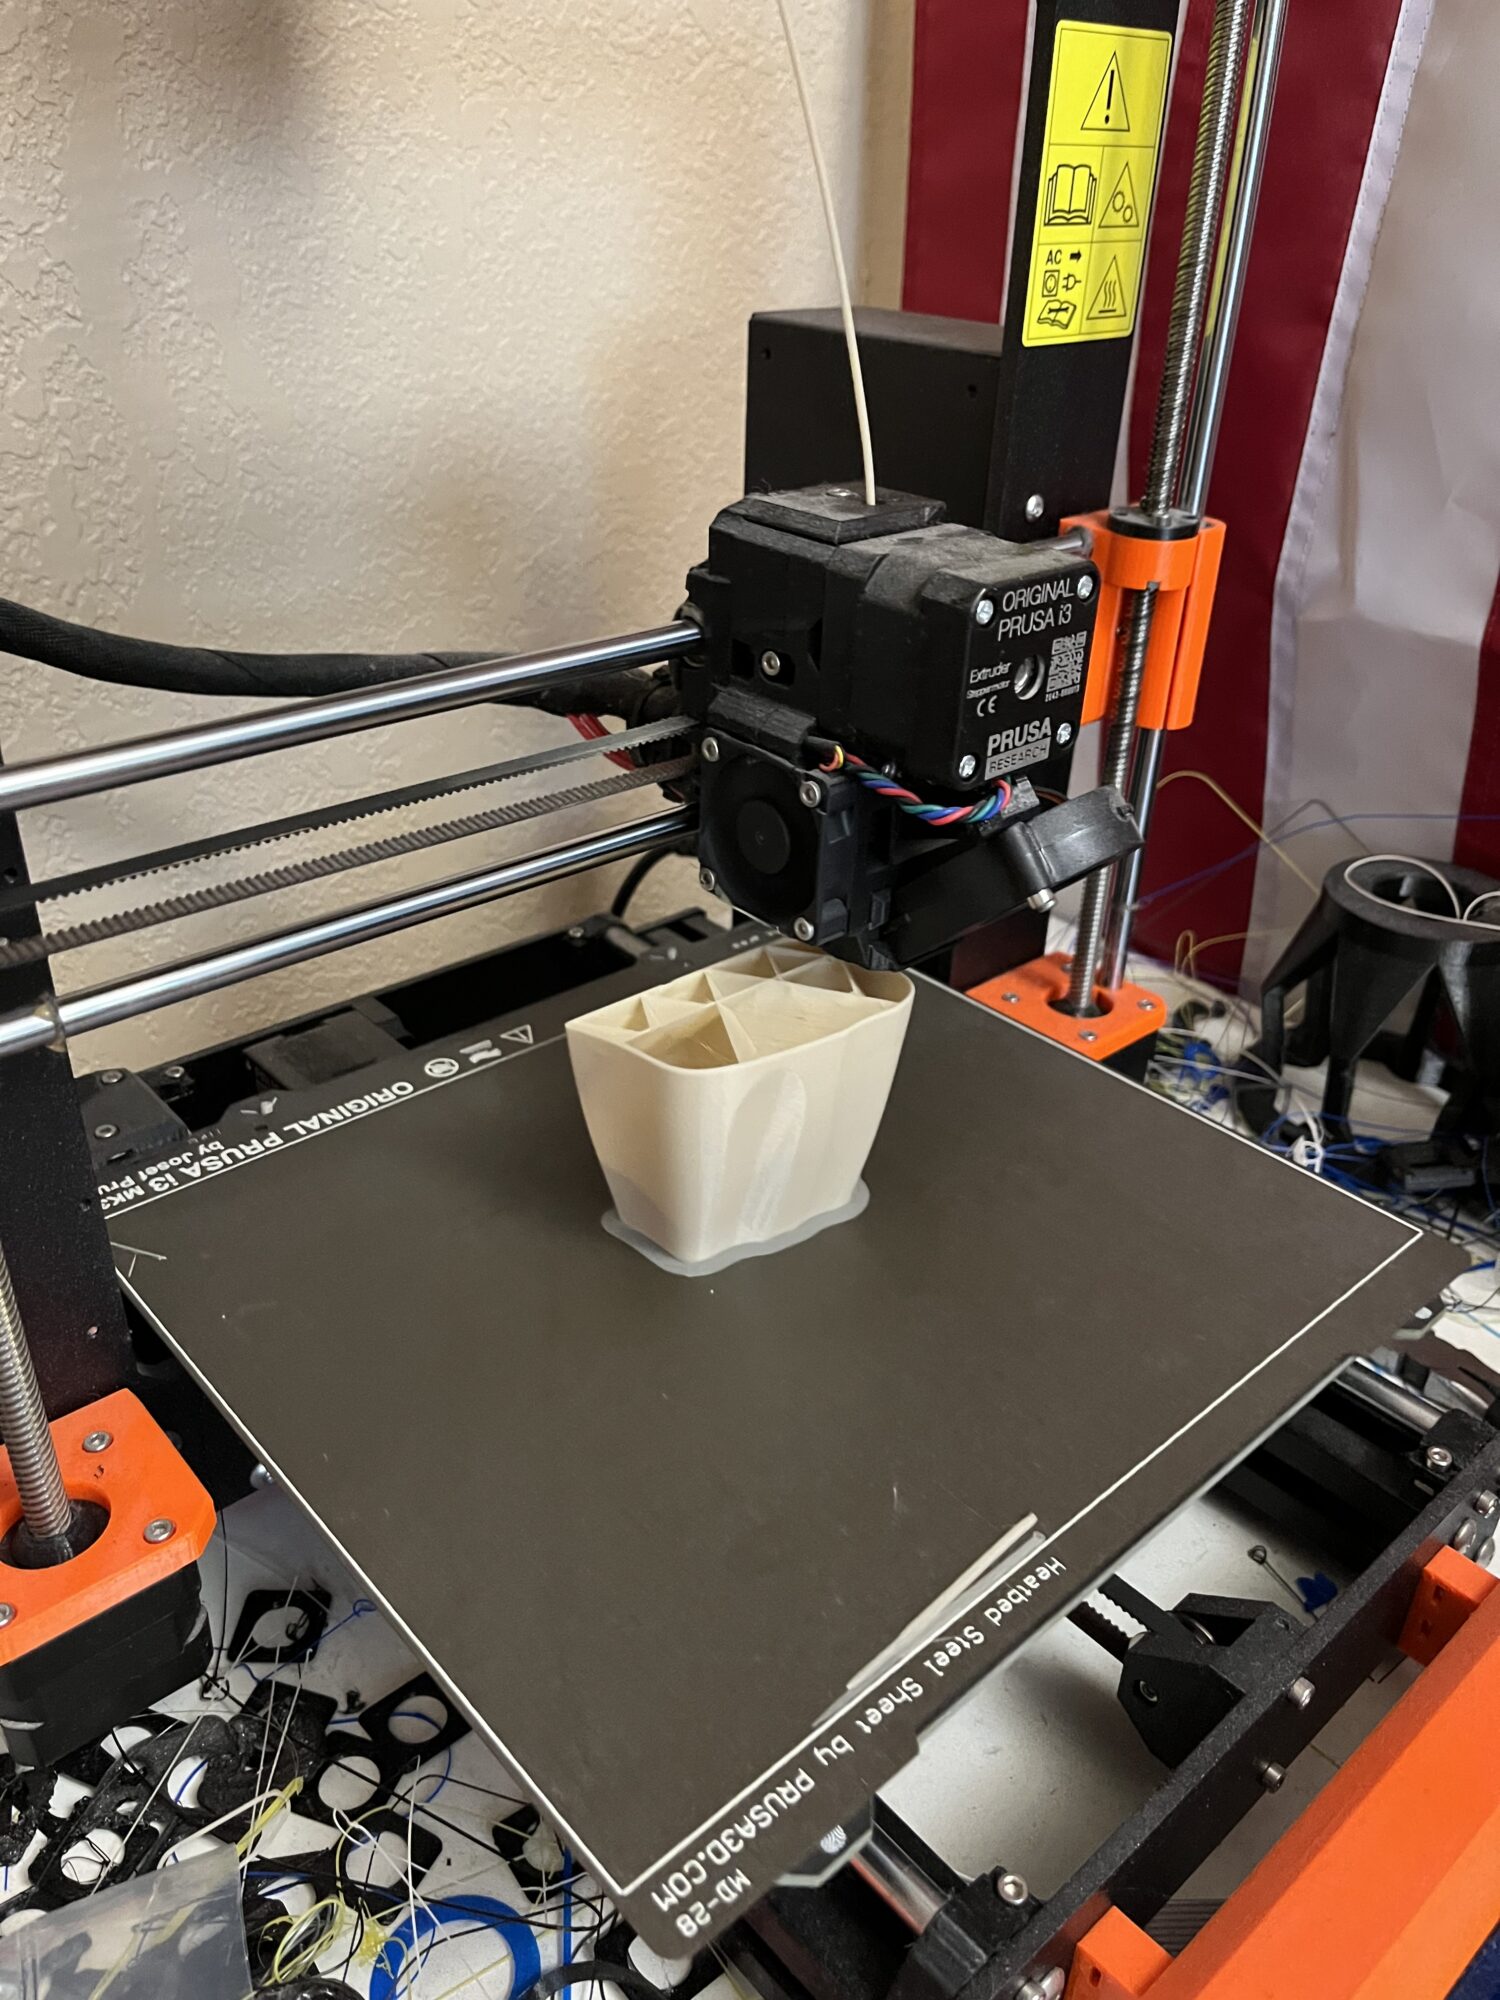
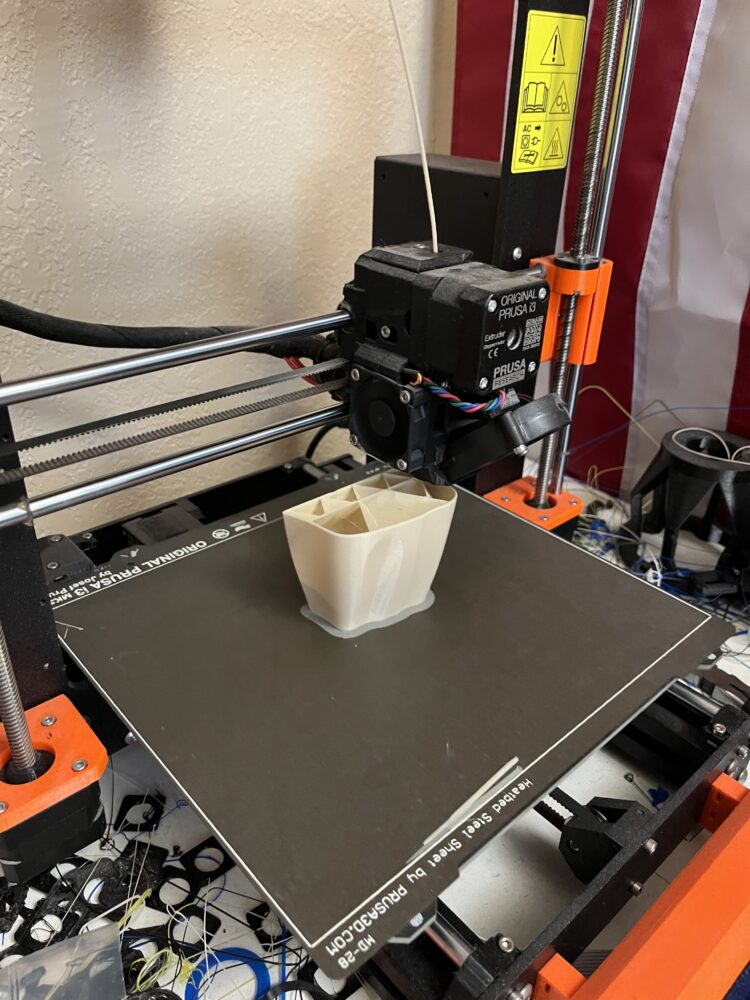
While I have been minorly set back by my project switch, I love CAD and have spent significant time this weekend iterating and planning this project. As I type this there is a fourth mouse shell being printed right next to me.
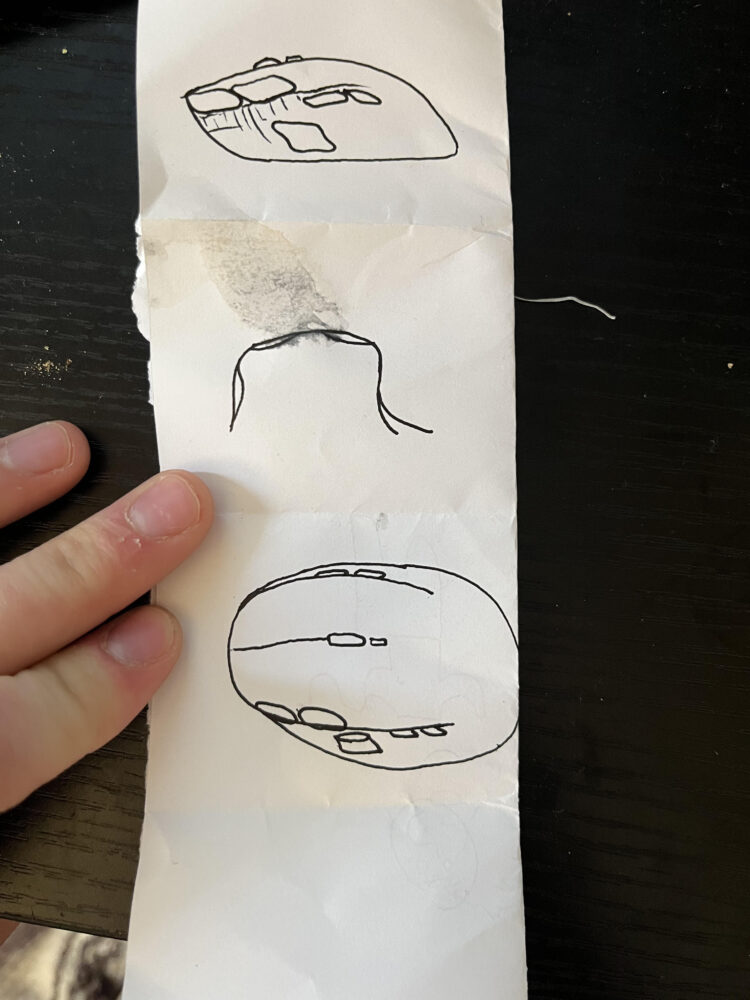
Here are some of my concept sketches I drew, to help myself visualize button placement and curvature:
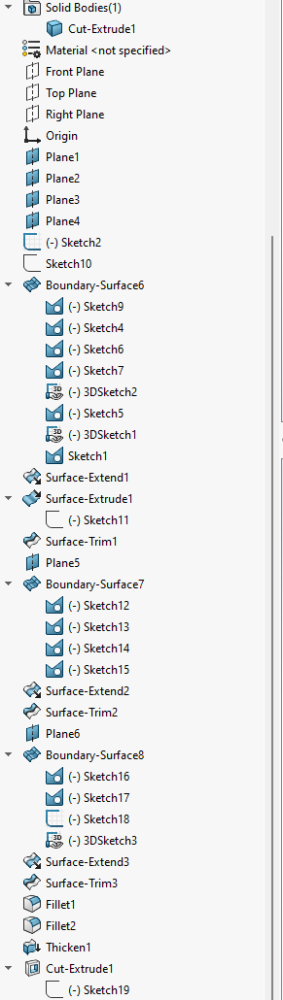
Here are some screenshots of my shell feature trees for those interested: (we love solidworks)
Alternative Aesthetic
For fun, one alternative aesthetic I have been considering is industrial tech. Likely this would manifest with me changing certain geometries to be more angular, inclusion of open gaps in the shell or clear plastics in order to leave the internals visible, and potentially illumination. While I would want to be careful of going full gamer, I think this could be a fun alternative to explore.
2 Comments. Leave new
The “epic gamer” slander is so funny; I didn’t know that is what the aesthetic was called! I presume you have a 3d printer if you are a nerd about it? Time and material shouldn’t really be a huge issue to you then~ How many iterations do you think you will need to feel satisfied with the final product? In my mind, the way something feels in your hand is /very/ sensitive, especially if you plan to use it often. Is that a huge priority to you? Moreover, how far would the comfortability need to be in order to start the next, electronic, phase? Otherwise, I think you have a really nice project!
Peter, I love how the you incorporate Lean Startup principles for a more efficient development process. However, I’m not sure if including an adjustable sensitivity feature in the initial version might be too ambitious. Nevertheless, your passion for 3D printing and product design shines through, and I’m excited to see the final result!