

Overview
Since my last project update I have made progress preparing to sew my stunt kite. I am trying to make sure I have a full plan before I start to sew anything.
Stencils
Before break I discussed with Josh Colyer what the best way to cut my fabric and stencils were. He recommended using a thin piece of cardboard such as the slip sheets used between layers of pallets. Josh had some available but said it was easy to get at Costco so at the end of break I took a trip to Costco and picked up to slip sheets. I left with what was probably the smallest trip I have ever made to Costco! At the start of last week I cut all my stencils using the laser cutters in the ITLL. To do that first I had to make Corel files of all my stencils since that is the program used with the 3D printers there. For the curves I was able to insert a .png of the profile and have the software convert the image to an outline. After all my stencils were cut out I was ready to start cutting the fabric.
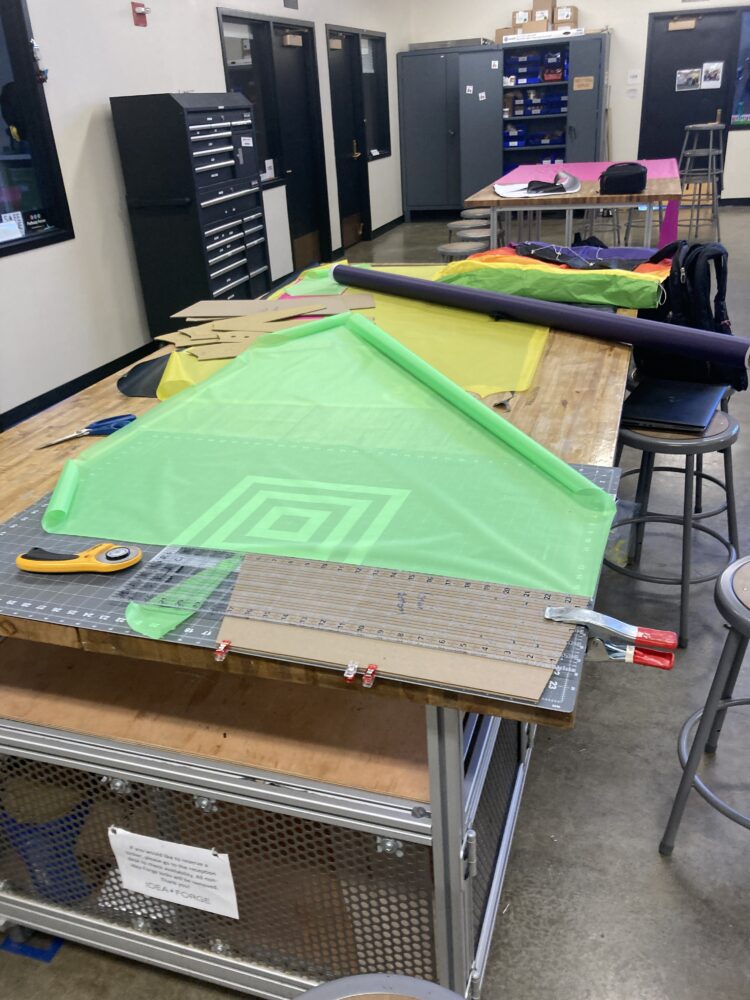
Fabric Cutting
I bought the fabric before break but I hadn’t actually opened the package it came in so it was exciting to unroll all the colors for the first time last week. Since I had selected the fabric online and then called in my order to pick up at Into the Wind I was a little surprised by how bright some of the colors were. I was also amazed at how thin and light but also stiff the fabric was. Earlier in the process of kite planning I had considered hot cutting the fabric but after inspecting an off-the-shelf kite that didn’t have heat sealed edges I decided that it would be an unnecessary hassle to hot cut rather than use a roller cutter or scissors. Josh recommended using the roller cutters instead of fabric scissors because it is easier to have a continuous cut. After making a few practice cuts I realized that having a sharp roller cutter blade was important if I wanted continuous cuts. I was taught how to change the roller cutter blades so that I could make sure I have clean cuts. after practicing cutting and sewing small strips I decided I was ready to cut the pieces of fabric that would actually be used in the kite. I started with the rectangular panels so that I was better at cutting the fabric before I was trying to cut the internal curved profiles. So far I have finished cutting all the panels for the bottom of the kite and about a third of the internal ribs.
Next Steps
I plan to finish cutting the ribs this week and maybe even start sewing this week. Next week I should have lots of sewing to do but think it will be manageable to finish in time.
2 Comments. Leave new
This is really exciting progress! I agree with Luke that the utilization of the laser cutters was cool for cutting stencils. It is also great that you got to do some practice sewing before committing to cutting everything so you could feel more confident going into that step. I am not familiar with sewing at all, but I am curious if this kite material is considered challenging to handle?
I like your idea to use the laser cutter to create the fabric stencils. You may have addressed this in another post, but are you using a specific type of thread and stitch for your sewing?