
Intro
I have made good progress so far on the naturecore wall art piece. I am in possession of all the materials to assemble the art piece and have begun creating the final patterns using the ITLL laser cutters. I am confident that I am on track to complete the project well before the end of the semester. This will allow me to focus on writing the final posts and updating my project portfolio as my final semester comes to a close in May.
Material Procurement
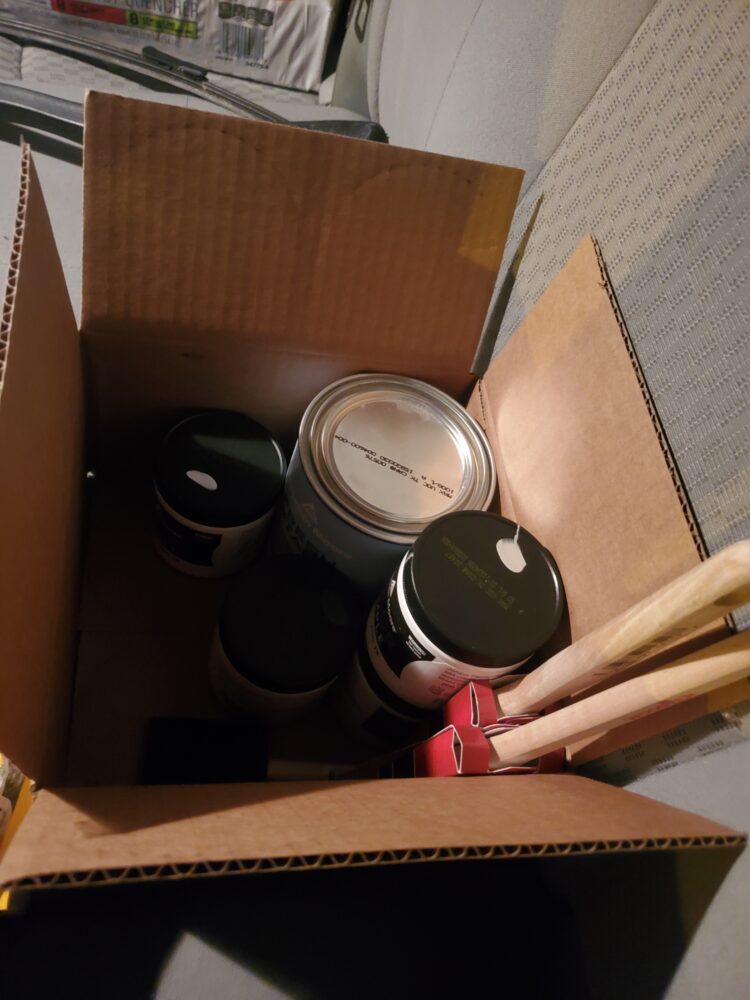
I have successfully acquired all the necessary materials to create the piece. The most difficult part was finding wood that is high quality and also able to be cut on the ITLL laser cutters. After much perusing through the home depot and conversing with the staff at the ITLL I landed on ⅛” birch plywood. Some types of plywood are not able to be cut with a laser because the fumes that offgas from melting the glue are extremely toxic and introduce a safety hazard. However, the type that I bought can safely and effectively be cut, it even has a preset on the machine!
I thought it might be tricky to find paint that matches the color of my parent’s bedroom so that the art looks like it belongs. But, it turns out that they had the exact same paint left over from painting the room originally so the colors will match perfectly because it’s literally the same paint. I have black, white, blue, and gray paints which will comprise the color scheme of the piece. The mountains will be white, the trees black, and the background blue. The only exception is that the animal outlines will be gray. This will require some forward planning on my part to mark where those outlines will be and paint gray splotches on the backboard instead of blue in those specific areas.
Laser Cutting
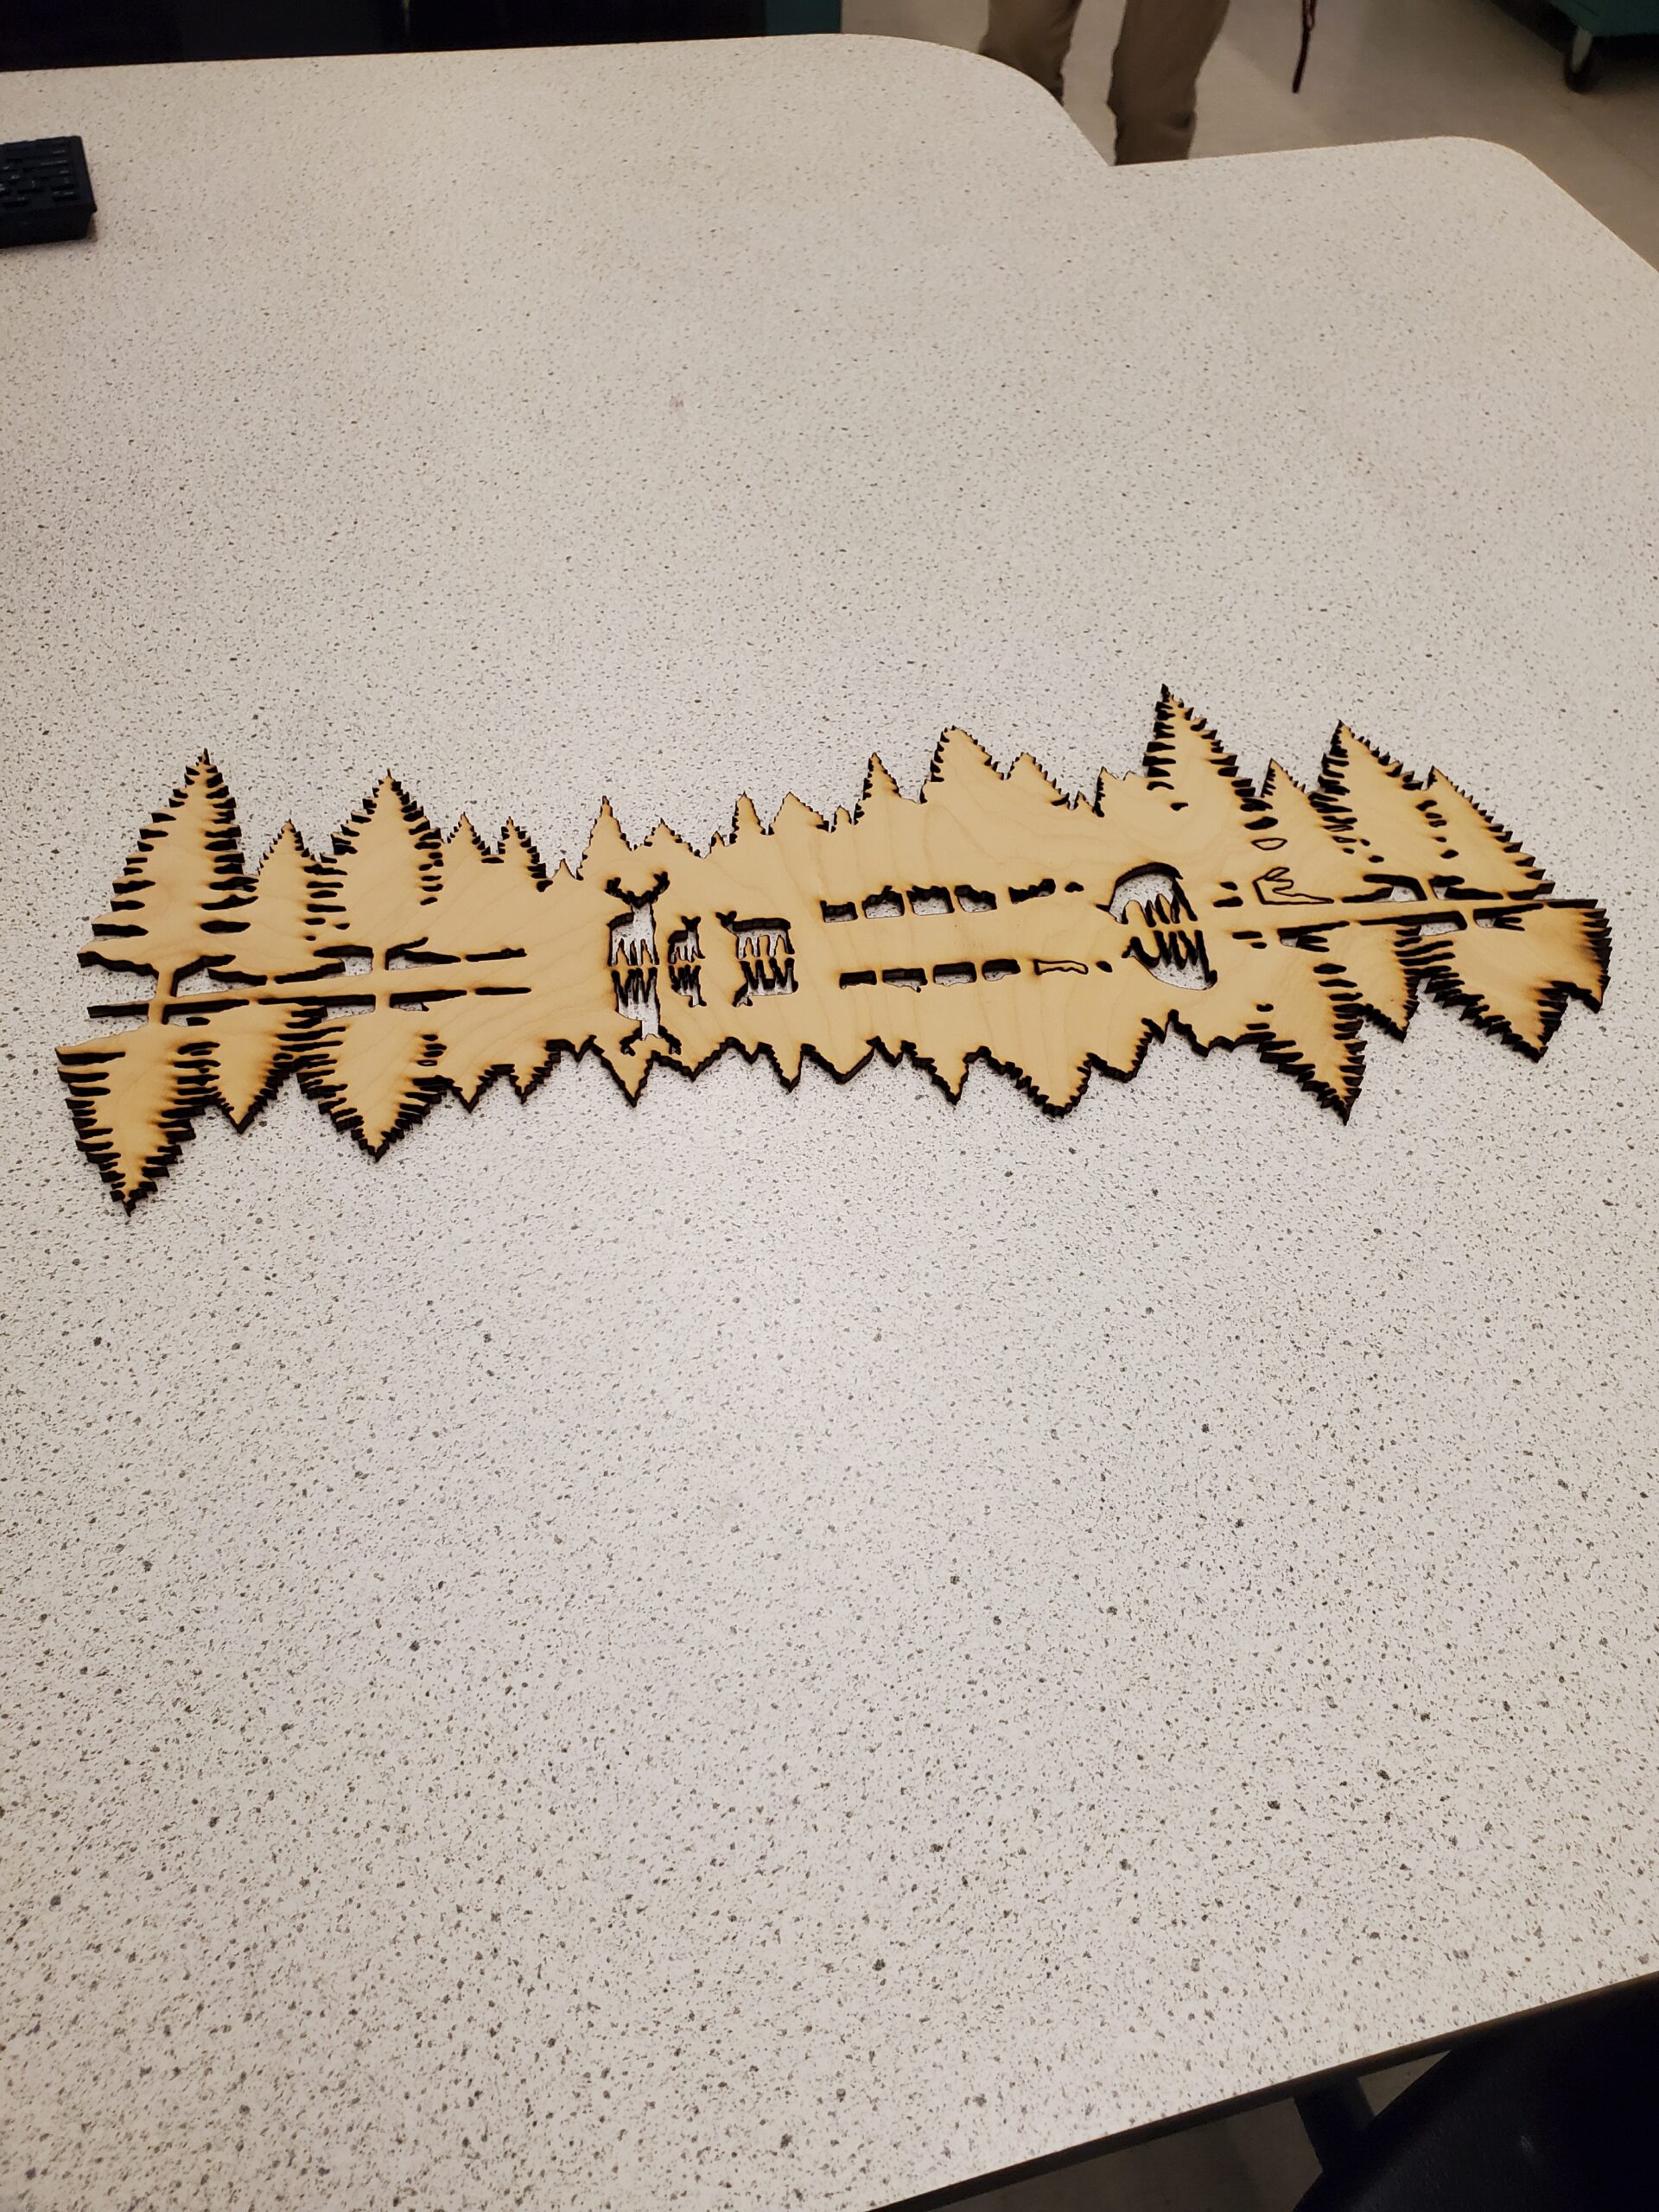
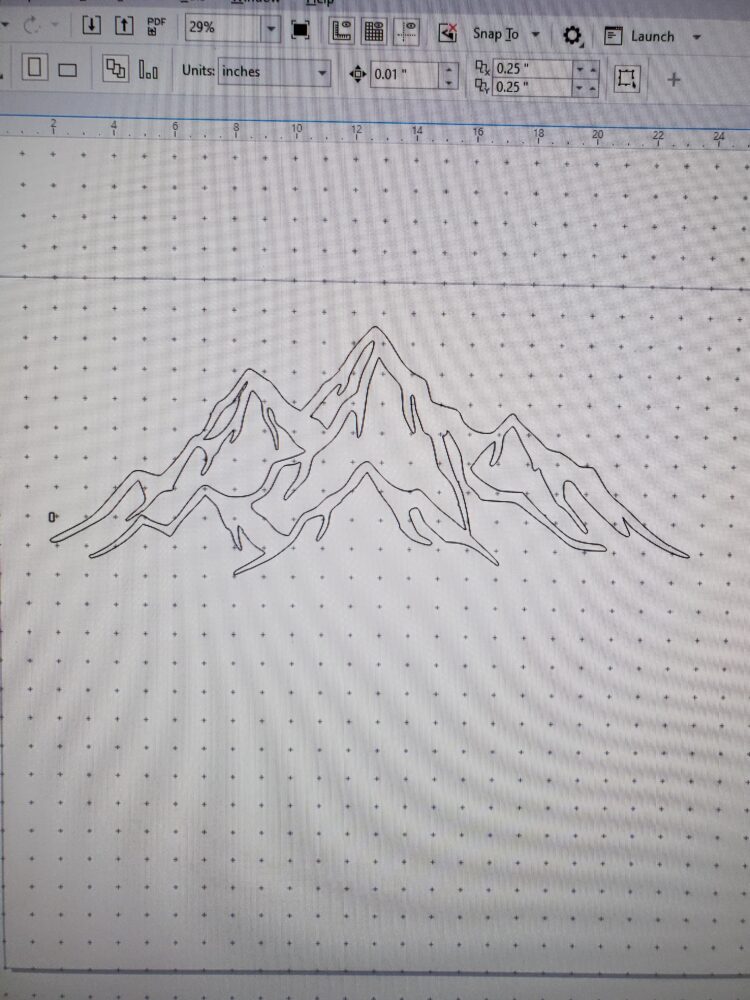
After several iterations of prototype cuts, I was able to create the final patterns of the mountain and reflected trees. They are full scale and I was thrilled with the quality of the edges. The laser cutter is the perfect manufacturing tool for this application as it is able to precisely follow organic lines and remove material along a very thin line. The width of both pieces is right around 22”. They are not exactly the same size because some minor scaling was necessary to ensure that the laser would stay on the piece of wood during cutting. However, the difference is negligible and the two patterns visually work together very well. I’m very excited to apply paint to both the mountains and the trees in the coming days and see how they turn out.
4 Comments. Leave new
Hi Collin, I think your project is looking great. I love how the final cutout turned out especially with all the animals. I was wondering how you made the design for your cutout?
Great question, I ended up turning an Etsy template into a dxf file which I will be sure to cite in the final report!
Hey Colin, this is such a cool project you’re making and very creative! I’m curious about how the different colors will interact on the birch plywood, especially the gray animal outlines against the other colors. Either way I’m sure it will turn out amazing!
Hi Kyle, I ended up solving this problem by painting the background blue and placing brown construction paper behind the animals.