
Since my last post, a lot has happened with my Spotify jukebox project. I recently came up with the name “Raspberry Jam” for it due to the use of a Raspberry Pi and the music-playing features.
I was able to purchase a 1980s black and white Zenith TV that was in working condition.

Zenith TV
After getting the TV, I worked to get the Raspberry Pi to display on the TV. Obviously, something from the 1980s does not have HDMI, so a lot of hardware was needed for this. The main components were an HDMI to composite adapter, an RF modulator (composite to coaxial), and a coaxial to antenna connector. The Raspberry Pi I have includes a micro-HDMI on it, but the ITLL provided a micro-HDMI to normal HDMI cord when I checked it out.

Display adapter setup
As you can see above, the HDMI comes out of the Raspberry Pi with the red cord and goes into the HDMI to composite (red, yellow, and white connectors) converter. The output of that then feeds into the grey box where the composite signal is converted to a radio frequency signal outputted through a coaxial connector. That coaxial connector is then connected to the TV via some terminal screws and the video and audio data from the Raspberry Pi is transferred.

Initial display output on the TV
The image outputted to the TV was exactly what I was looking for. It was grainy, distorted, and yet barely sharp enough to make out text. I had to use the TV channel dial to get the Raspberry Pi display to show up, which I thought was pretty cool.
Next, I focused on getting the software side of the project working. My initial idea was to use a program called Modipy to run the Spotify interface. After doing all the setup and installing it on the Pi, I was able to get an interface loaded but it did not allow me to play anything. All of my Spotify data like playlists populated, but nothing happened when I pressed the play button. Additionally, it was running in a web browser on the Pi rather than a full operating system. I didn’t want to have to log into a website when I turned the system on.
These problems forced me to find an alternative. After doing some research, it seemed like another software called Volumio was more user-friendly and in line with what I wanted to do. There was a forum and lots of documentation, so the support community looked good. Once I installed it, I was quickly able to get the interface working and playing music. I had to do some tweaking to get everything to scale properly on the TV screen but I eventually got to look good.
I initially wanted to use Bluetooth to connect the Raspberry Pi to my existing speakers but I was not able to get that to work. I could get the system to connect to a Bluetooth device but no audio played. Due to this, I plan to just use the headphone jack to directly wire the Pi to my speakers (I tested playback over the jack with some wired headphones and it worked). This also eliminates the issue of having to connect the system over Bluetooth every time I want to play some music.
Using the Volumio system really impressed me, as I was able to use the Spotify app on my phone to start playback on the Raspberry Pi (over WiFi) but also able to log onto a web server broadcasted by the Pi. In my case, I just had to be on the same WiFi as the system but there is also the ability for the Pi to broadcast its own hotspot network and have people join. This would allow others to control the music and add tracks to the queue even if they don’t have Spotify.

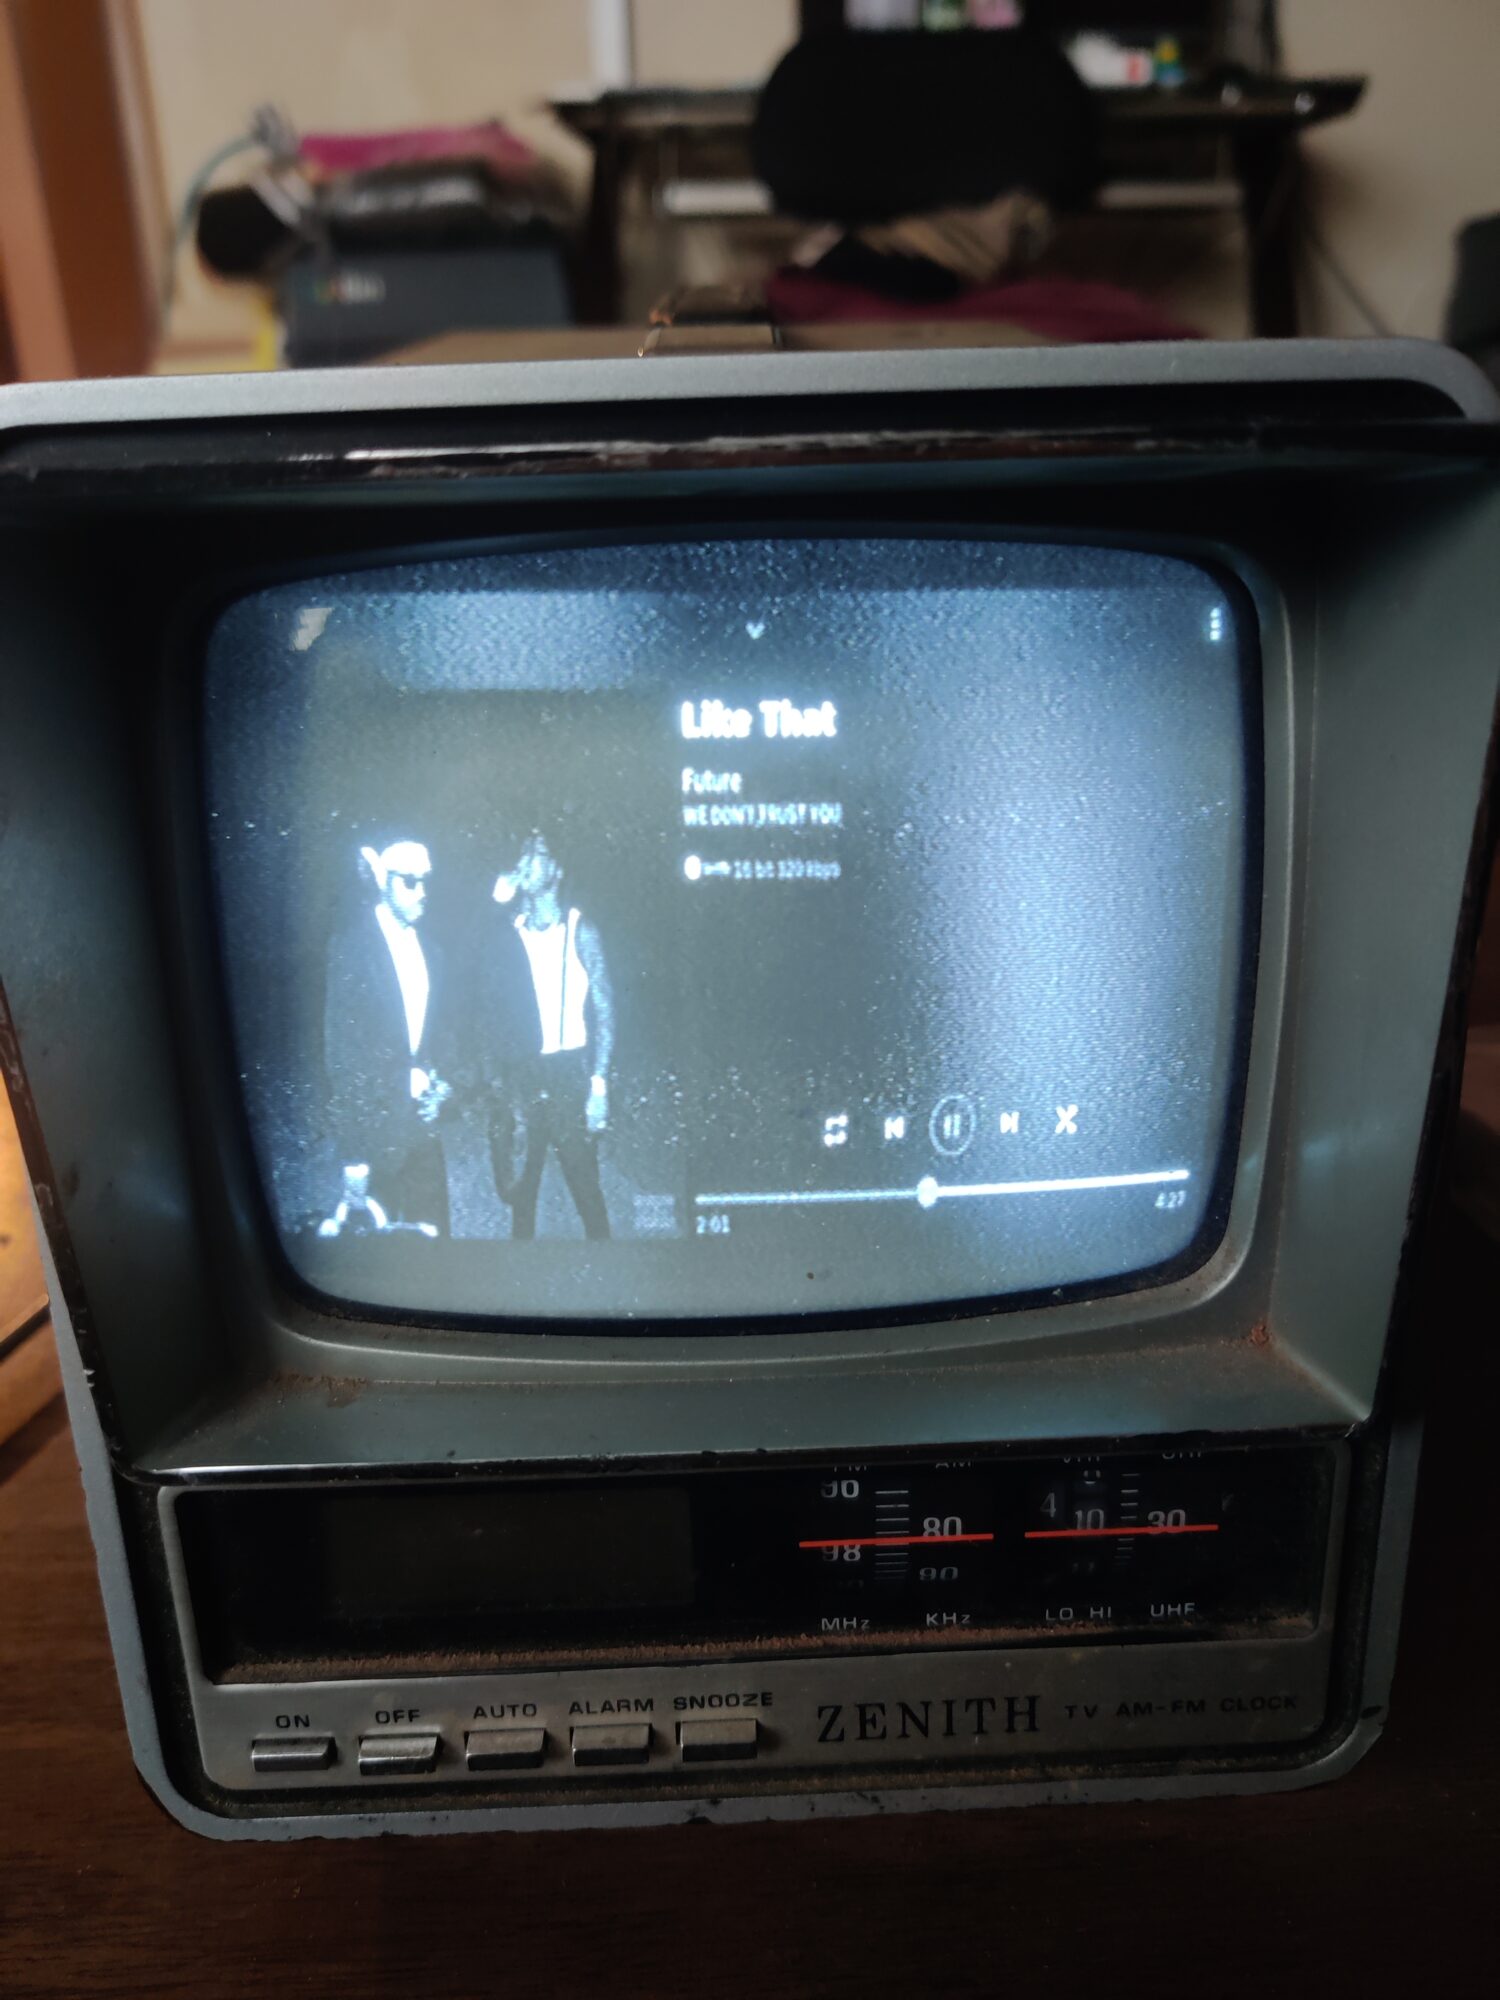
Spotify interface on the TV
I was glad that all the software pretty much worked as I figured that it would be the most challenging aspect of the project. Next, I moved on to the remaining hardware aspects. I wanted to see how much room was inside the TV so that I could potentially mount some of the display adapter hardware in it and save space.

TV disassembled (back view)

TV disassembled (bottom view)
Looking at the pictures above, you can see that the space inside the TV was quite limited. I didn’t want to drill any holes or modify the TV heavily so I decided to 3D print an external enclosure for all the electronics. There are some screws on the back side of the TV that hold down the back cover, so I plan to essentially print a replacement “cover” that interfaces with these holes and provides some space for all the electronic hardware. I am in the process of designing this, but hope to have it complete before the final design critiques. My plan is to print it in PLA and then spray paint/sand it for a better finish (hiding the layer lines).
In terms of my project goals, one thing that I may have to table for later is the integration of physical music controls. The Volumio software can read GPIO pin inputs from the Raspberry Pi and control the music playback accordingly, but due to time constraints, I may not be able to get this part of the project done. Additionally, the TV emits a buzzing sound even without any audio playing and the volume set to zero. After some research, I believe that it is due to an electronic issue known as ground loop. I have purchased something called a ground loop isolator and I am hoping that this solves the issue.
Overall, I am pleased with the progress of the project so far and looking forward to putting all the pieces together.
2 Comments. Leave new
I absolutely adore the aesthetic of the spotify album cover on the first image. It matches the time period so well!
Hi Arjun,
It’s great to see the progress on your “Raspberry Jam” Spotify jukebox project using a vintage Zenith TV! Your innovative approach to overcoming the challenges of interfacing modern technology with older hardware is commendable. The way you managed to get the Raspberry Pi connected using a series of adapters to transmit the signal through the old TV’s inputs is both clever and educational. It seems like a fantastic way to preserve the nostalgic feel of the TV while adding contemporary functionality.