
In this half of the report, I will go over the manufacturing of the final piece. I will also talk about the challenges I faced in building it and what I learned over the process. First, I created a timeline for the project, which looked like this:
March 10-March 23: Finalize plans/design
April 2-April 7: Buy the wood and magnets needed, and take an introductory course on woodworking.
April 7-April 20: Build the prototype, perfect it, and work on the final aesthetic look
Once I had finished my design plans (Post 11), I went to the Idea Forge to buy the wood and begin the manufacturing process. I found a great online resource [1] where they provided a spatula outline I could use as a guide. I first printed it and glued it on a piece of wood, to then make a sort of “mold” or outline of the shape I was looking for.
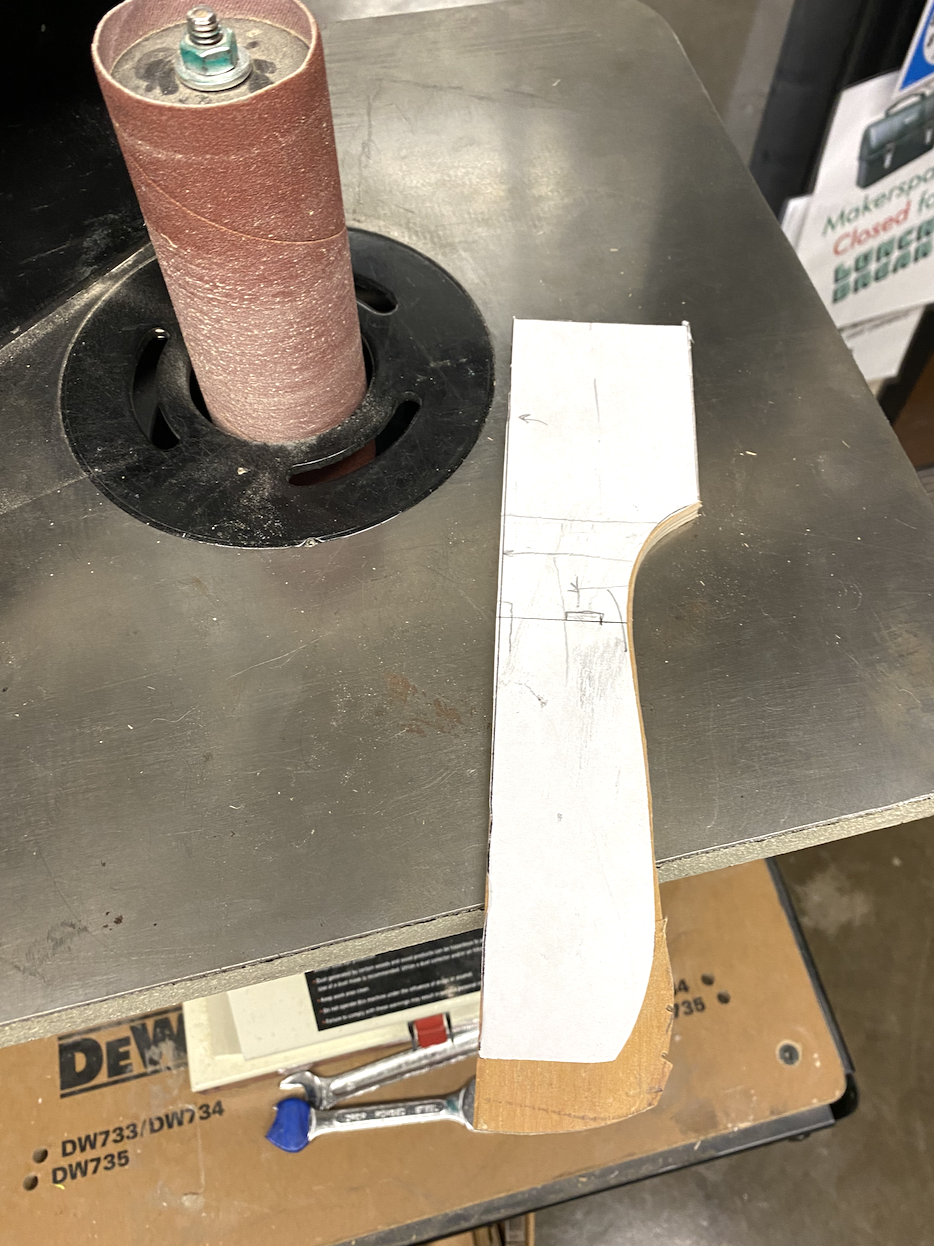
Outline I made using the Youtube tutorial by John Peters [1].
After I had my guideline prototype, I cut a cherry wood slab using several saws in the Idea Forge. I got a rough shape of the spatula and then began sanding it down. This process took a couple of hours because I had to sand down the “spatula” as well as the handle. After most of the sanding was done, I began working on the “spoon” element. Since the wood piece was big enough, I was advised to make the spoon in the same piece and then cut it rather than working on a separate piece of wood. Using the same “guideline” piece I had done, I cut a rough shape for the spoon. I made sure to follow my plan and corroborate the dimensions were correct. I then sanded the spoon to make it look better. I had to use both the machine sander as well as manually chisel it to get the best shape possible.
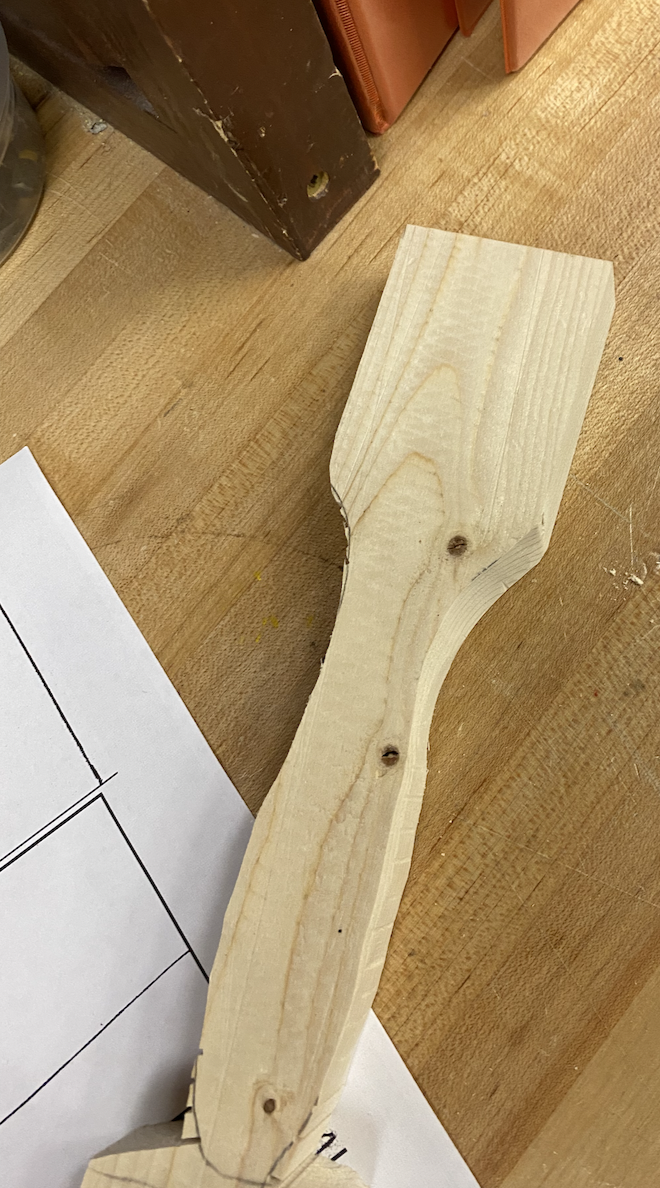
Rough shape of the spatula before sanding.
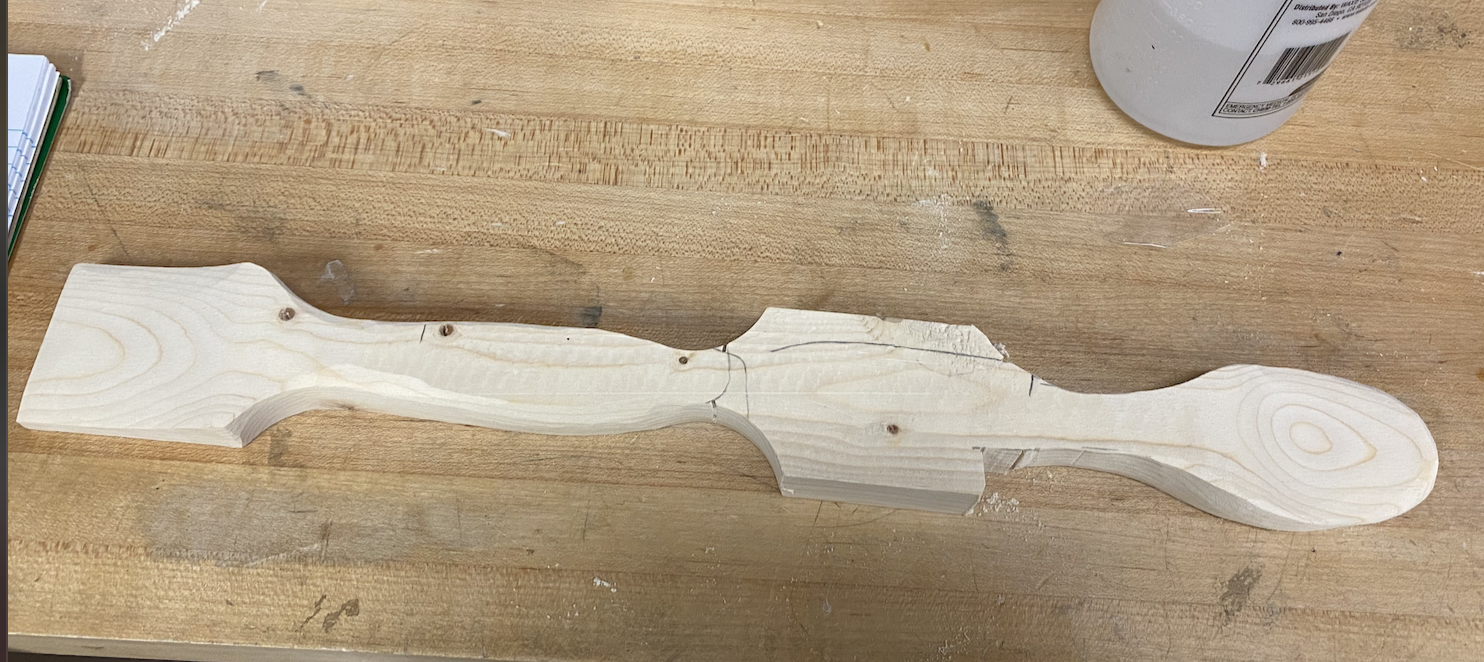
Spatula and spoon attachment after being sanded, still connected.
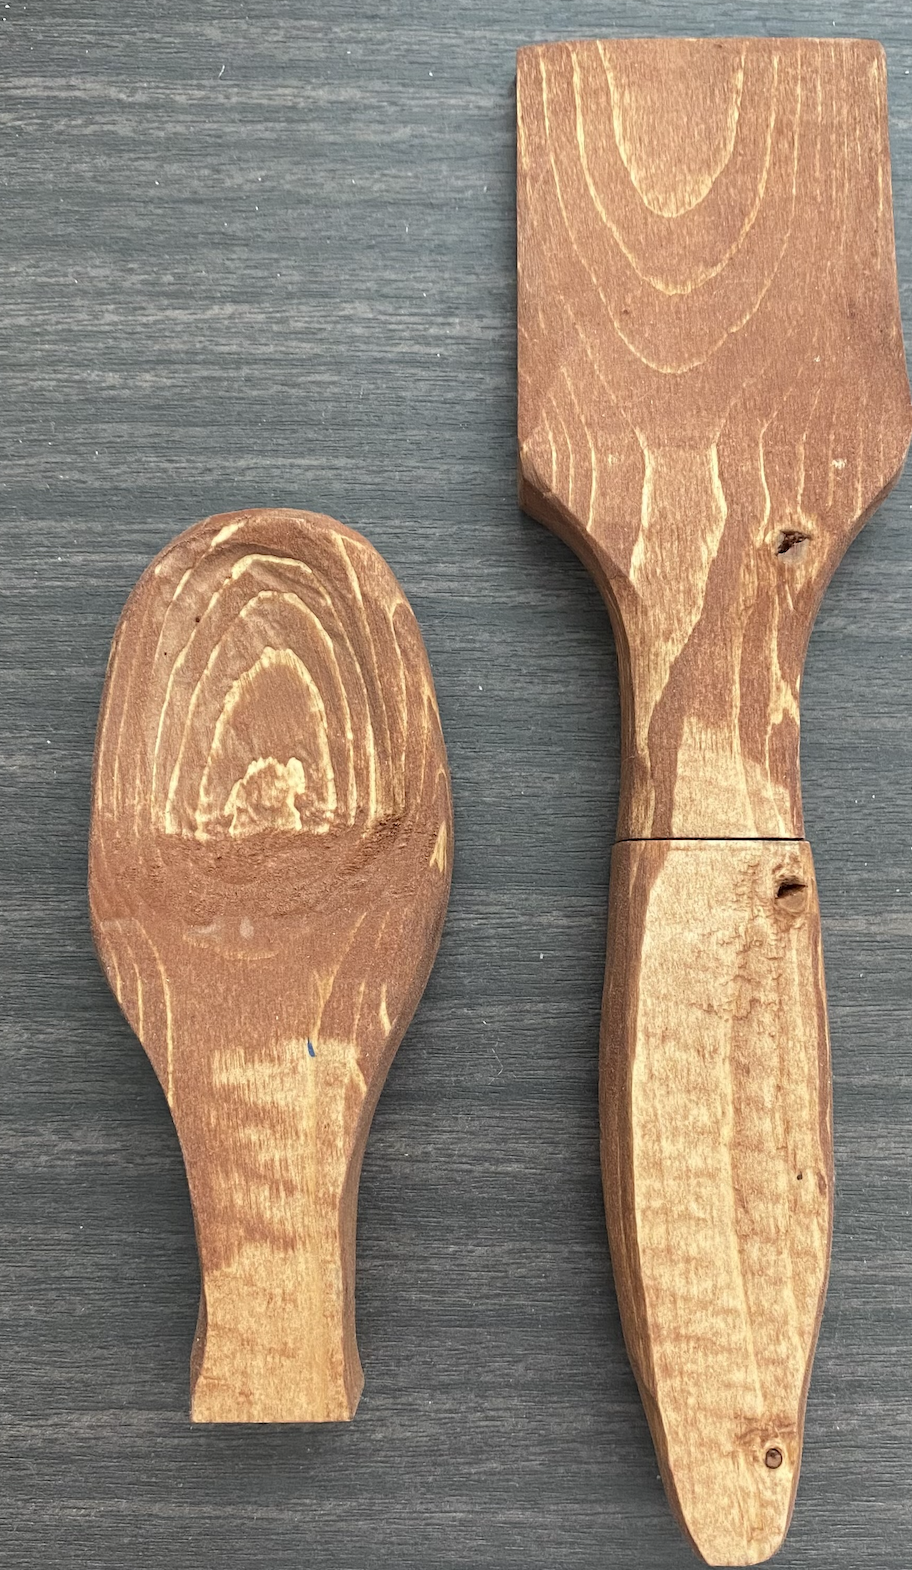
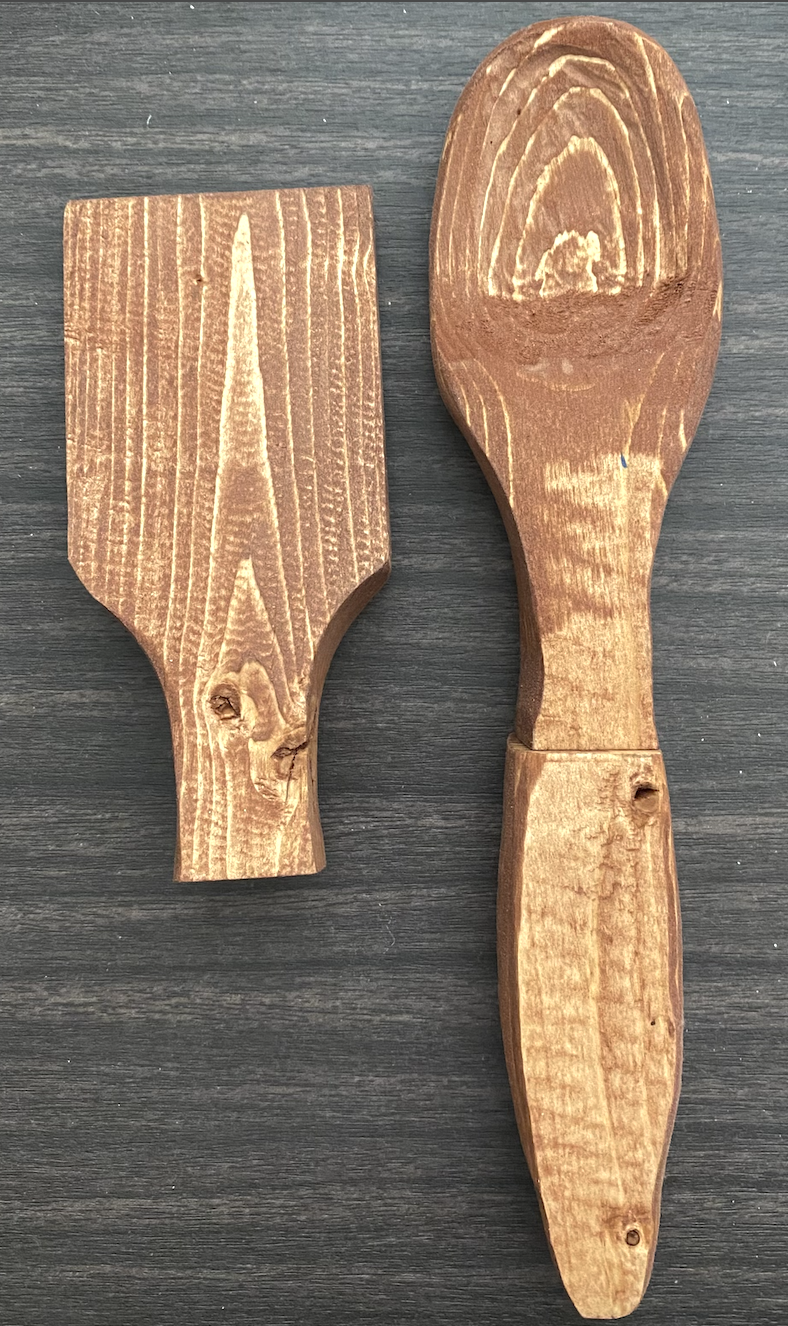
Once the main sanding work was done, I then cut the spatula and spoon. I precisely measured both parts to make the connection seamless later on. I cut the spatula in half to get the attachment and the base separately. After they were separated, I once again sanded each piece to perfect the shapes. I had to do multiple sanding processes because I couldn’t get all the details in when the parts where still connected to each other.
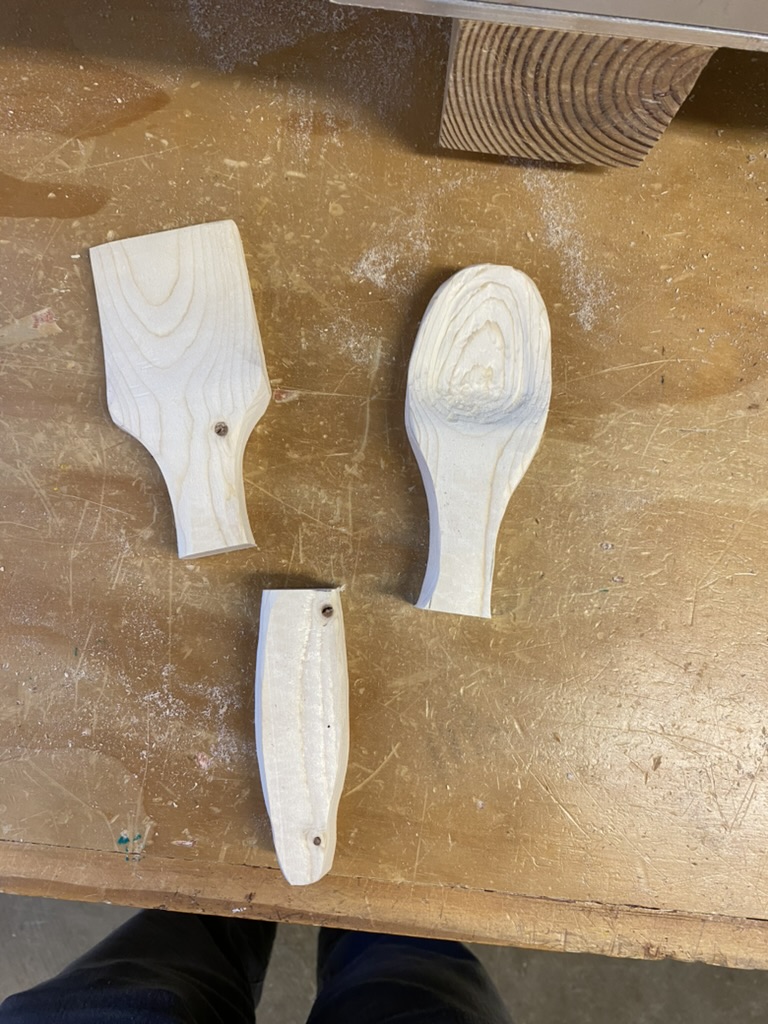
Each component separated and sanded.
The next step was to drill a small hole to house the magnets. With the help from Josh from the Idea Forge, we calculated the perfect depth to drill to house the magnets and account for the resin used to glue them to the wood. Once the parts were drilled, I used resin to glue the magnets in. This was a hard process because the magnets were very strong and it was hard keeping them apart, as well as keeping track of which side was positive and negative. It was crucial to know which side attracted each other because if I incorrectly glued the magnets, the parts would repel each other.
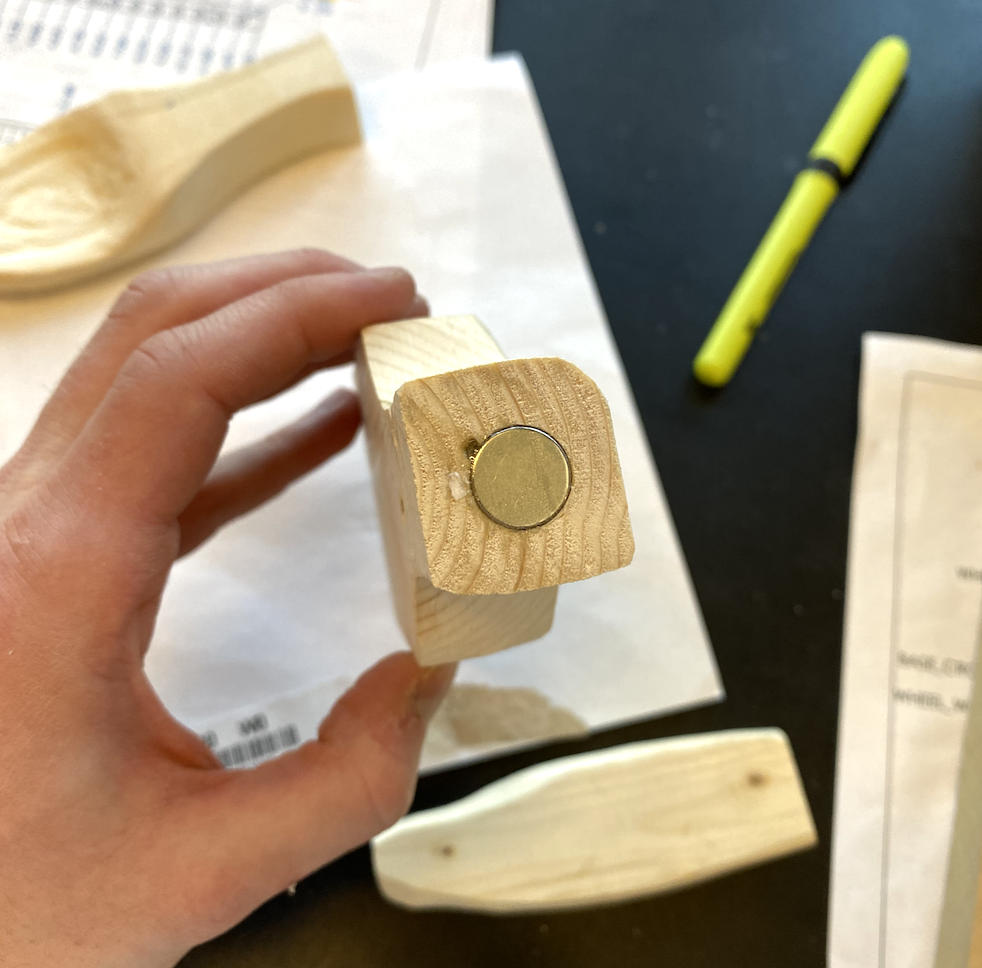
Process of gluing the magnets to the wood.
Finally, after the magents were placed, I cleaned the pieces and prepared to stain them. Given that I was looking for a rustic aesthetic, I chose a stain that looked “older” to achieve this look. I learned a lot throughout this process; from woodworking skills to modeling and designing a piece using precise measurements. I think I did achieve my aesthetic goal and the functional goal as well since I am able to cook using both attachments. I really enjoyed the process of making this spatula and I’m proud of how it turned out.
Final view of the prototype with the “spatula” attachment on
Final view of the prototype with the “spoon” attachment on
References
[1] Peters, John. “Make a Wooden Kitchen Spatula.” Jon Peters, 6 Dec. 2018, jonpeters.com/make-a-wooden-kitchen-spoon-free-design-plans/.
1 Comment. Leave new
Welcome to ‘Top15online,’ your premier destination for expertly curated, up-to-the-minute content exploring the latest trends across a diverse range of interests. Our platform is thoughtfully designed to not only keep you well-informed but also captivated and inspired, offering a thoughtfully selected mix of articles, videos, and insightful perspectives. Whether your interests lie in technology, fashion, travel, well-being, or anything in between, we’re here to satisfy your cravings. Our devoted team of specialists diligently scours the digital landscape to bring you the most relevant and engaging content, ensuring you’re always up-to-date on the most exciting and important developments.