

After I had a vague idea of what I wanted the container to look like and how I wanted to incorporate the dynamic aspect — having one of the panels opening up, bottom plates sliding out, and the doors opening — I started with a quick mockup. Having the container unfurl would provide access for larger objects to be stored and expand the internal spacing.
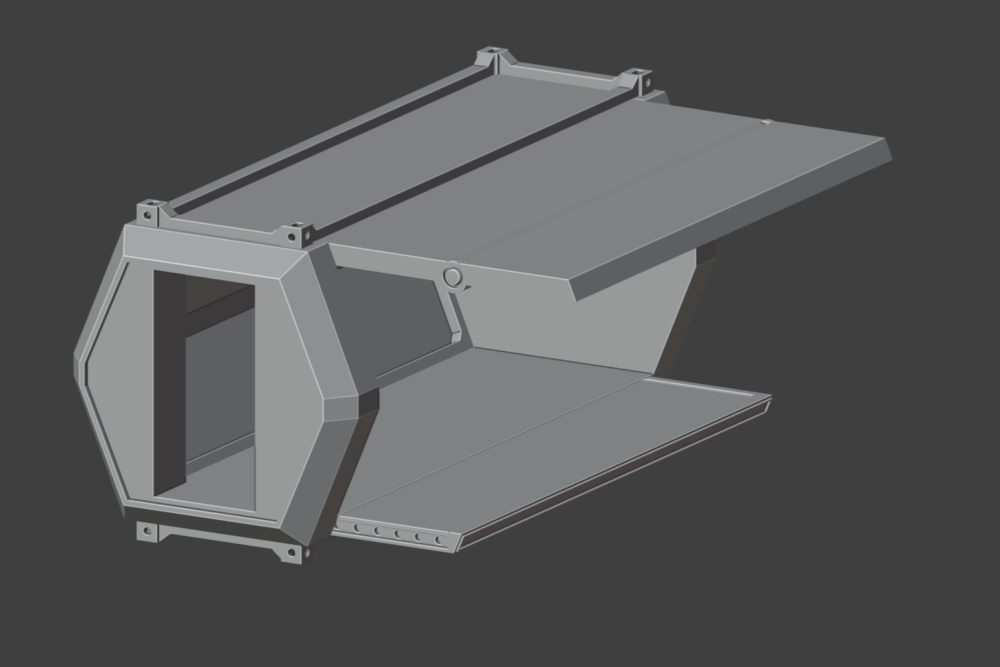
Once satisfied with the initial look, I began researching information about real-life cargo containers, which provided the overall dimensions and corner castings—something I hadn’t known before. Corner castings act as anchor points for the containers when multiples are stacked on each other or when being ferried by sky cranes or other heavy lifting equipment—an element integrated into the model.
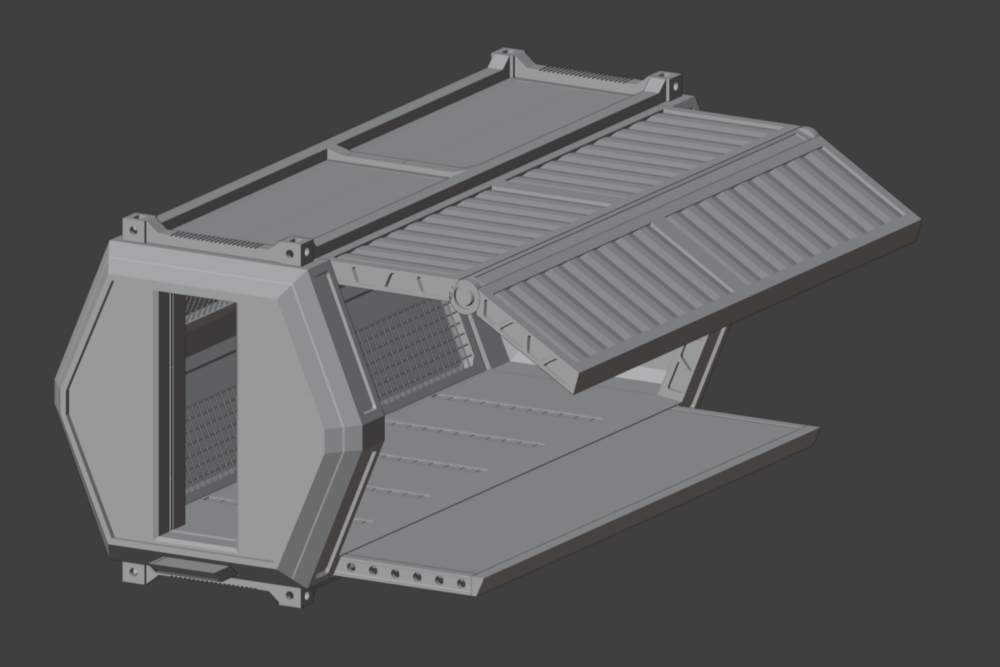
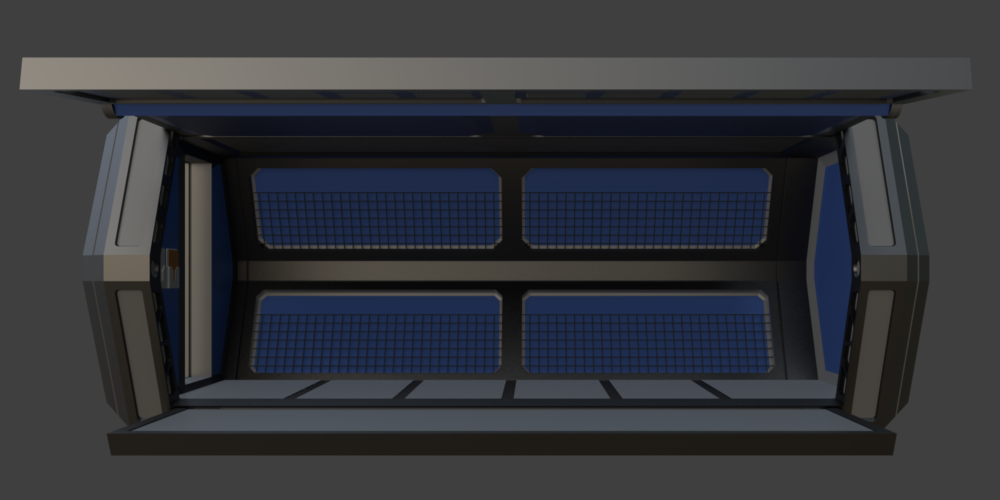
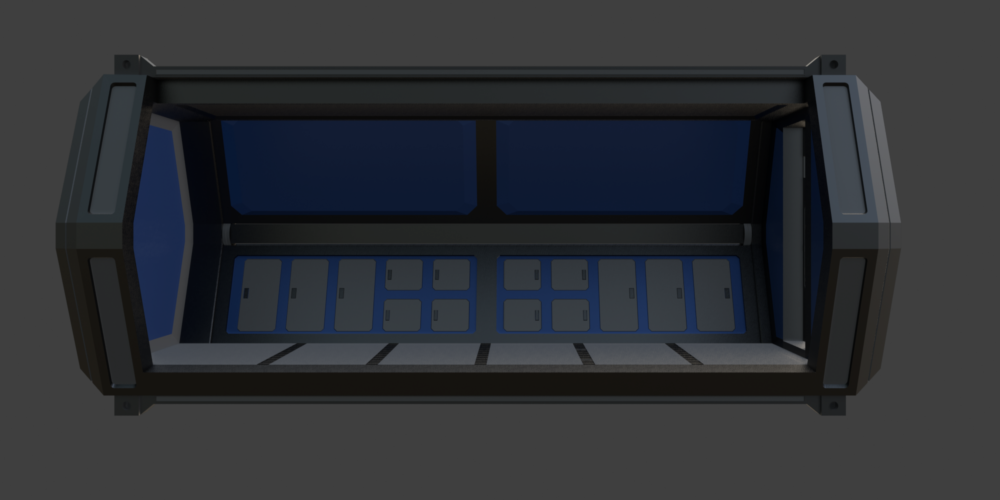
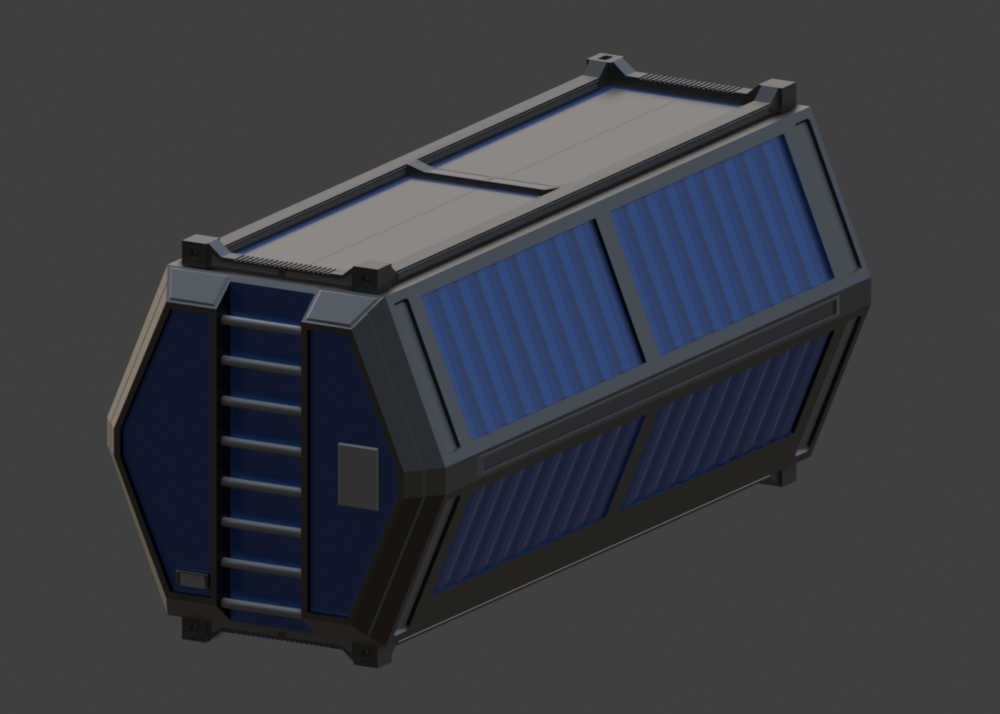
The next portion was to add detailing: trimmings, indentations, and grooves typical in the references I’ve sourced. Adding these definitely improved the overall aesthetic and removed the rather dull portions of the container and panels. This part also includes small things like a circuit box and outlet cover in the rear of the container, along with cargo netting, lockers, and clipboard holders in the internal compartment, further boosting the visual appeal of the container.
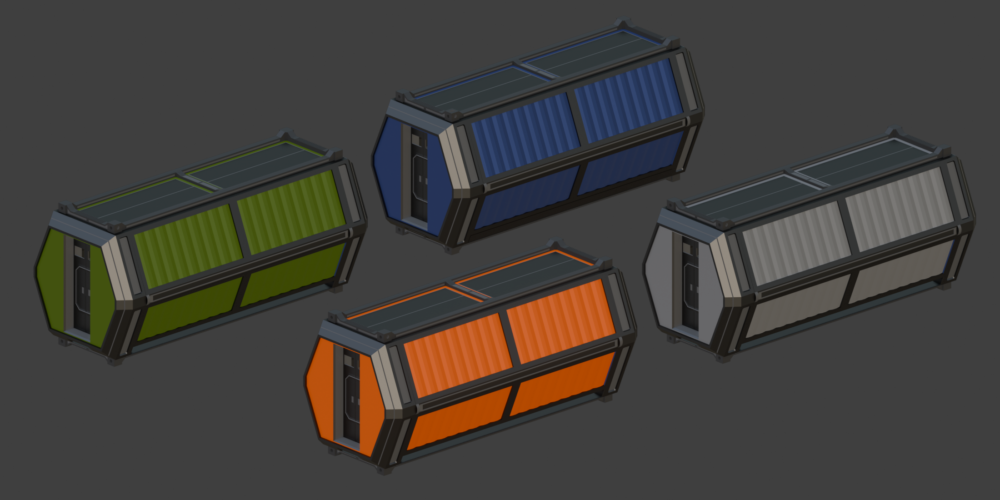
The next bit involves adding color to the model. Admittedly, I wasn’t creative with this bit and just stuck with three primary color palettes though I couldn’t complain about the result. However, I did get a recommendation from a pod member to have other models sporting different colors (olive drab and gray were his suggestions), which I incorporated. This also reinforces the utilitarian aesthetic: not only do actual cargo containers have different colors, but the coloring would also blend into specific areas (the olive drab in forestry and gray for urban environments).
The final step was to implement the project’s dynamic aspect: the animation. This involves the bottom pieces, side panels, and doors extending out from the container and closing to create a loop. I didn’t just animate the piece’s opening and closing; I also added details, such as the components jolting out of it and shuttering as it locked into place. The little details added some life to the animation and made it less dull.
Admittedly, the final product was less than I envisioned going into the project. Due to time constraints — the modeling taking way longer than planned — and me still learning Blender, I am still content with what I’ve done. While there were numerous hiccups, this project was something that I planned and modeled from the ground up rather than following a step-by-step guide video on modeling something like a donut.

References
Program Used: Blender 4.0