
In this post, let’s answer the following questions:
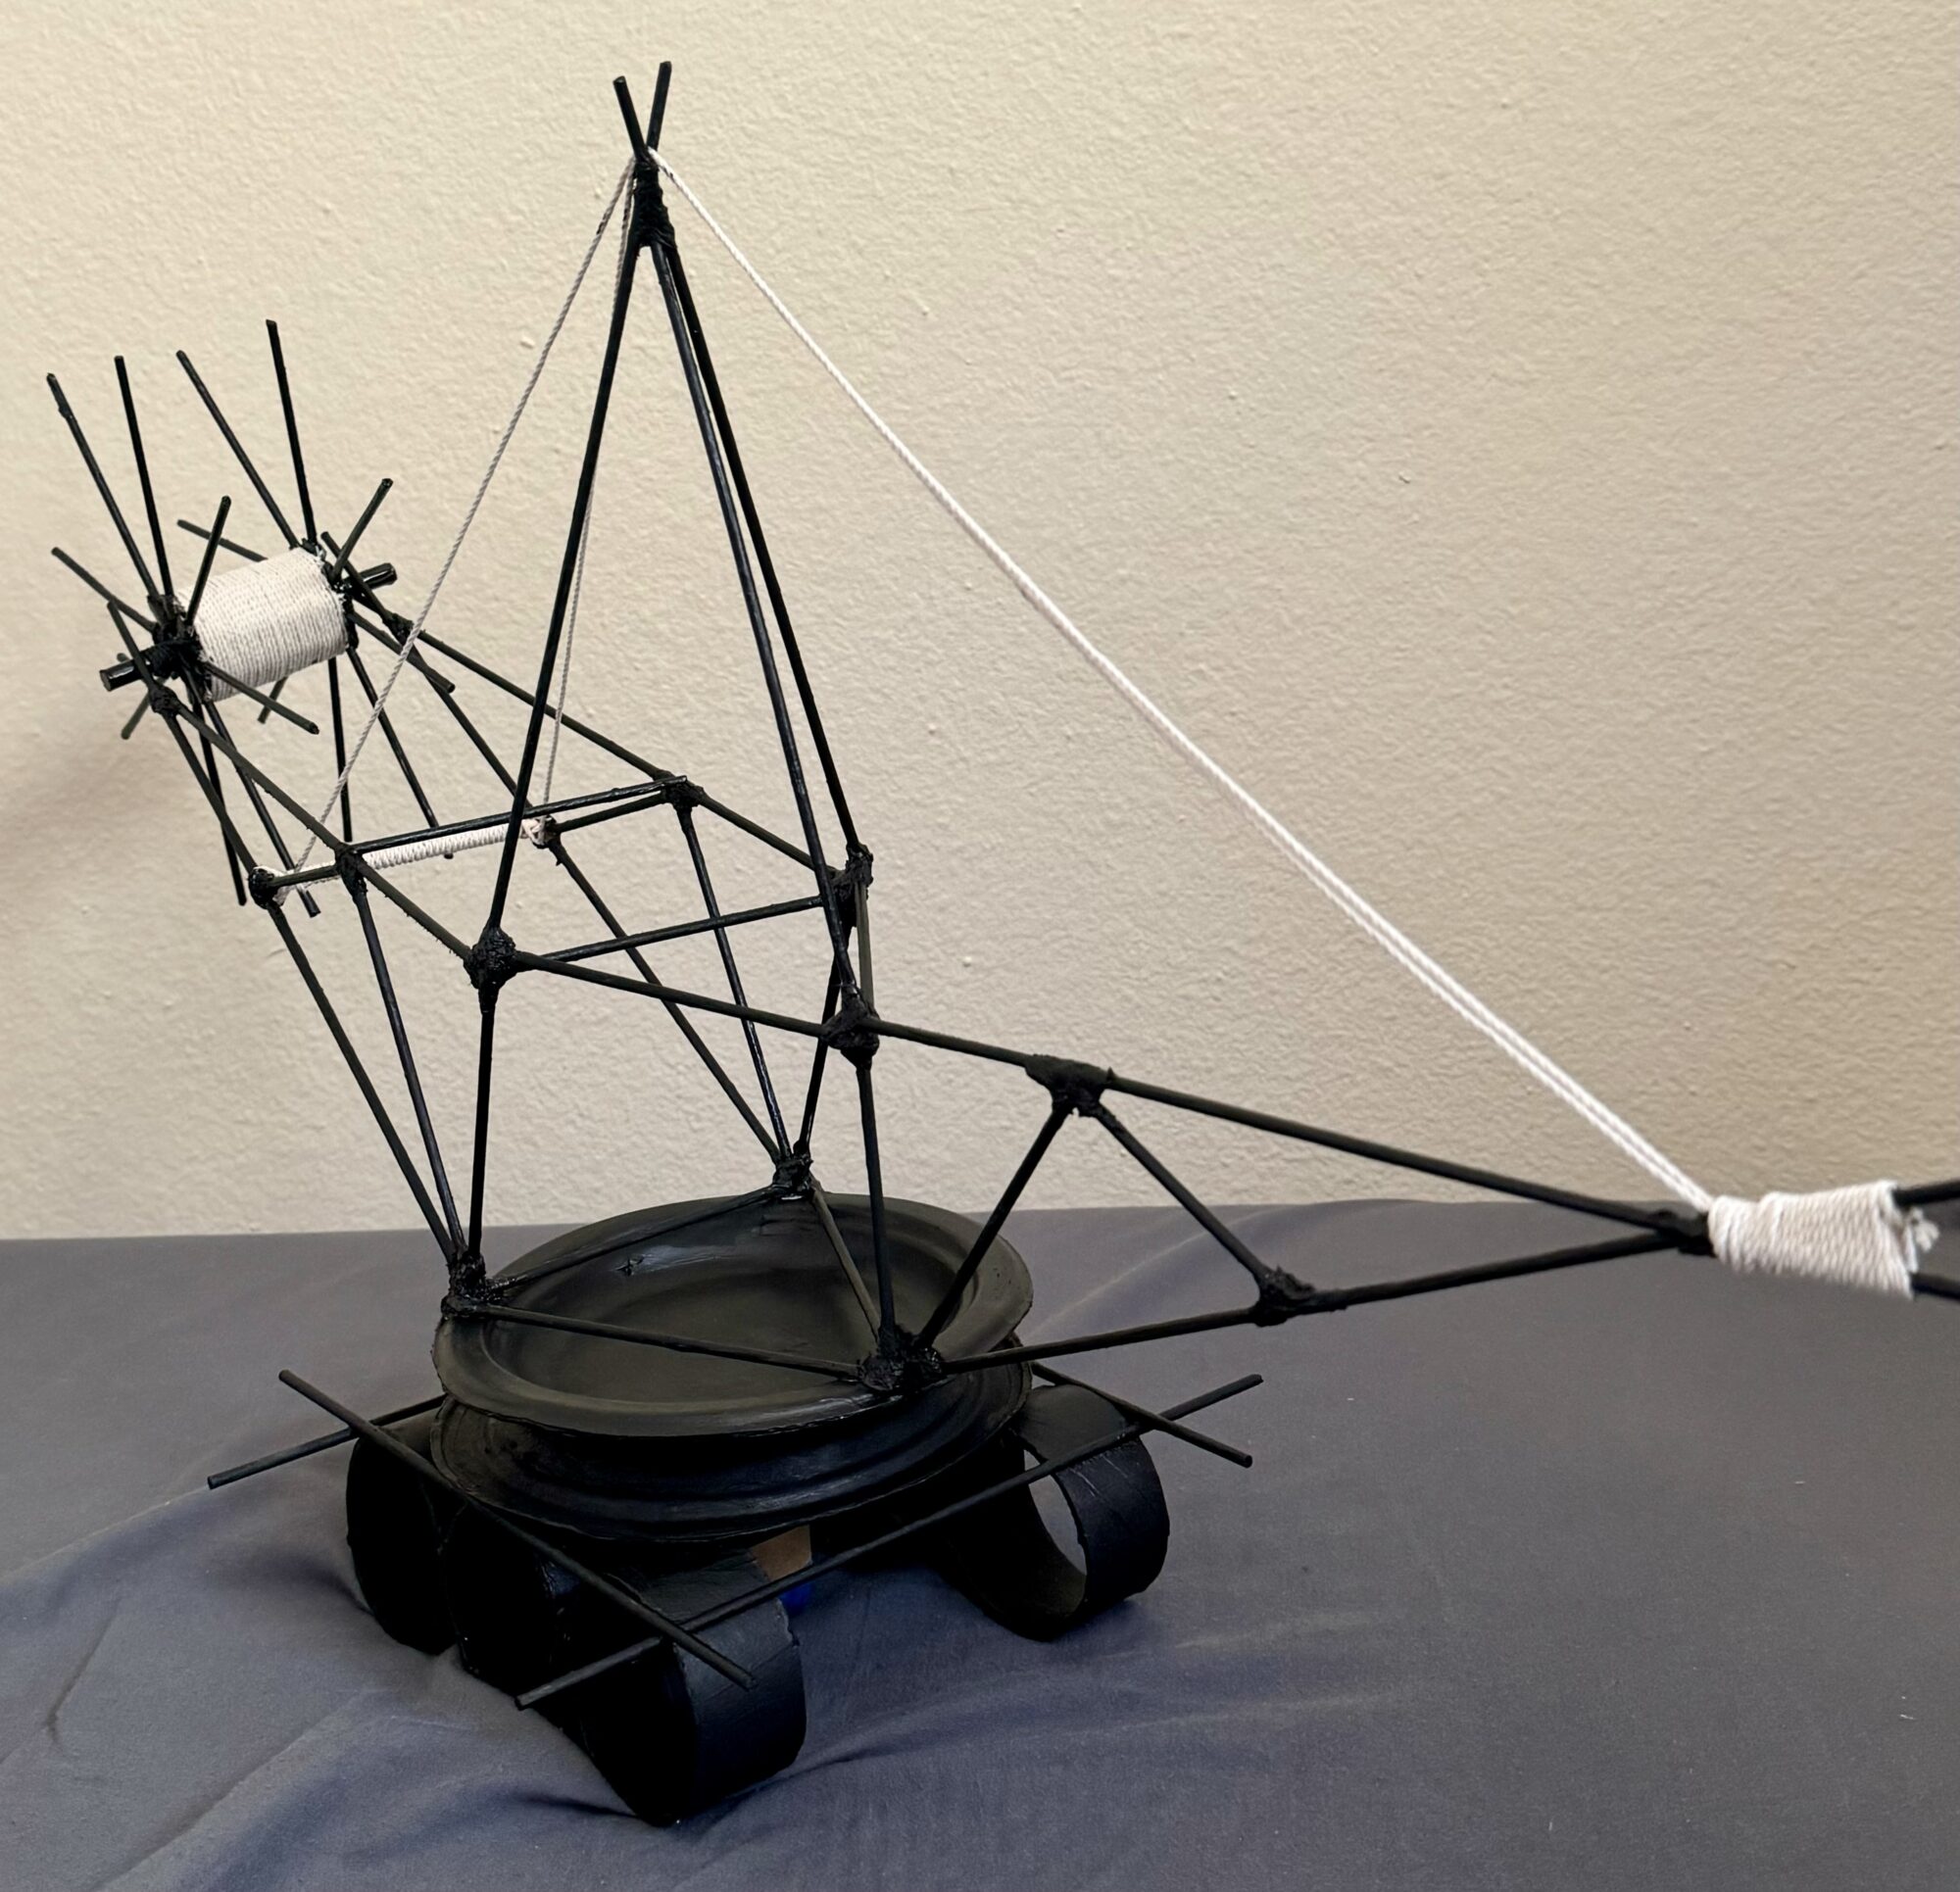
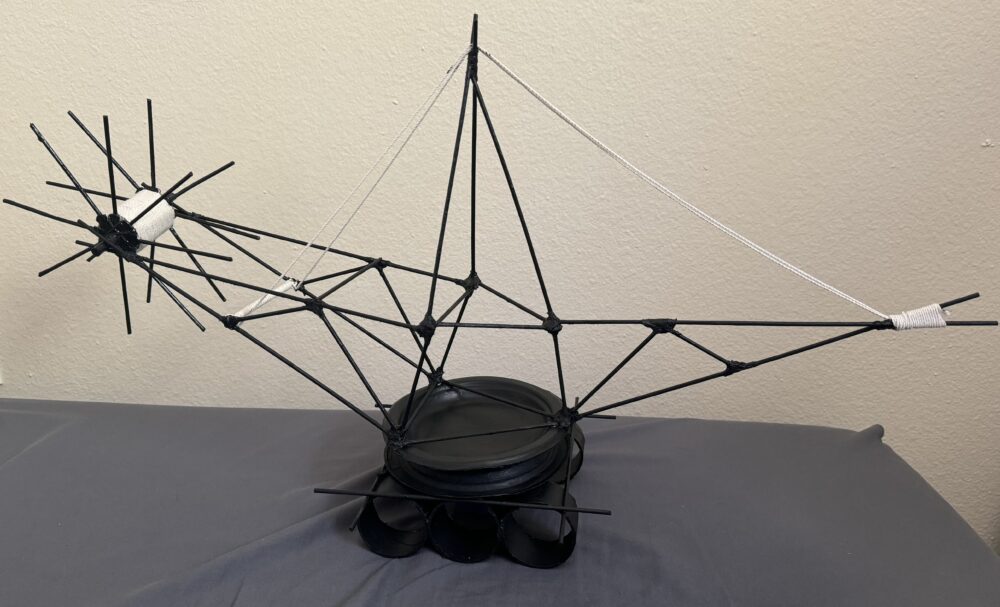
The Artifact:
A. How?
In the journey of creating my artifact, I embarked on a meticulous process that involved dividing the design into five distinct modules. Each module served a specific purpose, contributing to the overall structure and functionality of the artifact. Here’s a detailed breakdown of how I brought this vision to life:
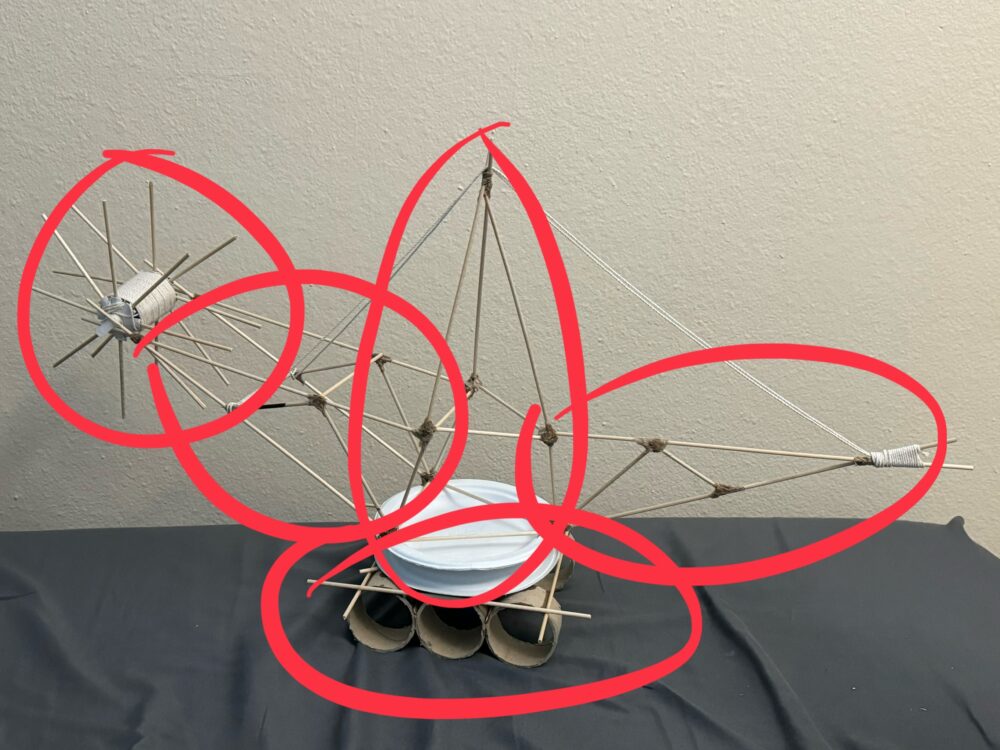
1. Module Division: The initial step involved dividing the entire design into five modules. These modules included three support frames, one circular spike module, and the base module. This division allowed for a systematic approach to constructing the artifact, ensuring each component was addressed methodically.
2. Wood Preparation: With the modules identified, I proceeded to trim wooden sticks to their specific lengths. This precise preparation ensured that each piece would fit seamlessly into its designated module, laying the foundation for a sturdy and well-structured artifact.
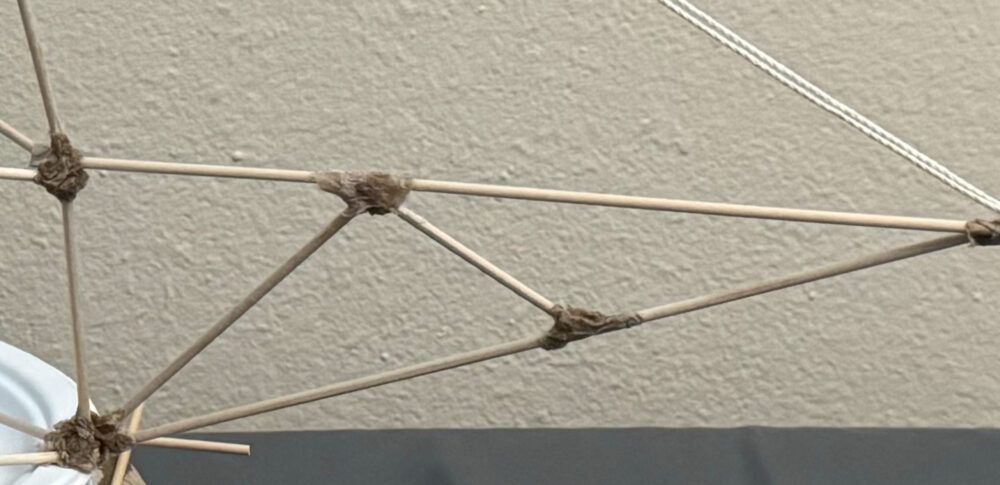
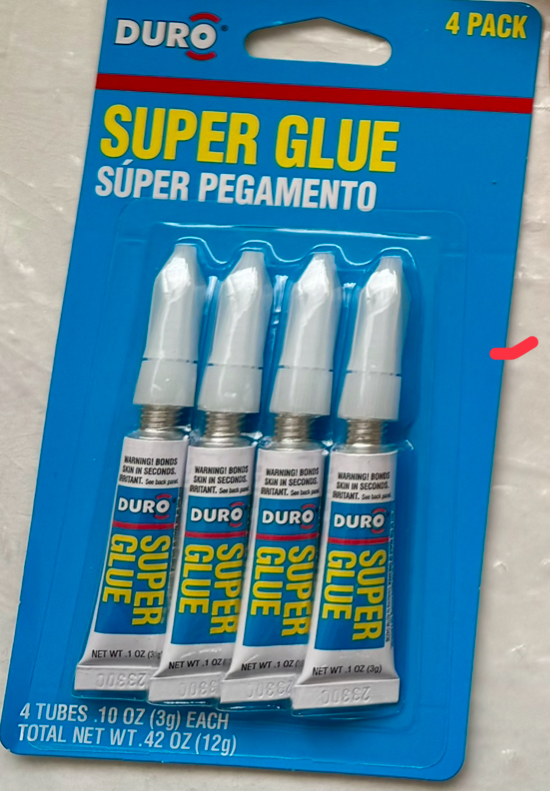
3. Assembly with Paper Mache: Utilizing a mixture of paper mache and super glue, I began assembling the wooden sticks into different orientations and angles according to the design specifications. This combination provided both strength and flexibility, allowing for intricate detailing and complex structures.
4. Drying Process: After the construction of each module, I allowed them to dry for a period of 24 hours. This crucial step ensured that the adhesive bonds were fully set, providing stability and durability to the individual components.
5. Module Integration: Once the modules were dry and secure, I proceeded to attach each one in its respective place within the artifact. Careful attention was paid to ensure proper alignment and structural integrity throughout the assembly process.
6. Reinforcement with Super Glue: To further strengthen the connections between modules and enhance overall stability, an additional layer of super glue was applied. This reinforcement step provided added security, minimizing the risk of any potential structural weaknesses.
7. Threaded Assembly: With the main structure complete, the artifact was threaded with strings to add a dynamic element to its design. This final touch added movement and visual interest, elevating the artifact from a static structure to a dynamic work of art.
8. Matte Black Finish: To achieve a cohesive and polished look, the entire artifact was painted matte black. This finishing touch not only enhanced the aesthetic appeal but also provided a protective layer, ensuring longevity and durability.
Note: Special precautions were taken during the construction process, including the creation of a designated gluing station with a polythene plastic sheet cover and the use of rubber gloves to prevent mess and ensure safety. Similar measures were implemented for the painting station to maintain cleanliness and efficiency.
B. What’s Next?
As I reflect on the completion of this project, I’m filled with excitement for the possibilities that lie ahead. Here are a few ideas I’m considering for future iterations and enhancements:
1. Adding Moving Components: To further enhance the complexity and engagement of the artifact, I’m exploring the possibility of incorporating additional moving components. This could introduce an element of complexity and intrigue, captivating viewers and inviting them to interact with the artifact on a deeper level.
2. Experimenting with Colors: While the matte black finish offers a sleek and contemporary aesthetic, I’m curious about the potential of experimenting with different colors to achieve a wooden rusty finish. This variation in color palette could add depth and character to the artifact, infusing it with a sense of history and authenticity.
3. Strengthening the Base: Recognizing the importance of a sturdy and robust base, I’m considering ways to reinforce and strengthen this component. By enhancing the stability of the base, I can ensure that the artifact remains securely anchored, maintaining its balance and integrity even under dynamic conditions.
4. Exploring Alternative Materials: In addition to wood, I’m intrigued by the possibility of incorporating alternative materials such as iron or stainless steel into the design. This experimentation with different materials could introduce new textures, finishes, and visual effects, expanding the creative possibilities and pushing the boundaries of traditional craftsmanship.
Also, here is the demonstration video link that shows working of the artifact. The artifact has 2 degree’s of freedom. It can oscillate on the base as well as rotate its spiked wheel.
Now, I can conclude my report for the artifact and thanks for being with me through the journey!