
Introduction
My vision for this project was to combine elements of the whimsical and steampunk aesthetics to create a mechanical wooden puzzle. The whimsical elements would be displayed through the design and embellishments of the carousel and the steampunk aesthetic would be carried through in the exposed mechanical pieces. In the end, I was not able to make it a puzzle that could be taken apart and put back together. As for the rest of the design, I feel as though I kept to my original vision with it being whimsical and able to turn like a real carousel.
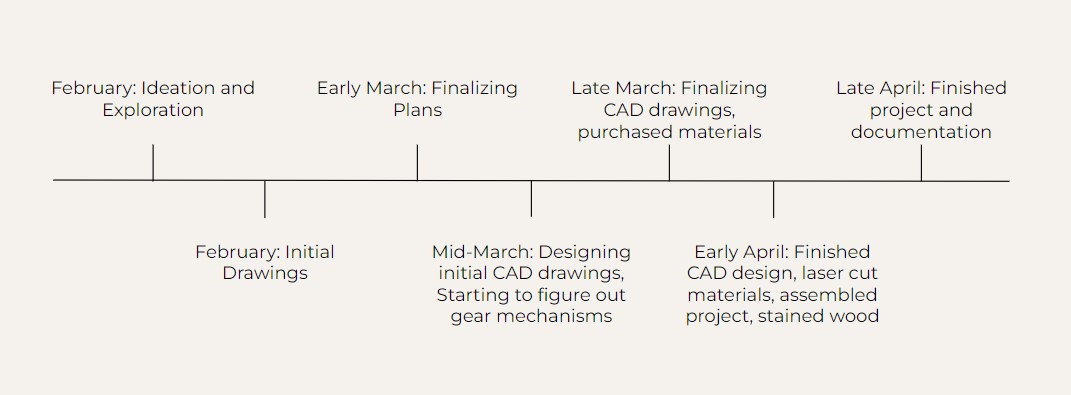
Timeline
Fabrication Process
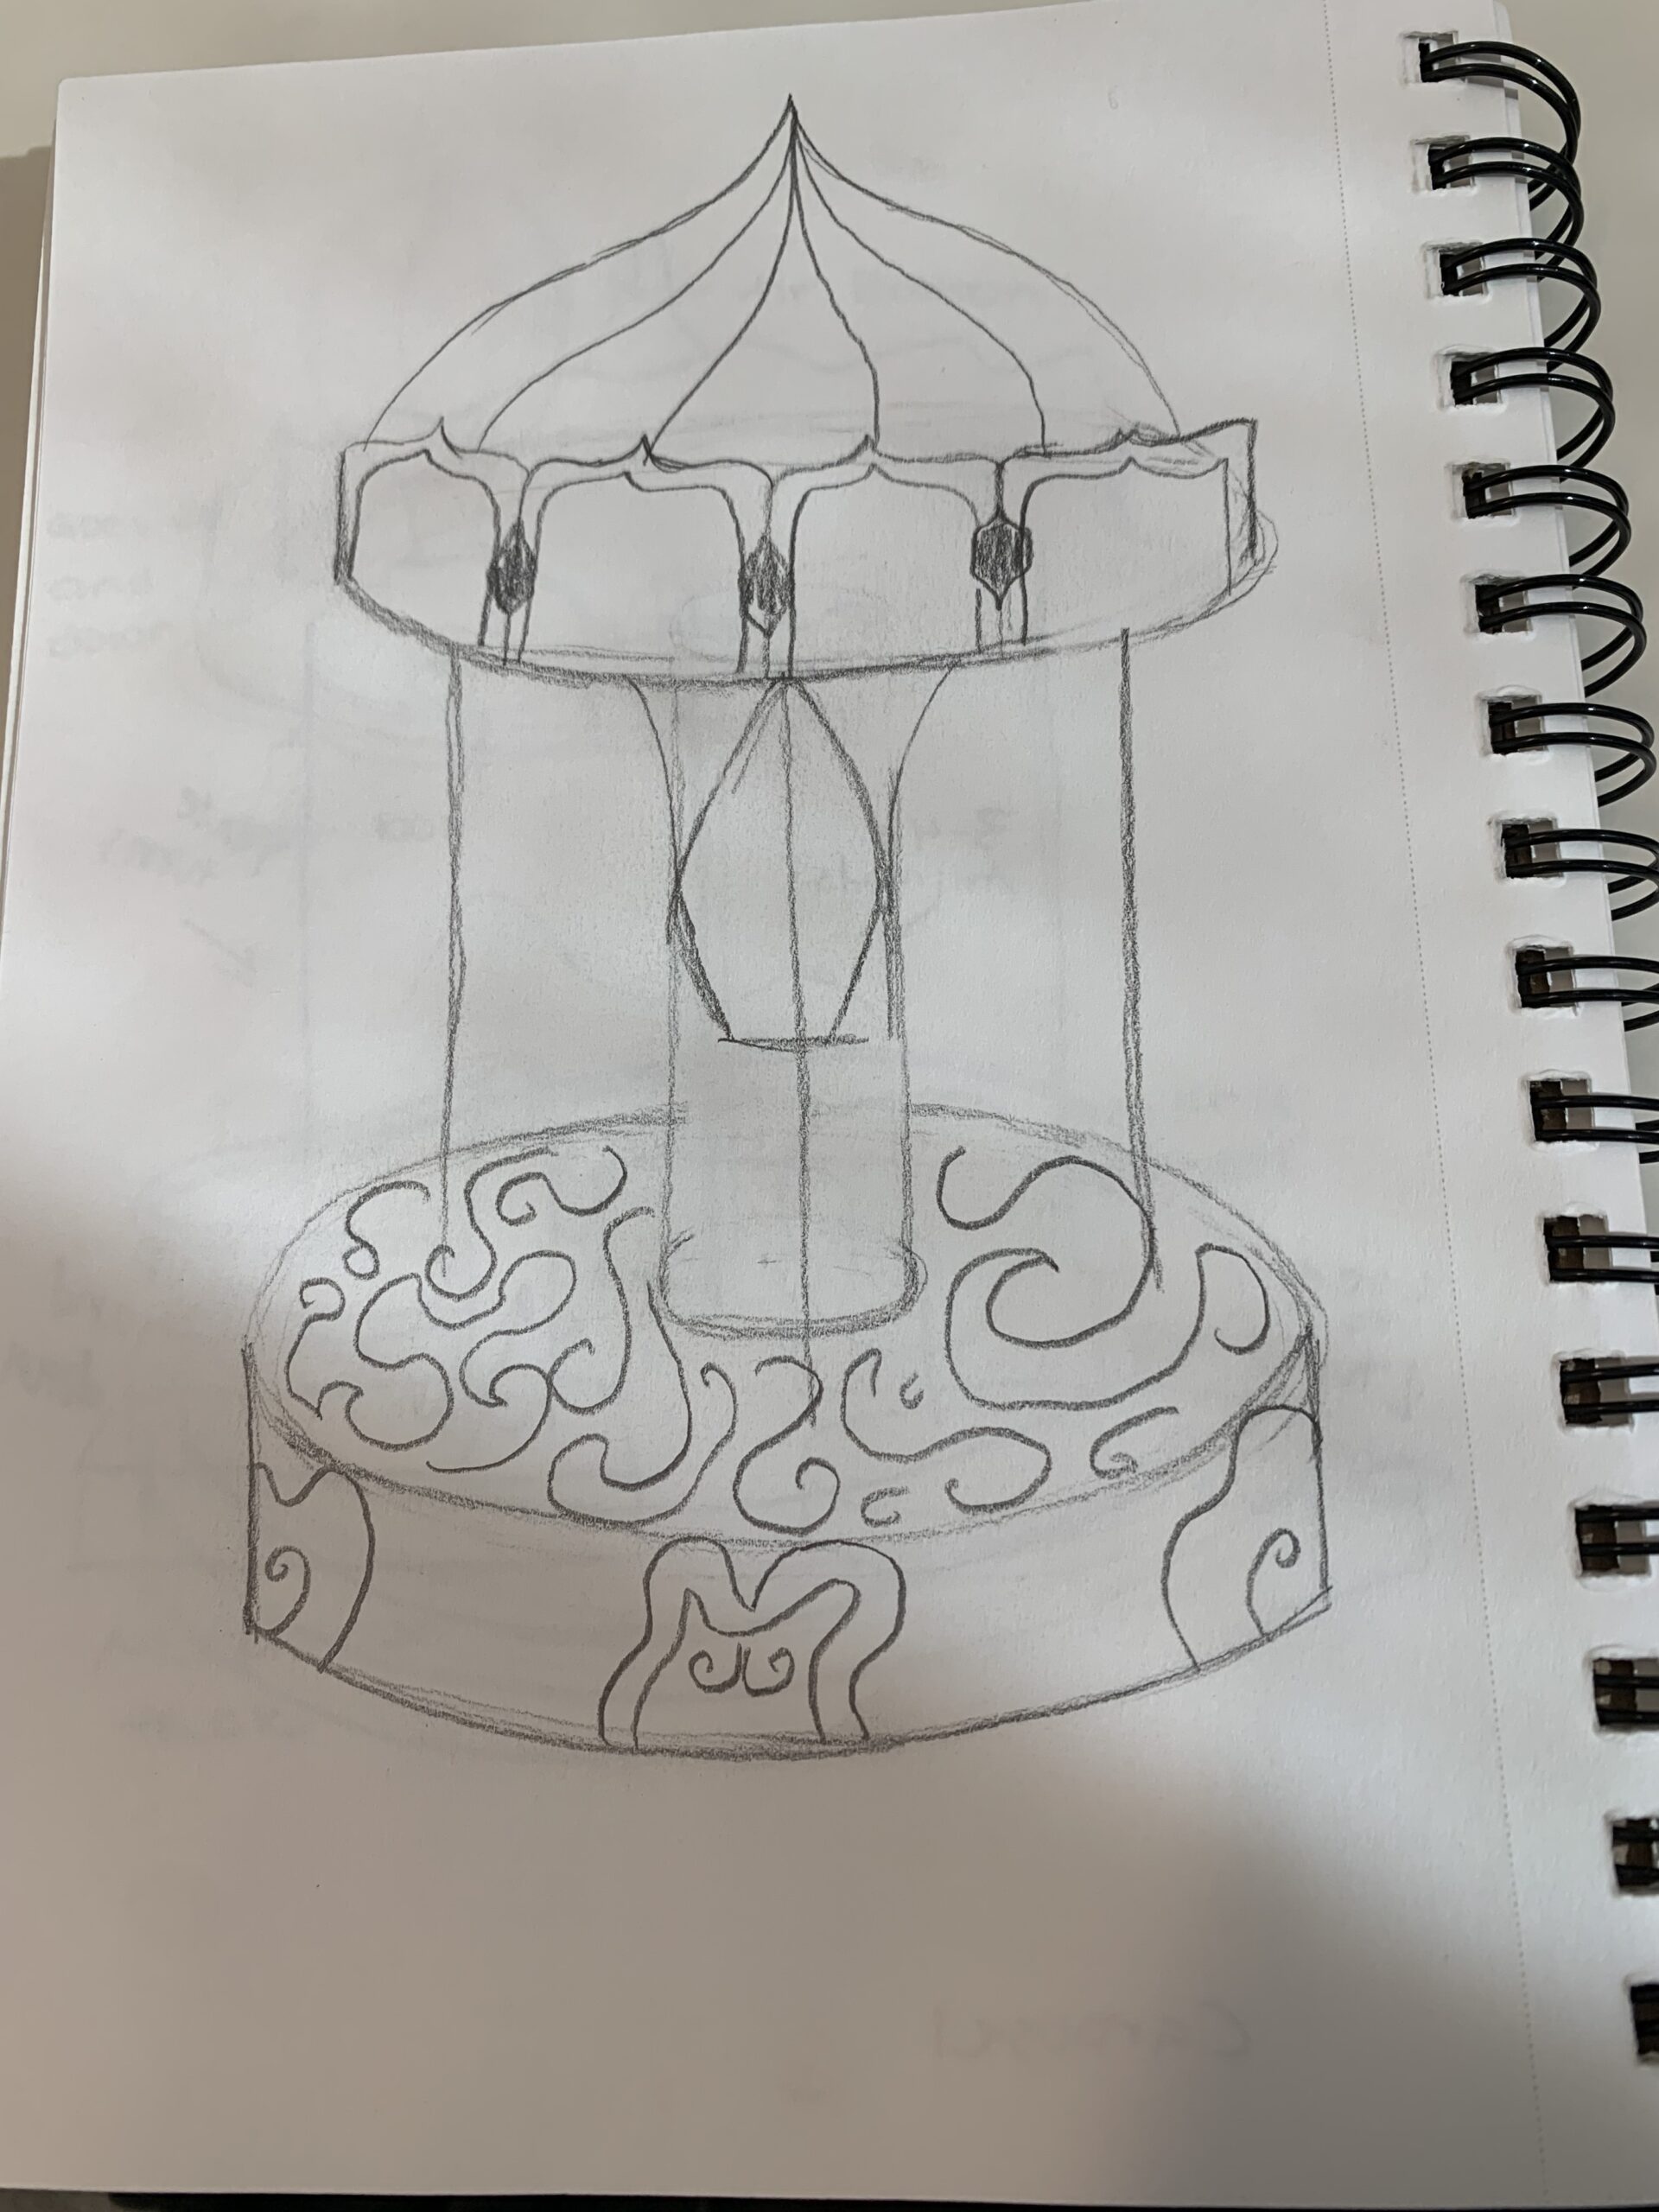
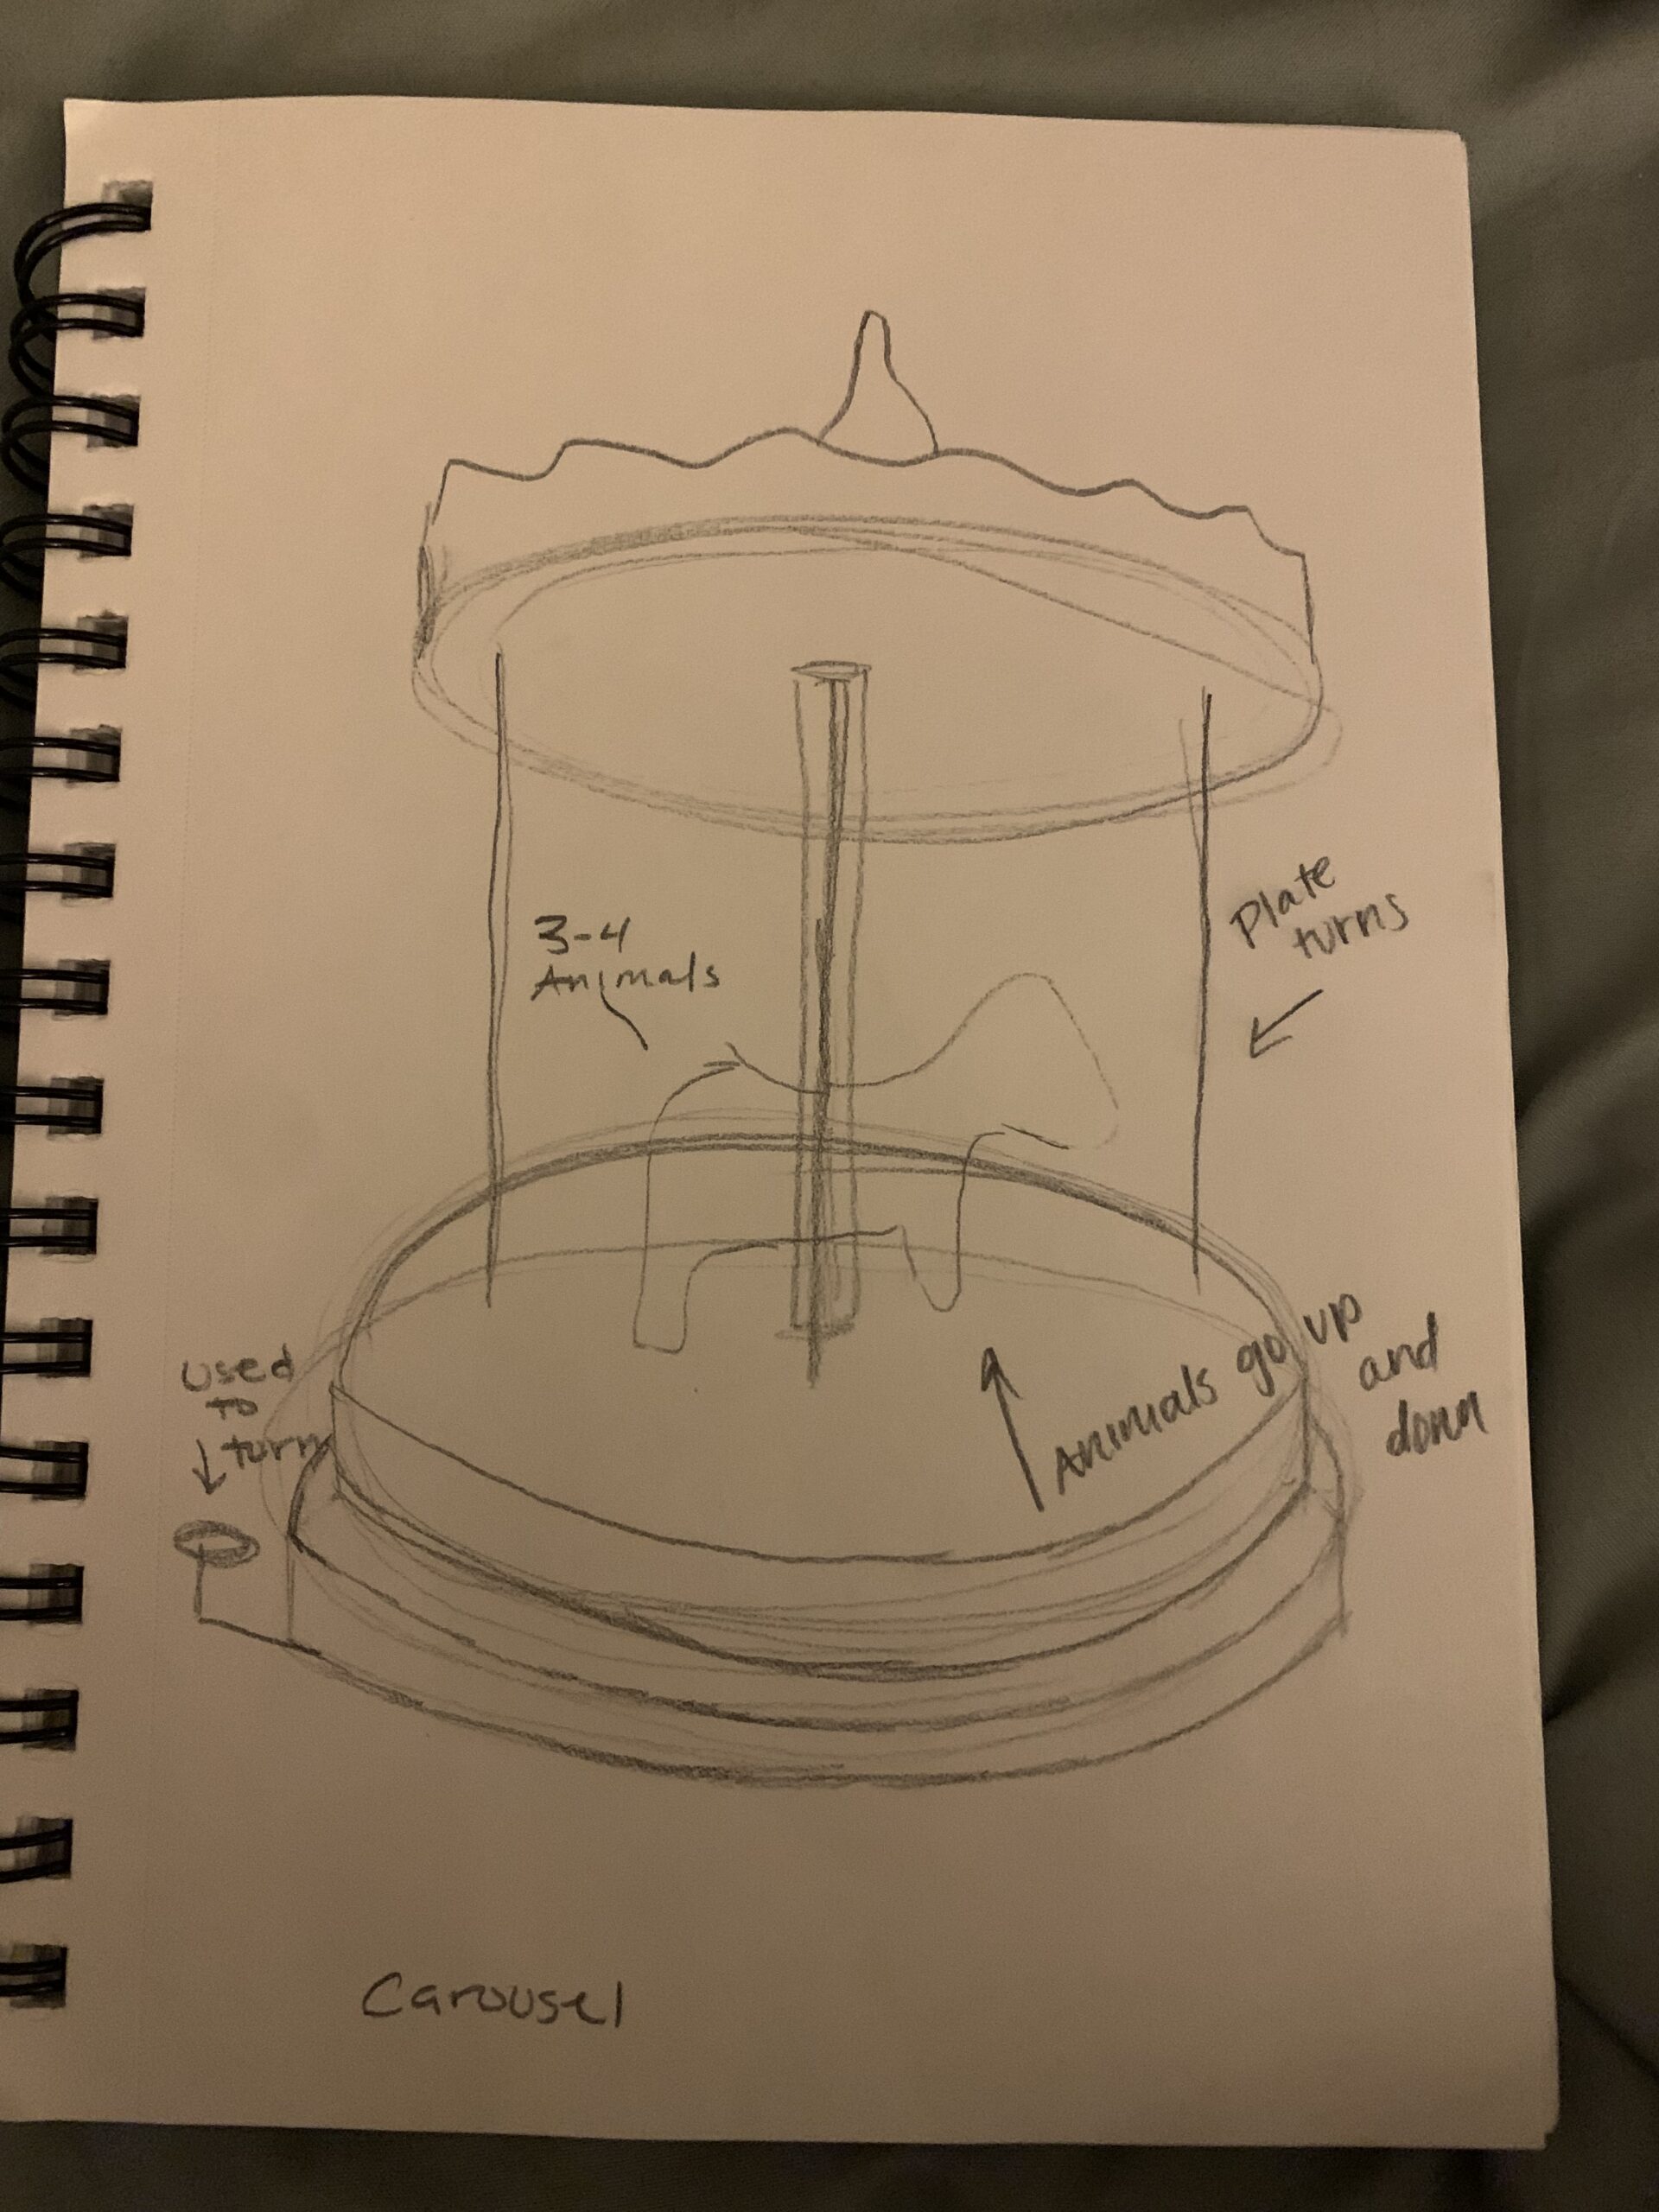
During the initial ideation phase, I created multiple drawings in a few different aesthetics to get the idea of how I wanted my carousel to look. I considered some of the functional aspects, but mainly focused on the aesthetic of the project.
Next, I started to develop my design in CAD. I didn’t know exactly how I wanted my gears to work and how the carousel would turn. I used this website, 507 Movements, to get an idea of how things move and how I could implement that into my project. My initial design included an internal gear movement, though I did not calculate any exact gear ratios at this time.
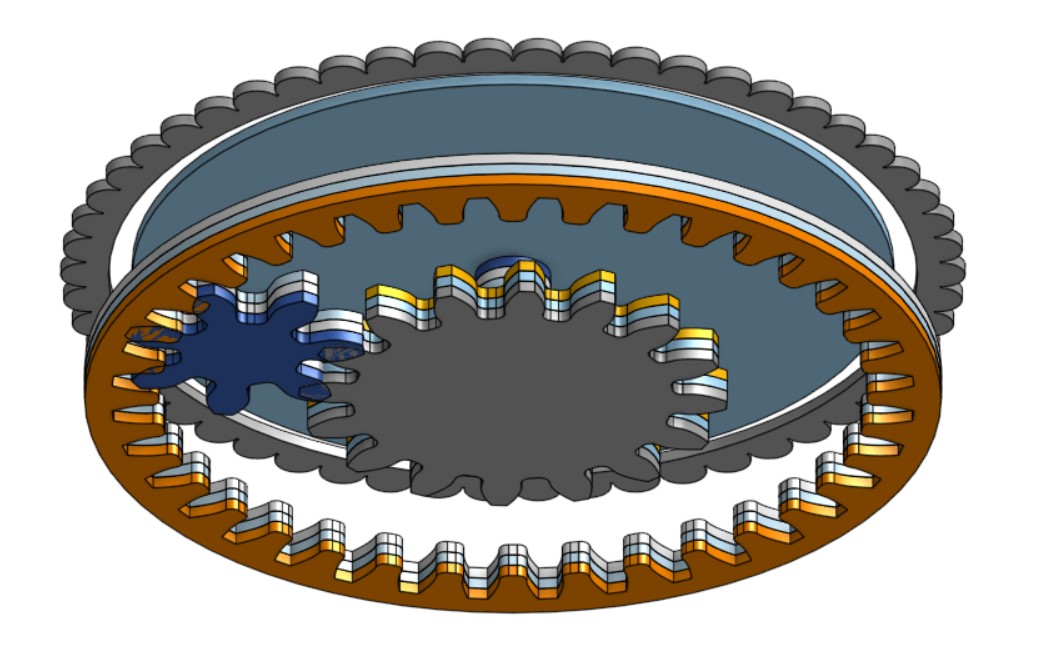
After considering this design, I began to do some further research to see if any other people have tried to make a functional carousel. I found this design that I thought would better fit my design.
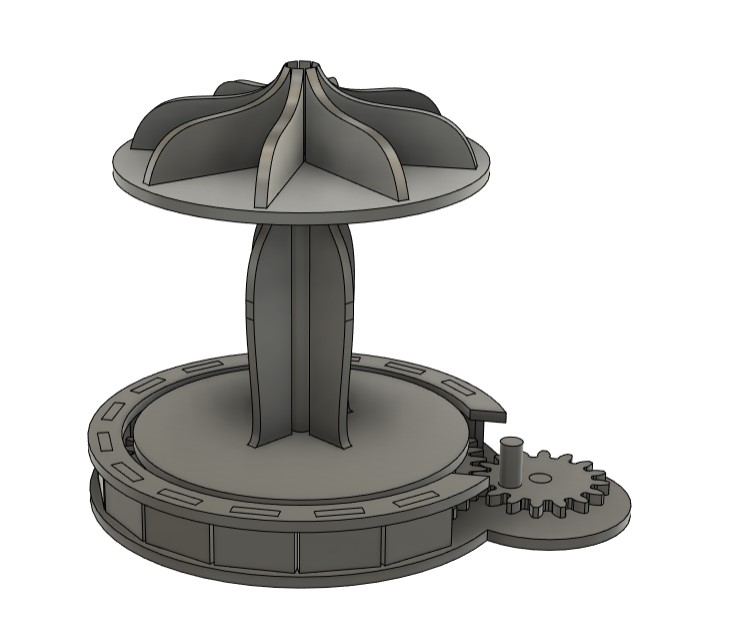
After this, I restarted my CAD design to fit a different type of gear design. This is my CAD design before adding the embellishments.
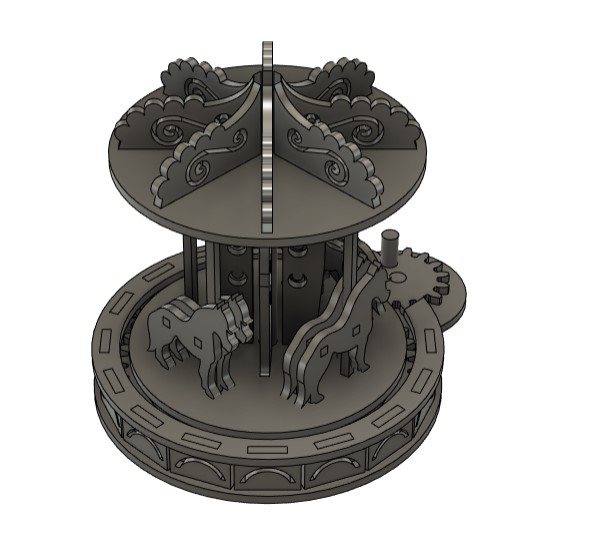
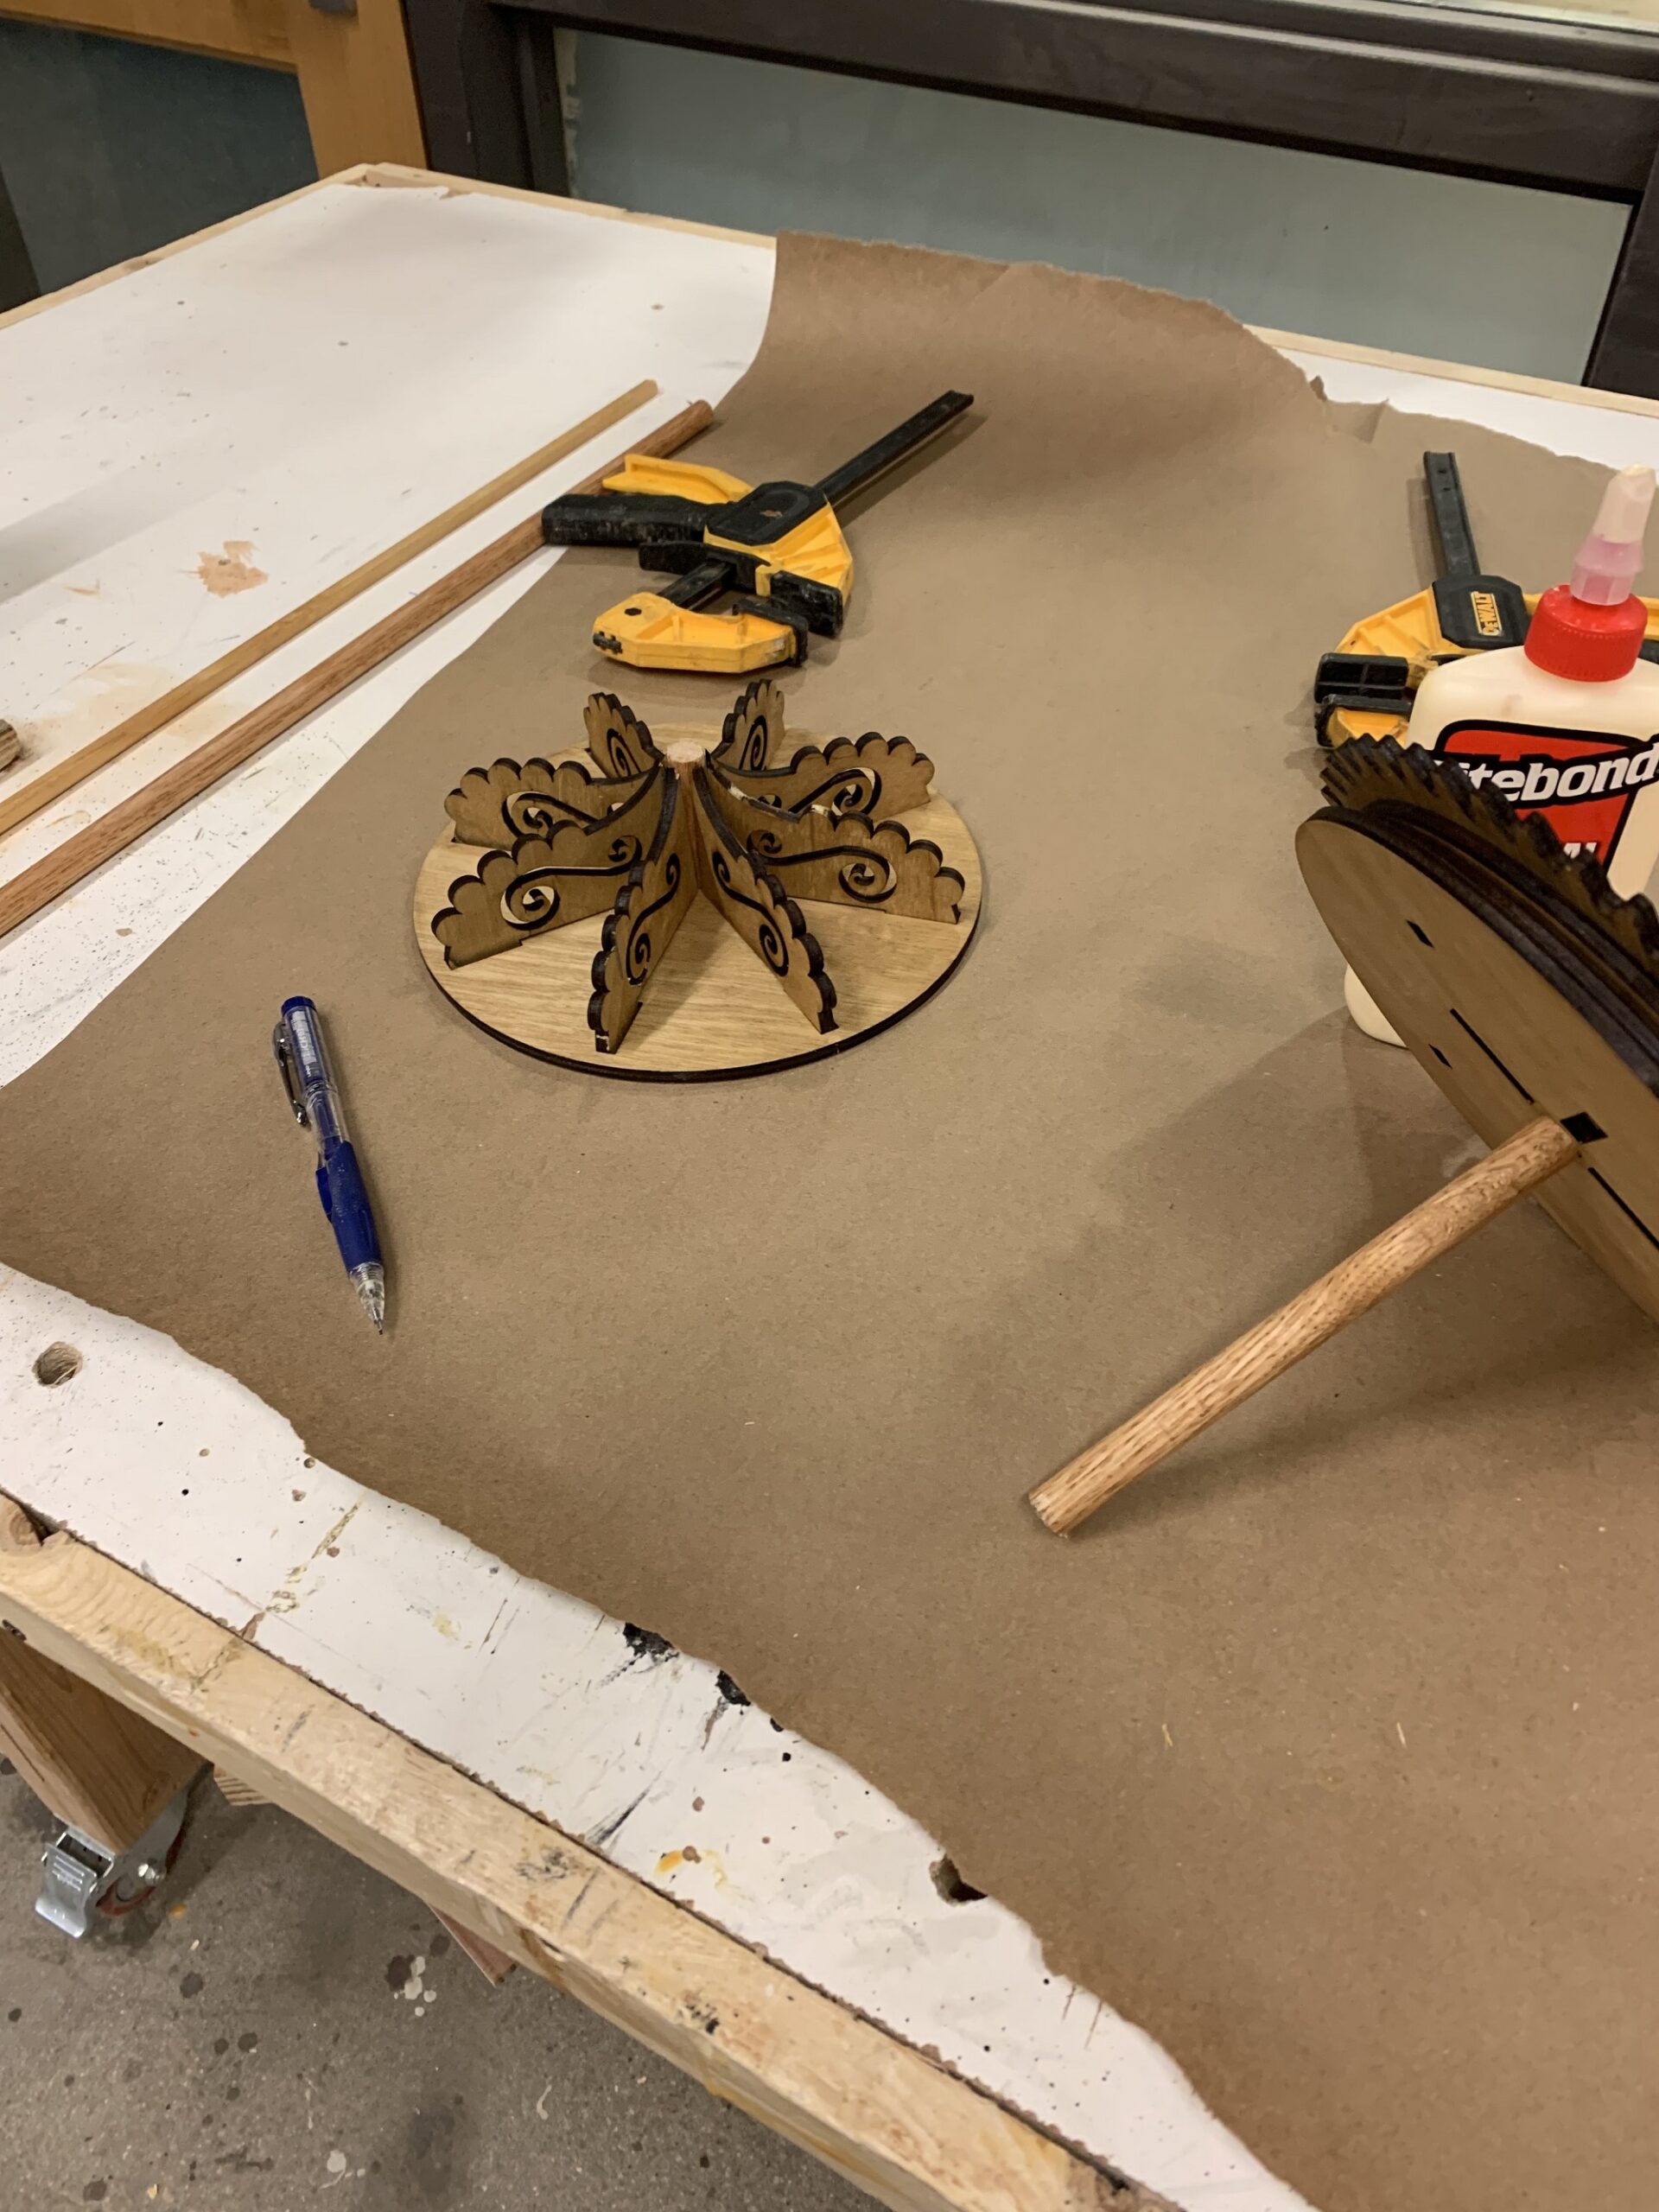
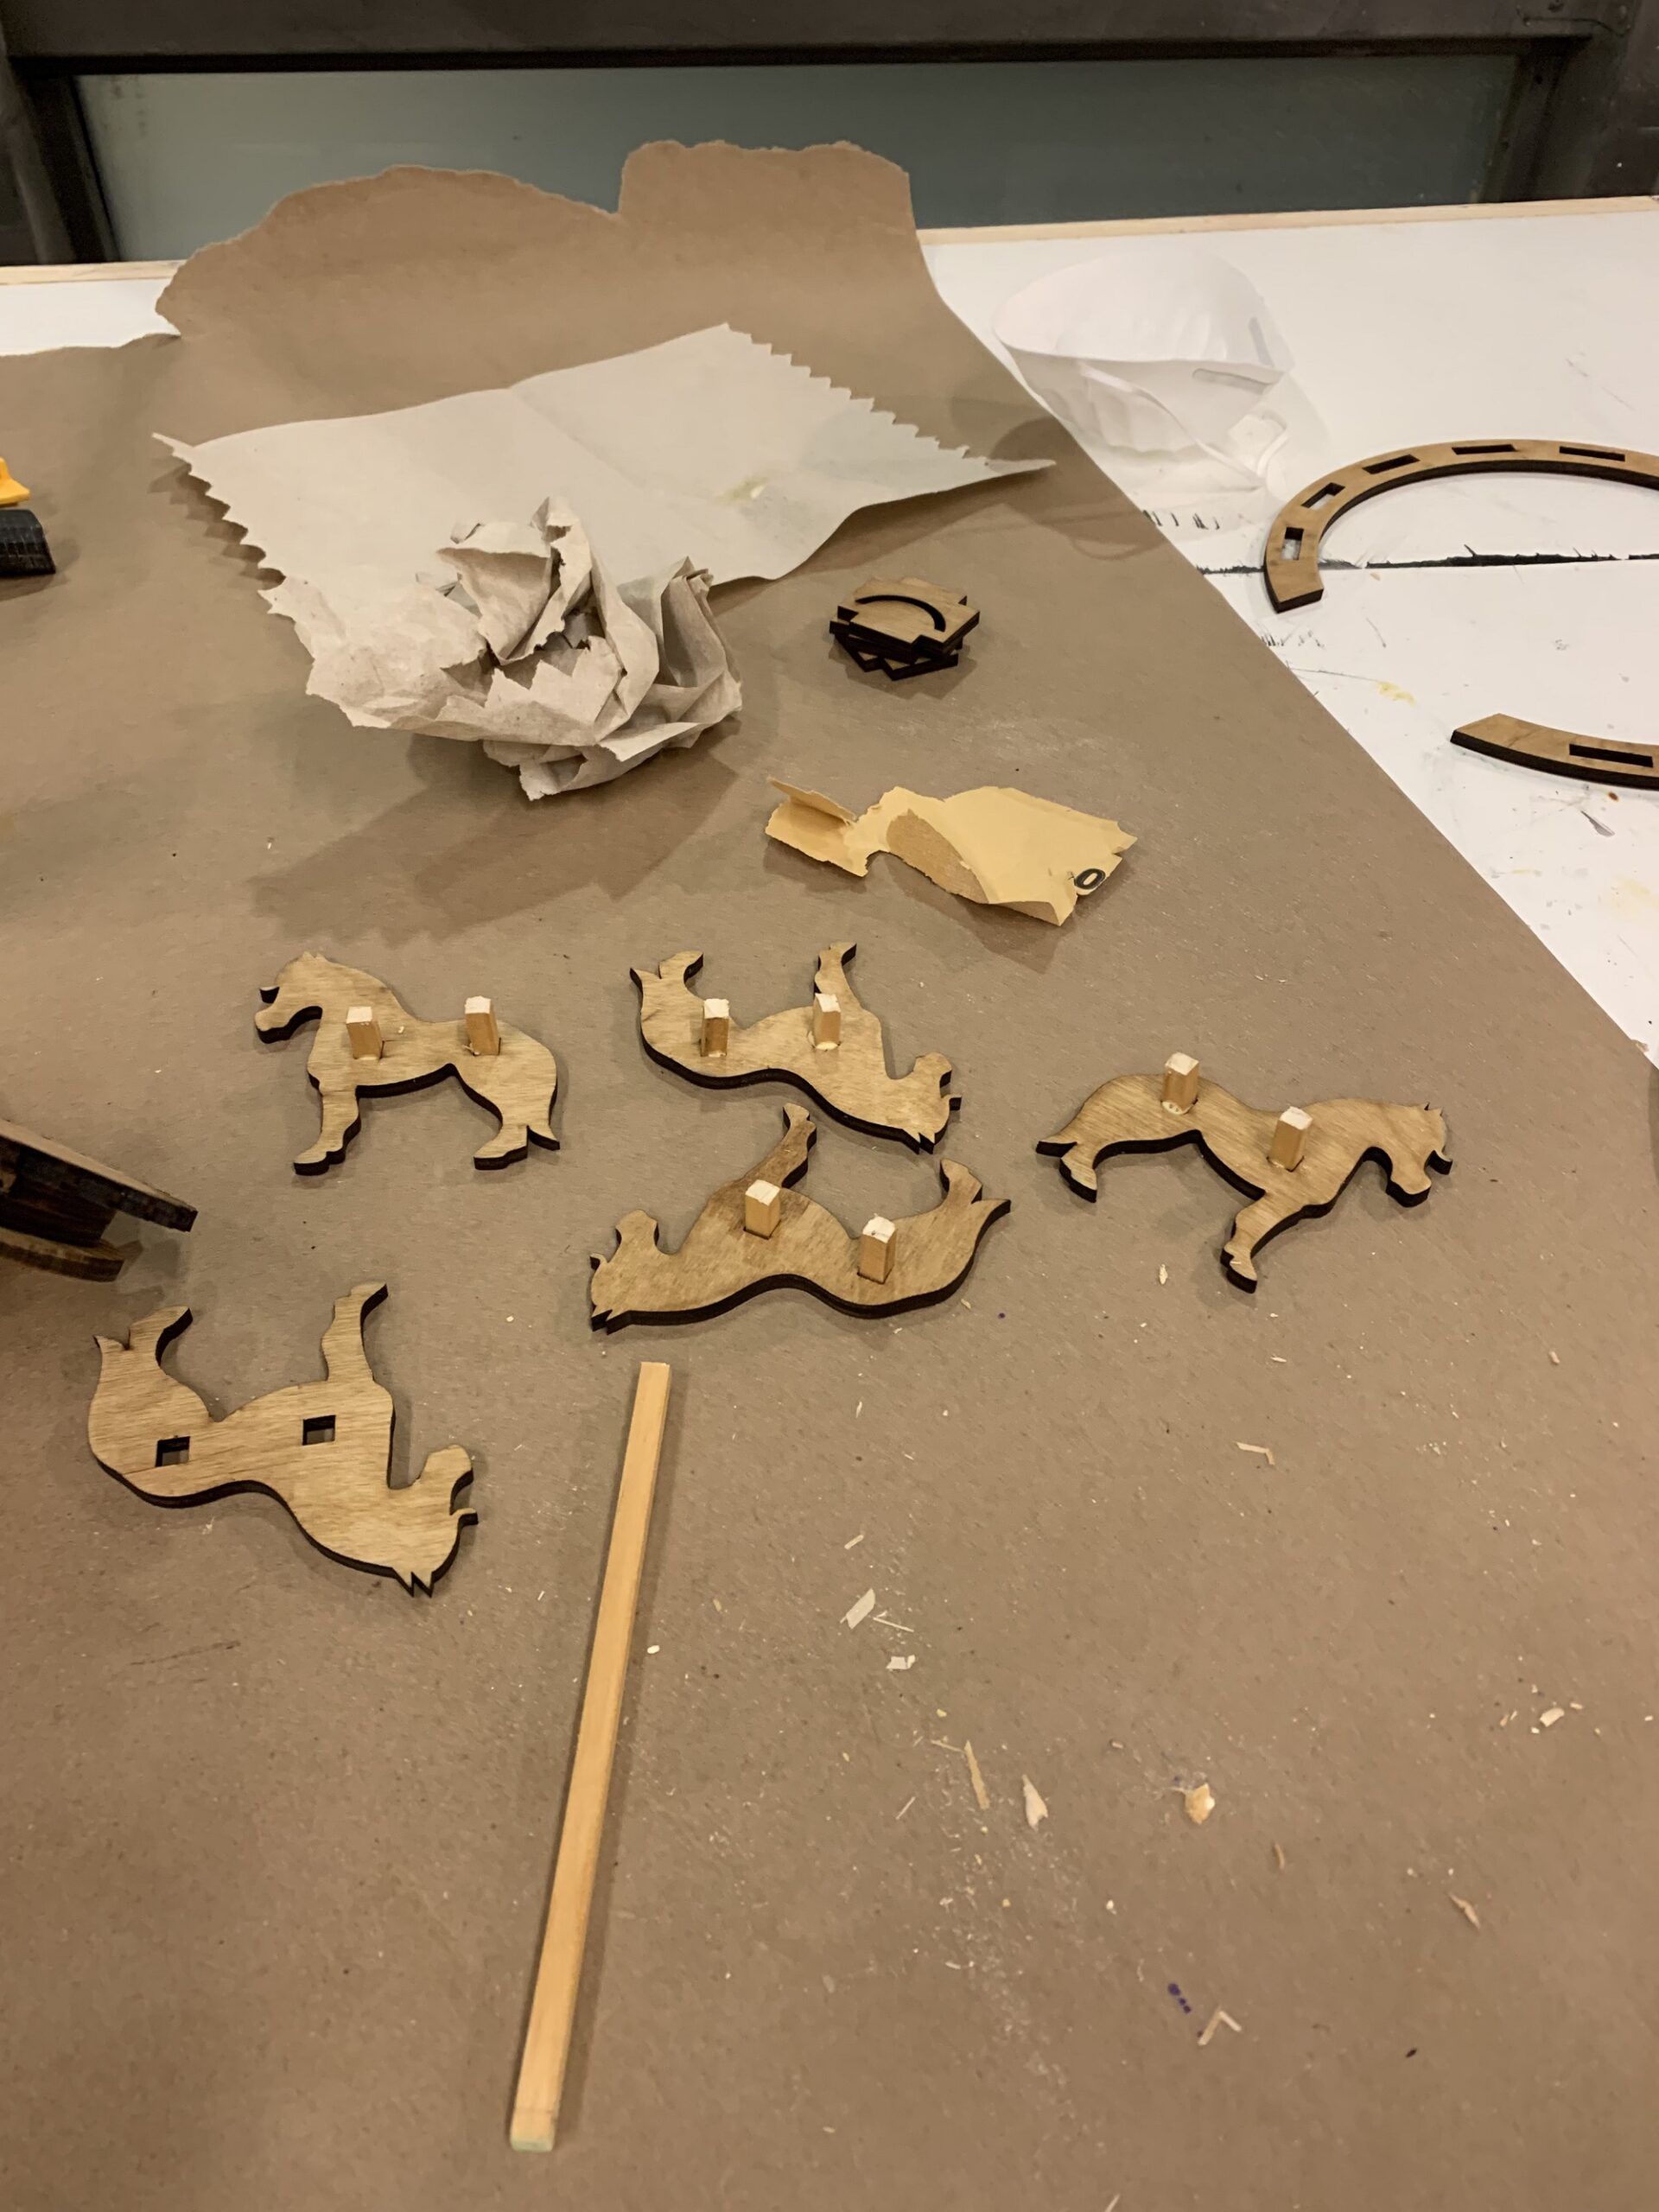
Once I figured out how the gears would work, I added all of the embellishments, including the horses.
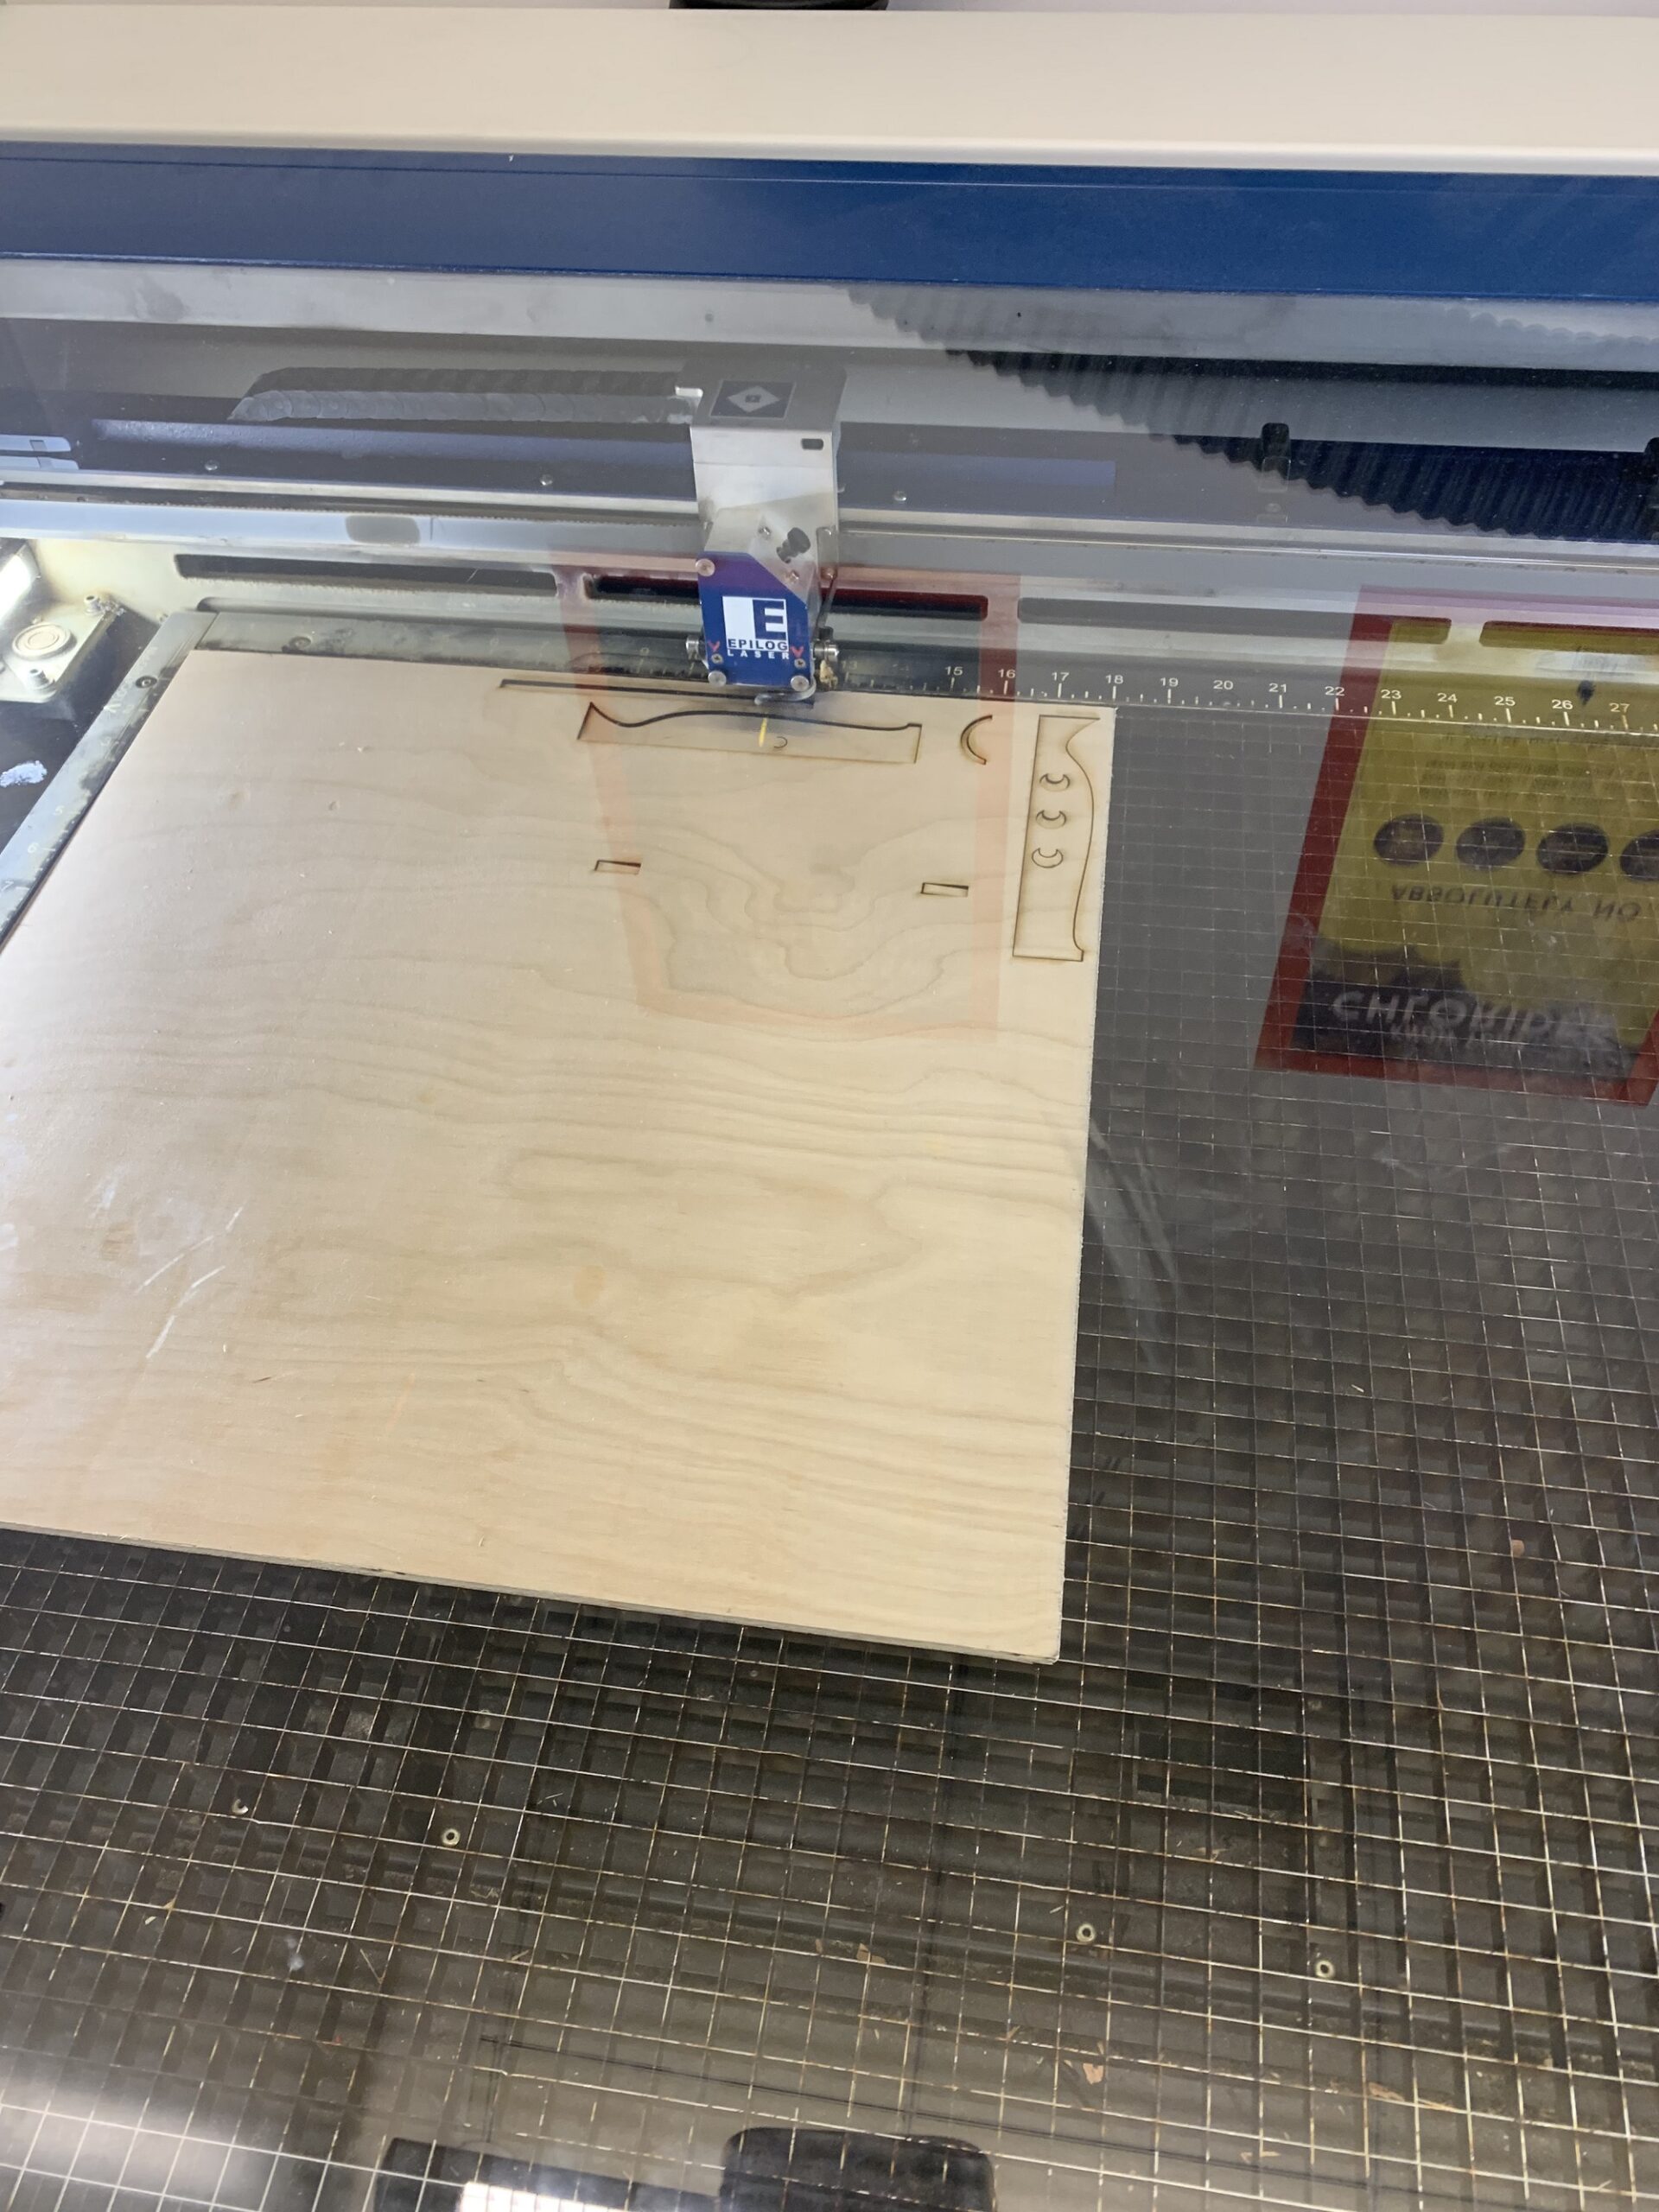
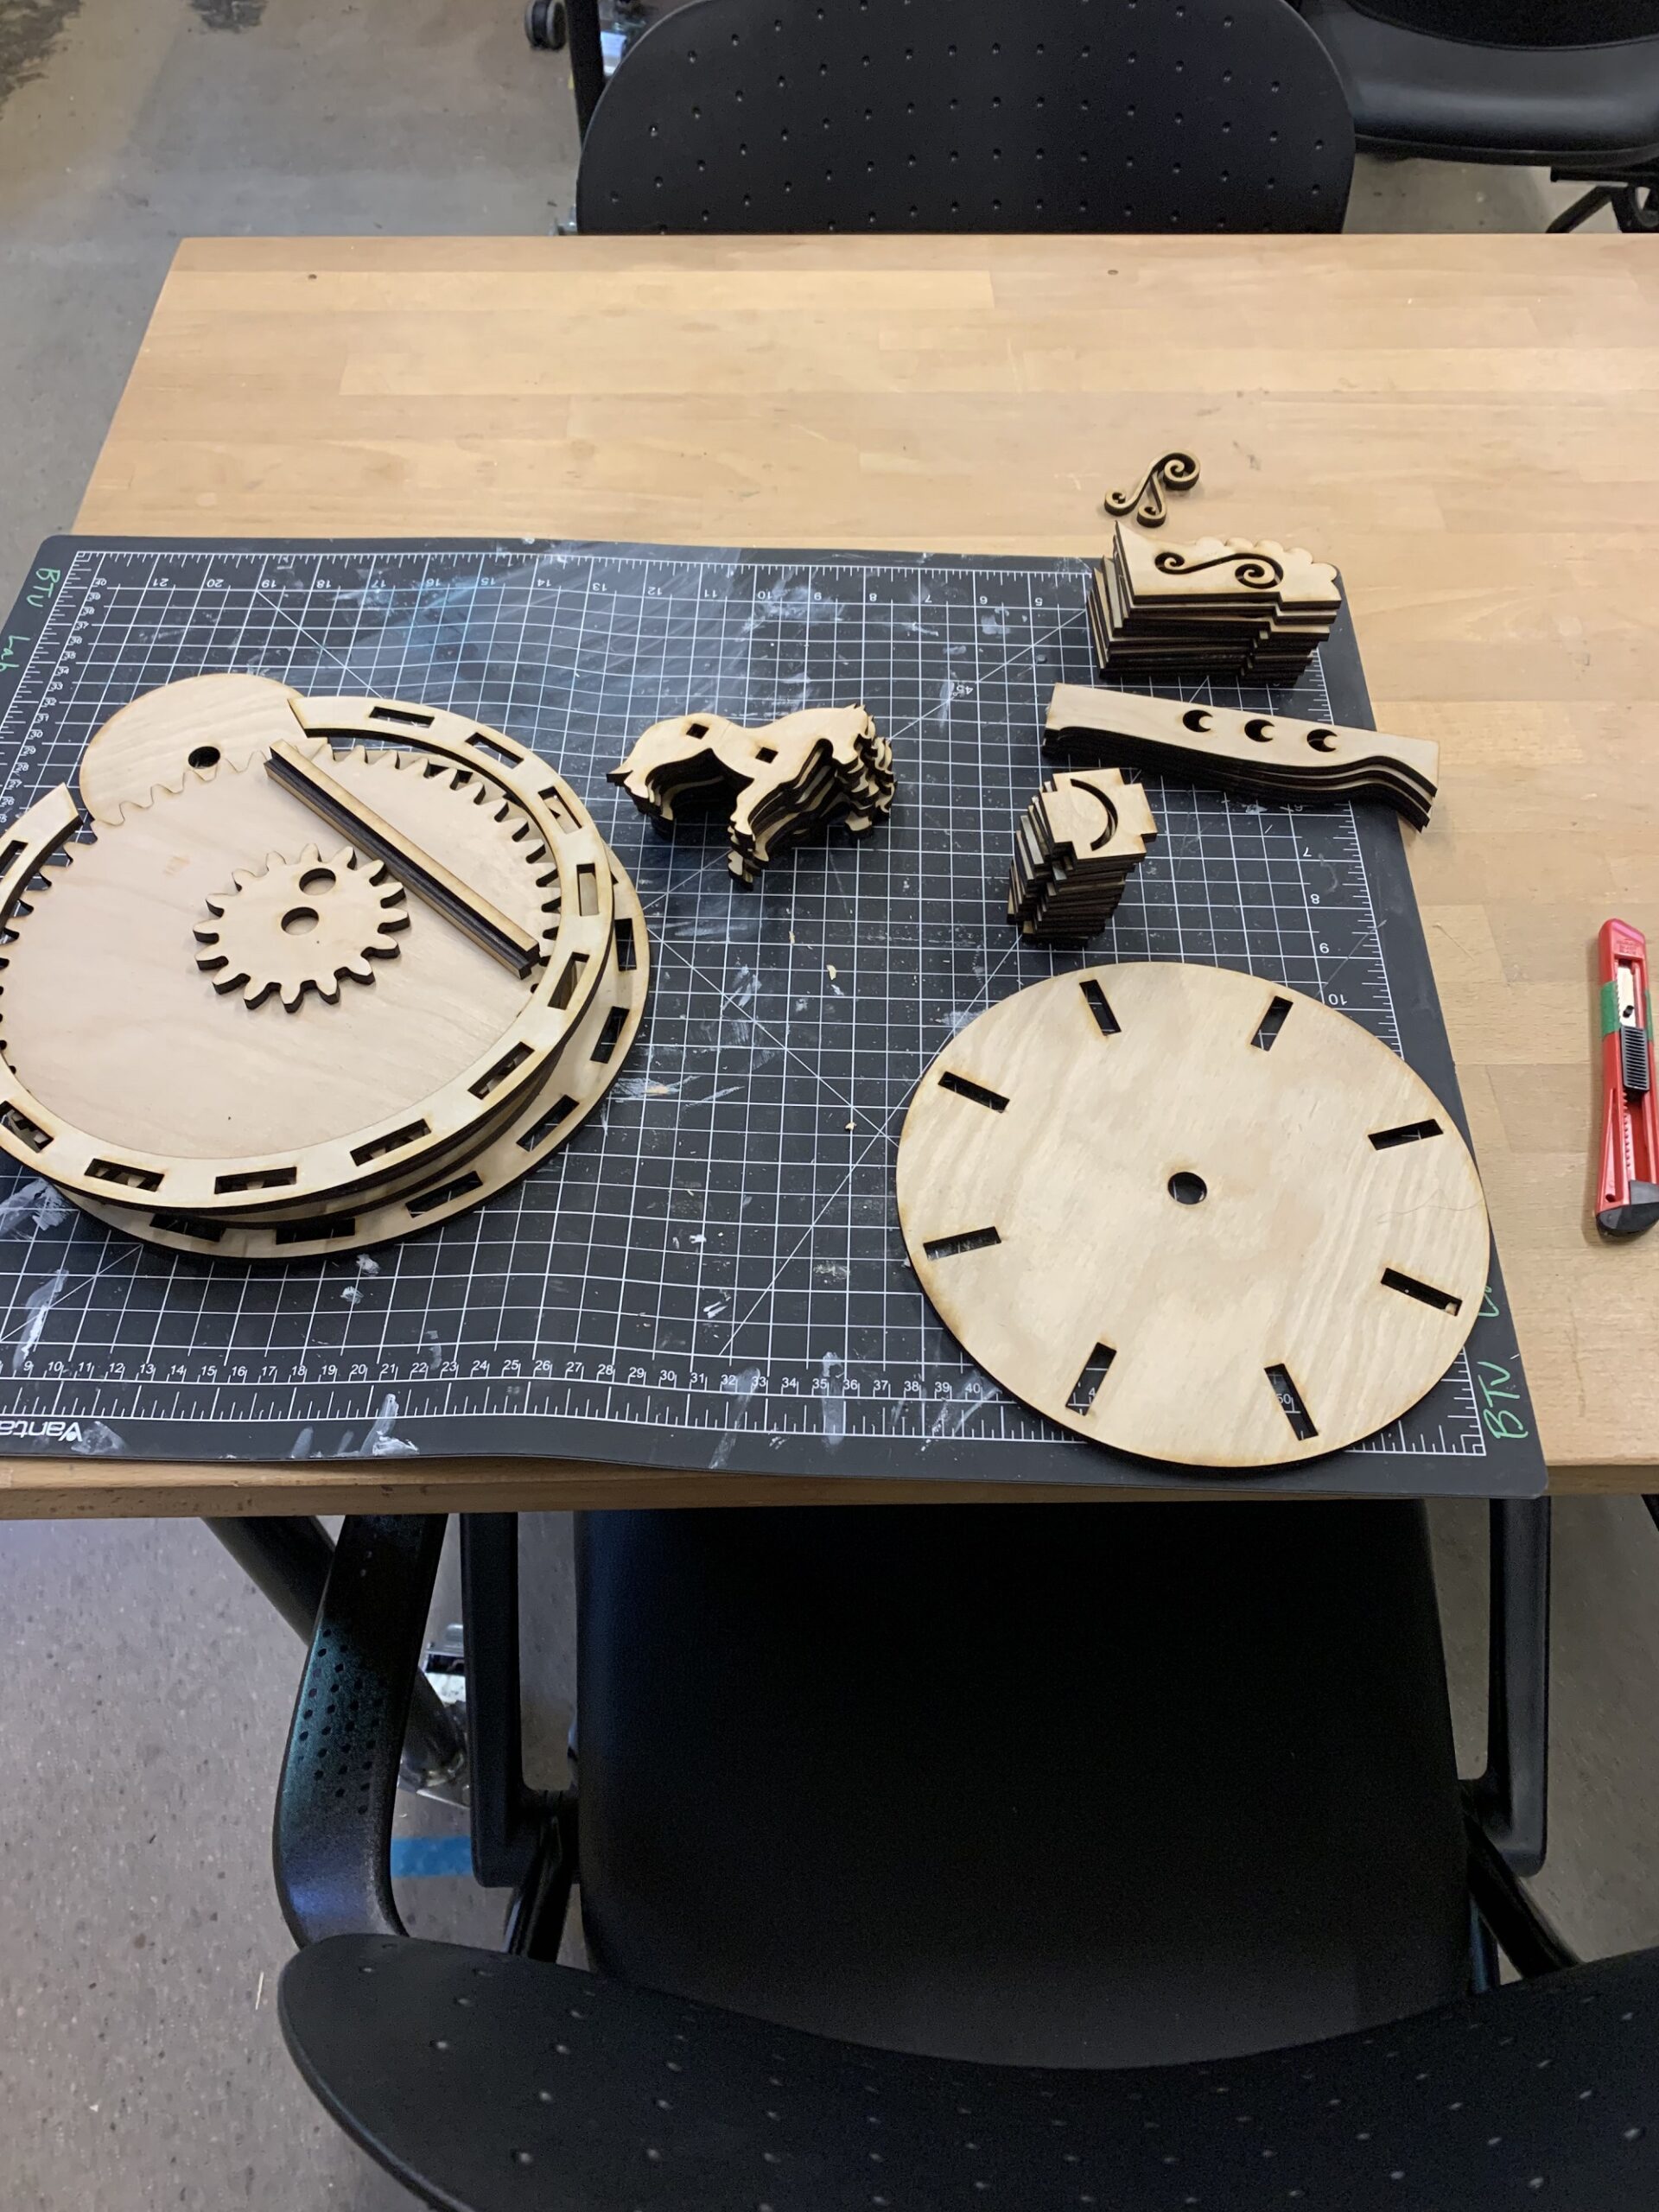
After I had my design finished, I went to the BTU lab to laser cut all of my pieces. I did this on 1/4″ plywood.
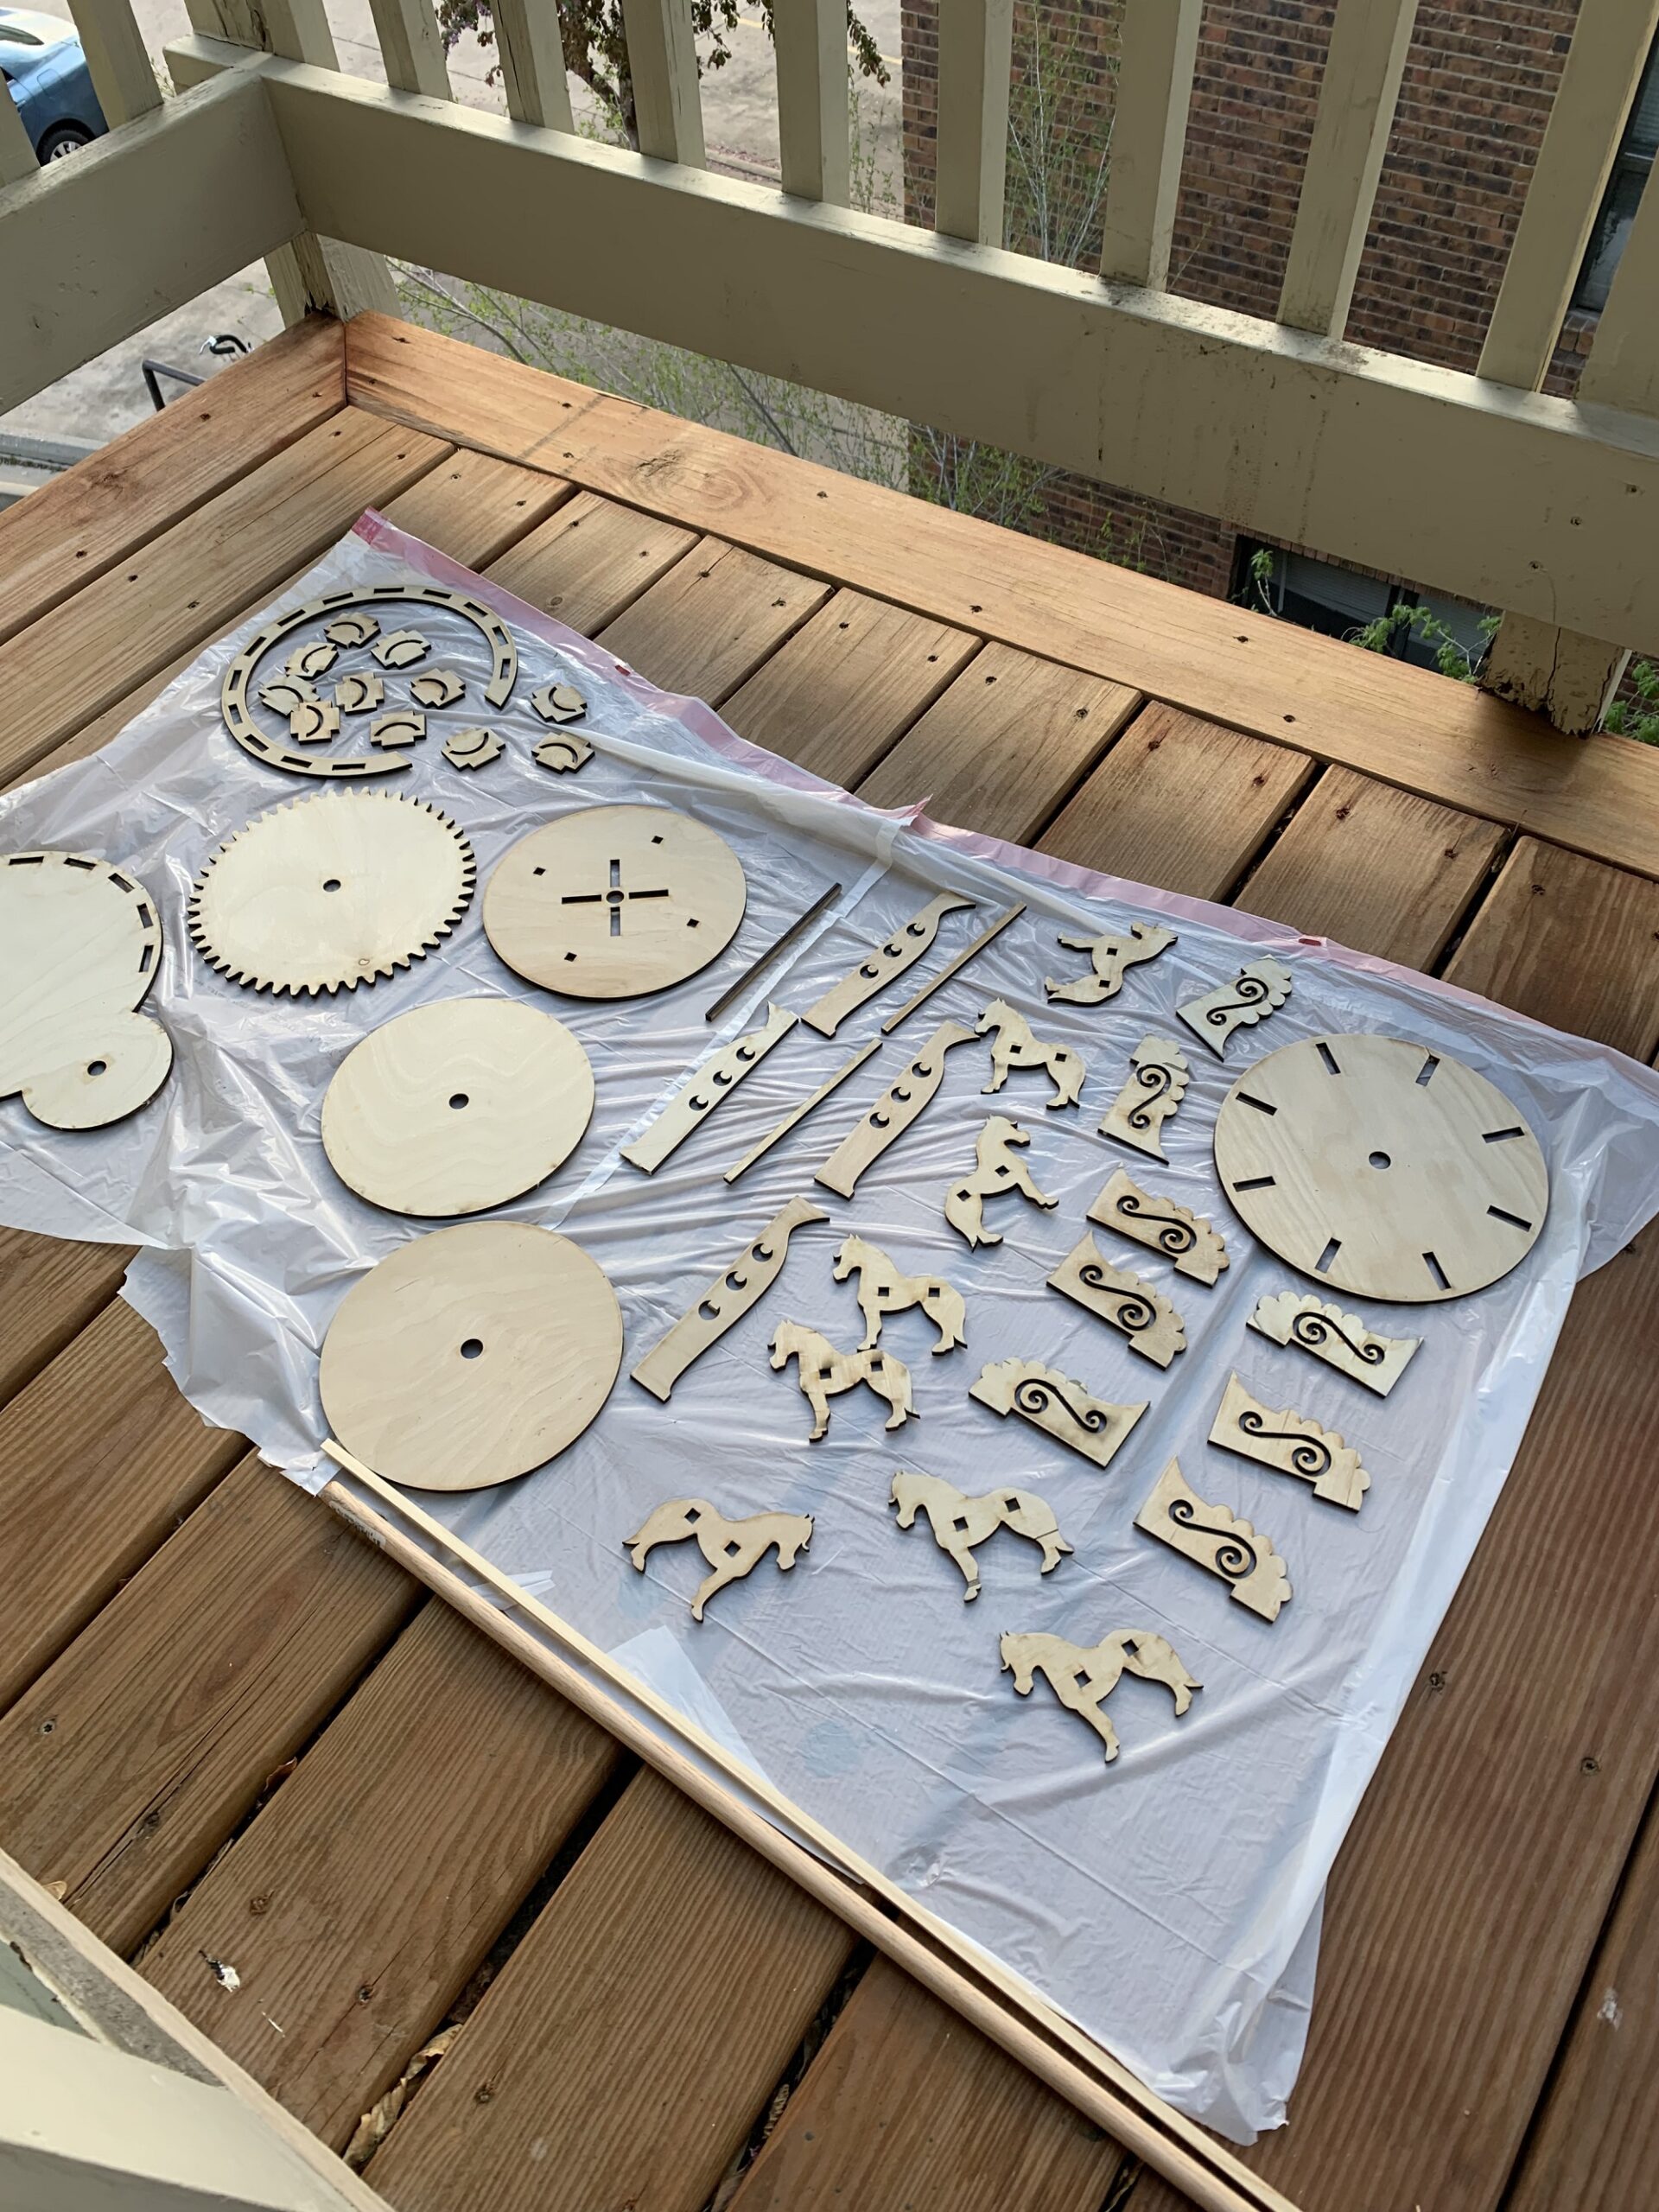
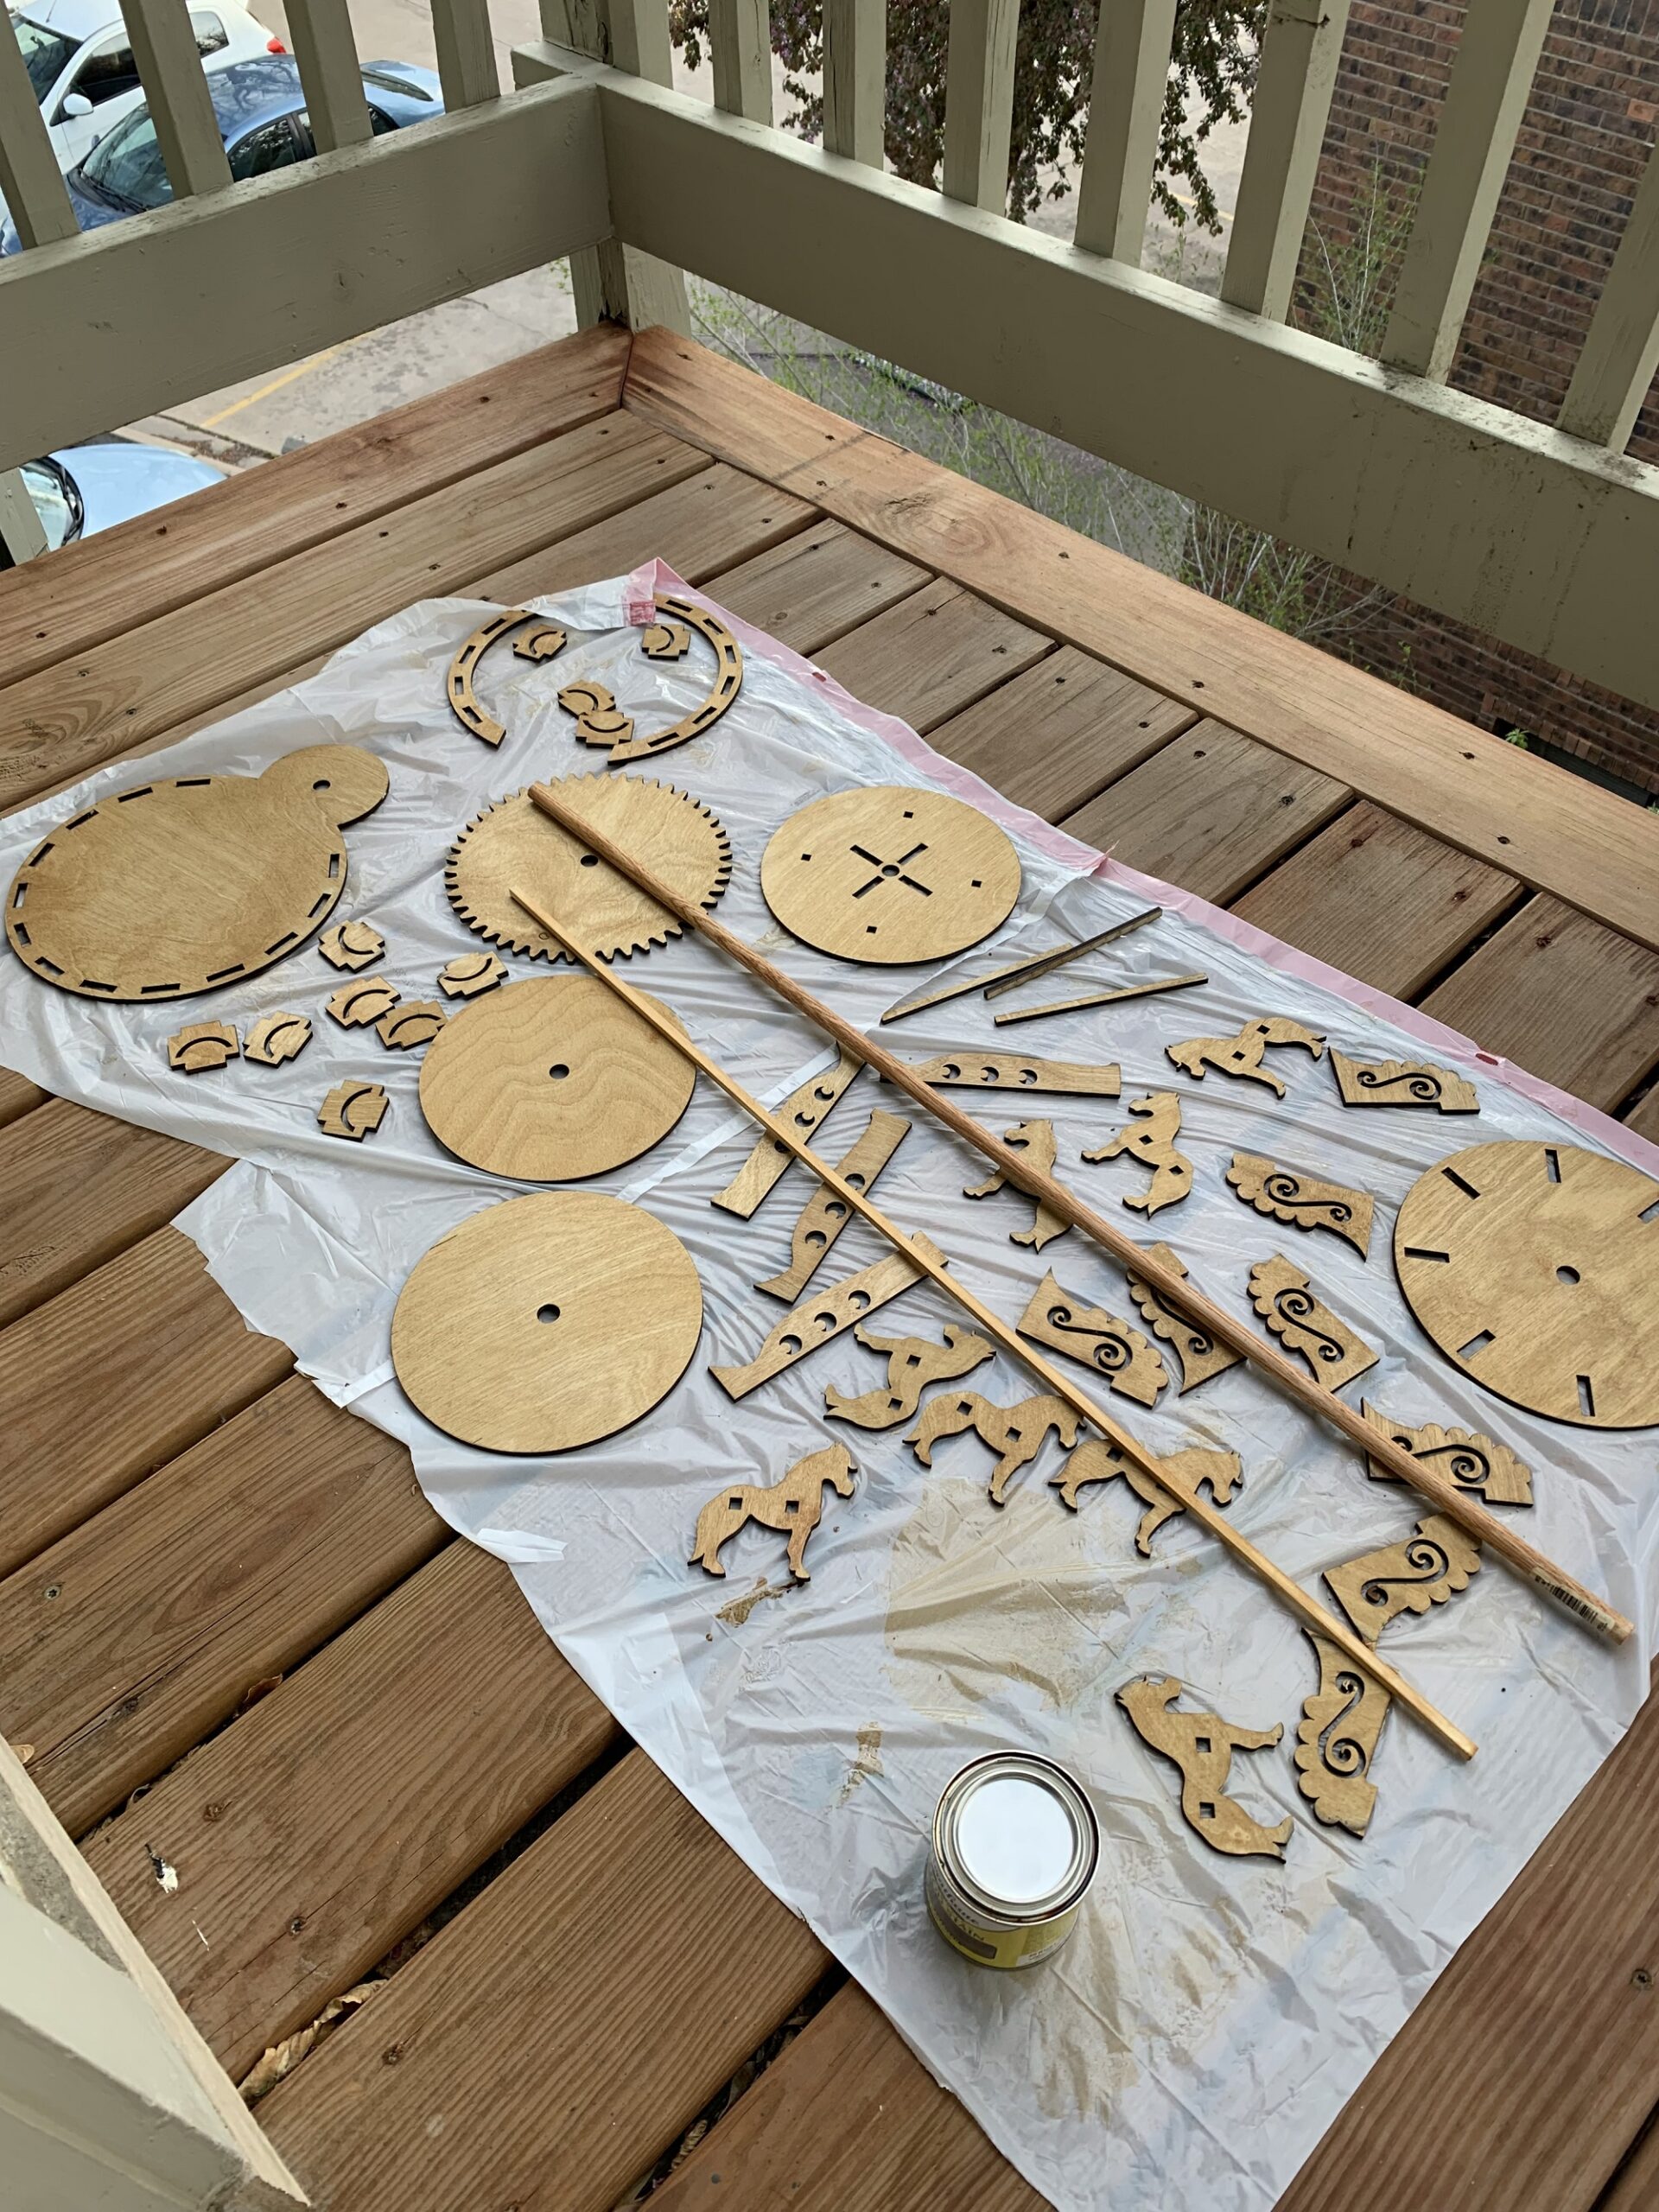
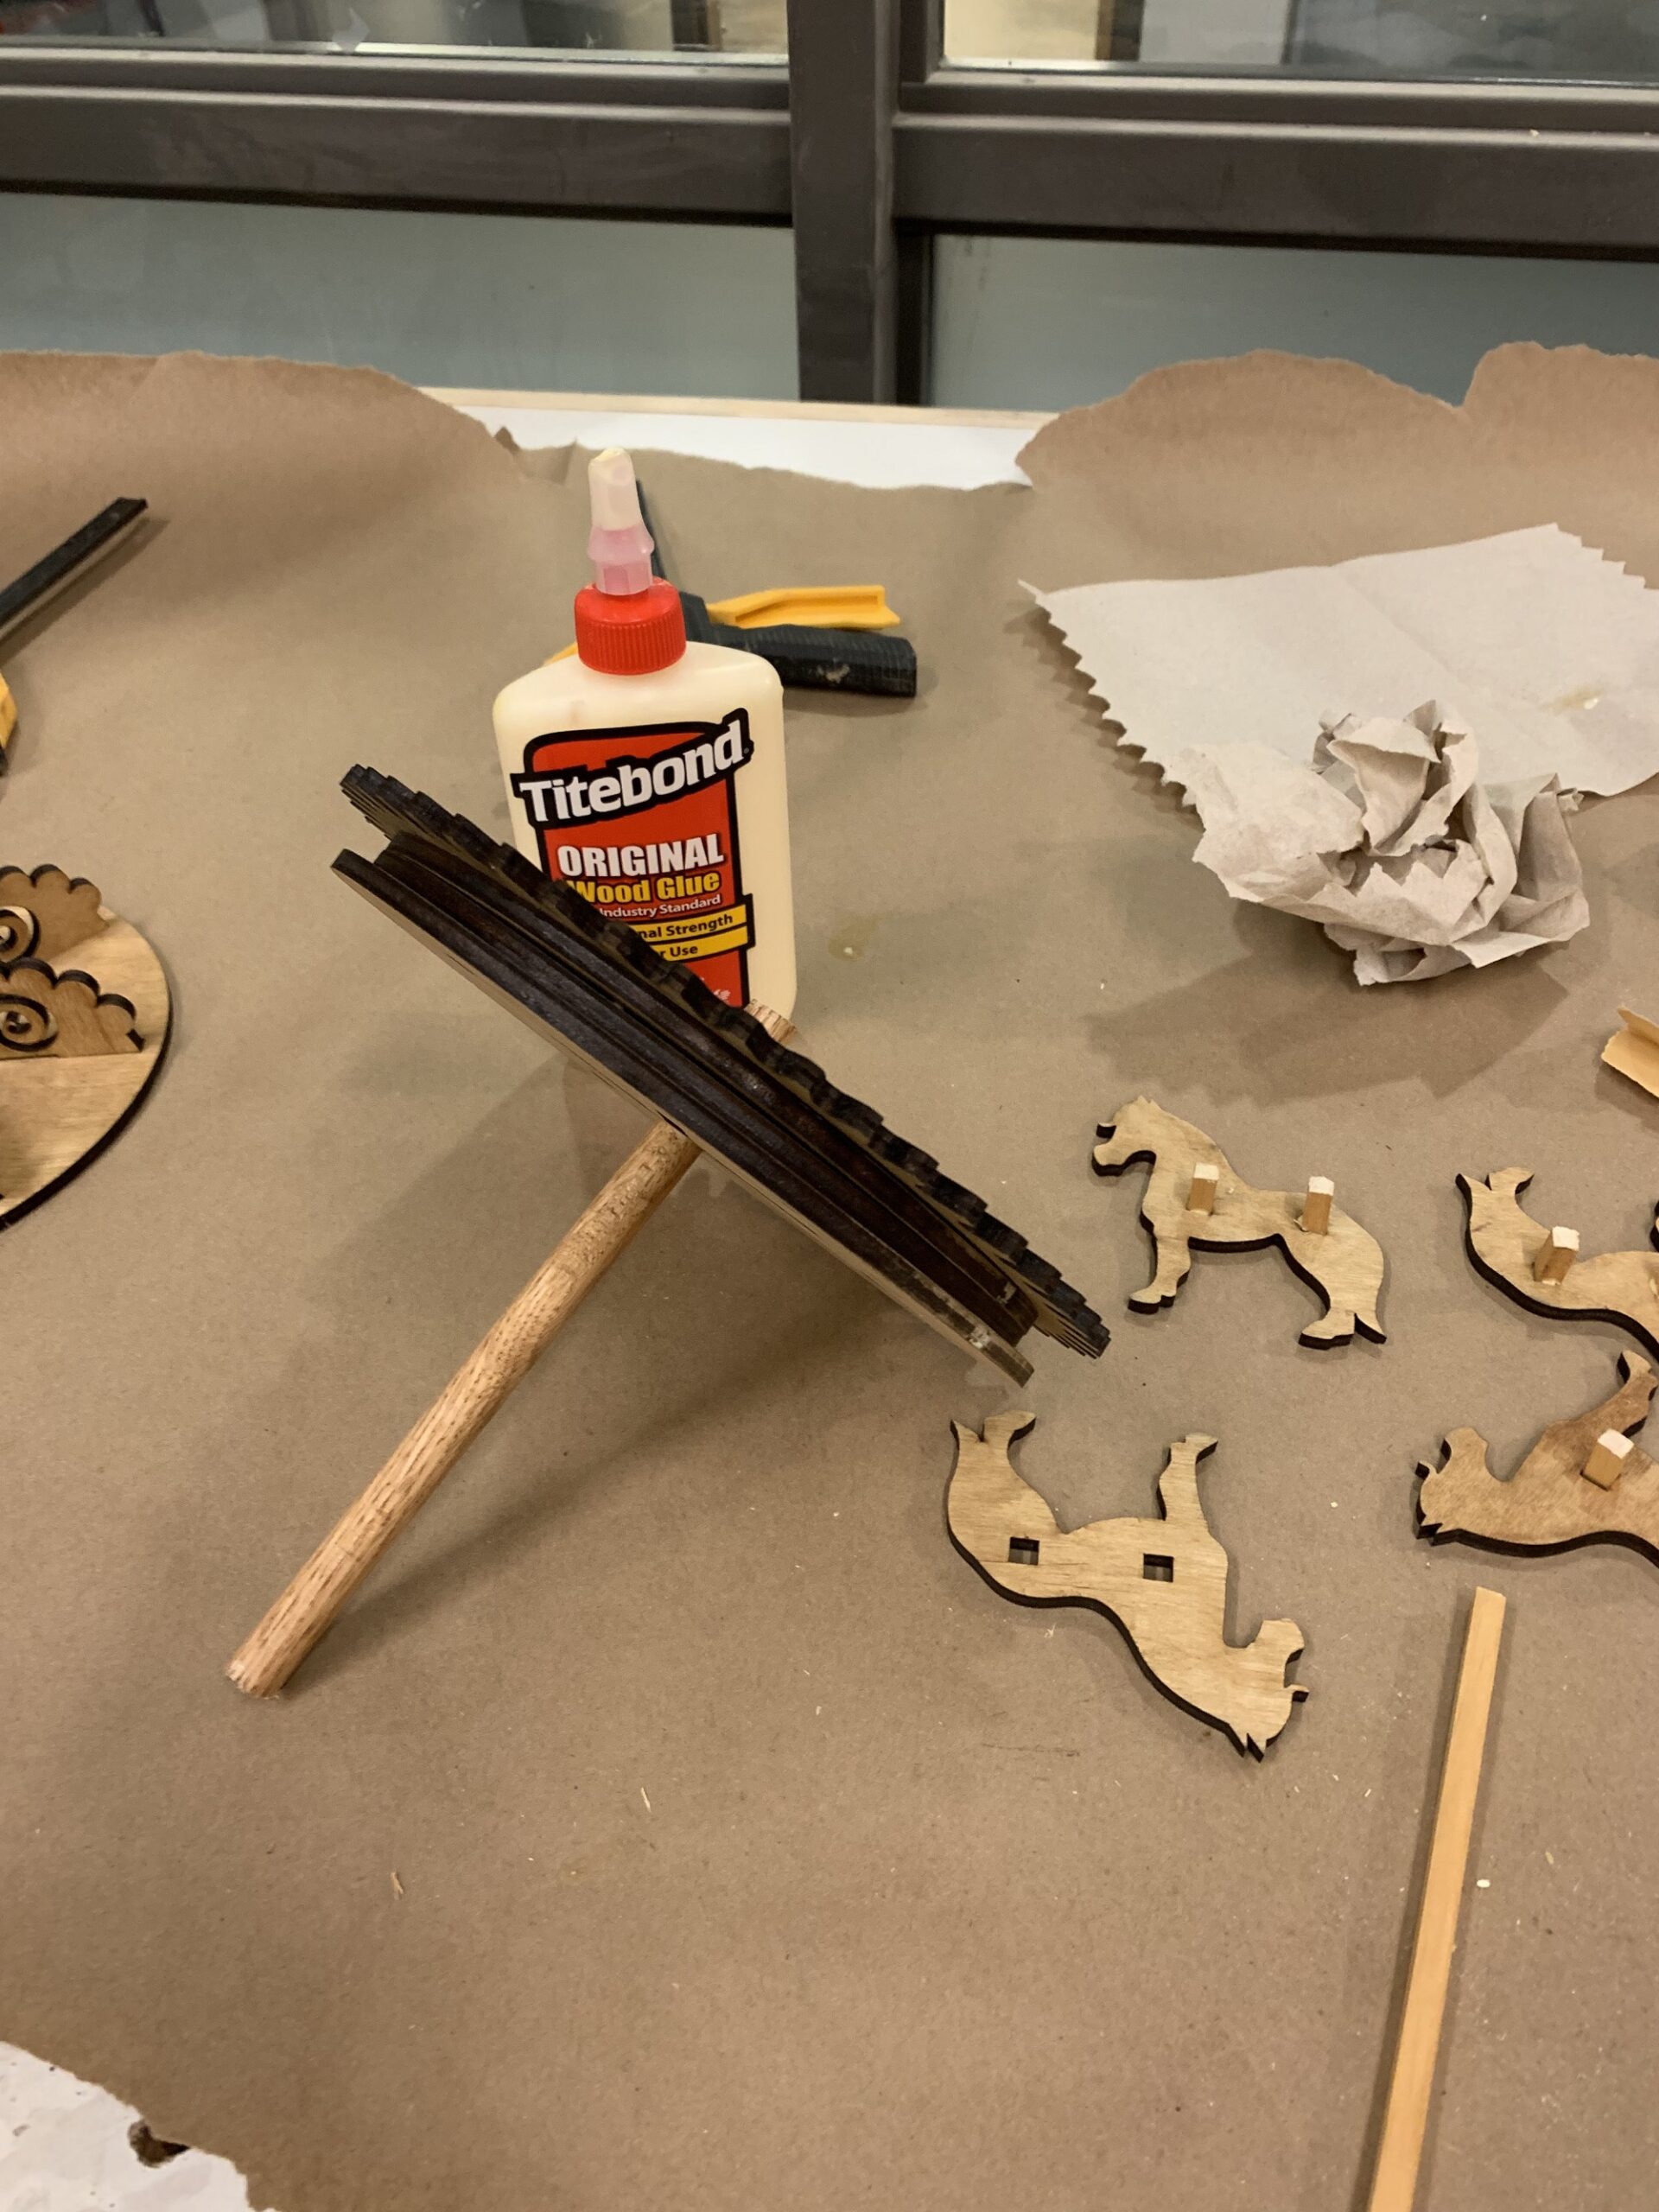
After I laser cut all of my pieces, I went home to wood stain them. Originally, I was not intended on staining my piece, however I wanted it to have a more professional look. I had never done this before and I think it turned out great. One thing I learned about sanding plywood is that you have to be very careful. Because plywood is made of very thin wood separated by glue, you cannot sand too much or you will see the glue.
I realized at this point that it would probably not work as a puzzle like I originally intended. Because I did not measure the exact width of the 1/4″ plywood because I made it, the pieces were too loose. This is definitely something I would take into consideration if I were to do a similar project. For this reason, I ditched the puzzle idea and glue all of the pieces together.
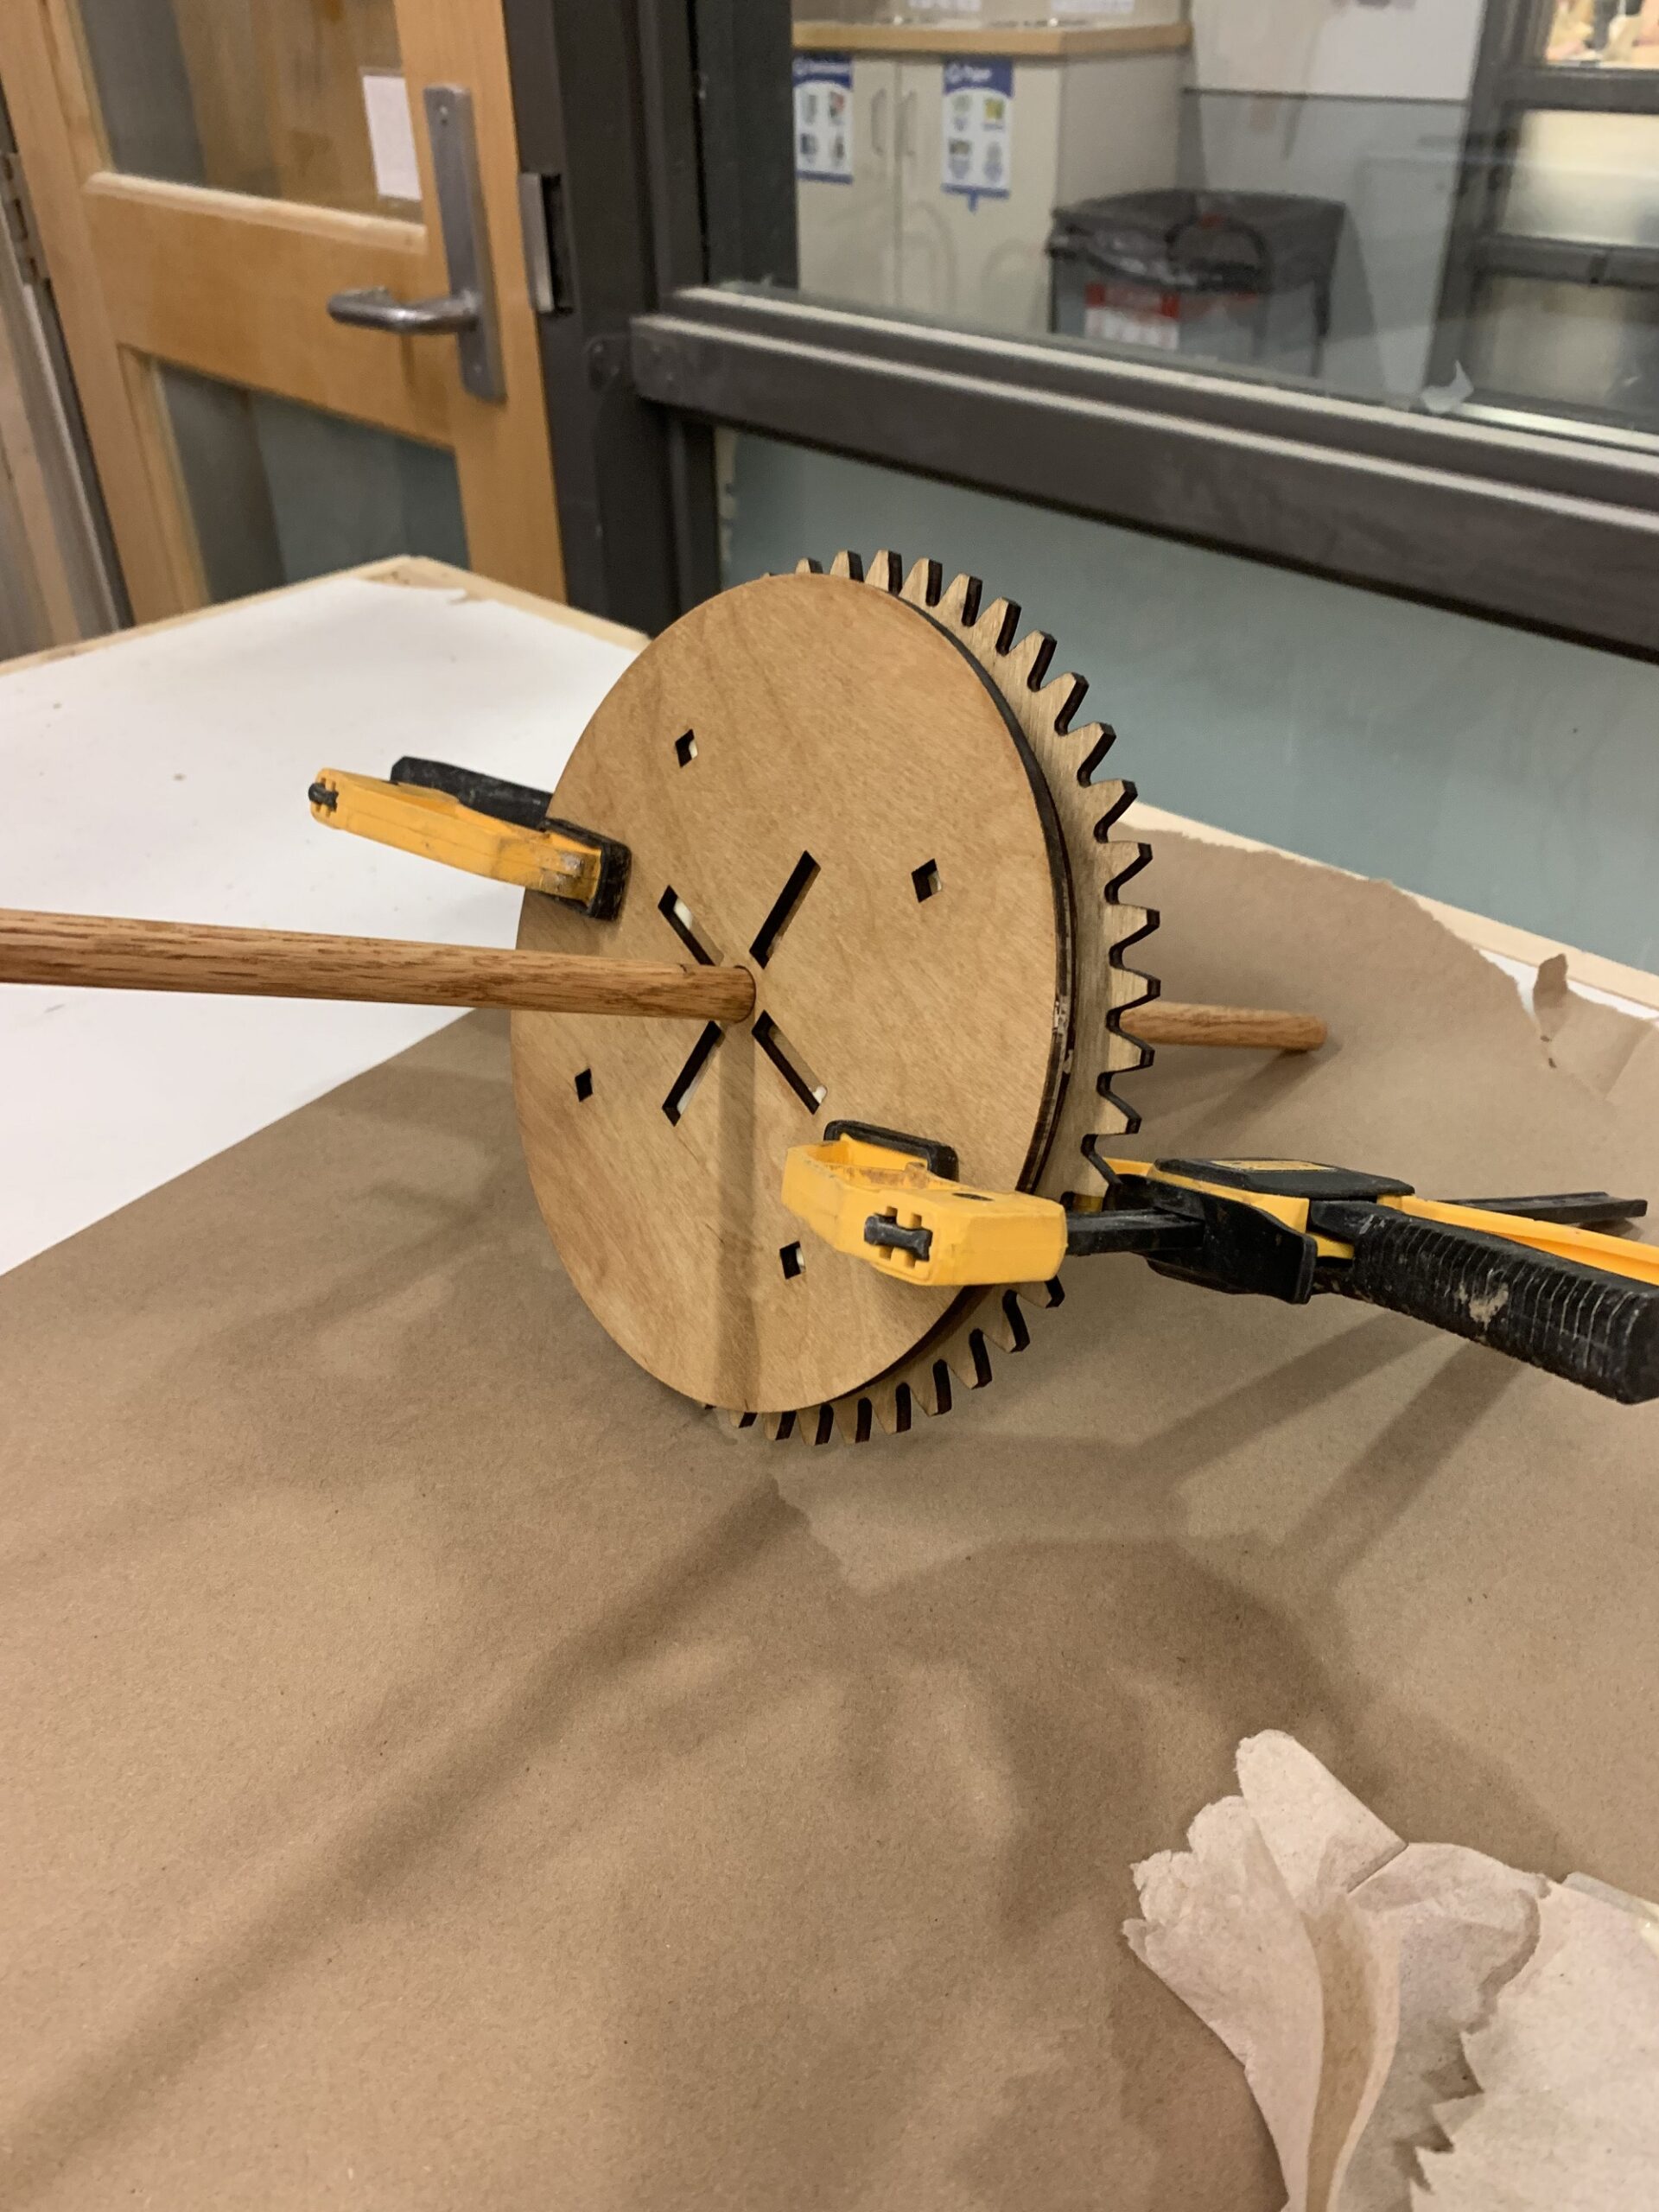
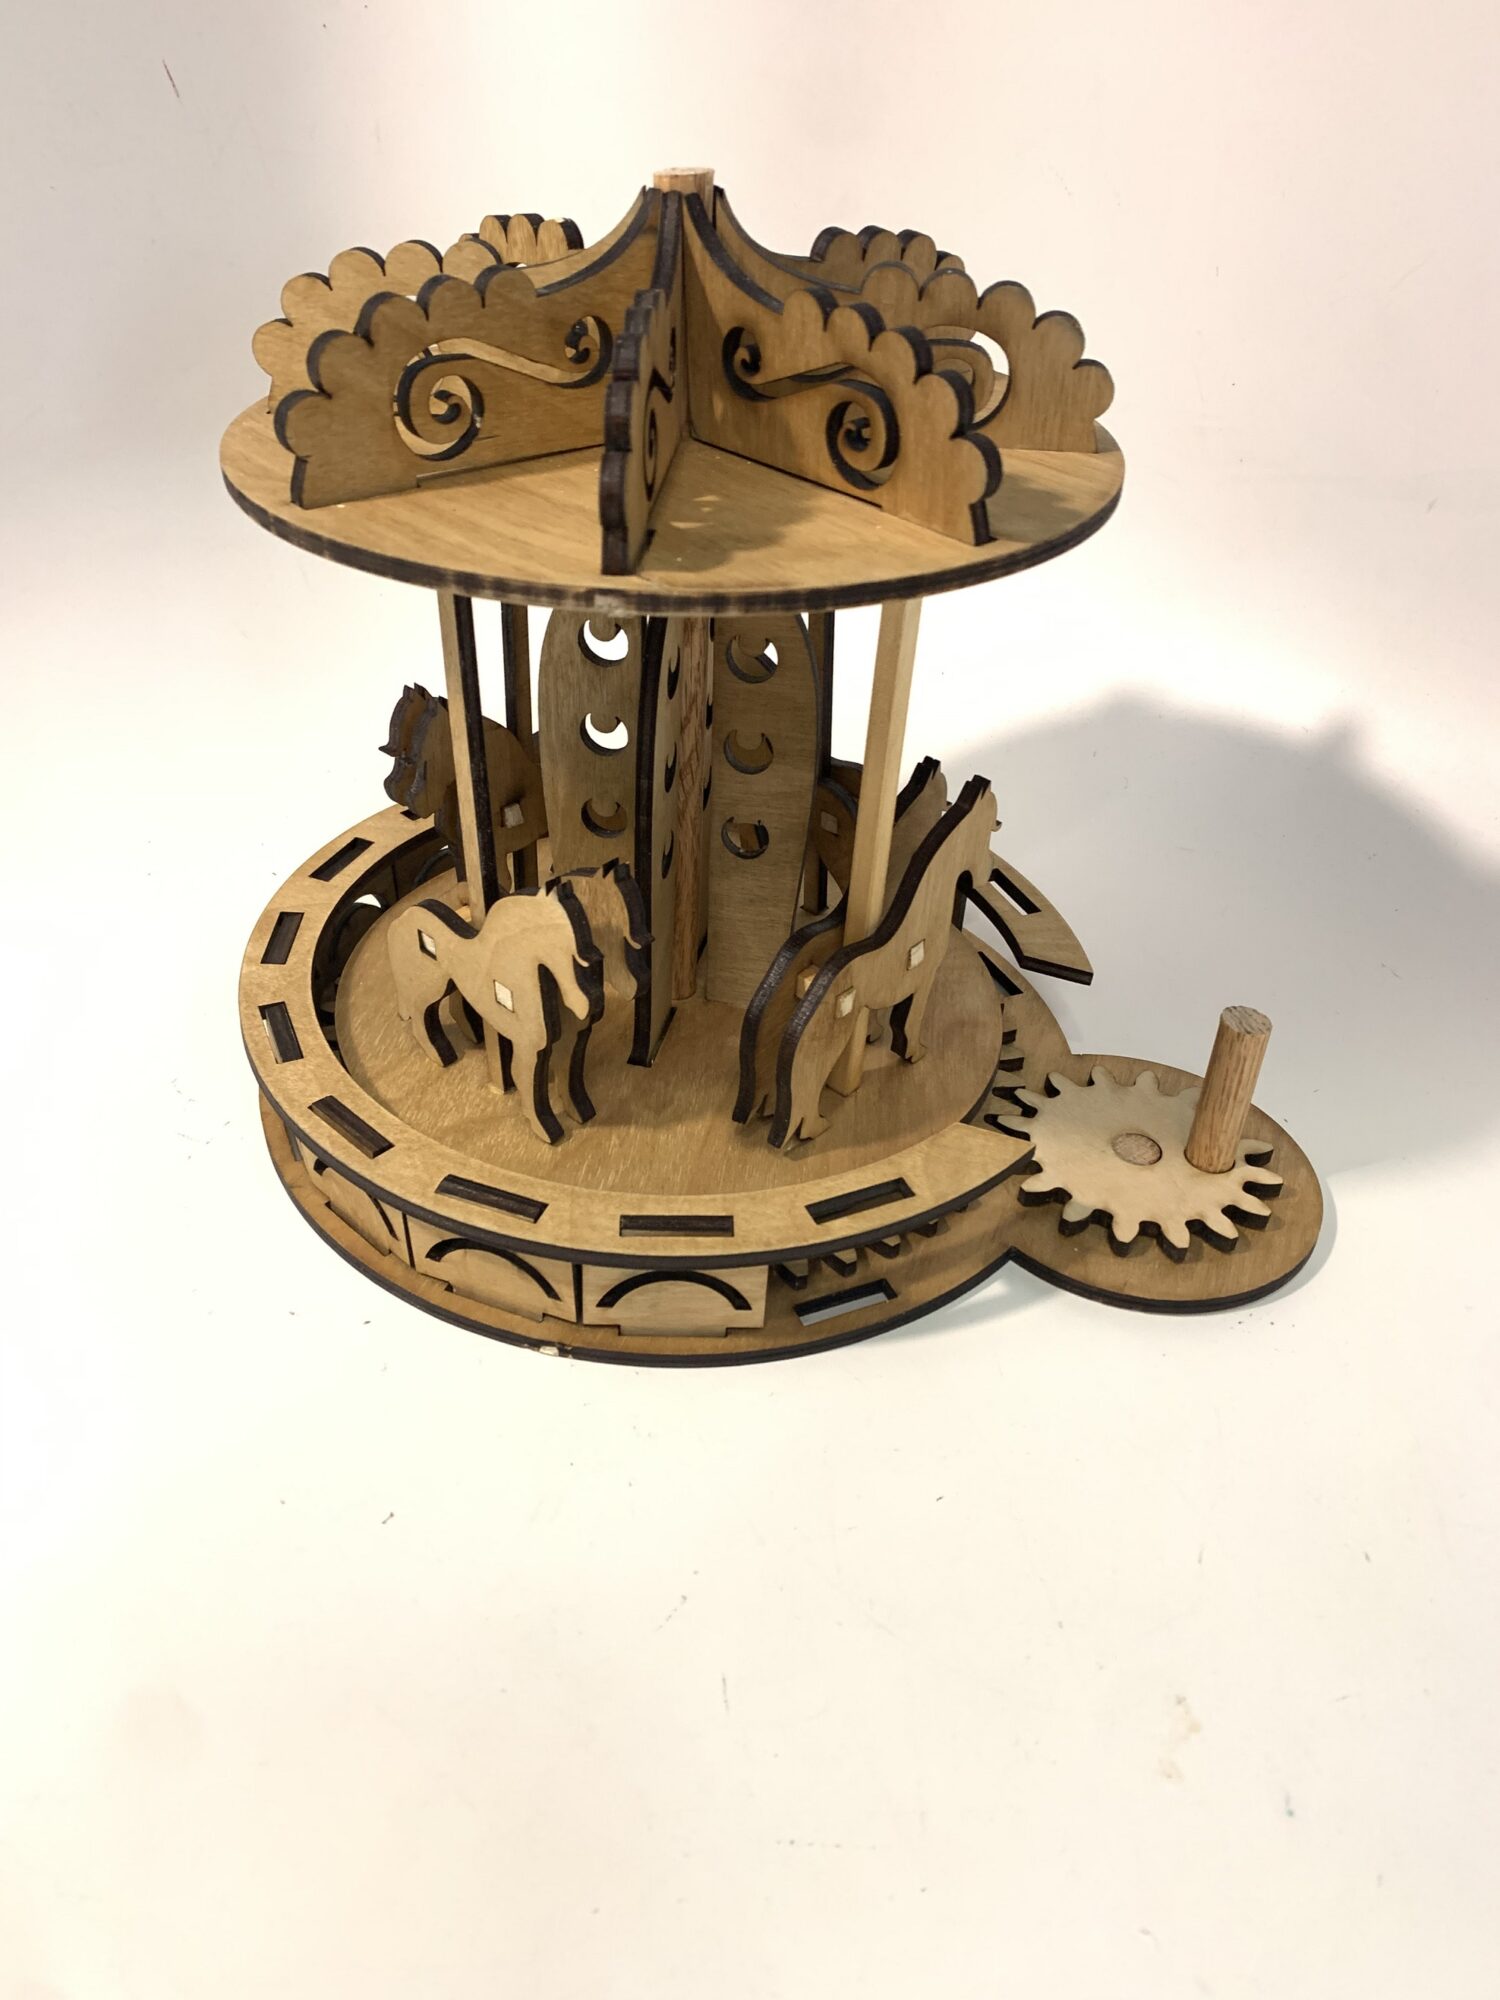
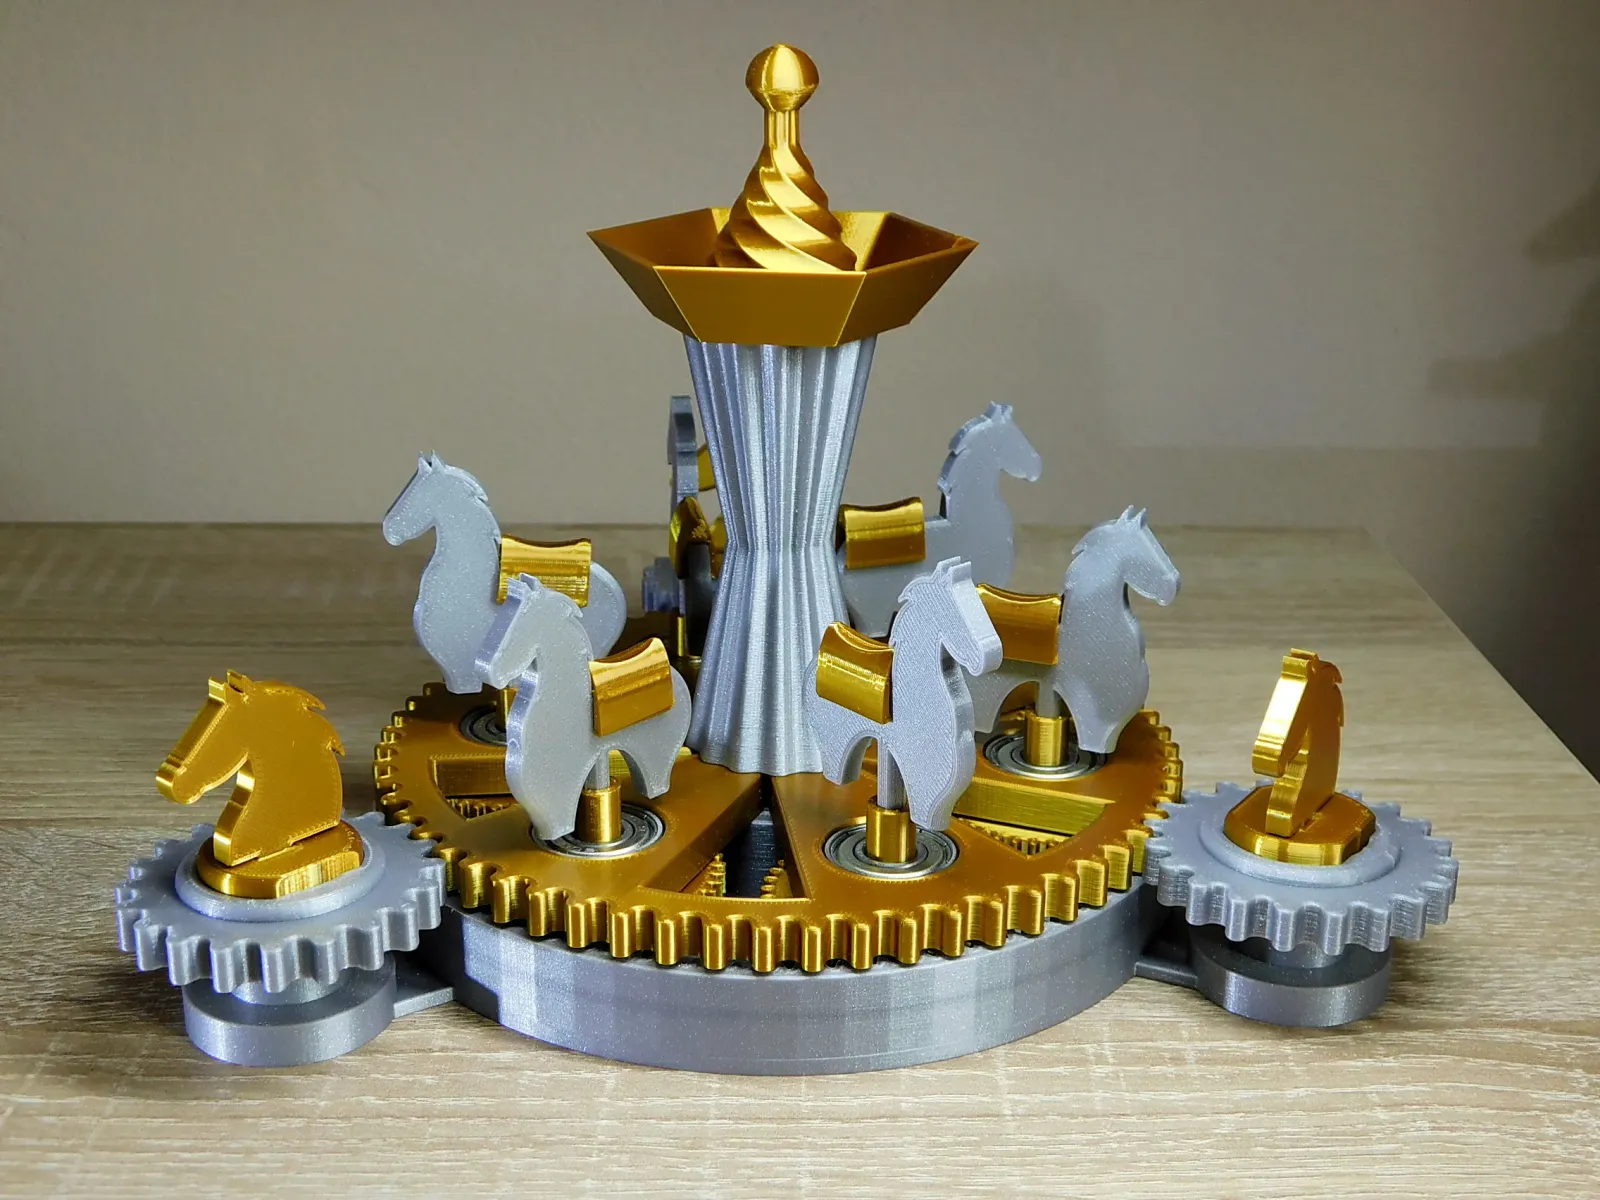
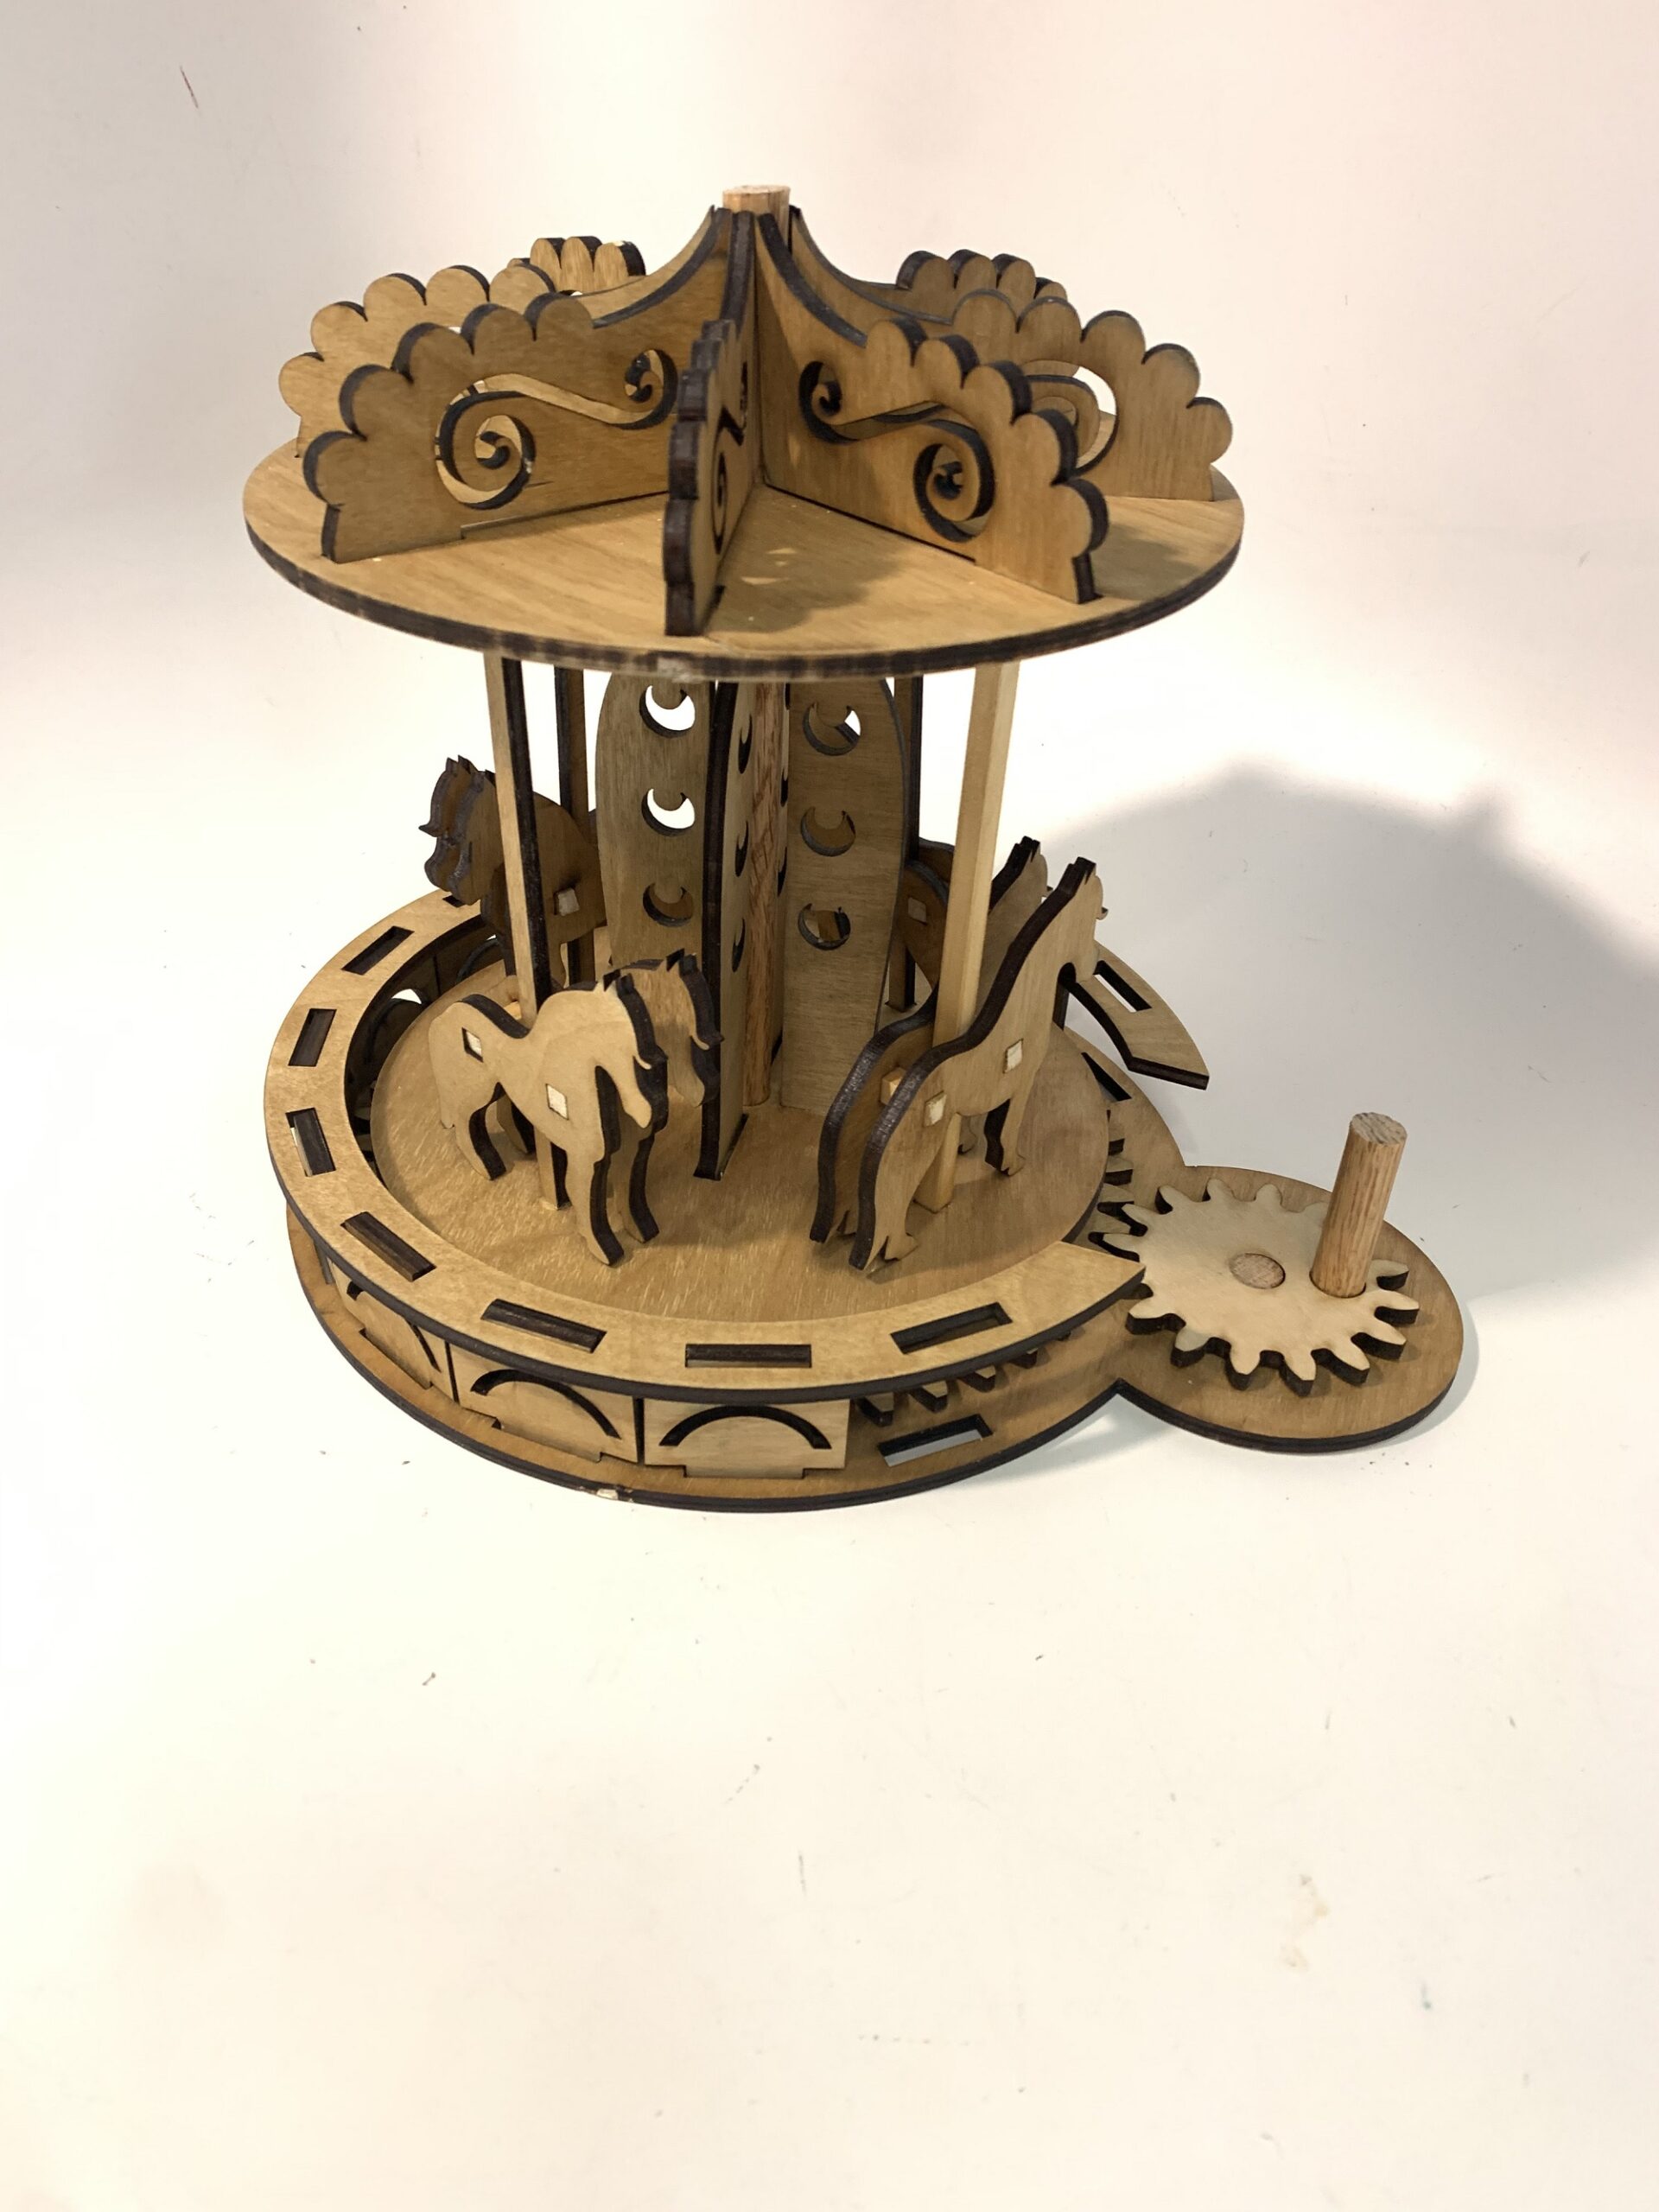
Finally, I could assemble all of the pieces. Once assembled, I had to return to the BTU one more time to sand a little more so the gears would function correctly. Overall, my piece looks how I wanted it to, has the aesthetic I was going for, and functions perfectly.
Where I Started
When I started this project, I knew that I wanted something that would be whimsical and have that childlike feel to it. In addition, I love the steampunk aesthetic of exposed gears to show the inner workings of things. I wanted to include both of these aesthetics to create a functional object that would feel very mechanical as well as fun. I felt that a carousel would match this aesthetic perfectly because it is already associated with whimsy and is a mechanical object. In addition, I wanted it to be able to come apart and put back together like some mechanical wooden puzzles I had seen online.
Where I Ended
In my final design, I feel that I matched these two aesthetics. It definitely could have matched the steampunk designs a little more. It would have been cool to incorporate more gears or more mechanical pieces if I had the time. Additionally, I think it is a whimsical designs especially with the horses, swirls in the top, and other embellishments I added. I would have liked to add a lot more whimsical designs too, but given time and material constraints I was limited. Finally, I unfortunately was not able to make it a puzzle as well, but it does turn as intended.
1 Comment. Leave new
Sophia, great work on the final project! I think the aesthetic is really nice. I know you wanted it to be more steampunk inspired but I think it works really nicely. You clearly spent a lot of time on the design and it shows. Would you consider making a second rev of this project to go really into a steampunk aesthetic or a strictly whimsical aesthetic. It would be interesting to contrast the two. That being said I like how you combined them and am excited to see it at expo. I just thought it could be cute to and in a little music box into the design as well.