
To overview my last post, I made an infinity mirror in the Abstract Tech aesthetic. In this post, I will detail my timeline and actual fabrication process of the project.
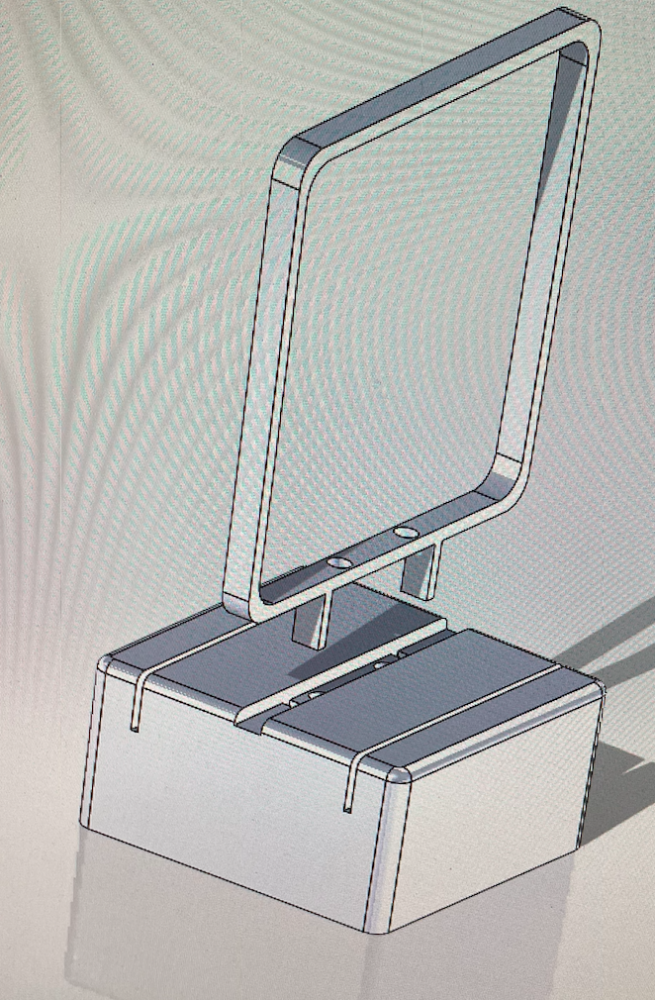
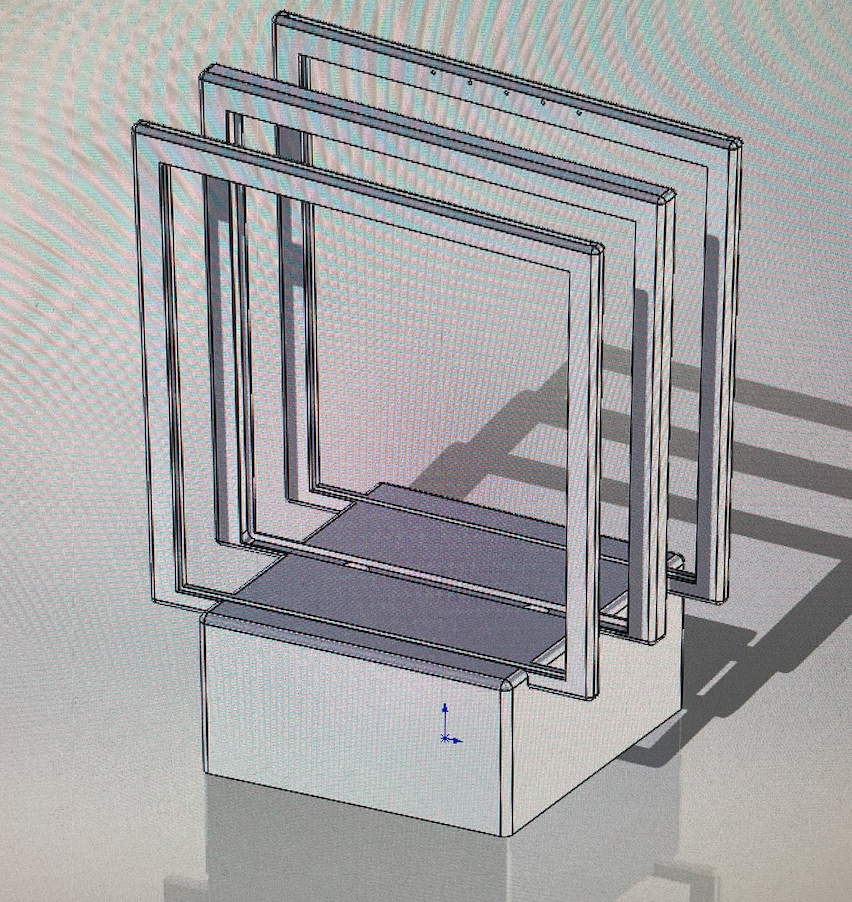
The main theme of my design process was revisions. I had a total of 4 different revisions in order to adhere to 3D printer constraints. Below is a photo of my design process from earliest on the left to final on the right.

![]()

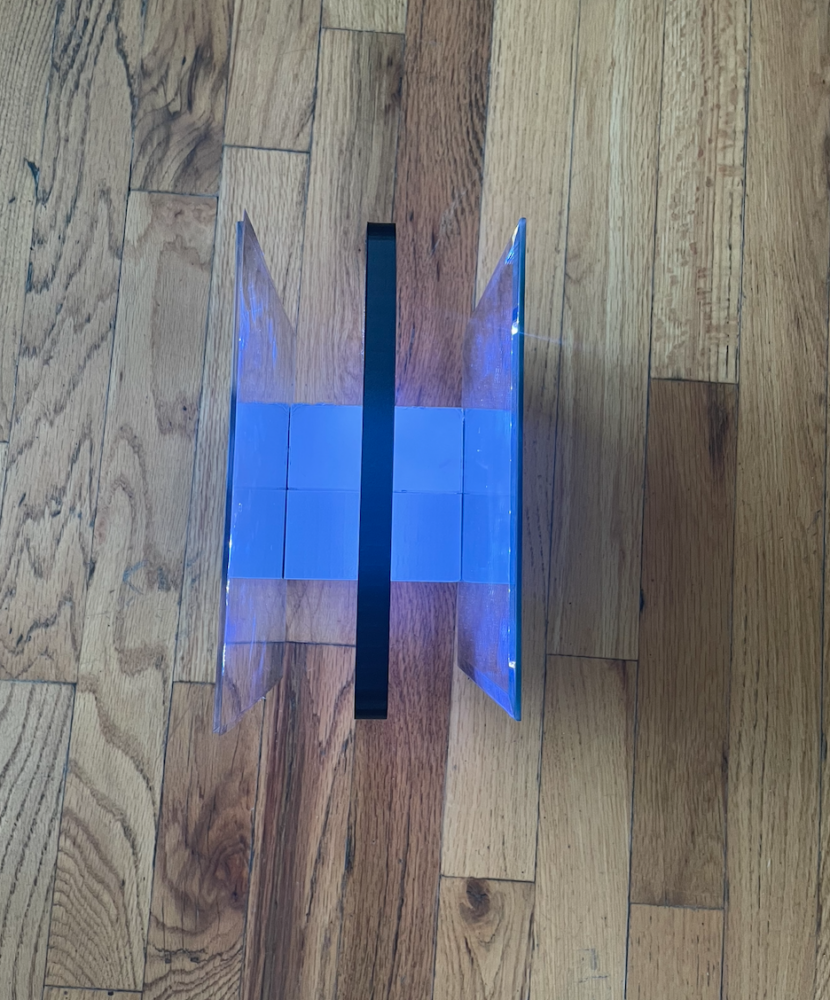
The main differences included in my final design are a split, thinner base, as well as slots for the mirrors to slide into easily. My fabrication process started with finding materials such as an adjustable LED strip, acrylic sheet, candle mirror, and 2-way mirror film. I then began 3D printing my frame. The process of 3D printing took about 2 weeks total, as I had to keep revising my design to make sure that my components printed properly. I think that I ran into every possible problem while 3D printing. On the bright side, I learned how to both laser cut and 3D print while building this project.
Once my parts were fabricated and cut, assembly was pretty straight forward. I had to cut my LED strip to the proper length, press my base pieces together and keep them in line with my LED frame, and then slot my mirror into the proper position. I also had to stick my LED strip firmly to the frame, as well as attach the housing for the strip on the inside of my base. Good thing I designed to house my electronics underneath the base in order to hide them.
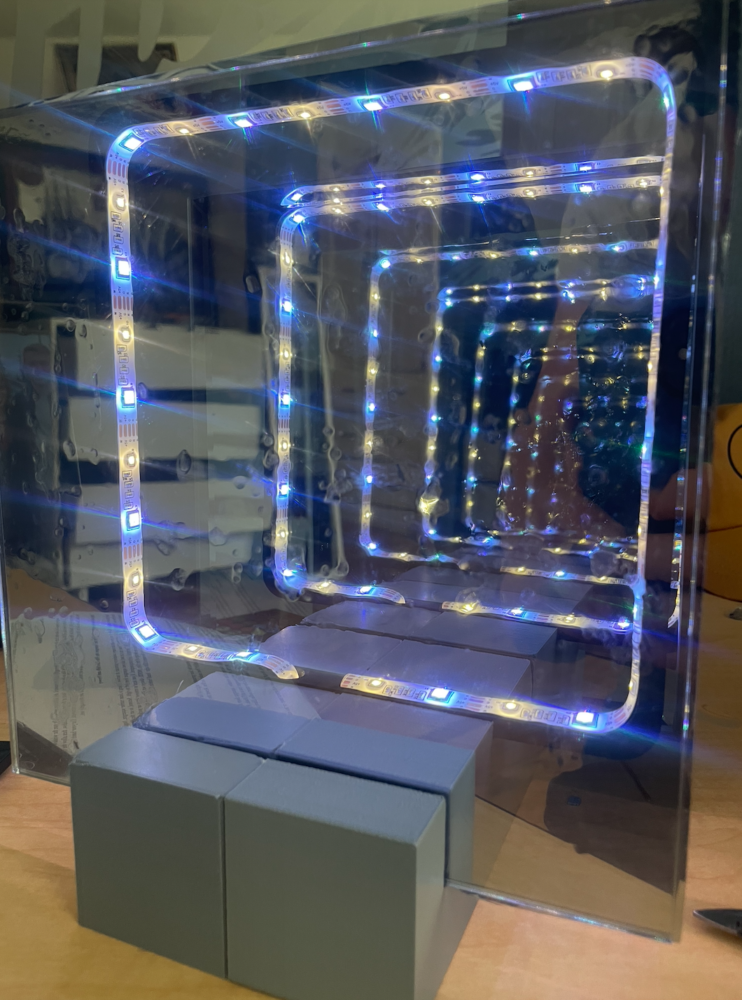
The trickiest part of fabricating was putting the 2-way mirror film on the acrylic sheet. I followed the instructions, but I still yielded a bubbly, foggy result. This is due to me not being able to clear all of the liquid out from under the film before the glue dried. If you look closely, you can see these bubbles and fog underneath the film. I only have enough film for one more attempt, which I plan on doing before expo. I did not want to mess it up again and have nothing to present in my posts/presentation so I am holding off on re-trying that for now.
My fabrication process actually did match my intended timeline pretty well, besides for 3D printing taking longer than I intended. The following timeline was my intended timeline in my design preview, and everything is accurate besides for taking an extra week to 3D print.
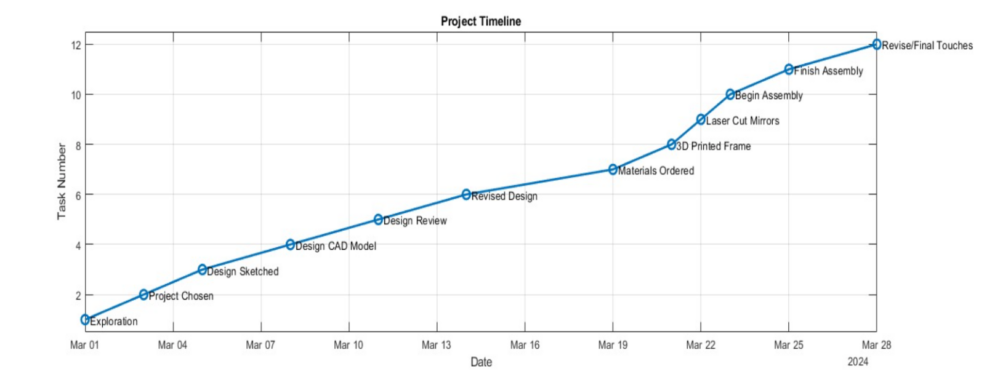
I was done with the project a few days after my timeline ends. Overall, I’d consider my project a success, as I learned a few new engineering skills, learned a few new CAD tricks, and executed fabrication despite clear challenges for me.
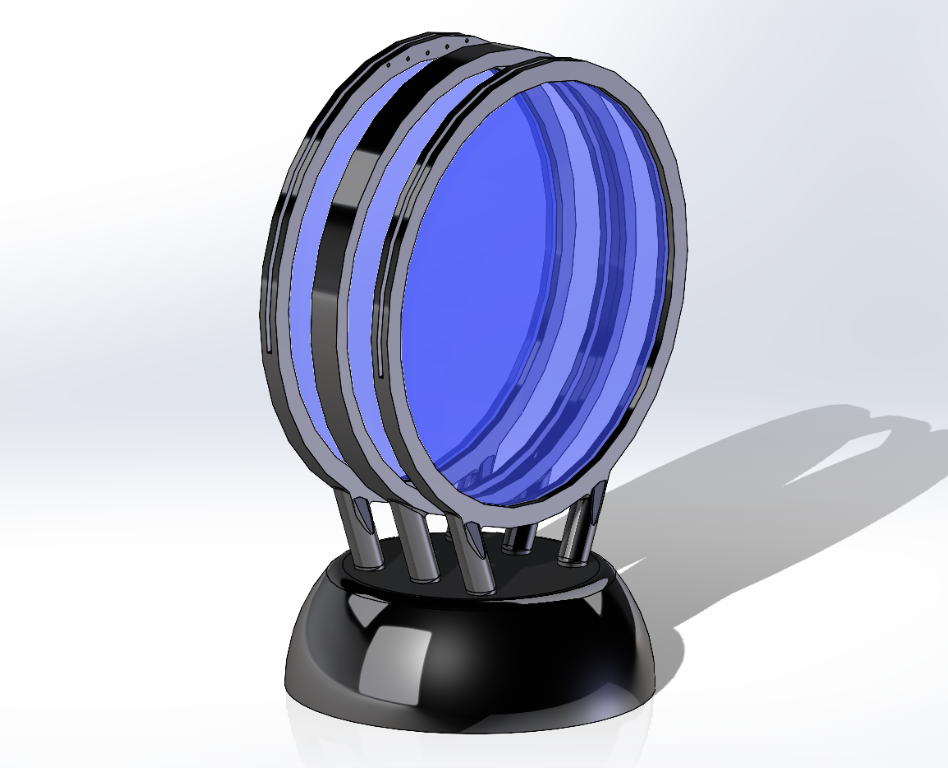
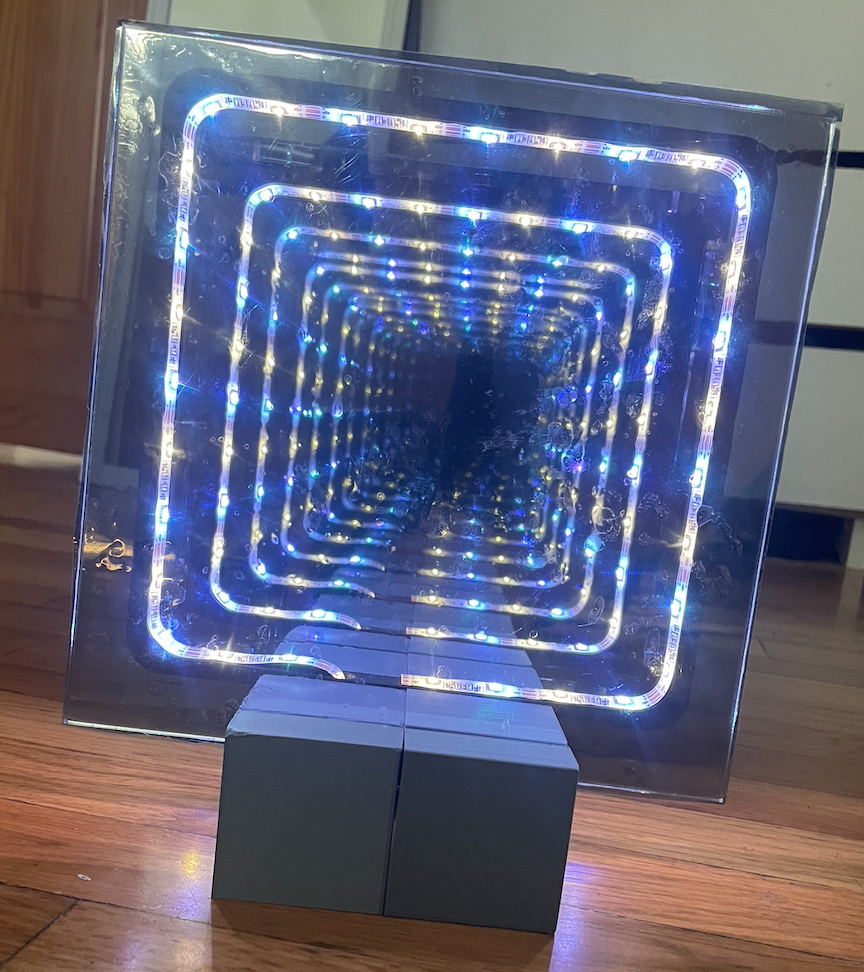
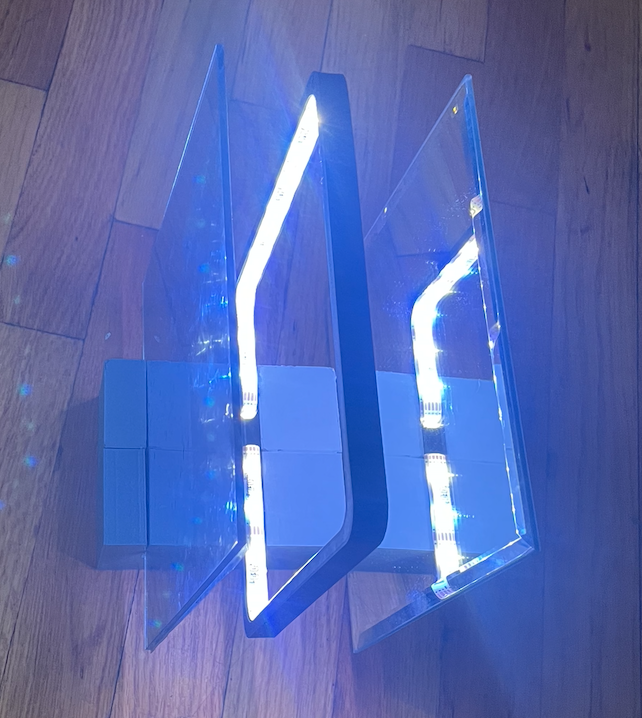
I believe that the Abstract Tech aesthetic was done well in my project. My initial vision was to provide viewers a totally different aesthetic when they look into my project, which I believe worked out as intended. The repeating pattern of the LED’s inside the mirror remind me of many other Abstract Tech art works. Also, I like the patterns on the 3D printed components. I am proud of being able to hit the intended aesthetic using such simple materials and processes, and I hope that people will like to see it at expo! Below are some more photos of my final result.
![]()
1 Comment. Leave new
This looks sick!! Feel like I am in the matrix~ Would you consider making the LED’s be dynamic as well? Like you are going down a wormhole typa sorta thing?