


 Joshua Beijer
Mid-Century Modern Momento Mori Spinner
I started the fabrication process for this project almost immediately after I finished the upcycling project. My design had two main components, a resin skull in a resin ball, and a wooden spinner. I had an idea of what I wanted to do and I knew that it would take a while to learn the new skills required for resin forming. I also knew I wanted to use gold flakes in the skull to add a pop of color. I started off experimenting with the resin, trying to keep all factors in the forming process (ratio, mixing time, temperature, etc) as consistent as possible. However, as can be seen below the resin did not turn out as I had hoped. It never fully hardened and made an absolute mess every time. After this, I made sure to mix the resin for a lot longer than the instructions dictated. This led to a fully hardened skull and hardened ball, but a misformed and cloudy one. I used silicone molds for both the skull and the ball.
Initial resin attempts
On my next attempt, I tried mixing the resin slower and letting it sit for a while before pouring, as well as trying to remove some of the bubbles using a homemade vacuum chamber using saran wrap and a syringe. This resulted in a fully hardened skull and a clearer ball, as seen below. It was difficult to get the skull suspended in the ball, but I used a gluestick to hold the skull while the acrylic hardened.
Final resin attempts
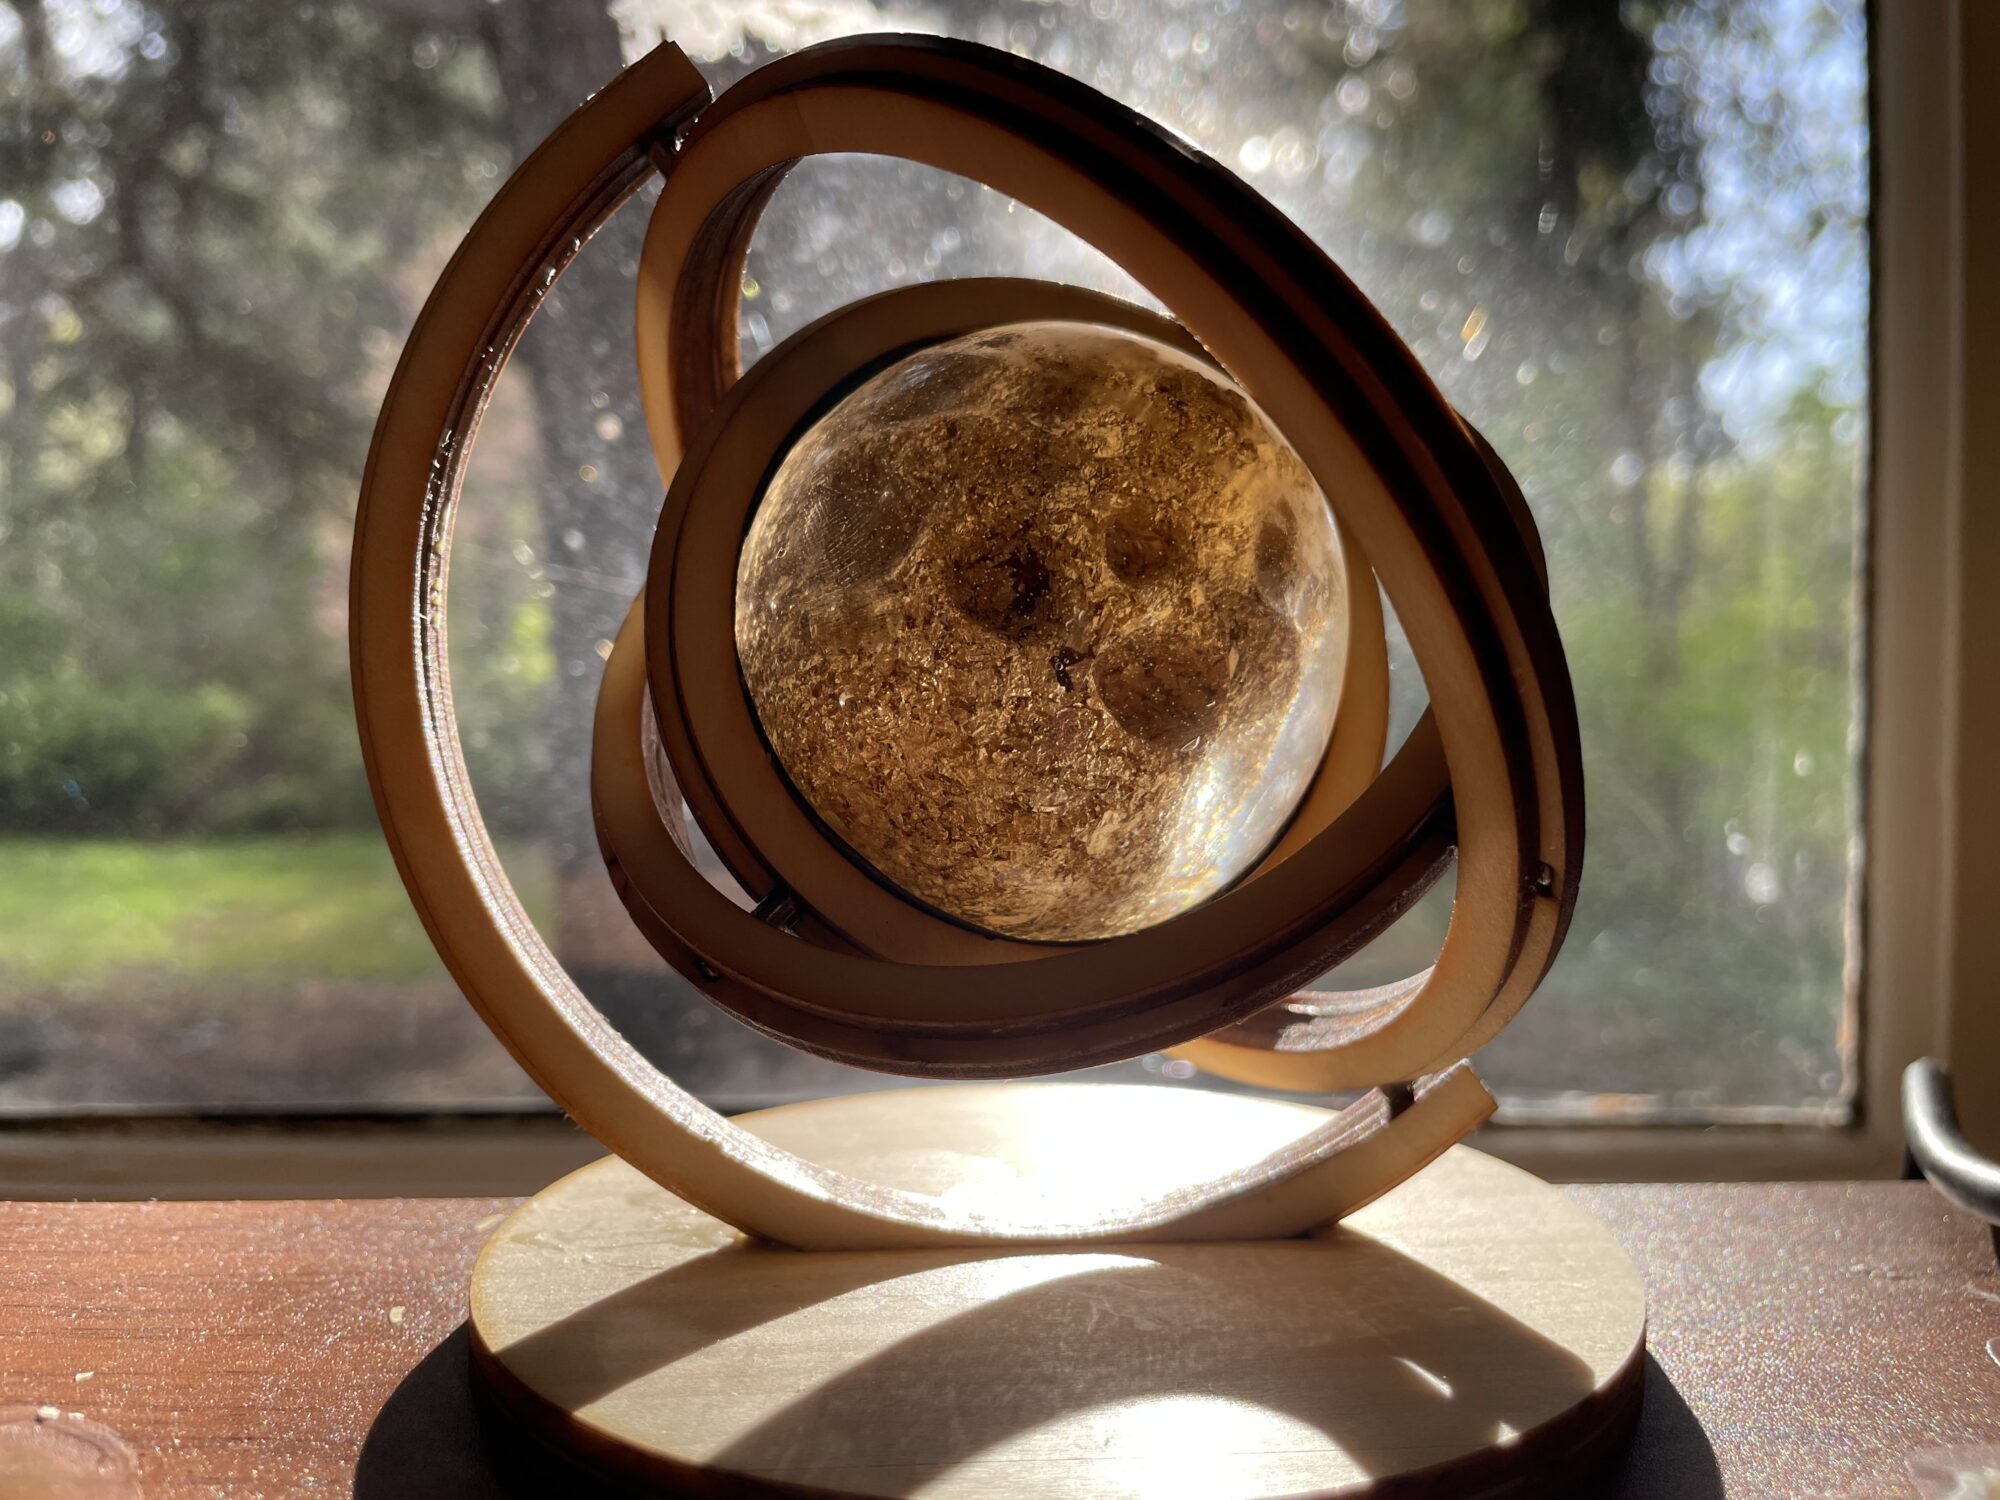
The resin ball had a curious effect where it distorted the skull within it. The skull is still the same size and shape within the ball but it appears to be much larger, and even just looks like a gold ball from some angles. At first, I was upset by this but the look has grown on me.
While I was working on the resin, I started fabricating the spinner. I thought that this would take significantly less time because of my experience with laser cutting. On my first attempt, I cut the wood out of a single layer of 1/8-inch birch plywood. It cut very smoothly on the laser cutter and left a cool surface finish on the edges. However, this design was too flimsy and I did not have an accurate way to drill holes into the wood for the dowel pins. This led to misalignment that would not allow the rings to spin, as seen below.
Initial spinner design
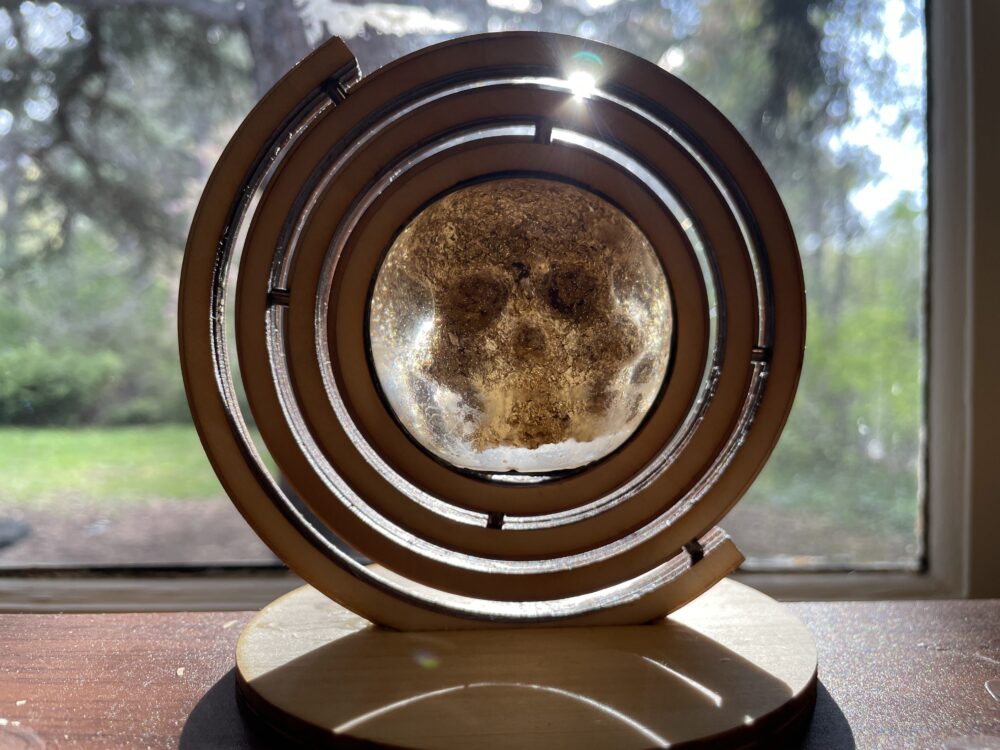
My subsequent revisions of the design all included three layers of plywood, partially for structural integrity and partially to allow for larger dowel pins. I was then able to cut the holes for the pins with the laser cutter to ensure alignment. These revisions spun significantly better as well as looked more pleasing. I held the layers together with wood glue and added lubrication to the pins. I went through four different revisions to get the perfect fit and used most of my plywood sheets, as seen below.
Ultimate spinner design
Here is a picture of the supplies I used (minus the resin) to fabricate the spinner as well as some pictures of the final product. The ball is pressed-fit into the center of the rings, allowing me to fine-tune the balance of the rings so they can sit in a closed position. The final product spins freely and is very satisfying to play with. Overall I created a pretty desk toy that serves the purpose I intended.
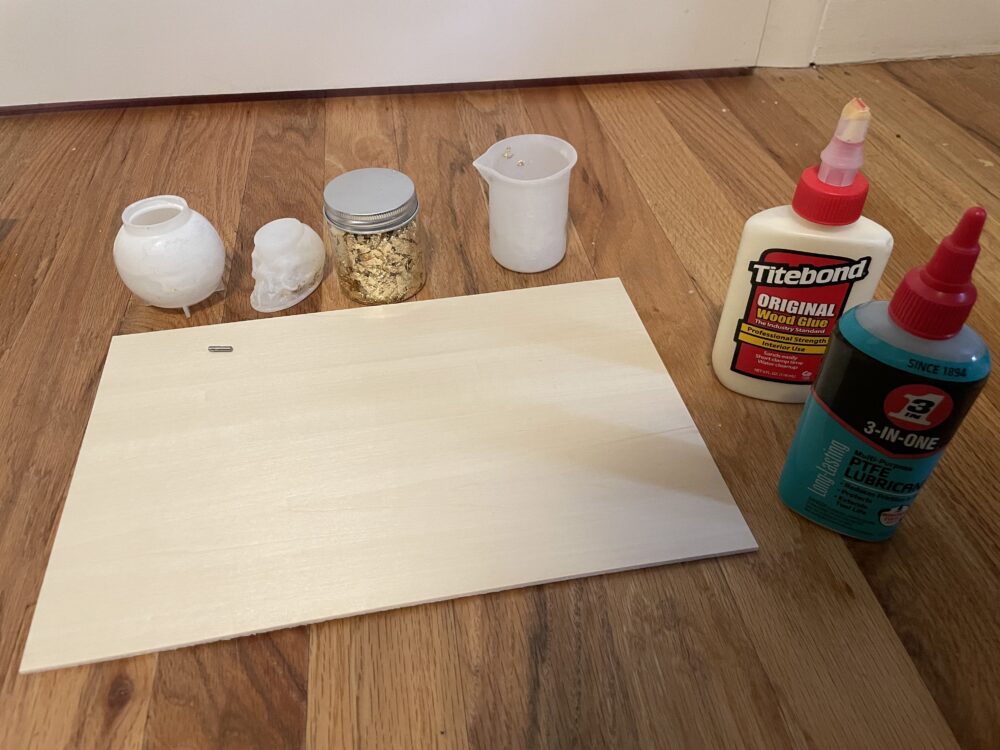
Materials
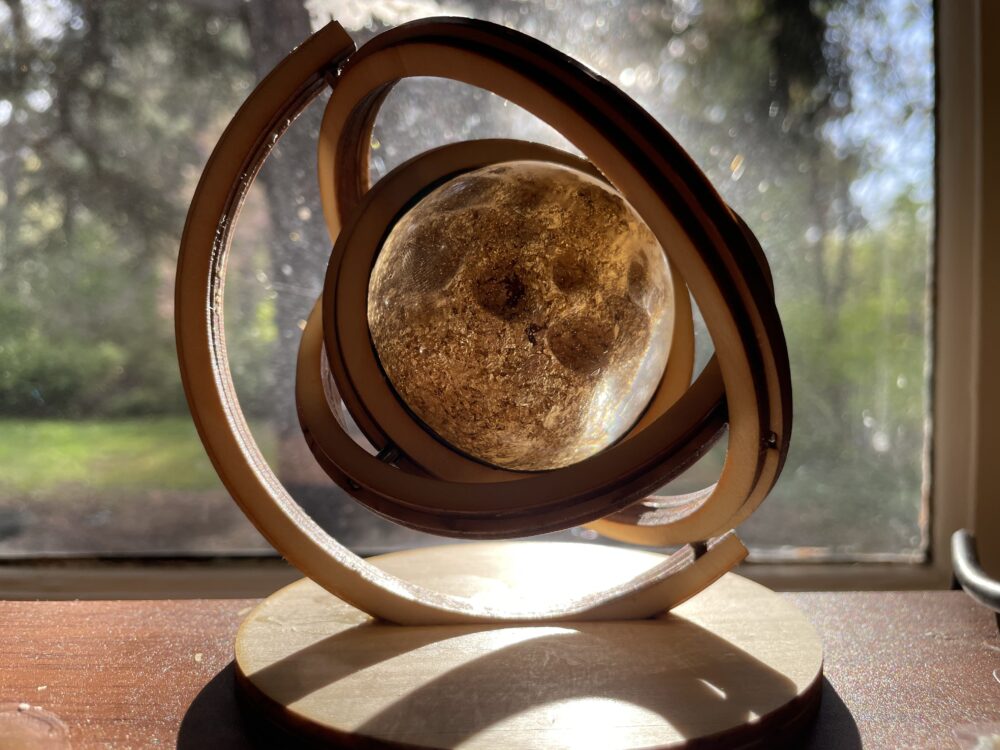
Final product
Thank you all for coming on this journey with me. I learned a lot through this process about the aesthetics of design.
2 Comments. Leave new
If I were to redo this project I may make it out of metal. I think the aesthetic would be different but it would spin for longer which would be fun.
Great project, I look forward to seeing it function at expo. If you were to redo this project would you go about it the same way?