
The process for developing the was broken down in several steps. First step was tearing the CD player down to see where I needed to design mounts for existing features.
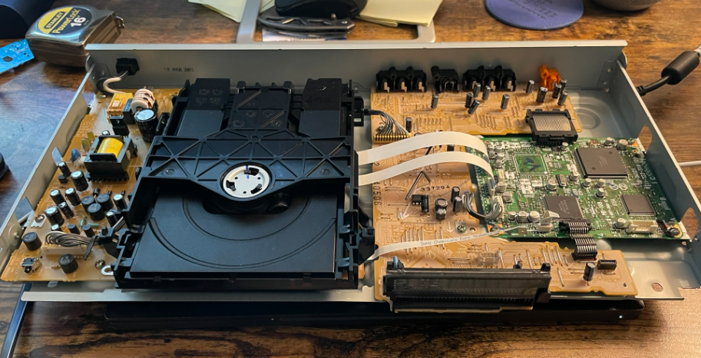
I then took measurements of the length/width/height of the device and designed a enclosure for it based on 1/8″ acrylic.
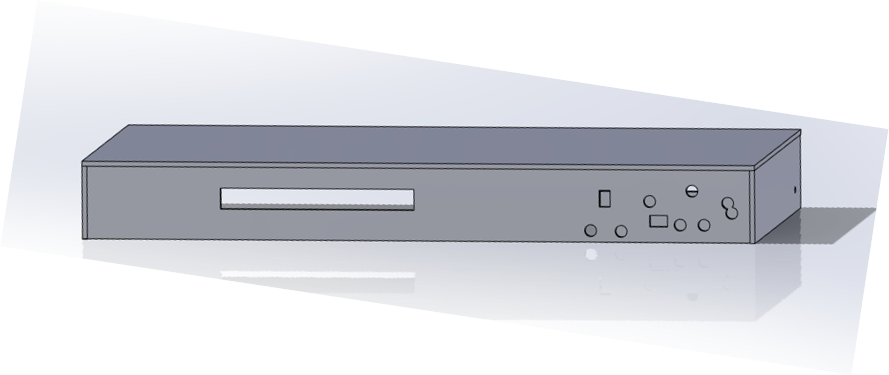
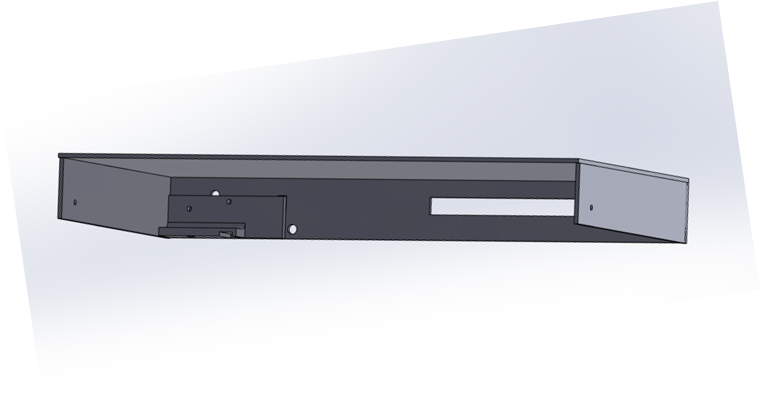
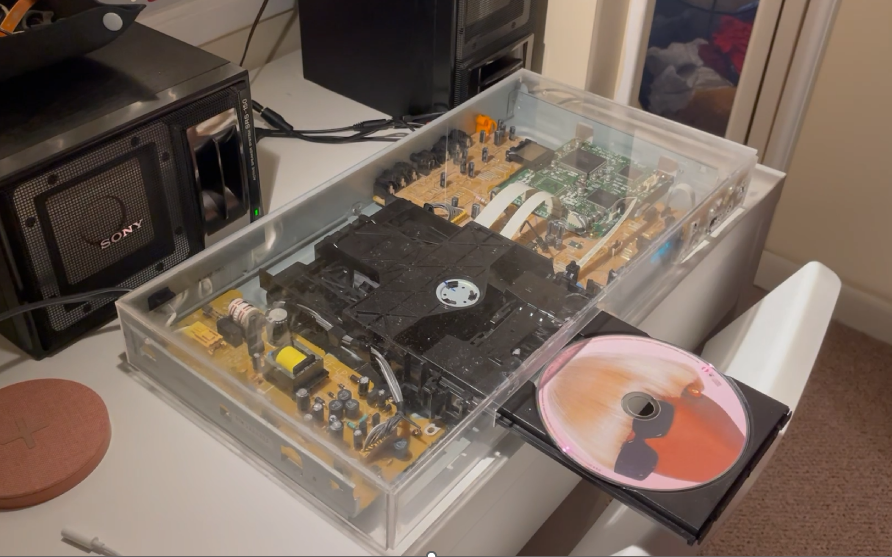
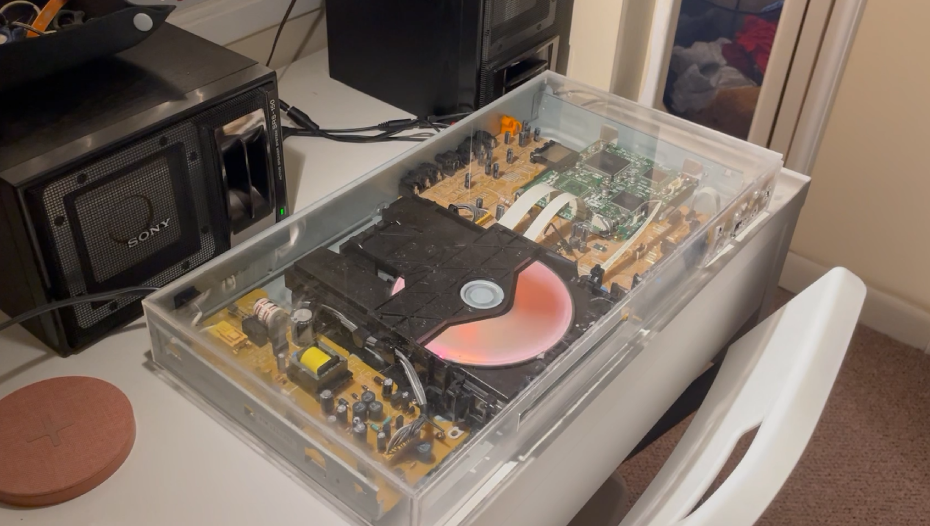
Then became the tricky part, laser cutting pieces of acrylic. The square cutout on the front is designed to provided clearance to the CD slot. The other cutout to the right of that are used to house the buttons to retain the functionality. The acrylic I was using was purchased from the ITLL and made this project reasonably affordable. The challenge here was getting the dimensions exactly correct. Measuring the placement of button cutout was very tricky so I decided to reference a image of the buttons and overlay it onto my CAD sketch. Unfortunately this wasn’t perfect and it took me several iterations to get it to fit well with the shape of the buttons. Shown below is my current version, and a visual of how the CD player looks when the tray is extended, a CD is placed, and in motion.
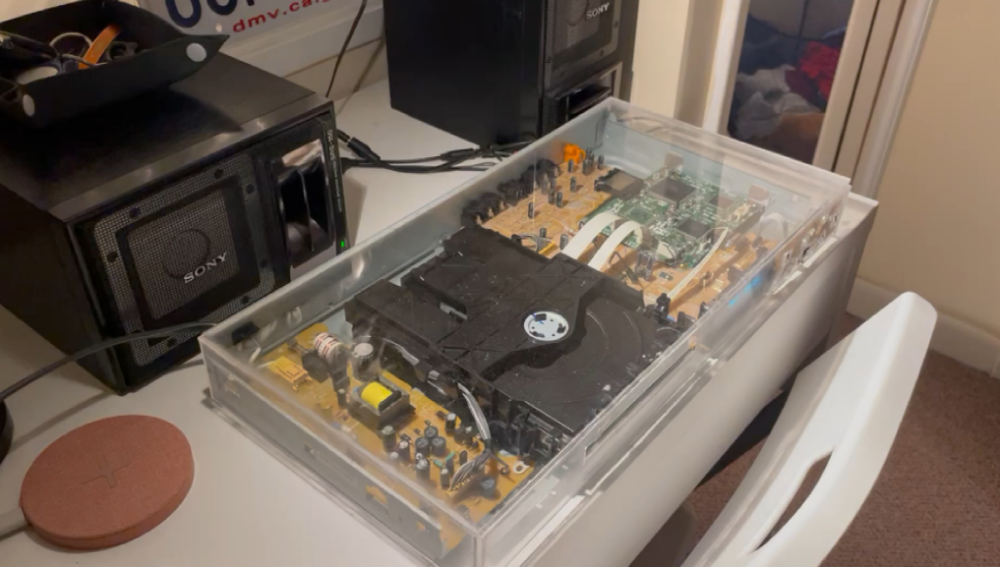
Ultimately, I’m pretty happy with the final product, it does it’s job of adding an extra dynamic element and excitement to a otherwise pretty conventional, utilitarian object. However, there are plenty of place for me to improve, and I will hopefully create a second version of this to showcase at the design expo.
First, the laser cutter leaves a haziness around areas that were cut. My solution to this will be to order a transparent vinyl wrap in a fun color like orange or green and “wrap” the housing in that which would hide lots of the blemishes that can occur with acrylic. I am also having some slight alignment issues with the CD player opening and plan to adding a larger face to the front of the device to stop it from drooping down, blocking the tray. I am also looking into gluing a acrylic square piece to the CD tray opening just to make it look that little bit more integrated. I am excited to showcase this device as it does look really eye-catching with the design and the electronics inside add a nice pop of color and depth.
I attached a link to my presentation here, NicholasGotlib_FinalPresentation.pptx
1 Comment. Leave new
Niiiic this is super rad and it turned out great. I like how you are thinking about adding some color to the acrylic. I commented on one of your previous posts and brought this up. Great minds think alike. I also really like how you can see the player spin when it’s playing. I was wondering if this thing is super heavy at all. It’s hard to gauge the scale but I know some older electronics can be quite beefy. Great job dude.