
Project Recap
Goal: Using remnant wood, build a bulletin board frame that will house a large poster of the United States so I can insert pins to the locations I’ve traveled to and then display it as wall art.
Context: I’ve owned a 50″ x 32″ poster map of the United States for probably 6 years now and have tried to display it in various ways that have been aesthetically ugly or annoying to hang up. I want to create the bulletin board frame so that the poster and cork can exist as one wall hanging that is more aesthetically pleasing art, easy to transport, and more robust for keeping pins in the poster.
Aesthetic: Midcentury Modern.
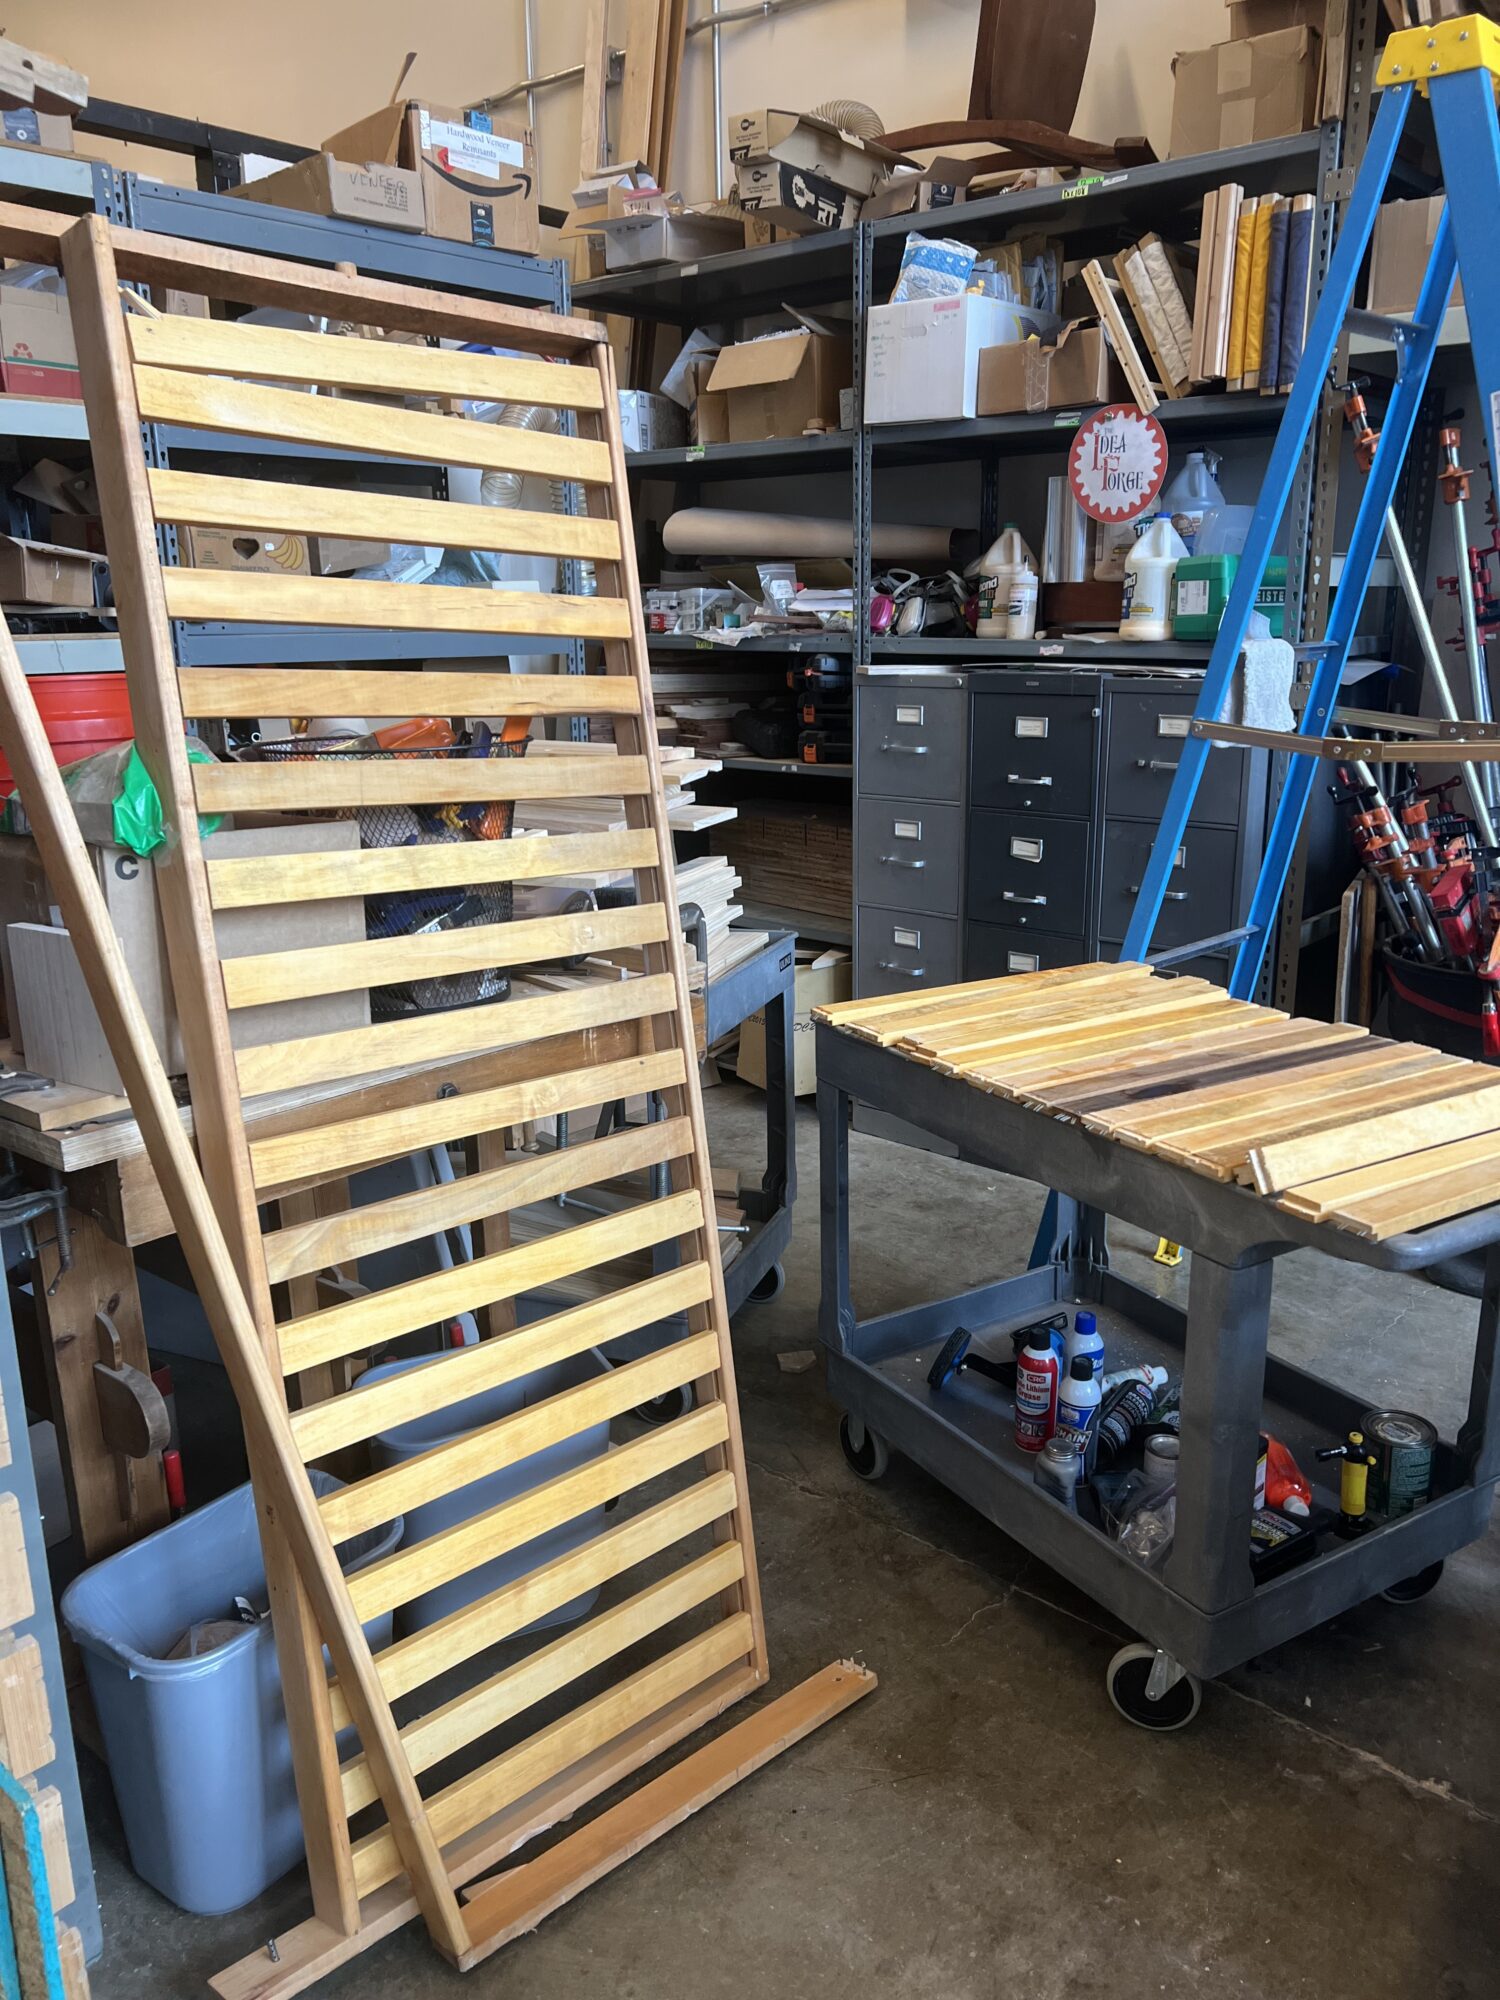
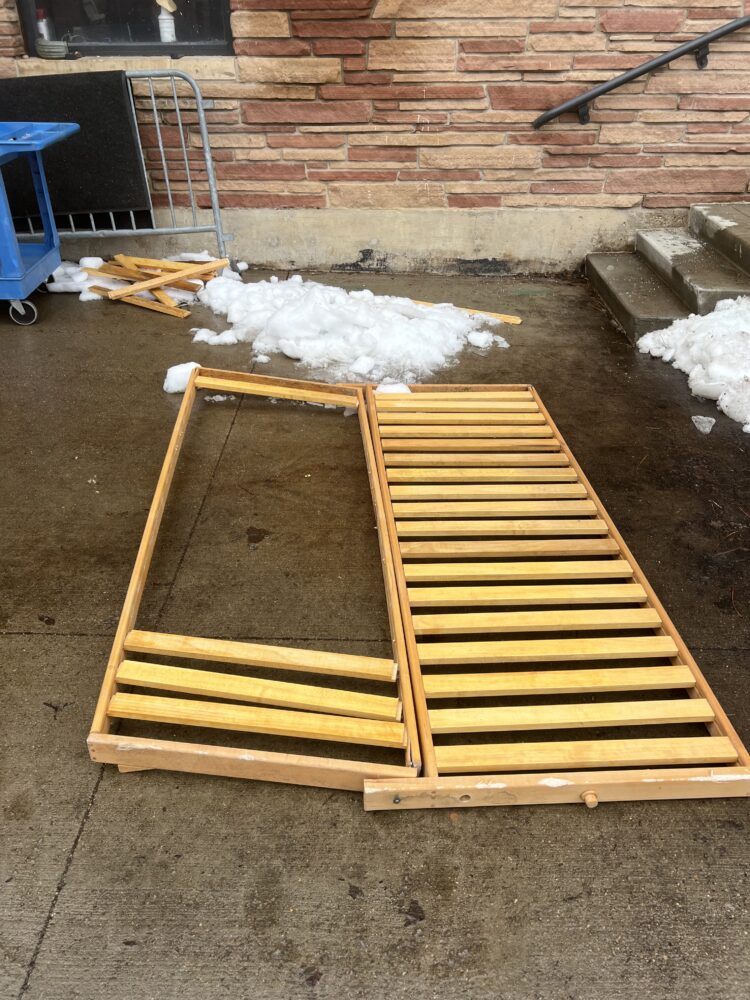
Progress: I found the perfect material to upcycle into the bulletin board! I was originally planning to use remnant wood in the MakerSpace leftover from random projects, but this week I came across an entire bed frame that being thrown away outside the Idea Forge. This will be great for my project.
Originally I was going to have to splice multiple pieces of wood together to achieve the correct side lengths since this is a large frame (roughly 52″ x 34). However, now I can use the vertical members from the bed frame to create the top and bottom sides of the frame. I can additionally use them for the side pieces of the frame, but I may still explore joining separate pieces together to add a little bit of patchwork quirkiness that more aligns with the midcentury modern aesthetic. It would also be a good exercise as a beginner woodworker.
A senior design team donated some scrap particle board so I am planning to use that as the back of the frame, and a base to glue the cork to.
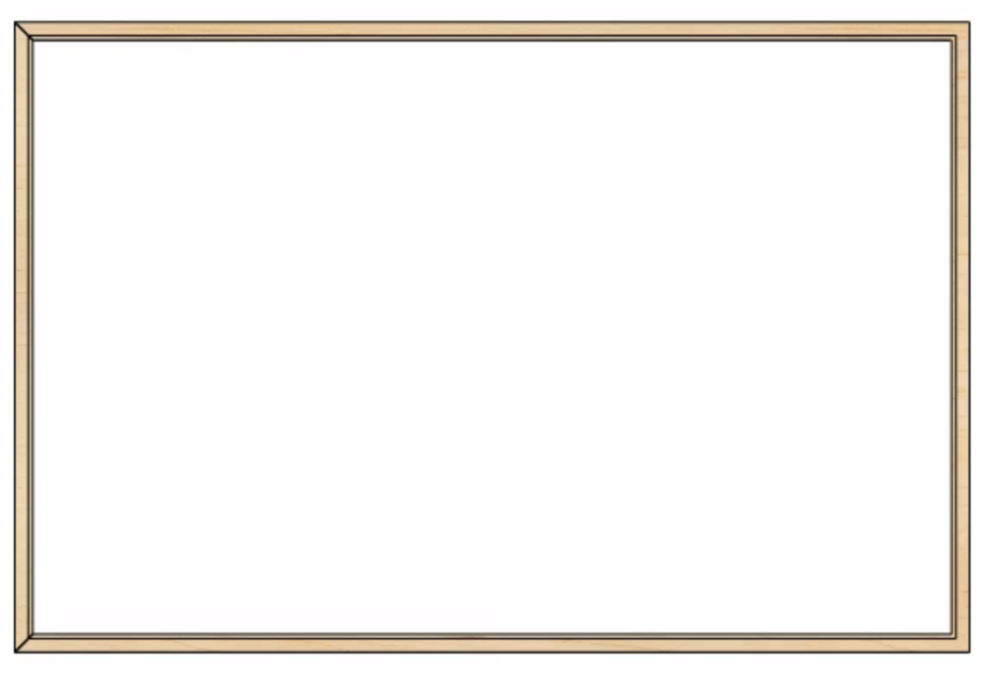
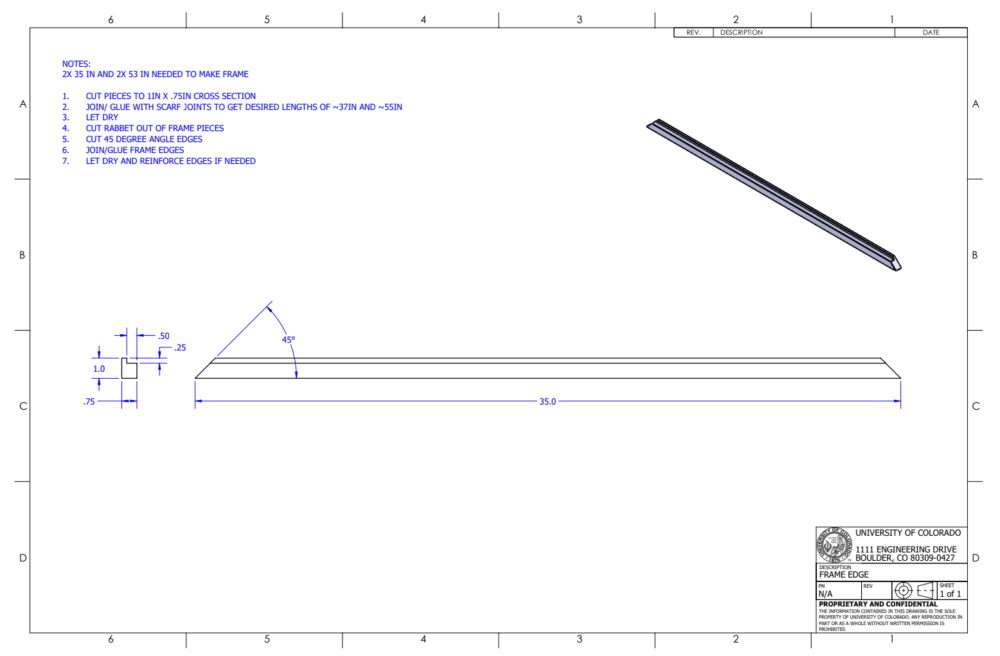
This week I modeled the frame geometry in SolidWorks. Doing this helps me get a better sense of scale and measurements, easily alter dimensions as I work with the remnant bed frame wood, and quickly make drawings for manufacturing.
Next Steps: I am in contact with Josh from the MakerSpace; he’ll be helping me build this bulletin board in that space by providing guidance on the right tools to use and steps to take.

The wood will be drying out for the next few days since it was sitting in the snow near the dumpster. Then, I will remove the hardware leftover from the bed frame assembly. After updating the dimensions of my SolidWorks frame based on the measurements I took of the bed frame, I will start cutting the wood to length on Thursday. I will cut the rabbet out of the side pieces and the glue the frame together. The particle board backing should strengthen the frame so I don’t think I will need reinforcements at the corner. I have a lot of time in my schedule during the day next Tuesday and Wednesday so I believe I can complete the project by the end of next week, in time for the February 19th deadline.
Aesthetic: On my last post Barrett suggested I stain the final frame to make the wood grain pop. I think this is a great idea for improving the quality of my final product and achieving the midcentury modern aesthetic, which is defined by simple and functional wooden furniture. Bringing out some of the beauty of the maple wood from the bed frame will really lean into the aesthetic.
2 Comments. Leave new
Hi Katie, your project looks like it’s is coming along really nicely. I think using the bedframe for the frame of your bulletin board is a great idea, and will save time in the building process. I also like your solid works drawings. Those will make it super easy once your start cutting wood. How are you going to place pins into the map? Will there be cork board behind it? Good luck on the rest of your project!
Hi Katie, this project looks awesome. It’s great that you were able to find that bed-frame as it looks like it will be a great material to work with. How do you plan to hang or display the finished map?