

For my upcycling project, I am creating a household planter using recycled hockey sticks. The design will be inspired by the Scandinavian aesthetic, focussing on simple geometry and a minimalist color scheme. Currently, I have obtained the necessary materials for this project. I have three wooden hockey sticks to be used; however, they have already been painted with brand logos on the shafts. Therefore, my first manufacturing step will be to separate the stick shafts from the blade and remove the paint off of the wood using a planer. This will reveal the neutral colors of the wood which will better adhere to the Scandinavian aesthetic. I was able to successfully remove the paint on the afternoon before posting this and was then able to begin cutting the material.
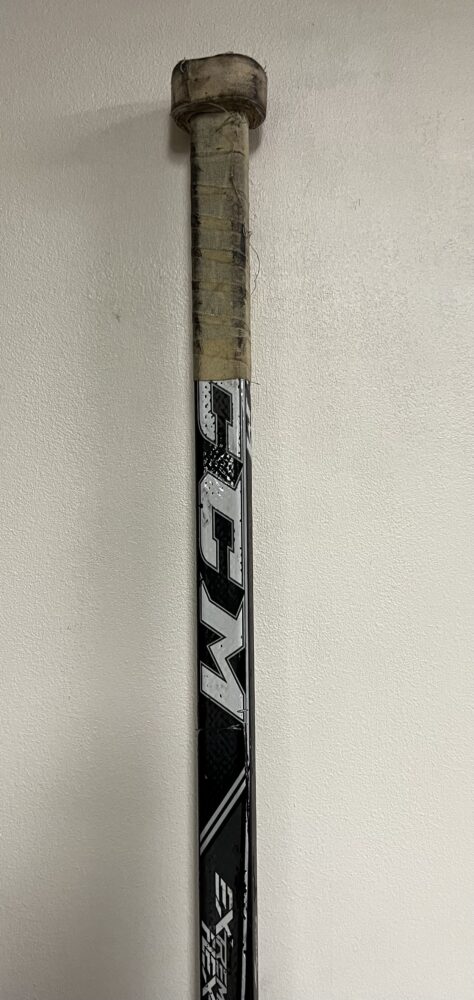
Recycled Hockey Sticks Selected (I already removed the paint from two before thinking to take a photo)
After preparing the hockey sticks, I was able to cut segments of the sticks to length and create the angles required for assembly using a table saw. The overall shape of the planter will be a hexagon when viewed from above and the depth within the planter will be achieved by stacking three hockey stick shafts on top of each other. Each shaft segment will be cut at each end at an angle of 30 degrees with a major length of 3.5 inches. This angle will allow the segments to fit end-to-end and form a hexagon. Bonding the sticks together will be accomplished by using wood glue instead of nails or screws. The use of metal hardware would potentially be visual and contradict the minimalist and natural style of Scandinavian furniture. After the wood is cut, the shaft pieces will have to be arranged in a hexagon and clamped together for proper bonding with the wood adhesive. This may prove to be one of the more difficult steps in the assembly because vices will have to be crossed over one another to clamp each side of the hexagon. I plan on bonding and clamping each hexagonal layer of stick shafts individually and after they have been set then it will be possible to stack each layer up to also be glued, clamped, and set to dry. I plan to bond the members together by the end of the week.
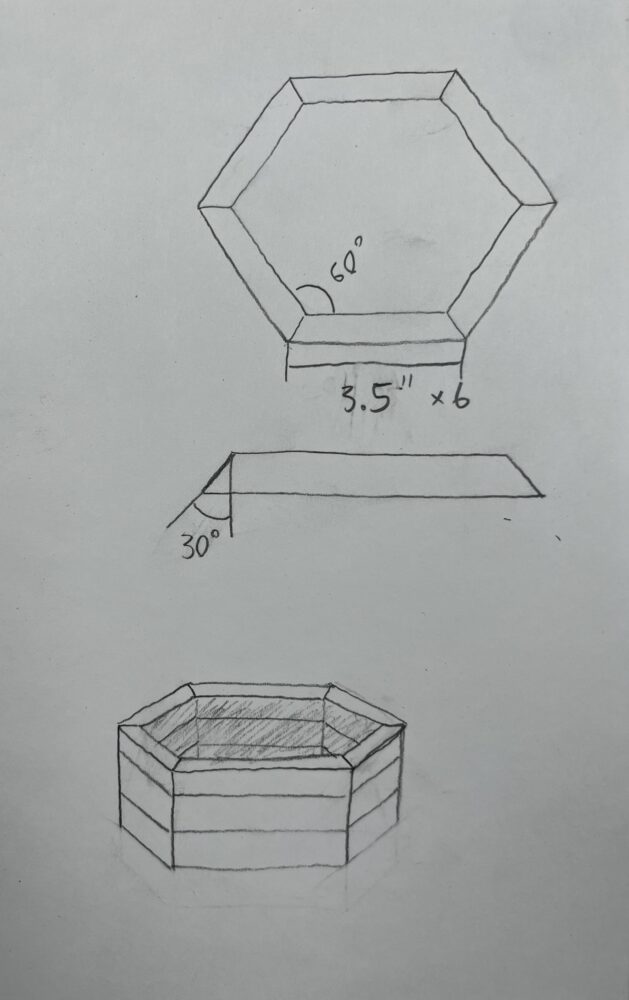
Assembly Sketch
After the overall structure has been assembled, I plan to sand down any sharp edges and excess wood glue from the planter to help create a seamless look. The bottom of the planter will also be closed off using recycled hockey stick material. I hope to use the paddle from a goalie stick on the bottom or simply bond stick shafts together and cut them into a hexagon to fill the hole in the bottom. I have some concerns with moisture and water from the plant soil rotting the wood which means I will need to seal the inside of the planter to protect the wood. Although I have not decided on what material to use in this case, I believe that cutting out rubber sheeting or moldable plastic would work well to seal the inside from moisture. Furthermore, I will have to make a hole in the bottom of the planter to allow for excess water to drain from the soil. Finally, to finish the wood I will use linseed oil to preserve the wood and give it a deep and rich color following assembly and sanding. The image below displays the progress I have made thus far and shows what steps I still have to take in this project.

Current State of the Puck Planter (Working Name)
4 Comments. Leave new
Looks like good progress! Do you have a plan for letting any water drain from the planter?
Hi Abigail! Admittedly, I have only considered draining water from the planter recently. There will be a wooden base for the planter and I think that a simple solution will be to create a hole in the bottom to let water drain into a catch plate below. Also, the succulent plants I plan to use require very little water so it is not a huge concern.
Hey Ian, you did a great job on writing about your progress. It seems that your ideas are well thought out. The hexagon you made looks nice and symmetrical. I was wondering what type of plant you would like to place inside of this planter?
Hi, Ben! Thanks for the reply. I plan on placing several succulent plants in the planter since I think that Scandinavian designs often include small succulent plants.