

For my final project for Aesthetics in Design, I chose to document and discuss the design decisions that went into making my custom street trials bicycle frame. This is an independent study project that I have been working on with Professor Knutsen. After seeing the finished product start to take shape, I decided that I wanted to change my original plans for the project, commit more time and resources to this project, and share it with the class!
For those of you who are unfamiliar with what a trials bicycle is, think of it as obstacle course riding or parkour on a bike! Historically, I have always ridden competition trials bikes and I have never had a street trials bike because the frames are not typically designed for taller riders like me. Therefore, I chose to make my own street trials frame that would better suit my needs and riding preferences.
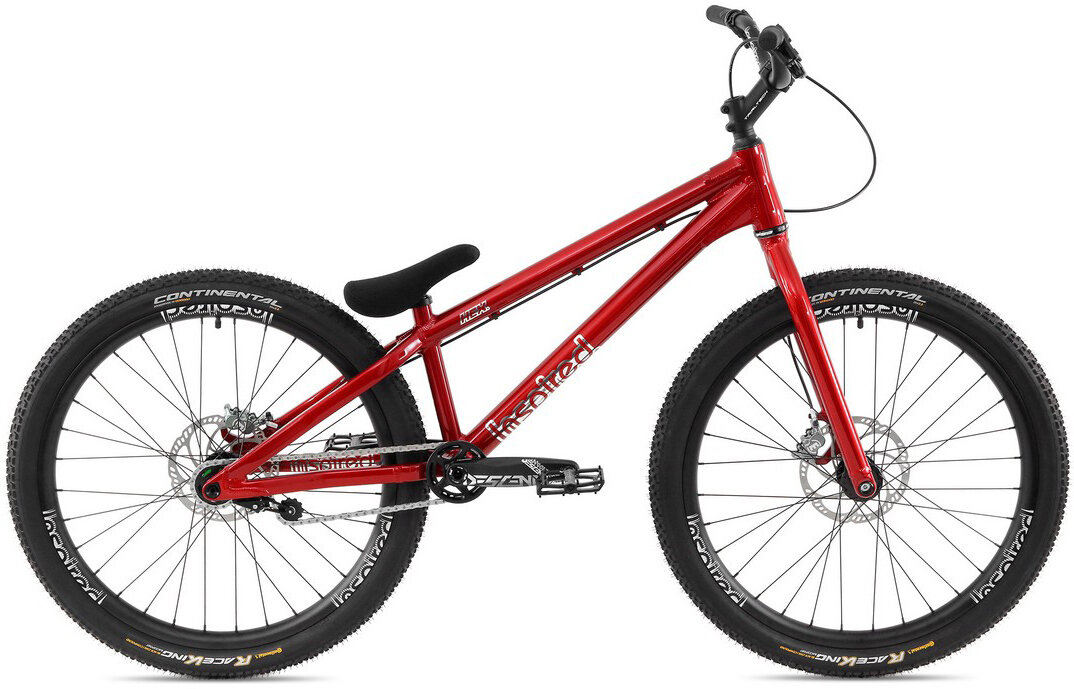
Street Trials Bicycle (1)

Competition Trials Bicycle (2)
Some constraints immediately drove my design process. First, I know that the frame would be made from 4130 Chromoly steel purely because I am comfortable TIG welding steel with my previous experience. Furthermore, I wanted the shape and construction of the frame to be simple and streamlined not only to make it simple to manufacture but to also make an aesthetically pleasing frame. I then decided that I would use an industrial aesthetic to influence the appearance of the frame with its simplicity and the fact that it would be made from steel. Obviously, the frame itself does not move in any way since it is a rigid frame; however, the frame will be fully functional and rideable which will be my dynamic element.
I took care to select my components for the frame carefully and took advice from a custom frame builder who assisted me in the design and manufacturing process, James Bleakley. I first selected what tubes I would use to construct the frame. These all came as standard straight tubes that I would later need to cut, miter, and bend to construct the frame. The tubing that I selected varied in wall thickness from .049″ to .035″ in order to save weight on the frame without it being underbuilt. This was the thinnest steel tubing that I have ever welded so I knew that it would be a challenge to weld. In order for the frame to accept components such as wheels, a seat, a fork, and cranks, I ordered stock bike frame components to construct the remaining portions of the frame. This not only saved me hours in manufacturing time but it also saved me a significant amount of money because of how cheap the stock parts are.
With the components and tubes selected, I constructed the frame in CAD using SolidWorks to give myself a 3D model of the geometry and features of my frame. I was able to put accurate representations of the tubes and components that I would use into SolidWorks. This would prove to be extremely useful when jigging the frame to be tack welded after cutting bending and mitering. There were several aesthetic considerations that went into the overall design and shape of the frame. I believe that simplicity fits well into the industrial aesthetic and I think it allows the form to follow the function because a simple construction of the frame will make it light, strong, easy to manufacture, and aesthetically pleasing. First of all, I chose to have the top tube and seat stays of the frame remain colinear on the frame because I think it adds an elegant silhouette to the frames profile and is similar to a competition frame. Furthermore, I kept all of the frame tubes straight unless they absolutely needed to be bent. Even for the chain and seat stays that required bending, I changed the design to be a single compound bend instead of a double to make the frame simple and to prevent buckling of the tubes.
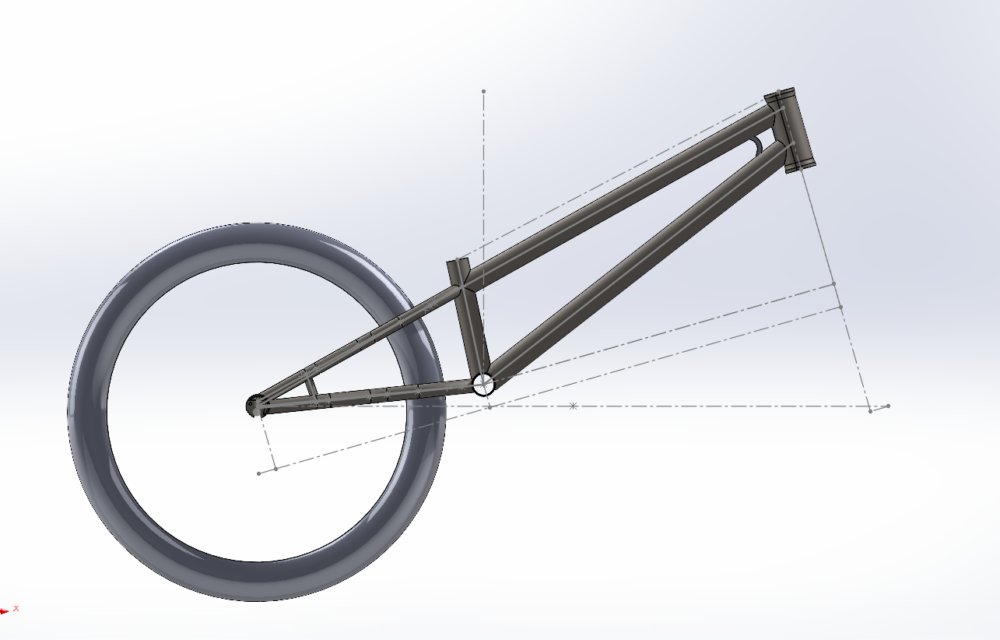
Frame side profile

Rear view showing bent seat and chain stays
Furthermore, I had two separate designs for what my head tube gussets would look like. I made two models, one being very angular and cut out with the other having more curves with an overall simpler design. I decided on the latter to match the curvature of the bent tubes and the overall simplicity of the frame.

Initial head tube gusset design
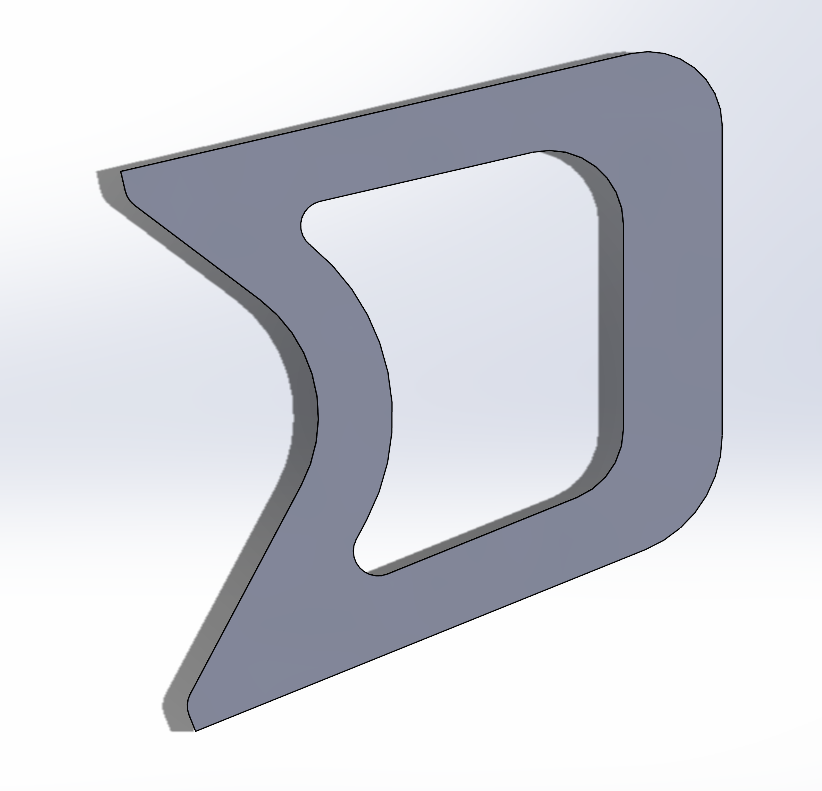
Finalized and streamlined head tube gusset
After the design of the frame was complete and the manufacturing process began, I started to spec components for the frame. The industrial aesthetic drove many of my decisions when I was choosing parts. Because I knew that the frame would have a raw steel appearance, I chose mostly silver anodized parts for the bike. This included brake rotors, brakes, a seat clamp, and spokes. There will be some red components as well because I couldn’t resist! There were other components that where required to complete the build but I did not have the freedom to choose silver with some parts.
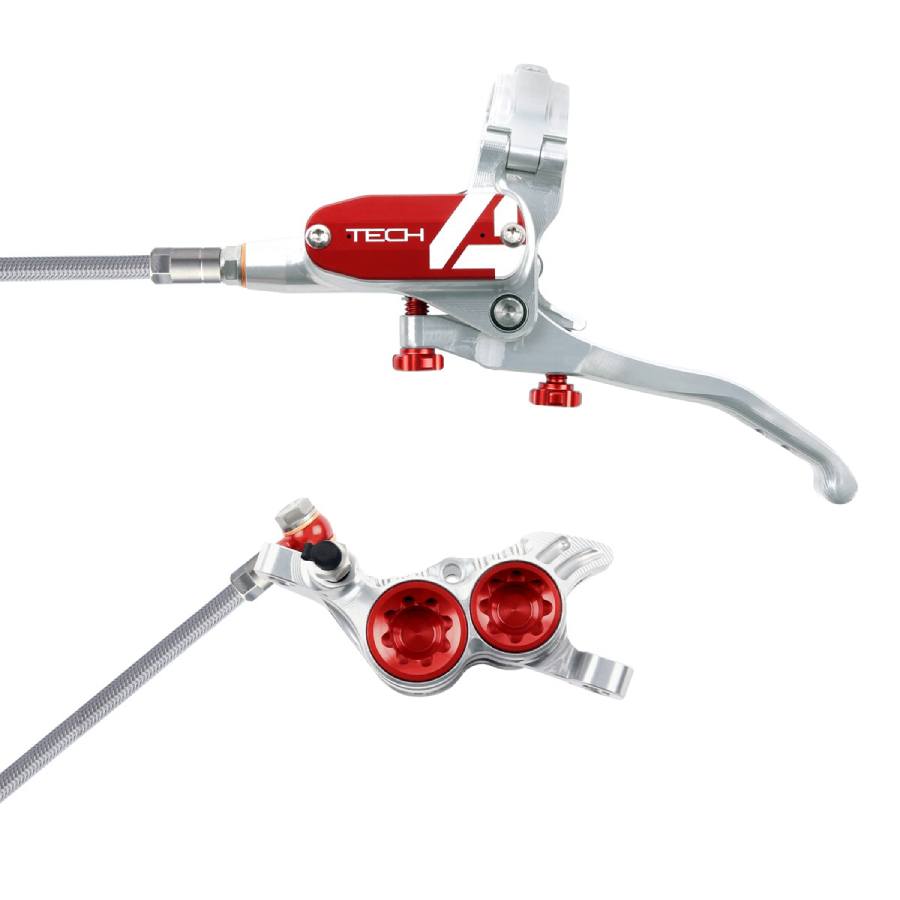
Brakes selected (3)
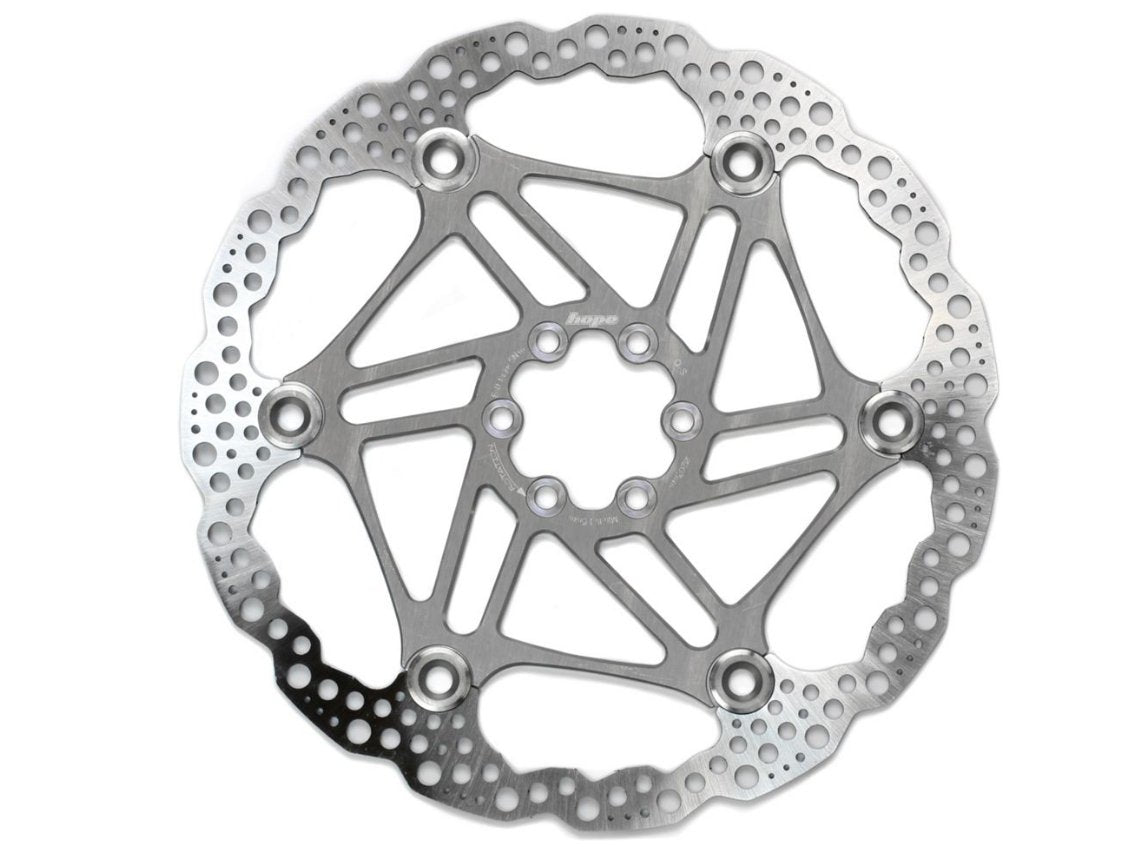
Silver rotors selected (4)
My second post will include the manufacturing process and the construction of the frame all the way to its completion!
Sources:
- https://www.webcyclery.com/product/inspired-hex-team-26-bike-14112.htm
- https://www.trial-bikes.com/en/crewkerz-jealousy-ultimate-26-trials-bike-p-538753.html
- https://the-lbs.com/all-hope-products/tech-4-v4-no-rotor-braided-silver/
- https://thelostco.com/products/hope-floating-rotor
4 Comments. Leave new
Ian,
A custom bike!? Lucky! I think taking the already going project you had and then examining the aesthetics of it is exactly what the course as a whole seeks to do, and appreciated reading how the technical design decisions of the frame complemented and worked with the aesthetic choices. My only question is a simple one: I may have missed it in the post, but what color is the frame going to be when finished, will you match it to the other components of the bike? Gotta say, matching pedals and grips always works wonders.
Hi Barrett! Thank you for the kind words! The frame itself will be clear coated with linseed oil to leave it in a raw steel color to keep it consistent with an industrial aesthetic. Don’t worry, the grips and pedals will match!
Hi Ian. I really enjoyed reading about your project and I am super excited to check it out at expo. I also ride mountain bikes so it is interesting to see someone designing their own component(s). Did you consider any other frame materials besides steel? I appreciate all of the work that has gone into your project, I think people tend to underestimate how difficult it is to create a CAD model to line up with all needed dimensions perfectly and properly tolerenced. Good luck finishing up!
Thanks, Jason! Ultimately, the material choice was largely due to the fact that I have the most experience welding steel. I would have loved to try doing aluminum or titanium but I have very little experience with aluminum and I have never tried titanium because of the setup requirements. I have 100+ hours of steel TIG welding experience so I felt most comfortable making a strong and reliable frame with that material.