

Inspiration
Photography. What is it? If you asked your average person on the street they may say something like it’s all about taking pictures, most of the time to capture something that looks pretty or cool or even pretty cool. Photography can be much more than that though, and to many people it is. The true definition of photography is “the art or process of producing images by the action of radiant energy and especially light on a sensitive surface”. (“Photography,” [Merriam-Webster’s Collegiate Dictionary]). It is not just about taking pictures but instead it revolves around the art of doing so. This again for many people can mean different things but for me it has been a large part of my life. For me it is about capturing the moment, taking a screenshot of time that I want to remember and being able to look back on. This can be capturing a friend or family member in time. Or seeing something that I find beauty in and wanting to look back upon to admire or show others.

Bison grazing in a field near Thermopolis, Wyoming
The first inspiration into photography I can remember is looking at National Geographic magazines and being in awe at the beauty one can capture from around the world. Whether that be a small lizard in the Amazon jungle or the picture perfect sunset on the African Savanna, I always wondered what it would be like to be in that moment, there not only seeing it with my own eyes but capturing this moment for the world to see. From that, my love for photography grew. With the help of my biological father, I was also able to get an introduction into cameras themselves and how they work. While my passion had not yet gone full force yet, through elementary school and middle school I was still interested in it nonetheless.
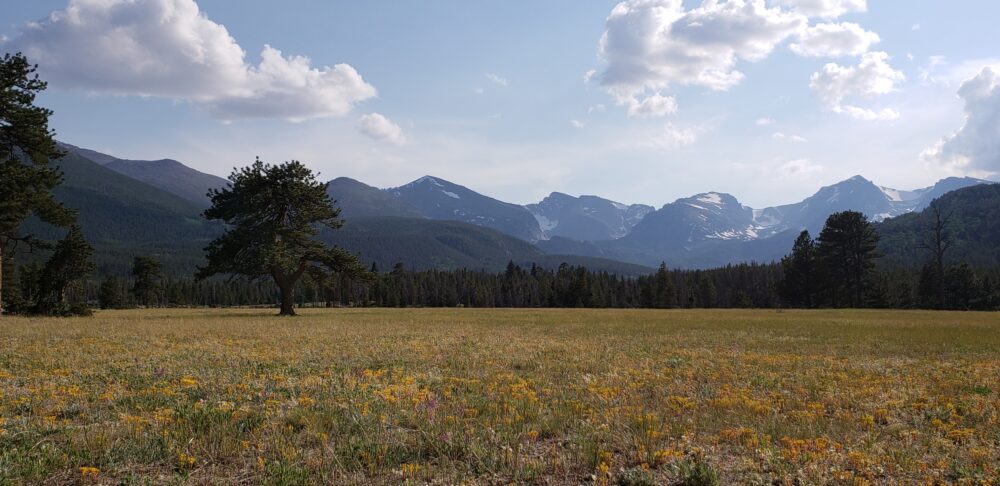
Tree in a field near Bear Lake, Colorado
In high school I had the opportunity to take a couple of photography classes, bringing me more into the world. I was able to pick up a camera and show the world what I saw as beauty and try to capture these moments for myself. Although I was not all that good, looking back, I was still ready to push on. I even was able to win second place in a contest between the school districts near me which included over ten different schools and hundreds of applicants. From this I got my first camera right after I graduated high school, kicking this interest of photography into a true hobby of mine, one that brings great joy and is somewhat of an escape to me from day to day life. While I did use my phone to take pictures before, phones can be limited in what they are able to capture if you know what you are doing. Through this new outlet began many adventures for me, ones that I could capture the moments of how I saw fit. This passion has followed me through college. When starting this class I had no idea of what I would do for this large design project. When the time came to decide what I would make, it hit me: I had to do something revolving around photography. But what could this possibly be? I instantly went to google and started to look up different topics when it finally came across my screen, a dehumidifying cabinet. I knew then that this is what I wanted to do.
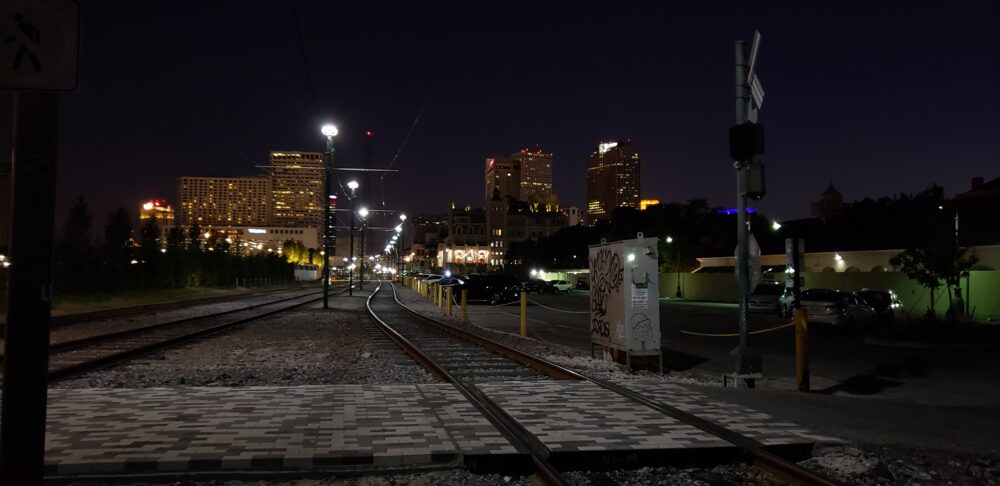
Tram track in New Orleans, Louisiana
Designing
I set off on my journey looking into what a dehumidifying cabinet does and what could possibly go into it. Lucky for me it did not take long to figure out what my plan of attack could be, but as I thought more about it the whole “dehumidifying” aspect didn’t make too much sense for me.My ultimate goal was I wanted somewhere to store my photography equipment as there can be a lot of small things to carry around when going out to take pictures and it would be nice if I could leave some things back home in a safe place instead of just on my dresser for me to pick up and clean when I got back. Since we live in a pretty dry environment, dehumidification is not too necessary and really not too big of a deal unless you live somewhere like the Amazon. It would also mean unwanted electronics, where I would have to ensure my batteries would not run short. From this I decided to just do a photography box, a place where I can simply store my equipment. I decided on a good place to put this in my closet and got to measuring out what dimensions I needed to not only fit this space but also to store the equipment based on height and depth. I came to the conclusion that I needed a fairly wide and deep box to do so. I went straight to Solidworks as well, to see what I could create with this space and whether or not my measurements were correct.
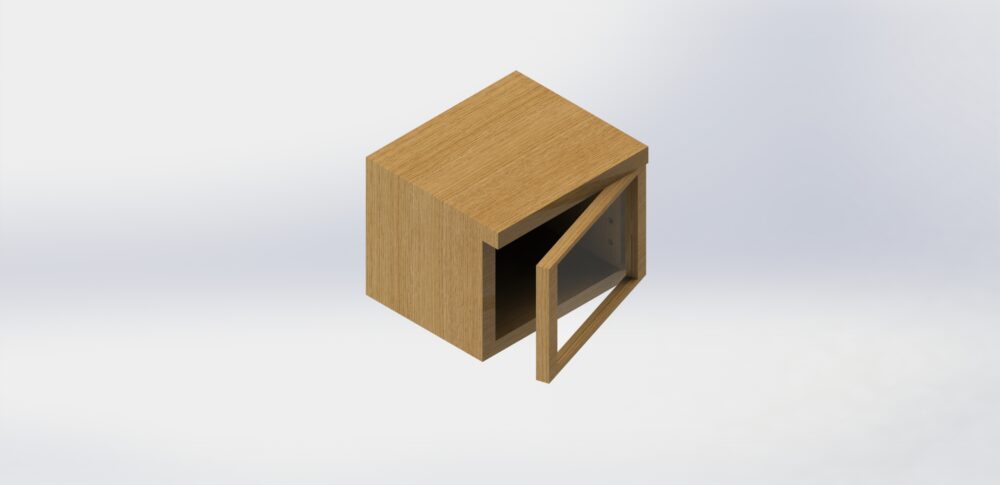
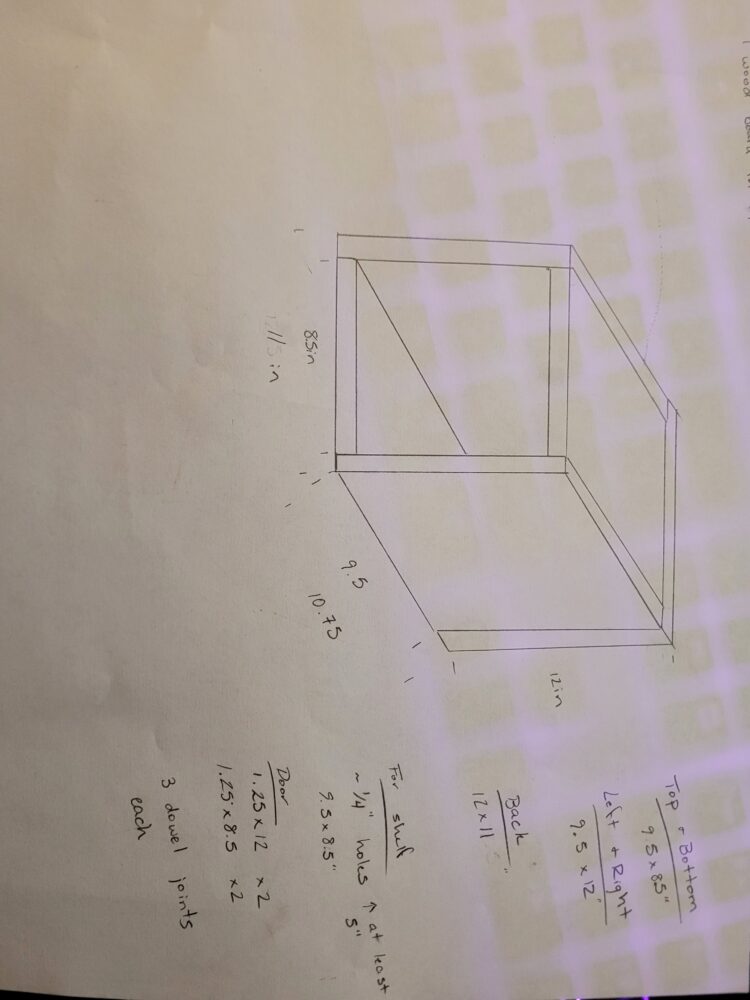
After getting the dimensions I needed to decide how I was actually going to build this box, what aesthetic it was going to conform to and where to get the materials. I opted for fairly simple methods of building, which I will talk about later. I was able to get all of my materials from Home Depot, luckily they had boards that were just the right size I was looking for. As for my aesthetic, I first thought of doing something along the lines of a vintage box, trying to find a good way to do this with what I had and the small budget I was on. As I was looking though, I realized that a more rustic look could be perfect for what I was looking for. To do this, I decided to take my project home and use the skill saw that my parents own. Since I am limited on my wood working skills, I figure this is the best way to get that ‘rustic’ look, something that you may find in a barn one day and has been beaten over the years, and something that looks good but not perfectly made as though it was made in a woodshop but instead something that was a small project for someone. I also looked into what would make the wood more aged and found many different things that I will talk about in my next post. With all of this I had a plan of attack and was ready to start making my box. Currently I am almost done with my project but have been struggling with putting the hinges on the door of my box since it is not perfectly square but I don’t want to make the door look off. I have very few things left to do and I am excited to show it off at expo on the 8th.
3 Comments. Leave new
Dear Reader – Patika Aslam Alaykum. Hope everyone is doing well.
BIBORUN.COM This tech blog is created to help readers. Here you can learn and gain knowledge about science, technology, banking services, job news, and various product reviews. Our main goal is to share various types of tech related information through articles. We will always try to present the facts to you.
https://biborun.com/
Cannon,
Reading your inspiration for the project, specifically on how photography is meaningful to you, gives this project the perfect amount of depth. A dedicated storage spot for hardware goes a long way in extending it’s lifetime, even if the enclosure isn’t protecting against anything obvious like rain and whatnot. It sounds like you have a camera you got somewhat recently, but my question is: if you were to get even more into photography and subsequently get more hardware, is there anyway to scale this project or build upon it later?
Hi Cannon,
I like the functionality of the project. A question that I had while reading was if you made any inserts to go inside of the box to make it more for cameras like an SD card holder, lens holder etc.?