
I would like to begin by recapping my plan for this project. I planned to make a desk lamp with a sunrise/sunset feature. This would help me quite a bit both waking up and falling asleep. I want my lamp to slowly darken over time at night to help signal that I need to be going to bed soon. I also want the light to be indirect and diffused, as I have noticed that things like that can help me get to sleep quicker.
The aesthetic I have chosen for my project is Scandinavian. Scandinavian design is almost an extension of minimalism. It includes natural tones more intentionally, and additionally focuses on creating a comforting environment. This is drawn from the Danish concept of “hygge”. Hygge, while not directly translatable to English, encompasses the concept of coziness and comfort. Scandinavian designers accomplish this through the use of warm tones, natural materials like wood, and clean lines.
For my lamp, I am going to take inspiration from the designer Seppo Koho and his work at Secto Lighting. Secto is a design group that creates handmade wooden lighting, from Finland. I really enjoy their style of creation and find it to be very comforting.
Shown below is my initial timeline for creating my lamp. I was unfortunately not able to follow it.
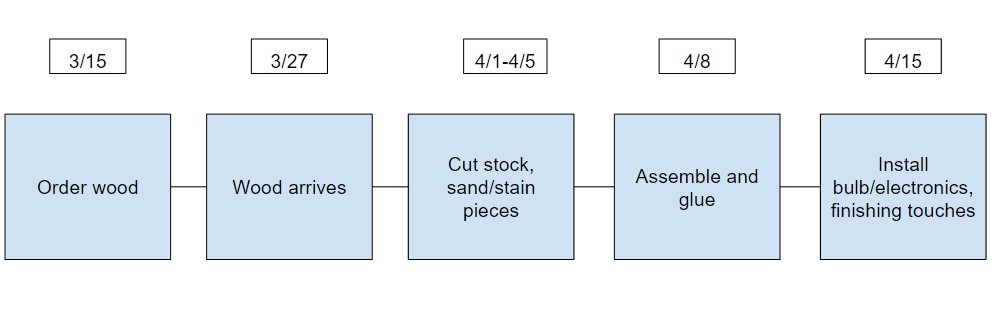
I unfortunately ordered the wood later than expected and faced some shipping delays. So, I had to decrease my time in between cutting, finishing, and assembling my lamp
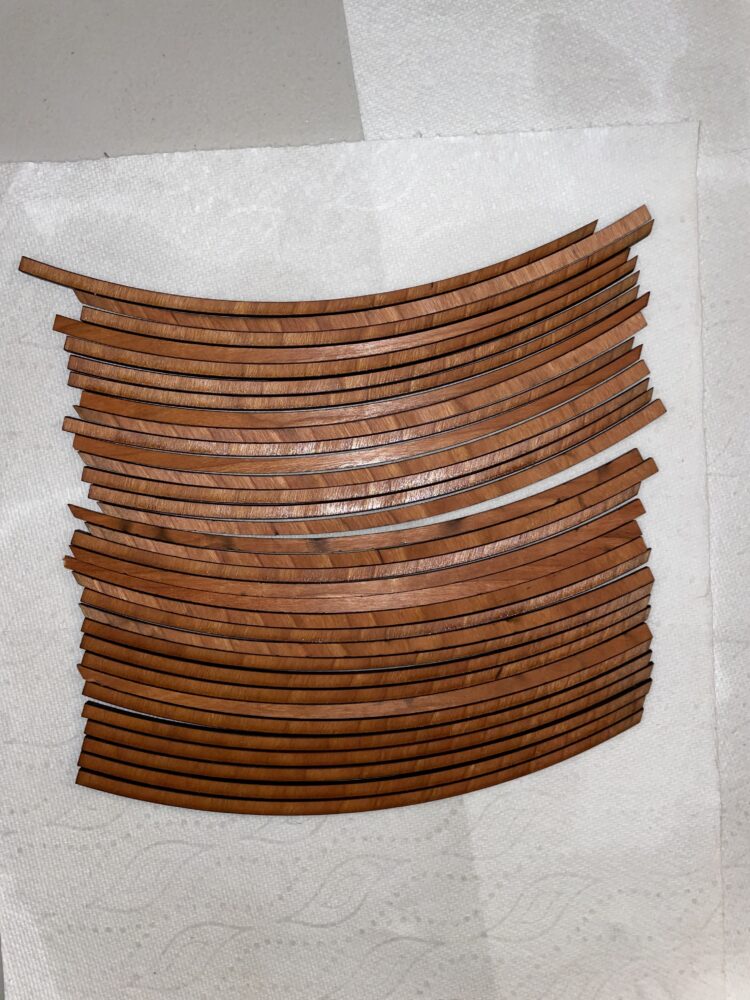
I started out by using SolidWorks to convert my parts to DXF files. DXF files are what the laser cutters in the ITLL use to guide the cut. I took my cherry wood stock into the ITLL and uploaded my files. It took several test cuts to dial in the settings for cutting my wood. I also faced some challenges with the lens of the cutter getting dirty and not cutting to full power. Eventually, I was able to finish cutting out all of my stock, as well as some extra pieces.
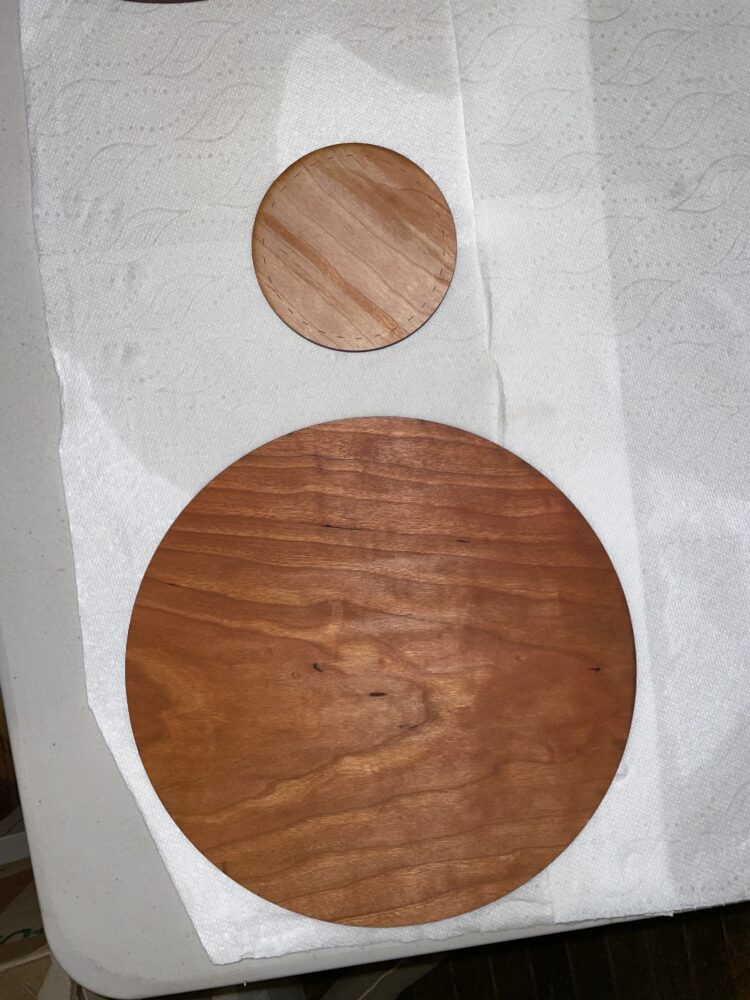
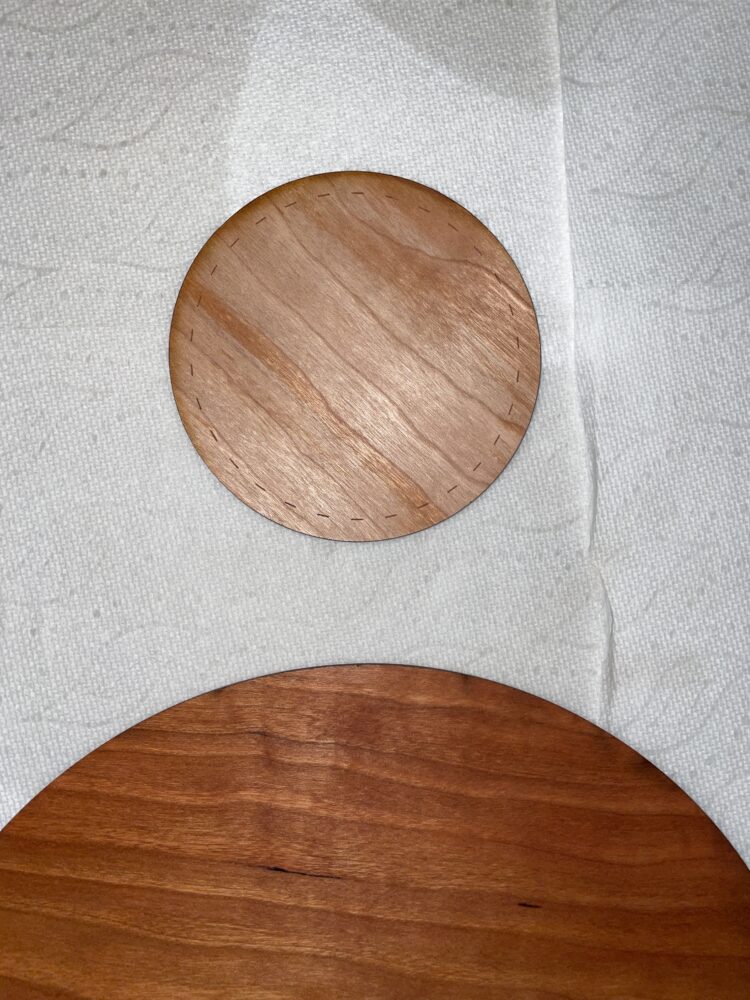
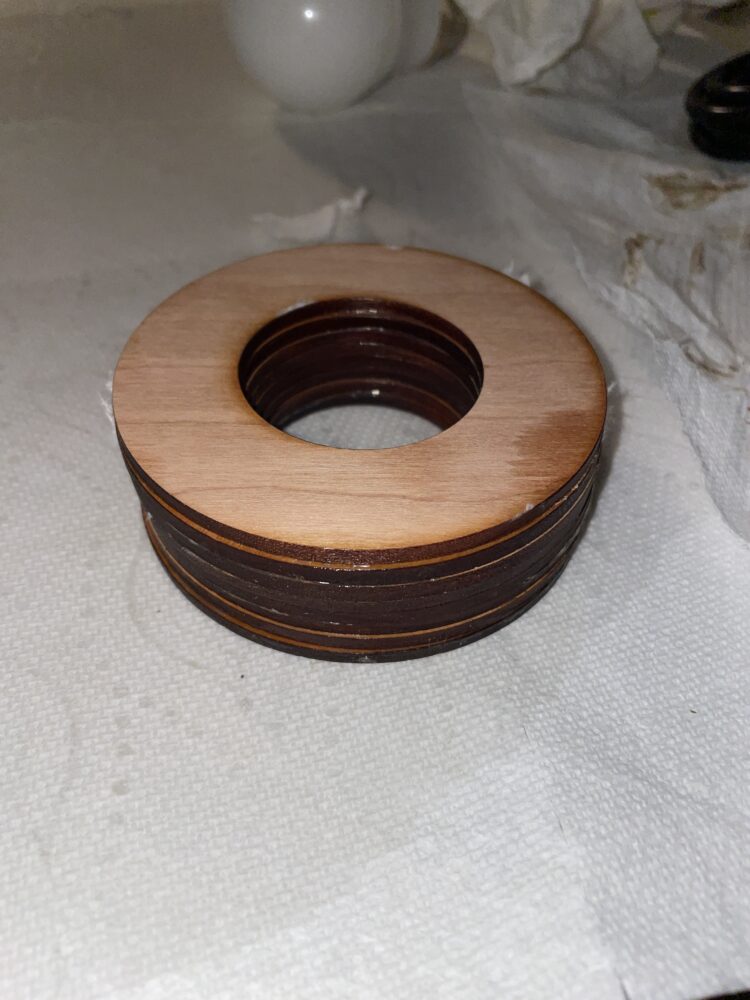
After cutting, I added a gentle finish to the wood. Cherry wood, due to its unique color and changes over time, doesn’t need a stain. So, I chose to use some wood oil to help increase its longevity. Additionally, the oil really helped the reddish brown color pop. Pictures of the pieces prior to assembly are shown below.
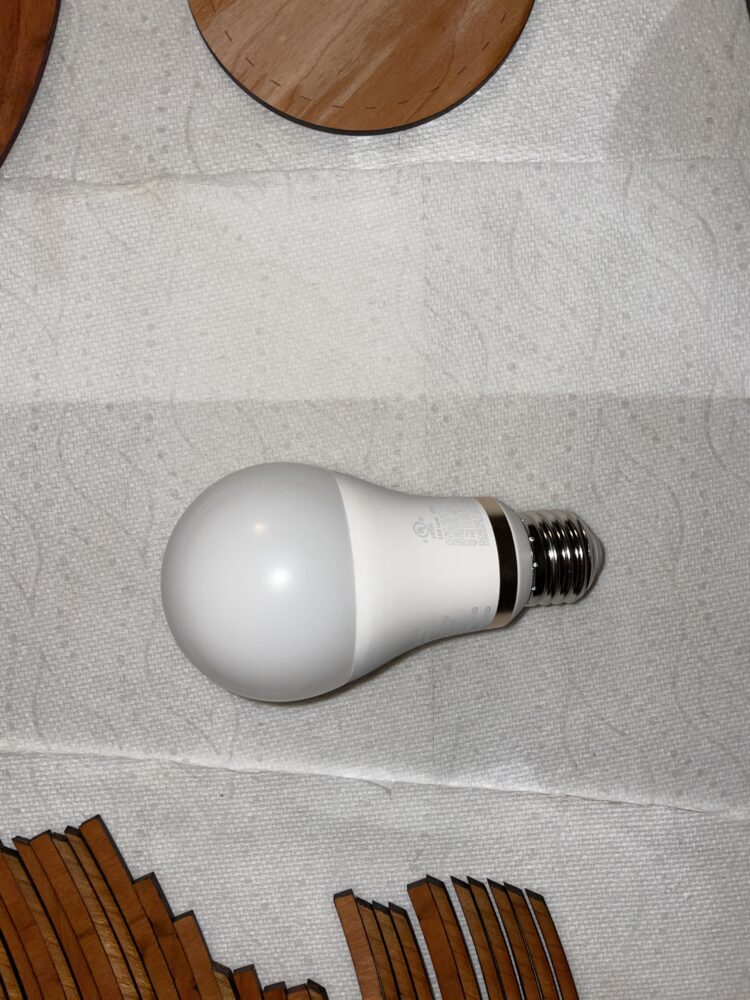
I had to wait about 24 hours for the oil to completely soak into the wood. During that time, I acquired the lightbulb socket, the bulb, and the shade. For the bulb, I used a Philips WiZ lightbulb. This is a smart lightbulb that has a serviceable mobile app. This app allows me to control the color as well as set the dimming timer. For the shade, I used a plastic cutting mat. I know that this seems unusual, but it was the best sized option of frosted, flexible plastic.
After the oil soaked in, I begin attempting to glue the pieces together. I faced many setbacks during this time. I didn’t account for the weight to surface area ratio of the slats. The glue was not able to hold them in place. My solution for this was to hot glue them to the base to provide temporary support while the real glue dried. I then removed the hot glue, and used the wood glue to attach the base ring.
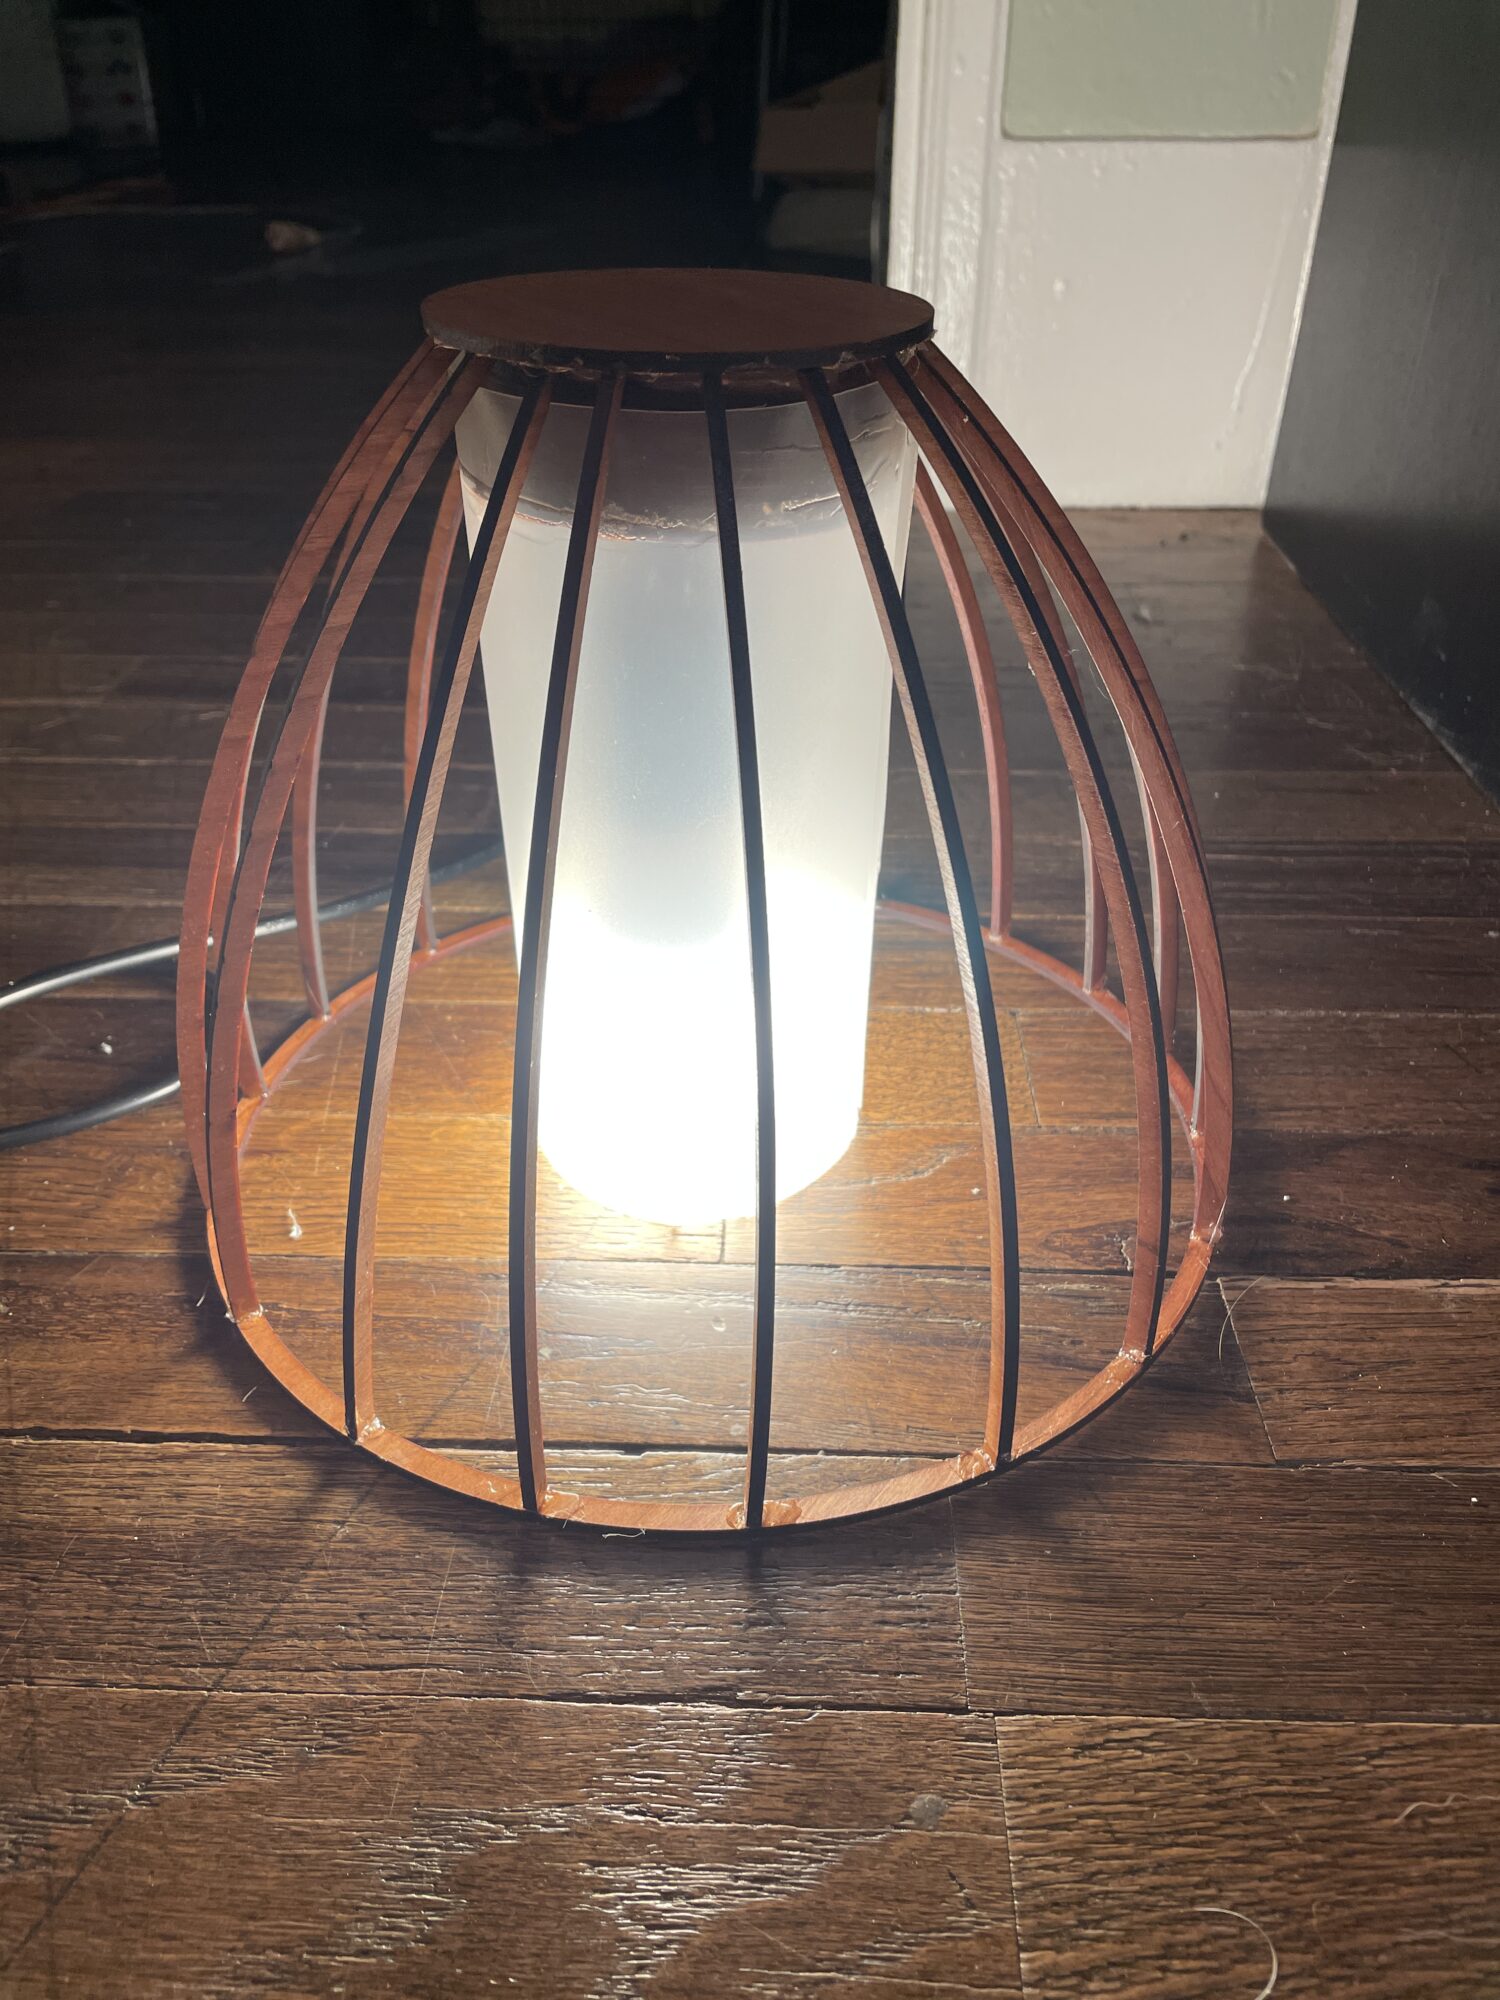
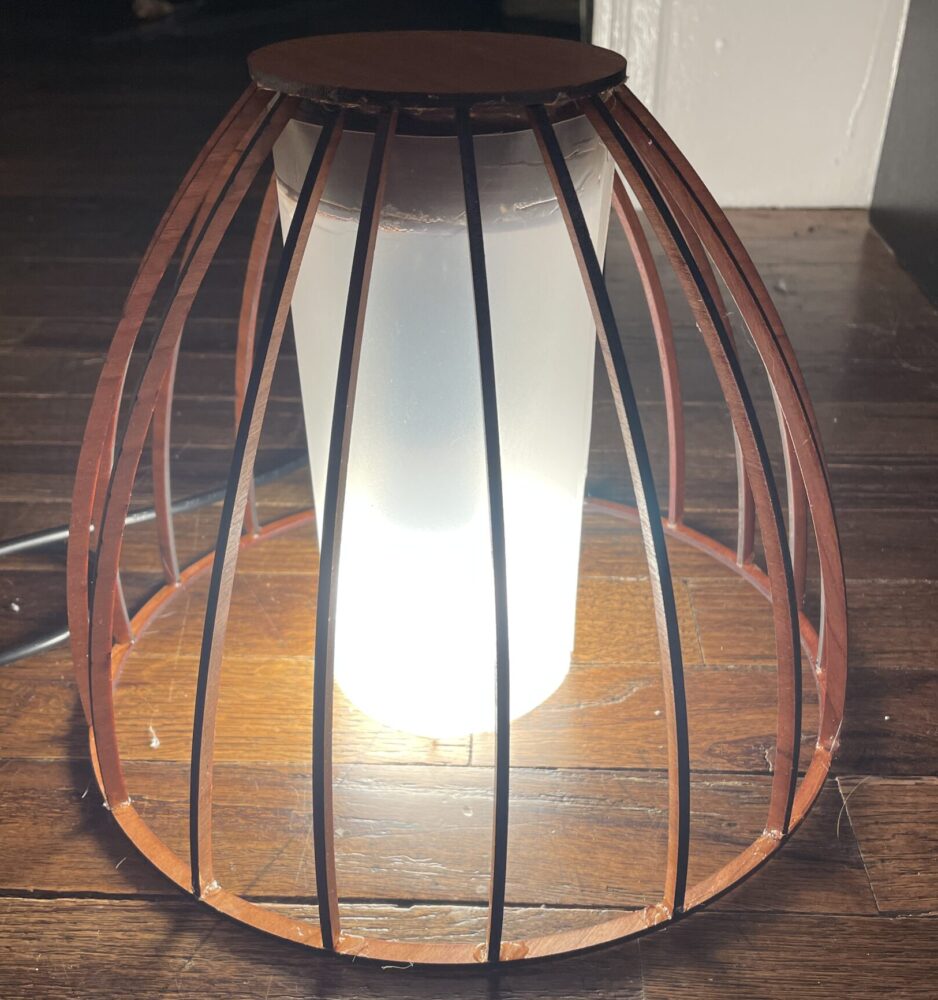
Then I added the lightbulb and shade. I was unable to form an aesthetically pleasing shade out of the plastic I had. Due to the custom shape of the dome, it proved to be incredibly difficult to cut the plastic to fit the interior of the dome. My solution was to create a cylinder of plastic that drops down from the top of the lamp. I thought that this was a serviceable change, and it also gave the lamp some more compressive strength. Shown below is the final result.
Overall, I am happy with my lamp. I have already started using it at my desk at night to help me gently fall asleep. While I had to deviate from my design, I think I did a good job with the materials and skills that I have. I wish that I had better considered the manufacturability of my design and considered how small and delicate the pieces would actually be.
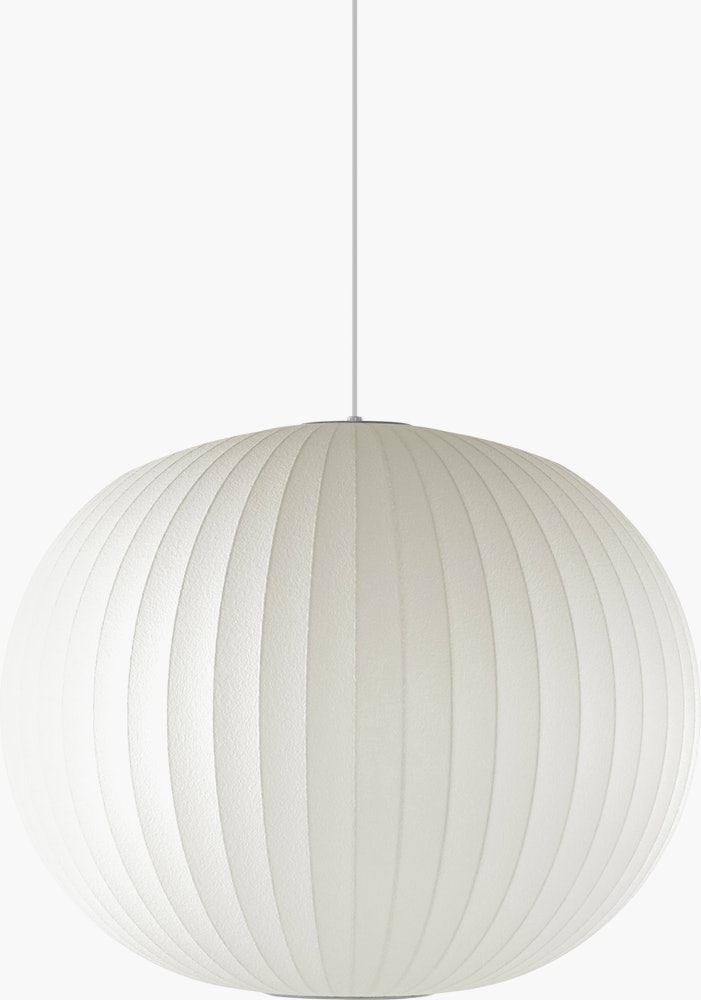
However, I think that my project still fits my aesthetic well. I still think my project incorporates the warm lights and smooth lines of the Scandinavian style. To me, it is reminiscent of the George Nelson Bubble Lamp created by Herman Miller:
In the future, I am going to attempt to create a real lamp shade out of fabric. I think that this will help diffuse the light more, and give it a different look. Also, I am going to enjoy the quality of the wood and how it changes over time.
References:
Nelson lamp image: https://www.dwr.com/lighting-ceiling/nelson-ball-bubble-pendant/100210149.html?lang=en_US&gad_source=1&gclid=CjwKCAjwrcKxBhBMEiwAIVF8rIbb1KiFhMqFpAMVIPzQJsIOBzQdJxiu4xqQZKavaAYuce1UQNjnYBoCk14QAvD_BwE&gclsrc=aw.ds
1 Comment. Leave new
The color of the wood when you put the oil on looks really beautiful. I have never seen a lamp like this, and I like the look of the wooden ribs. I think you nailed the cozy look you were going for.