

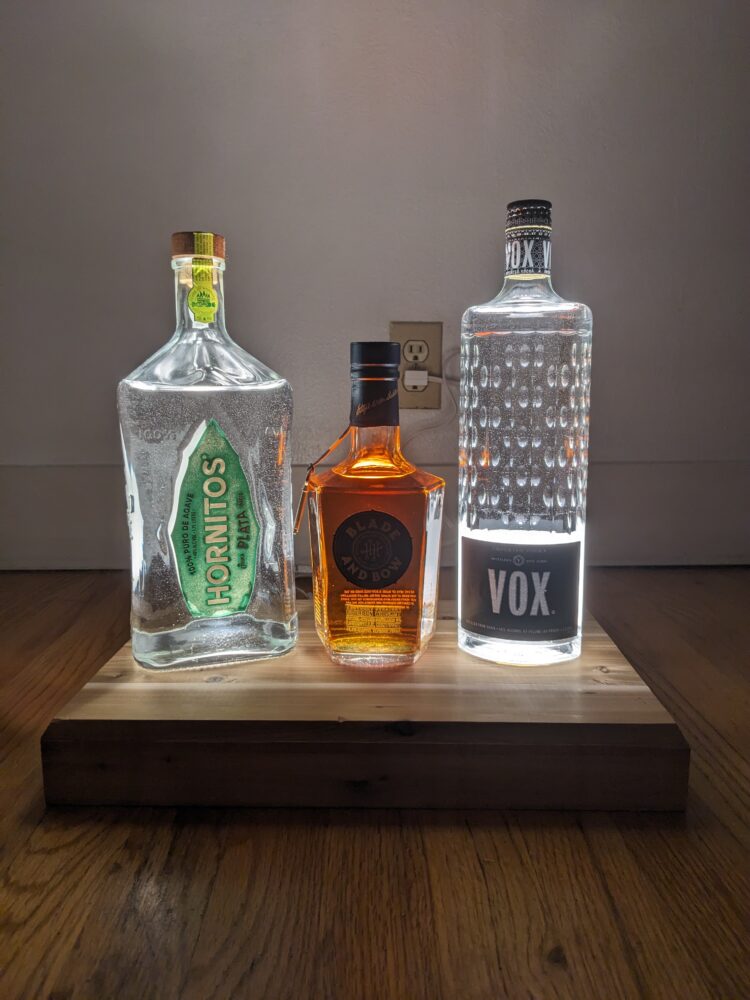
Again, thanks for stopping by. To give a brief recap of the project I have created a lighted alcohol display with a wooden base and space for three bottles. The initial inspiration for this project came from seeing a hornitos bottle from my birthday in the trash and something telling me not to get rid of it. The ideation and aesthetic choice have all been discussed in the post before, what you are here for is the actual fabrication, how I made this epic display.
I’ll start off with my initial projected timeline:
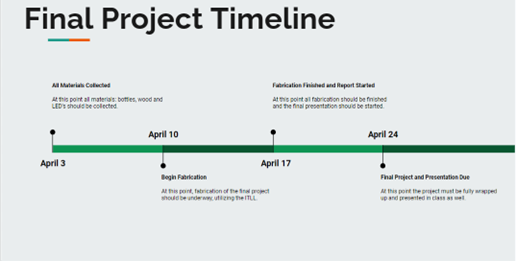
I’d say I was realistically ambitious with this timeline. I wanted to make sure that I had amble time to collect all of the materials because I figured that the electronics could end up being a pain point of the project. Since I had decided the functionality of the board, I was either going to find lights that were going to work for the project, or I was going to have to make lights work for the project.
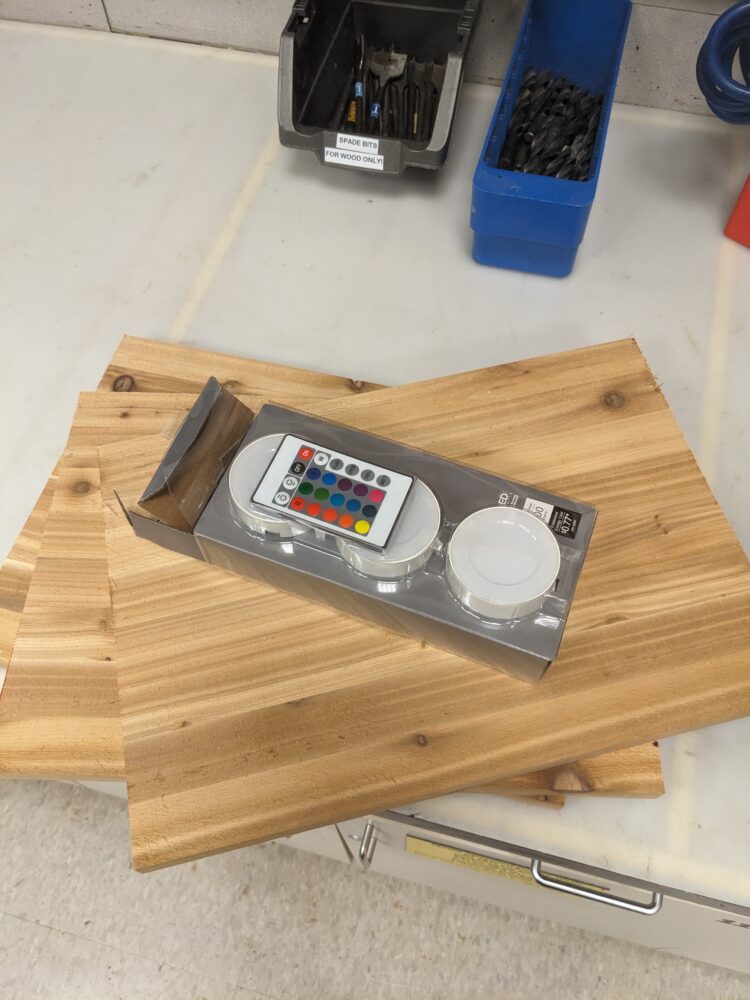
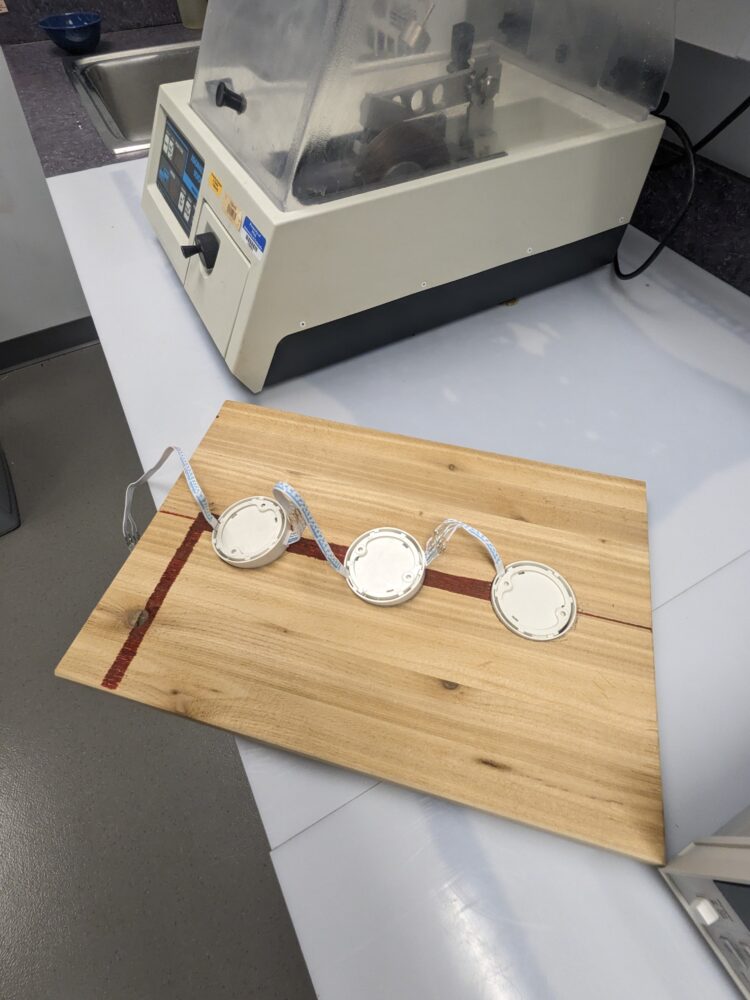
Luckily after a search through my local Home Depot I was able to find almost the perfect light setup. Three 2.5 in diameter LED lights that were controlled through a remote that had color changing and brightness adjustments. The lights were connectable in series with 36 in long wires. These were way too long, but I’ll get into that later.
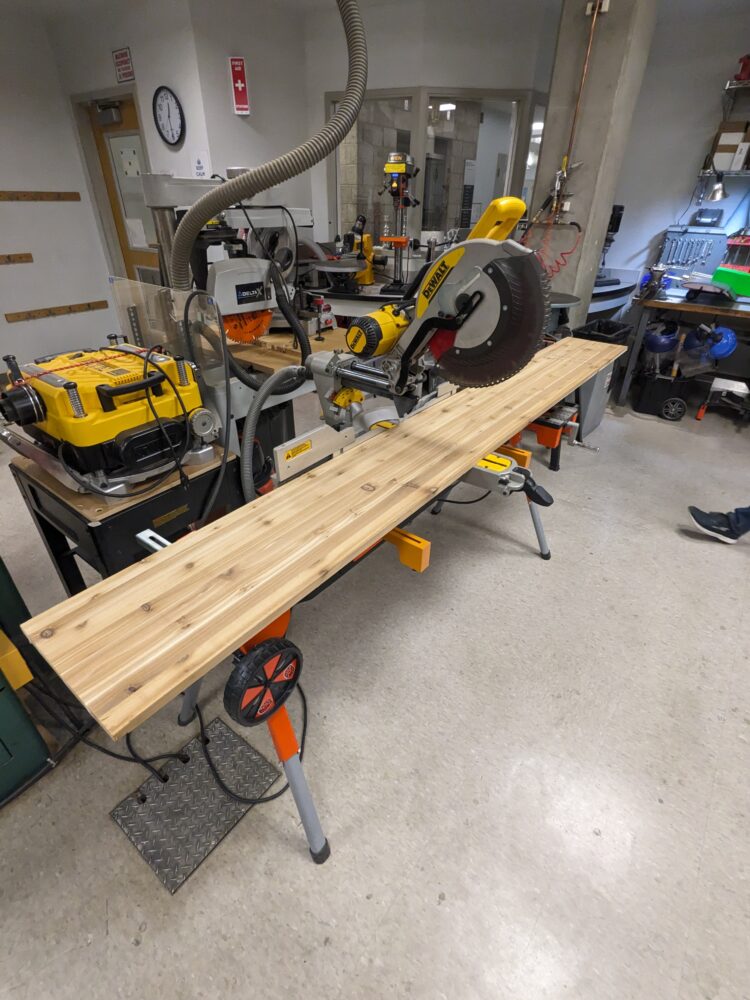
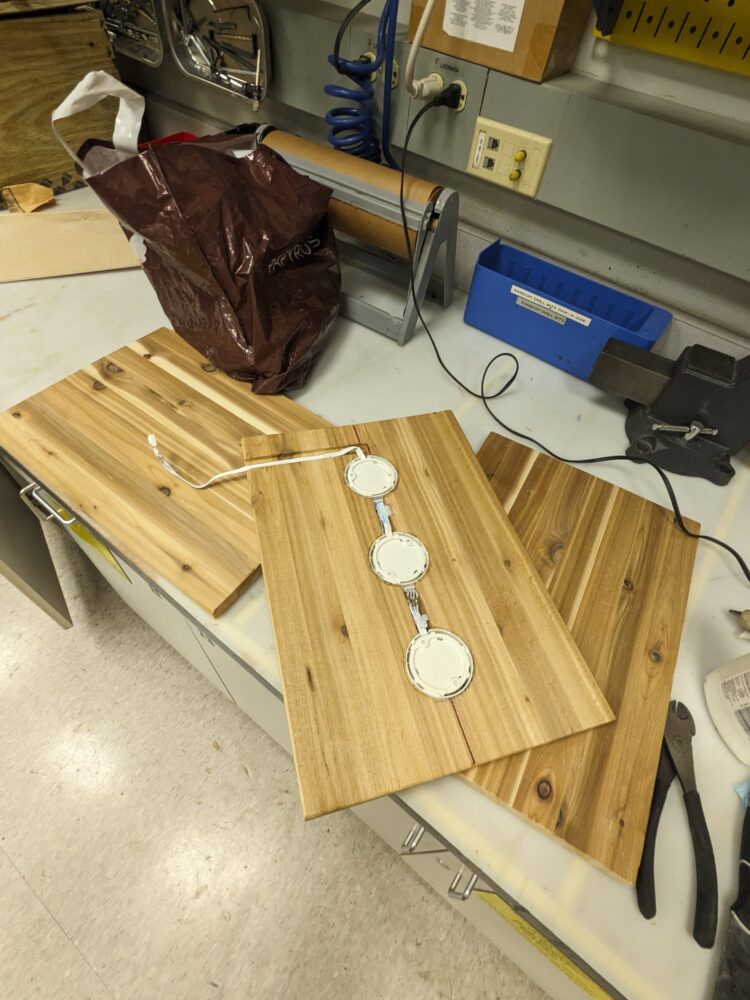
The project all started with an 8ft long plank of wood that was cut down into three 18in sections.
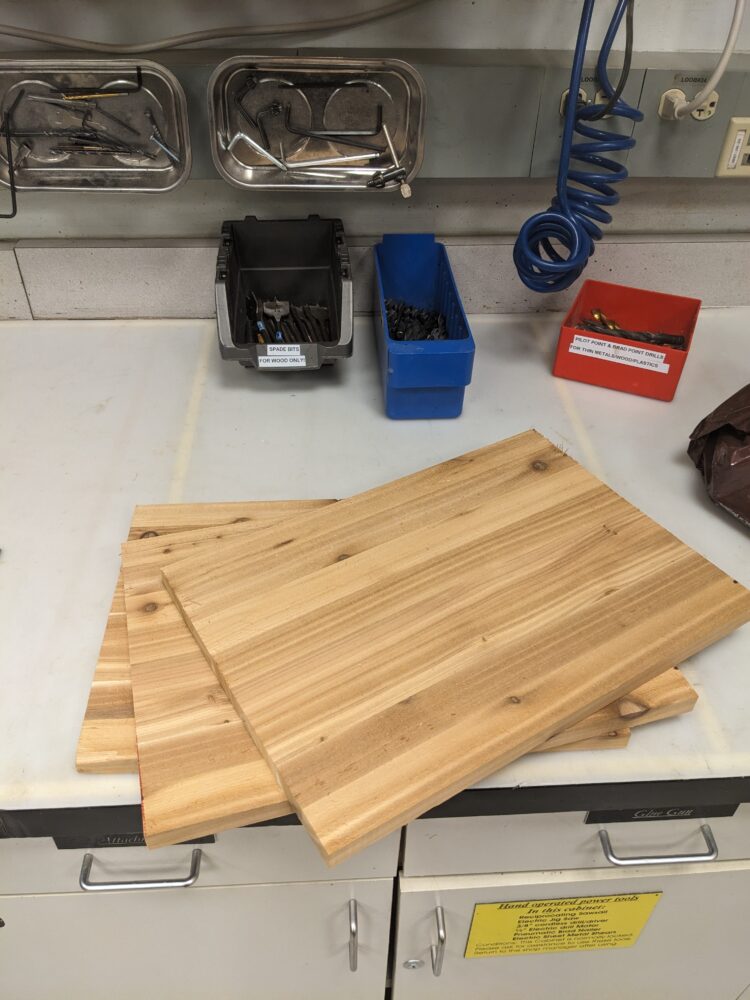
One of the pieces was designated to be the top while the other two would be the middle and bottom sections. For the top piece there needed to be three identical holes of 2.5in diameter to snugly fit the three LED lights. By another stroke of luck, the lights were the perfect height to fit flush within the top plank alone.
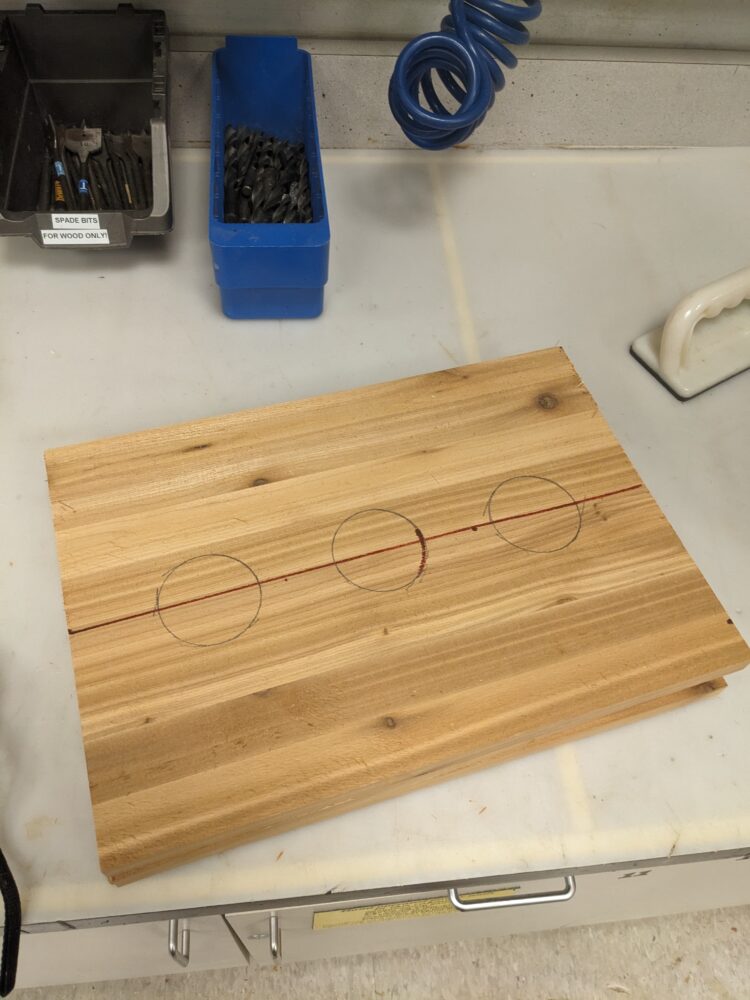
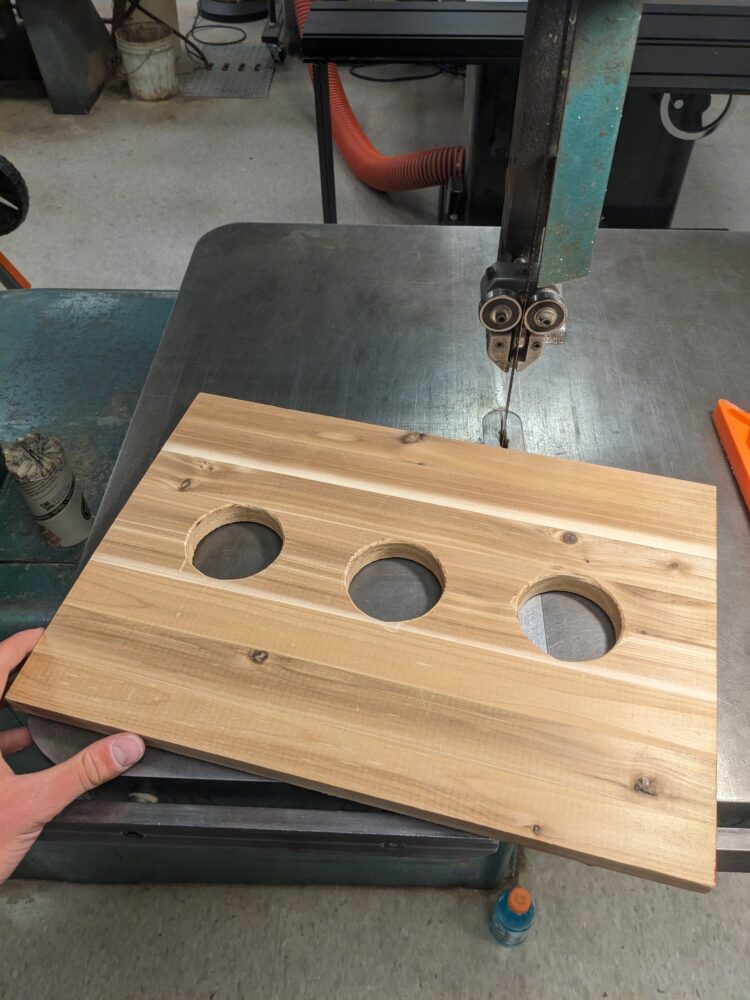
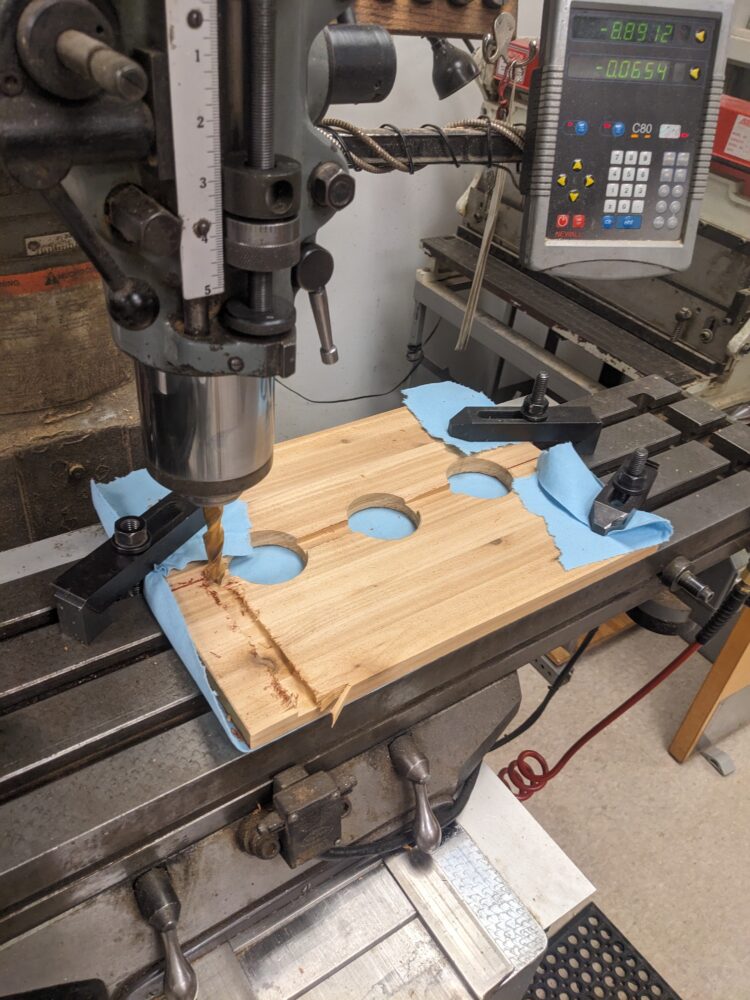
This meant the three holes had to be measured and marked in pencil. Then cut out using a 2.5in hole cutting bit on the drill press. I used a Dremel to sand off any chips that formed from the hole bit.
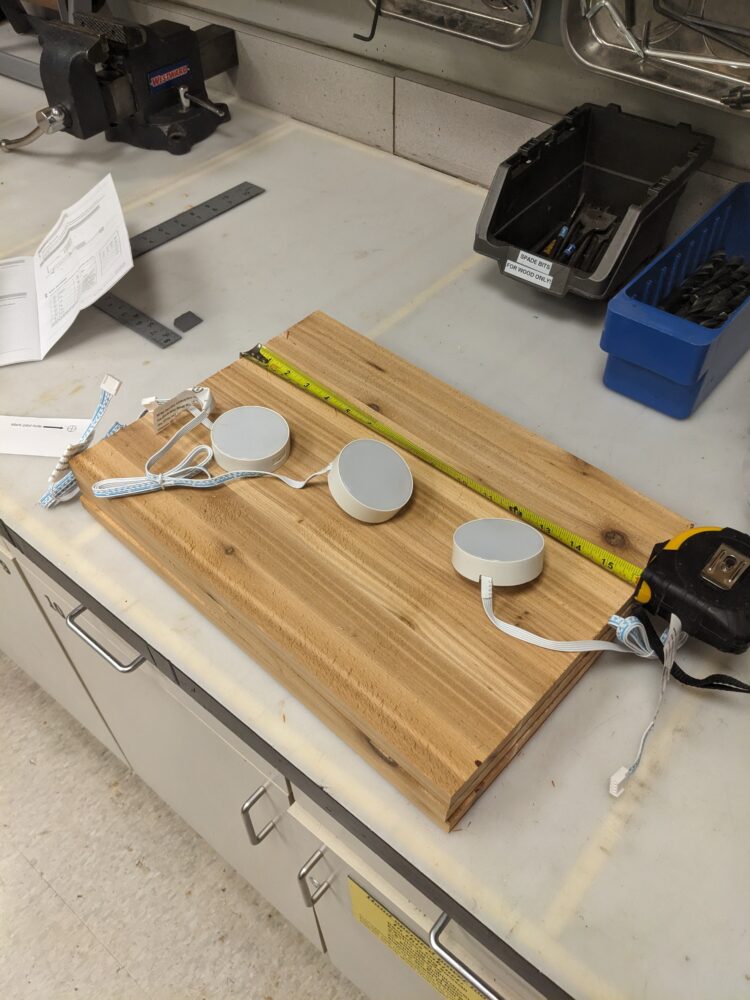
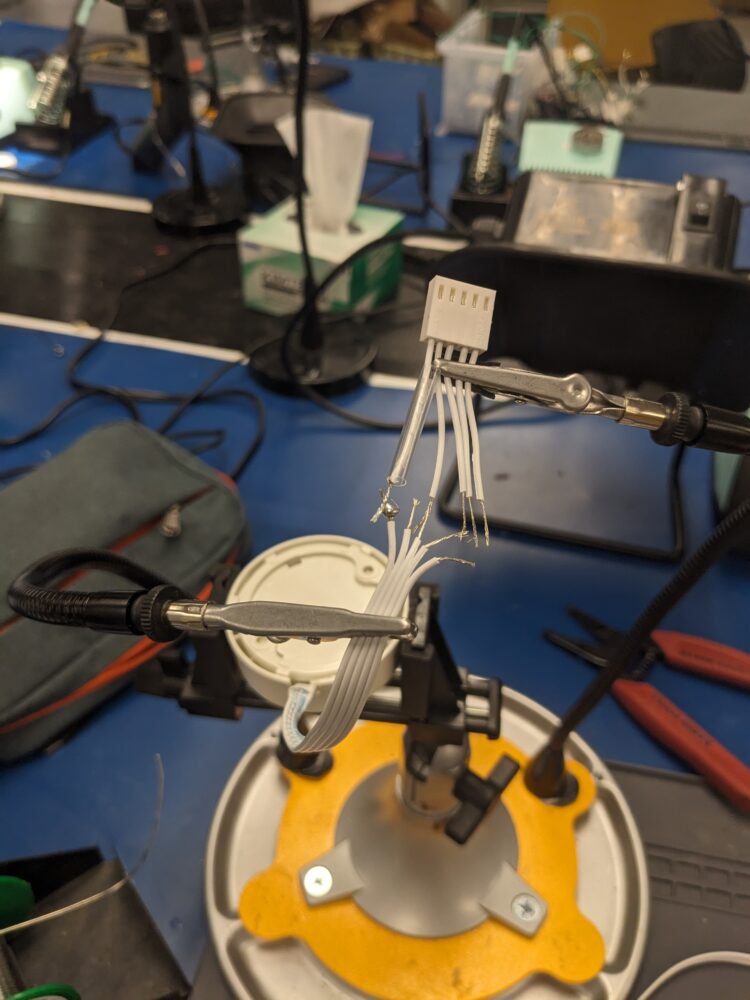
Then came the electrical aspect of the project. This related mainly to the function of the project however it had aesthetic undertones. The connections between each light were about 36in long. This was extremely excessive considering the distance between the lights was around 3in max. Unless I wanted to do intense wire management it made much more sense to shorten the wires so that they could remain self-contained within the board.
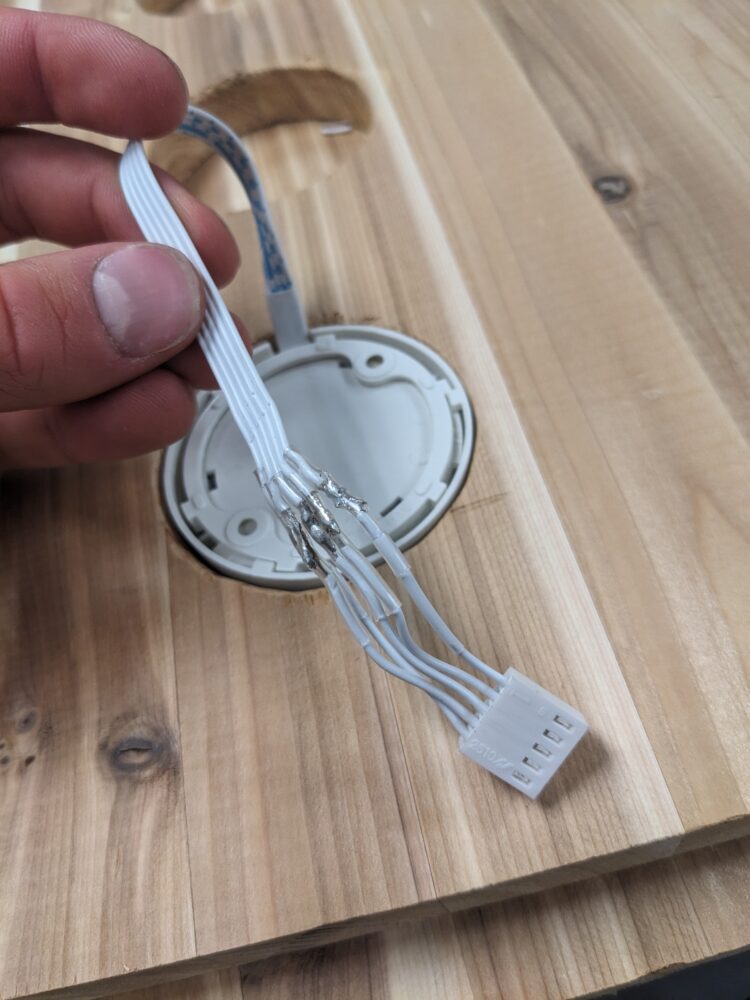
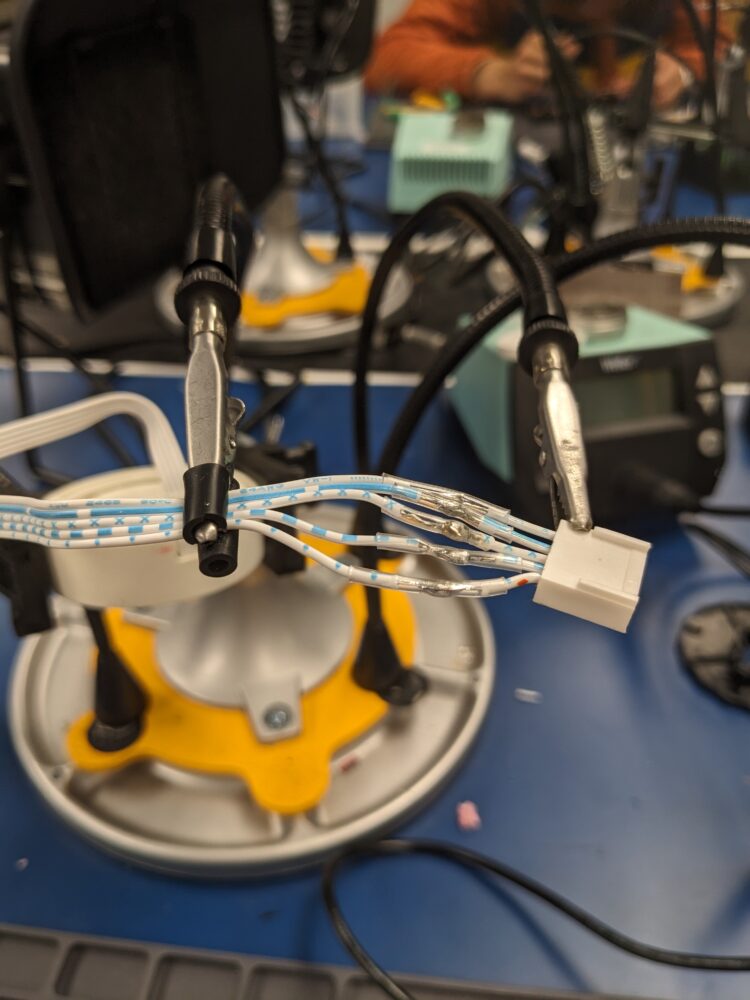
This entailed cutting, separating, stripping, aligning, soldering, heat shrinking and testing the connections. Each connection had 5 wires that needed to be soldered and there were 3 connections, so this process had to be repeated 15 times. This was definitely a laborious part of the process.
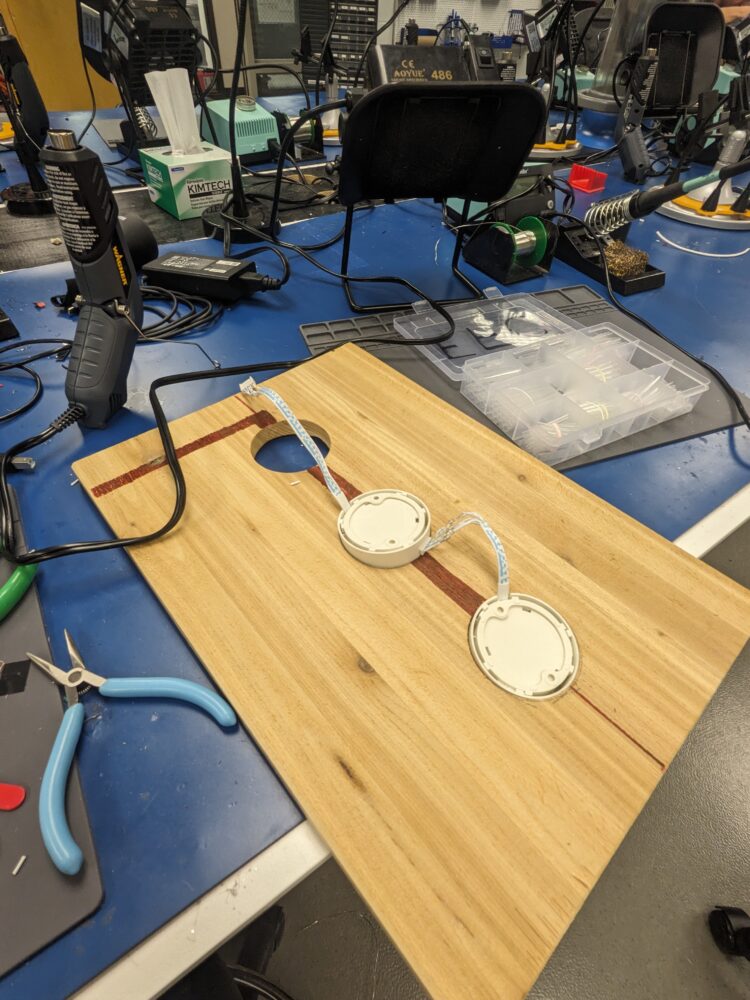
To have proper wire management I devised the idea to cut channels in the underside of the top plank so the wires would have a place to sit, hidden. For this I used the manual mill. This was super quick and effective.
Then I zip tied and glued the wires in place and glued the lights in place as well.
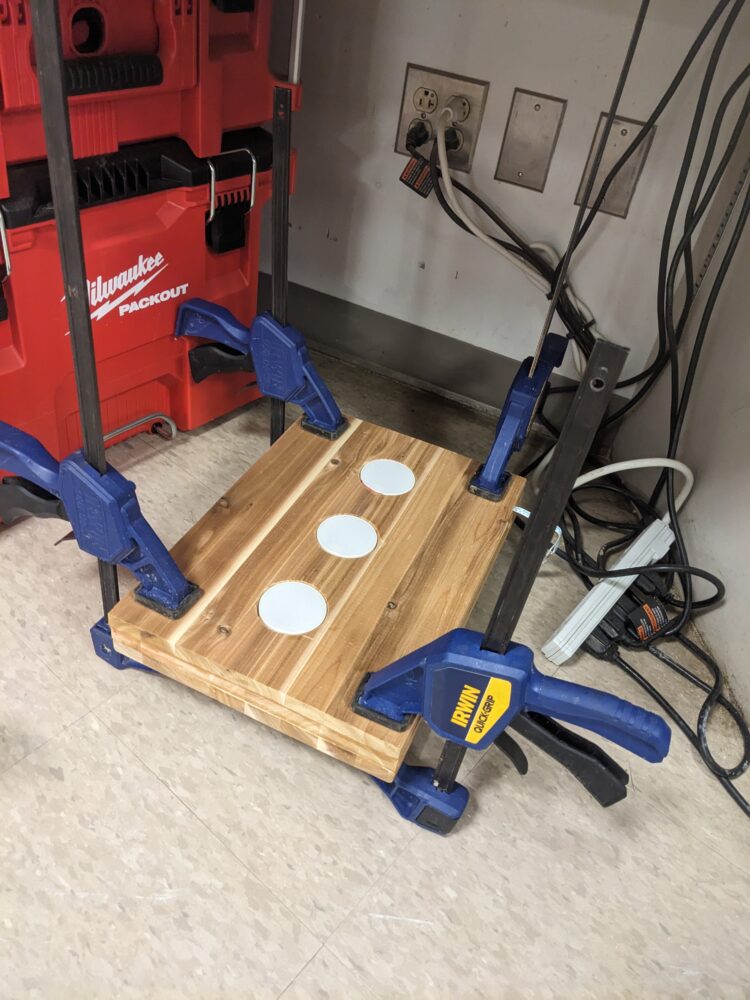
The next step was gluing all 3 planks together into a single cohesive board, I used a lot of wood glue and clamps to achieve this. At this point the project was really starting to take shape.
After the glue dried I cleaned up all the edges using a planar. This was so that the display would have crisp corners and edges.
For a finishing touch I used a chamfered routing bit on the top four edges for a smoother transition for the piece.

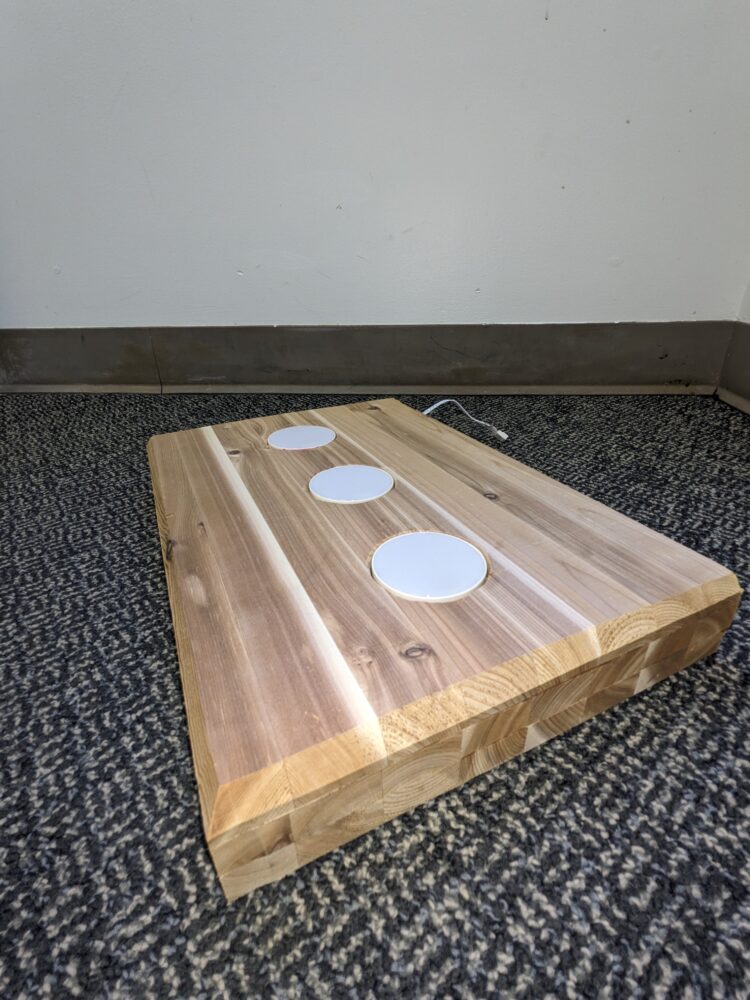
I have still not decided whether or not I will stain the piece, but anyways here are some photos of the finished piece.
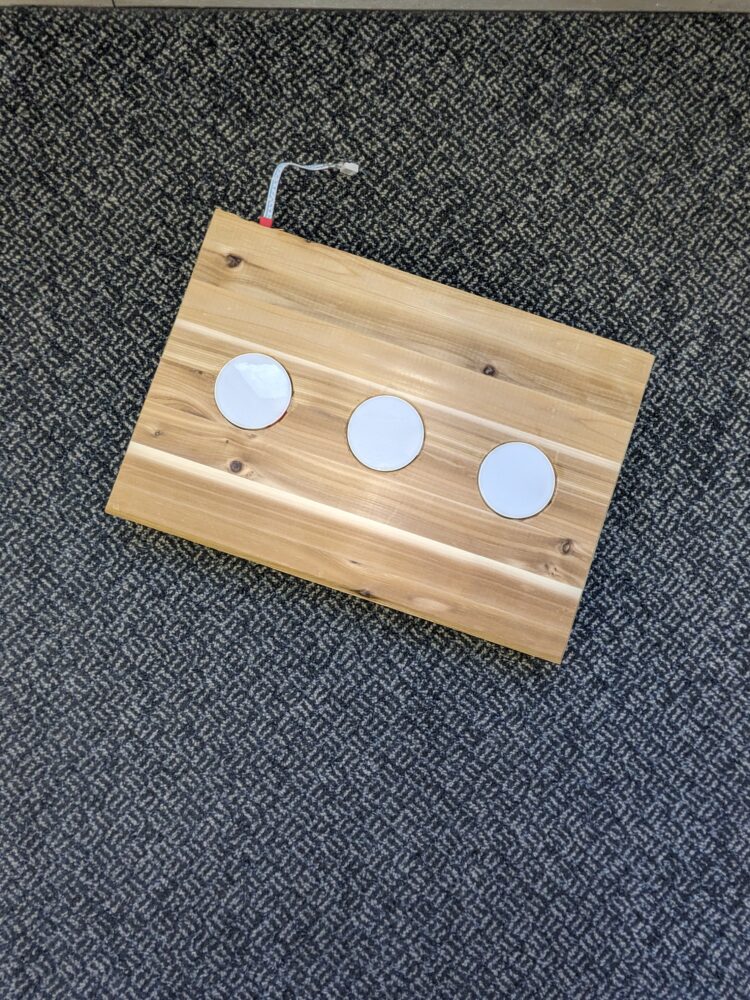
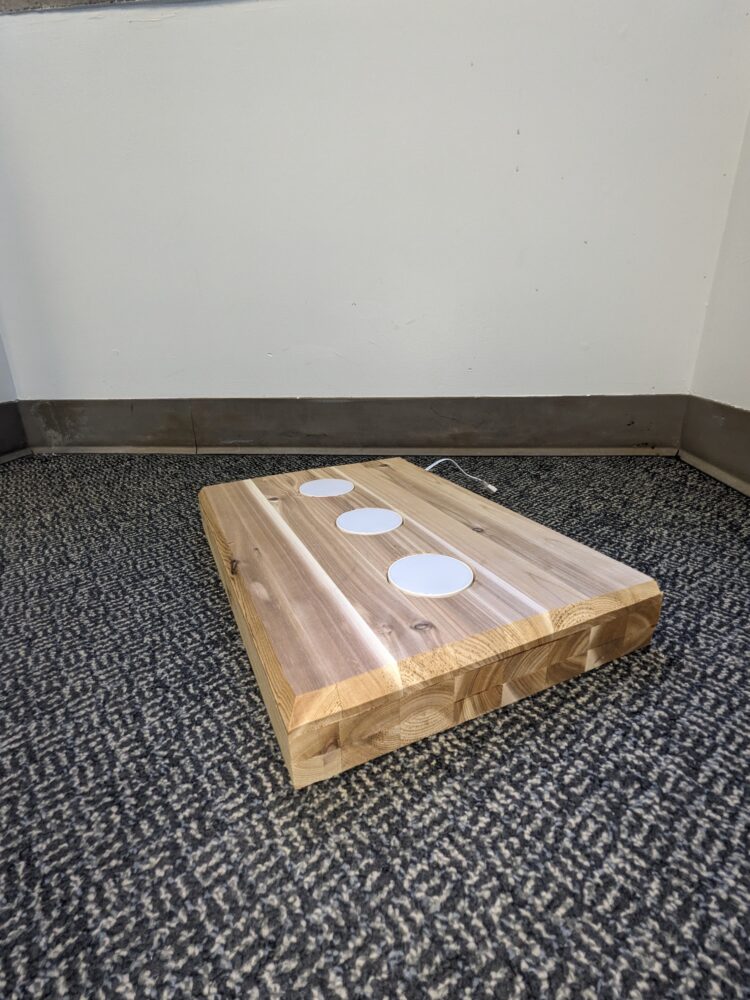
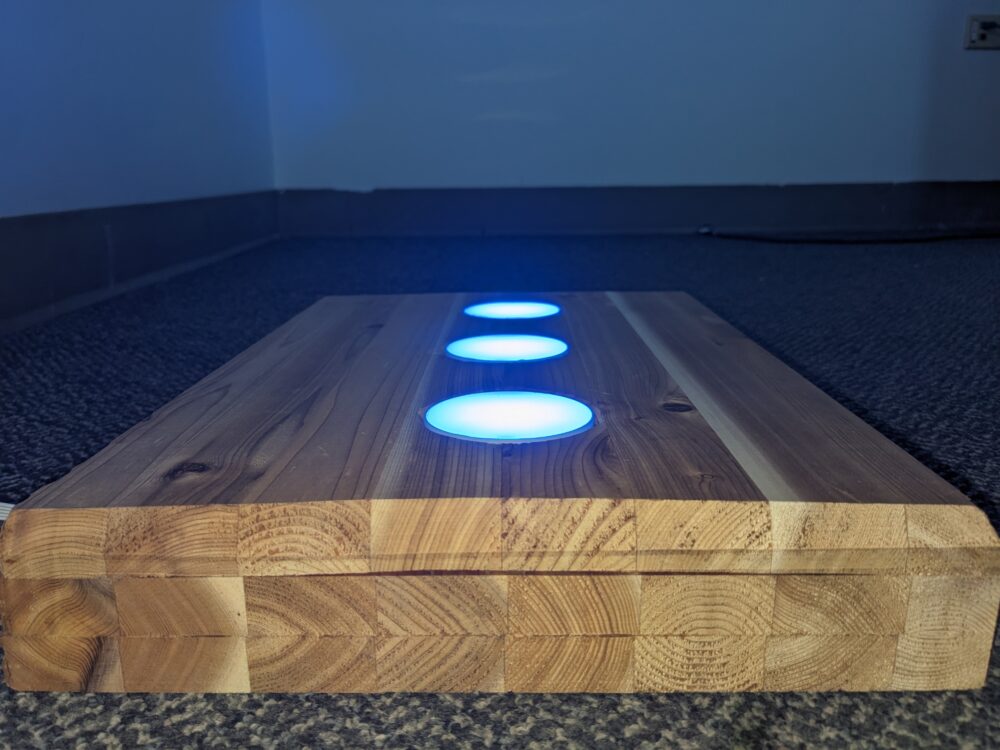
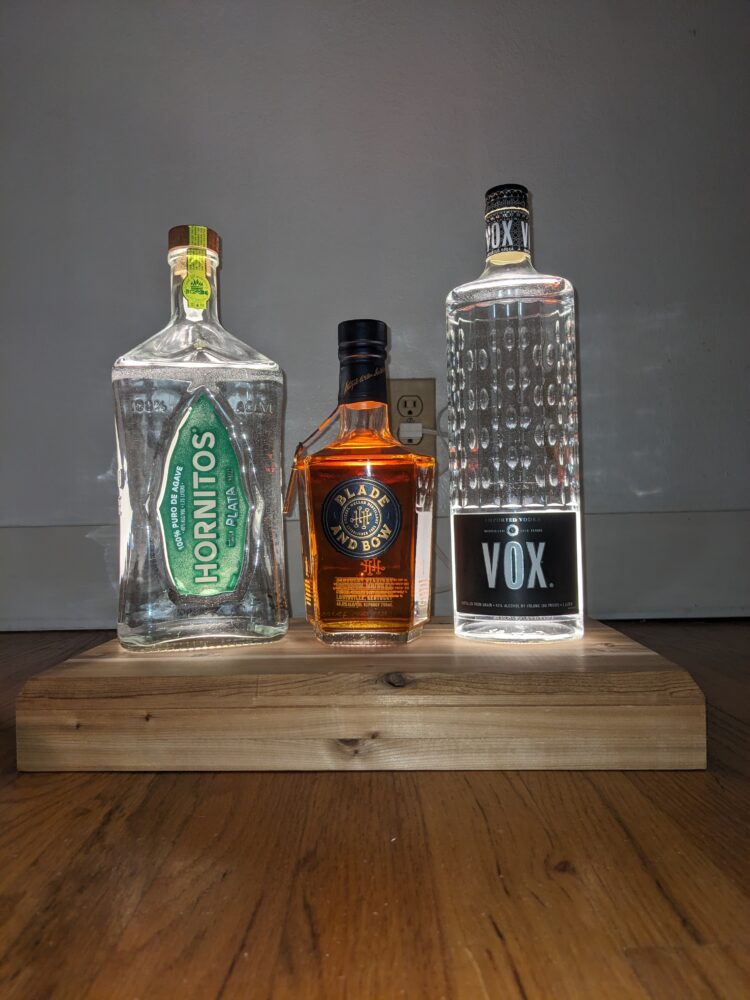

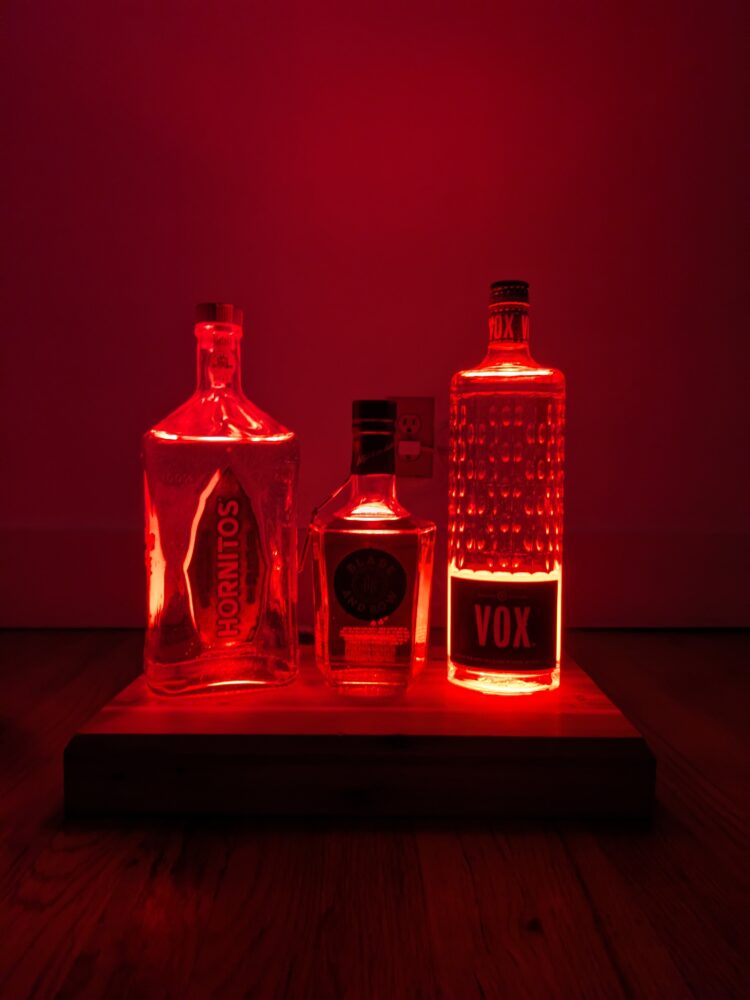


I am so happy with how this piece came out. The effect in person is better than I thought it would be. I am totally satisfied with the end piece and the work that I put into it. Functionally it works great and does exactly what I wanted. Aesthetically, there are a few things that would have been improved. The wood that I used was really chippy and there are a lot of pieces missing, I would have liked for the display to be a bit more clean cut. I also think there could have been more personal touches I could have added to it an idea I had was burning in some sort or writing like my name or some different brands that I liked. As for designs the wood grain itself was exactly what I wanted.
To finish off Ill include what the actual fabrication timeline looked like.
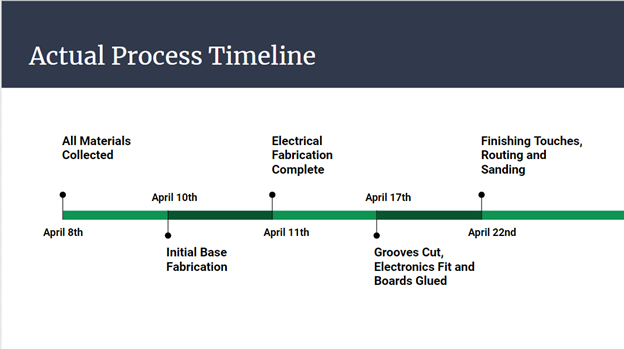
Thanks so much for reading and following along!
2 Comments. Leave new
Wow Chris, looks great! I remember seeing one of your planning posts and being interested to see the final product, and I can definitely say I am impressed! I think the color customizability of the lighting adds a lot of functionality. Do you have any plans for expansion, or making more? I would imagine you will add other fun bottles you would like to display in the future.
I love the story behind this project. I also love the fact that it can be used for much more than just alcohol bottles~ Which wood would you like to go with? Maybe redwood?