
Hello everyone, as a quick recap for my final project I up-cycled an old elementary school desk into an end table in the Bauhaus aesthetic. I chose Bauhaus because I felt I could use the bright color schemes to cover the imperfections in the desk, and because the legs would be made of steel round tubes.
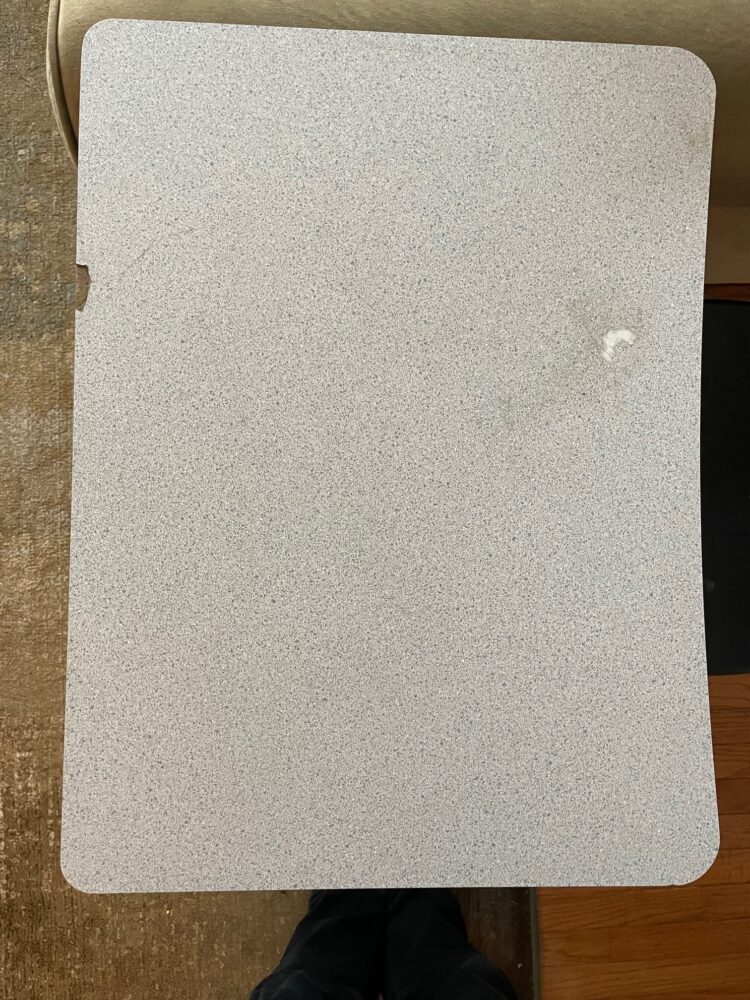


My first task was to clean up the top of the desk. Even though I was going to paint over it, I still wanted it to be as smooth and clean a surface as possible. For the chip you can see in the top left I put in some wood filler which I then sanded down to a smooth surface once it dried. After that I took sandpaper to the entire top. The desk was made of a particle boaed with a smooth laminate covering. This sanding put in grooves where the paint could fill and stick.

My next step was painting. I used a spray paint on the top, This was done because I felt like I could get the most even surface finish with spray paint, instead of rolling or brushing on another type. This is after about 4 layers, as it took a while before I was fully happy with the color. This image makes the red really pop, but after curing it did not turn out as bright as shown here. For the sides of the top I used a brush and acrylic black paint to get my finish. This was done because I wanted to be as precise as possible, getting clean lines and a deep color that I was afraid I wouldn’t be able to get with spray paint.
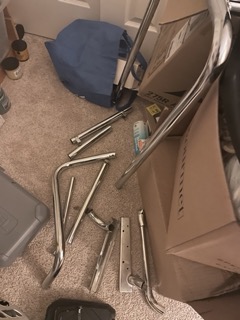
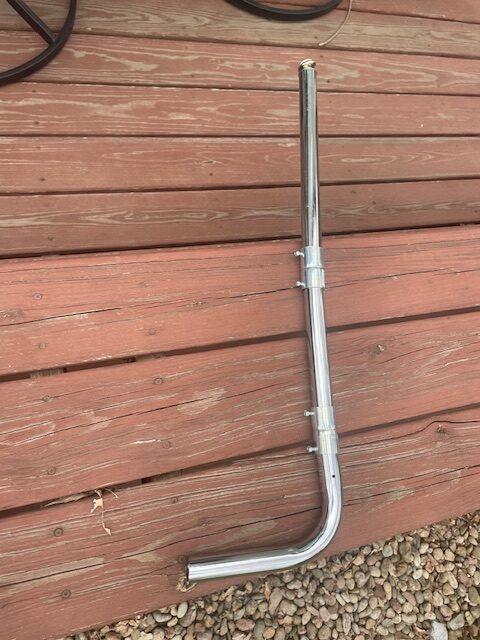
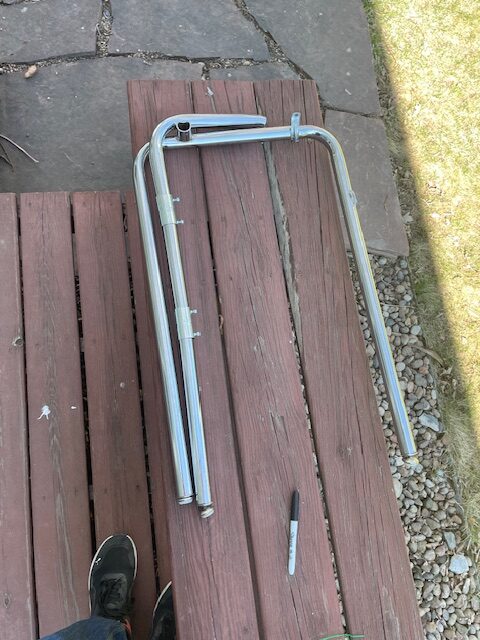
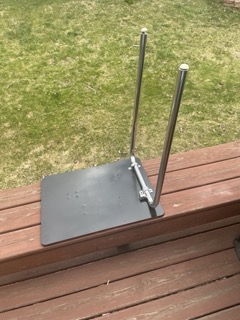
The next step was working with the metal. The front legs were still useable, however the legs did not face straight down but some hand bending and a hammer solved that issue. The other two legs I had to make out fo the scrap metal took me much more time. Unfortunately I was busy during midday throughout the week, so I did not have as much access to school resources as I would have liked. I did the metal cutting with a Dremel using metal cut off wheels. This helped for getting into small places in the center of the desk, but lead to some uneven and strange cutting angles. I went back with a grinder and more cutting wheels to fix these odd cuts. To put the legs together as seen in the center image I used electrical conduit mounts with set screws. This allowed me to adjust the length of my legs until I had an exact match with the existing ones. On the right you can see me comparing the lengths. My makeshift legs were slightly longer here so I had to cut them down. This cycle repeated about 3 times per leg, mostly because of the uneven cuts and my fear of cutting the legs to short and having a more difficult issue on my hands.
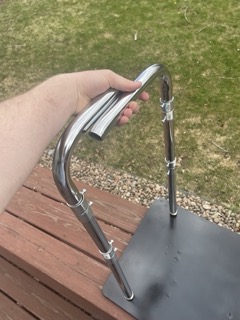

Here are the final steps of putting together my legs. The left shows my final measurements before I cut them down to the correct width. To attach them to the desk top I put a screw through the leg and a pipe clamp. This is how they were originally attached to the desk so I just copied that.

When I started attach the legs back to the tabletop they went slightly outward. Luckily this was a quick fix, using. hammer I was able to bend the top to the correct angle. When I put both legs on I realized I had made a mistake in measuring. The table was on a huge slant, and very wobbly because the legs were longer on one side than the other. This fix just involved more cutting, more grinding, and using a level to make sure I had a flat surface. This also greatly improved the stability of the table.

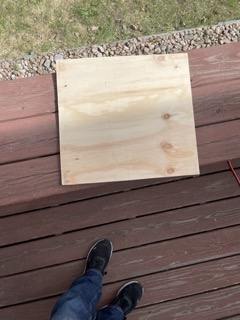
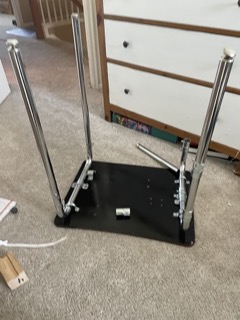
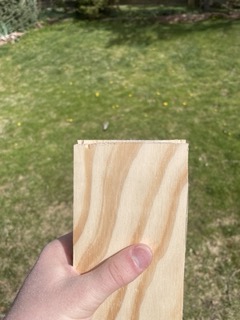
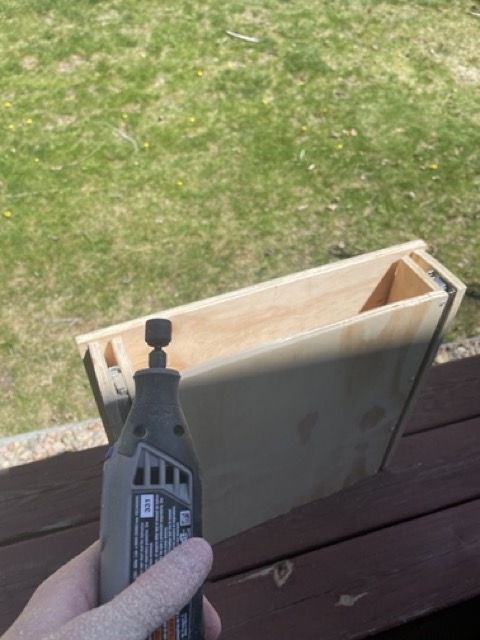
My next steps were fabricating the drawer for my dynamic component. I have never made furniture before so this was a learning experience for me, and was definitely more difficult and time consuming than I anticipated. I started out buying materials. Doing research I settles on a 2×4 ft sheet of 1/2″ pine, as it was affordable and durable enough to carry any load I could fit in the slim drawer. First I cut and sanded down the top of the drawer, I suspended this from the pipes using the conduit clamps on my manufactured legs, an hose clamps on the ones from the desk. This gave me the “suspended” drawer look shown in image [2]. I cut out this top board first to be sure it would balance in between the legs, which it did after lots of other small cuts and sanding. My large cuts were made with a jig saw and any smaller modifications were done with my Dremel and a sanding bit.
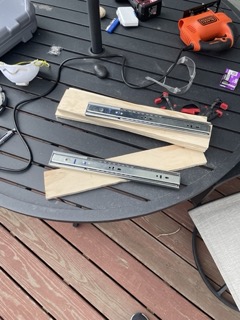
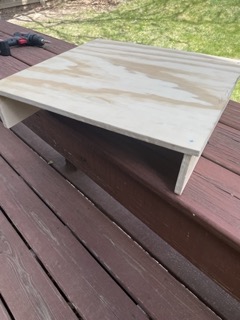
Next step was building the drawer itself. First I build the outer frame, where I left enough overhang on the top panel to allow the drawer to suspend. Then I attached the drawer slides into the outer frame and tested it to make sure it fit. It did so I cut down more wood to build the inside.
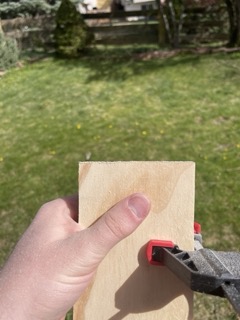
One of the most difficult parts was getting all of my cuts to the exact right size. As good as my measurements were, because I was using a jig saw any slight movement could cause visible error. This shows a before and after of the inside drawer panels where I had to shave a 1/4 in off of one to get them to the same length.

Here is the final drawer, this is still before I painted it, and added the front handle. I wanted to be sure it fit before applying any finish to it. After some sanding it closes and opens very smooth. It did take longer than I anticipated, as I had to adjust the position of the slides 3 times to get the drawer front to sink all the way into the frame.
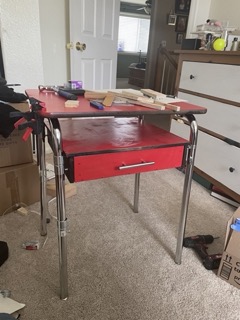

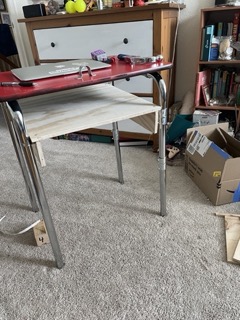
Here is the final product. It’s about 95% complete in these photos. I have slight touch ups such as straightening the handle, some paint touch ups, and screwing on a back to my drawer. Overall I am very happy with how this turned out! the suspended drawer provides a unique quality to it, and more storage space. The drawer runs smoothly, and adds a lot of stability. When just the legs were on I was scared it wouldn’t be able to stand on its own, however since I put the drawer in I have been storing tons of stuff on it with no issues. I plan to use this as a work desk, it has already been functioning as that for this project and you can see my clamps on the side match the color theme. Finally I want to add more supports. I feared by doing it now they may take away from the aesthetic, but I think I could greatly improve the strength of the table.
Images:
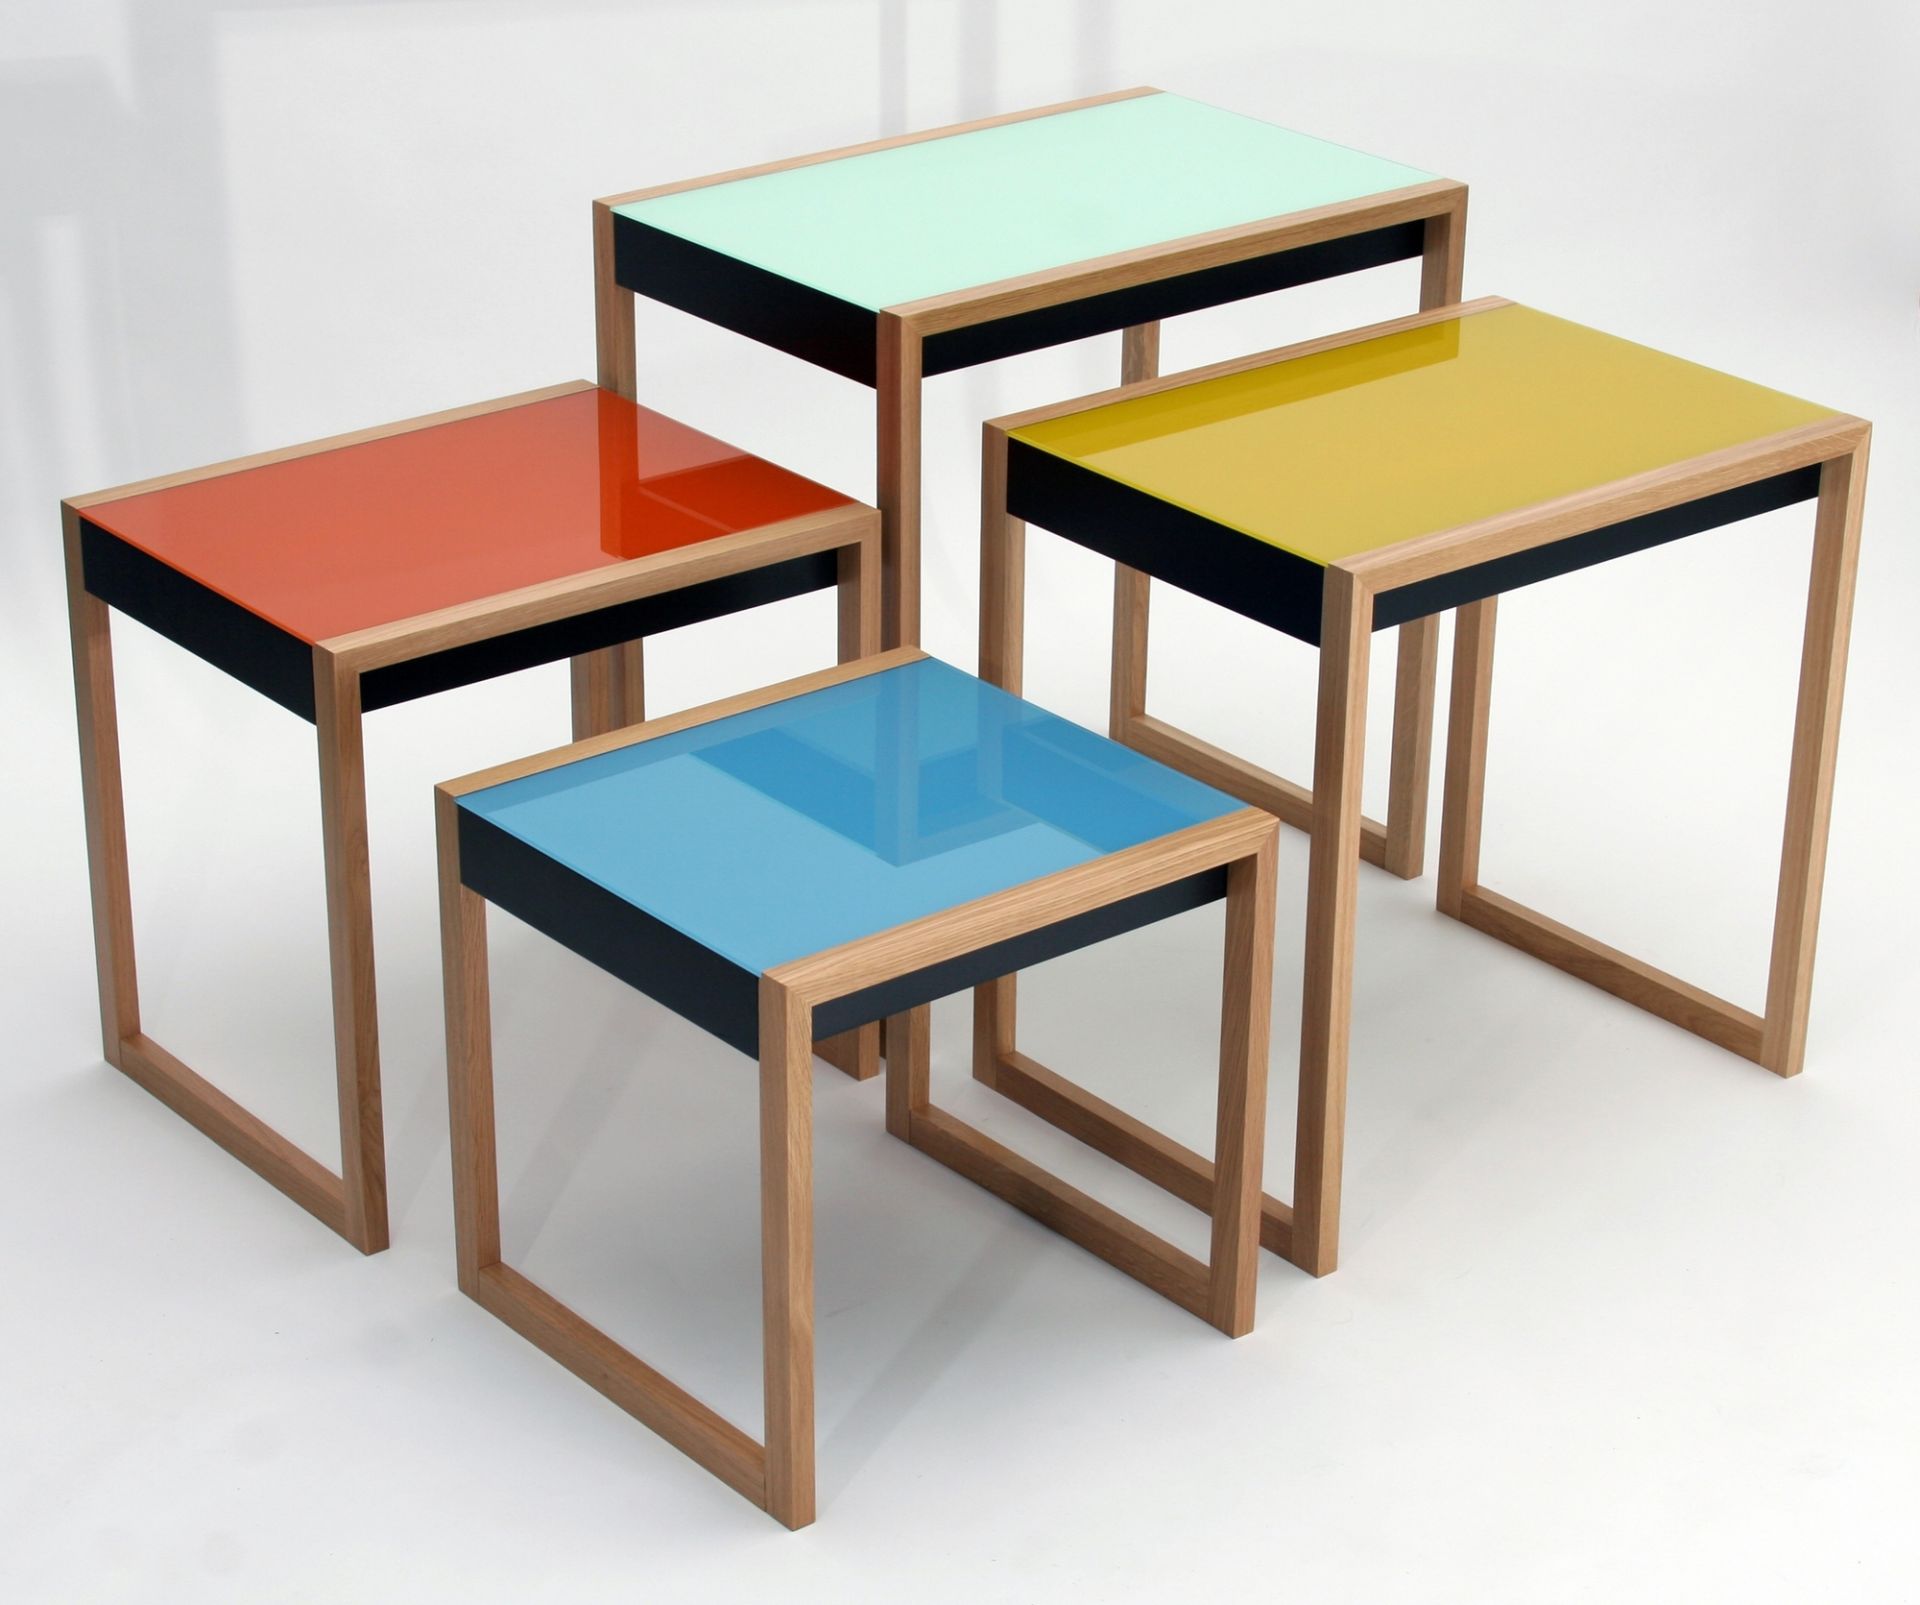
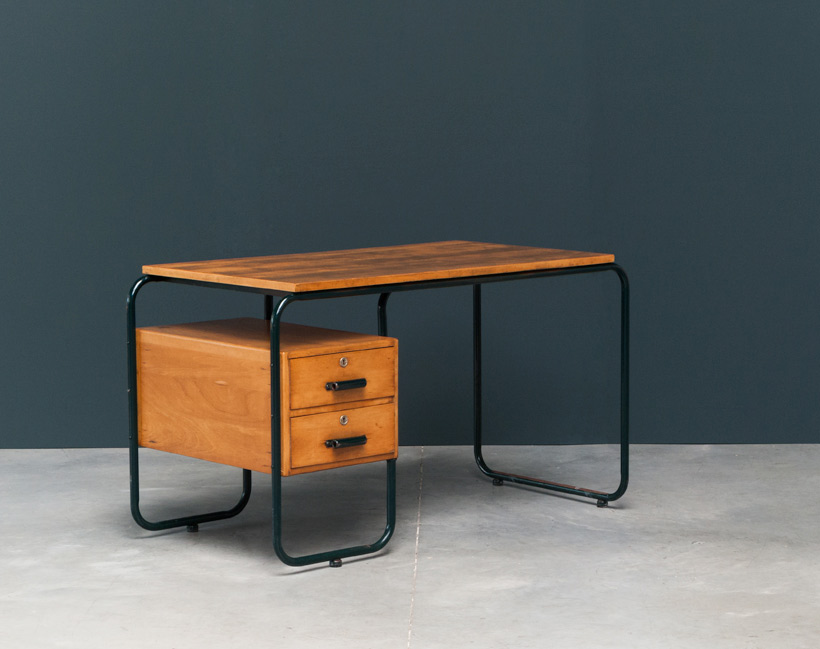
[1] Einrichten Design, https://www.einrichten-design.com/en_us/bauhaus-nesting-tables-set-of-4-klein-and-more.html [2] Furniture Love, https://www.furniture-love.com/vintage/furniture/785/bauhaus-tubular-steel-and-wooden-desk.htmlSources:
“Bauhaus.” Wikipedia, Wikimedia Foundation, 11 Mar. 2024, en.wikipedia.org/wiki/Bauhaus.
“Buying Guides.” School Outfitters – Furnishing Great Places to Learn., www.schooloutfitters.com/catalog/gttk_article.php/cPath/CAT202_CAT203#:~:text=Frame%20%E2%80%93%20Most%20all%20desk%20frames,but%20more%20likely%20to%20crack. Accessed 13 Mar. 2024.
“A DIY Guide to Painting Laminate Furniture: Benjamin Moore.” A DIY Guide to Painting Laminate Furniture | Benjamin Moore, www.benjaminmoore.com/en-us/interior-exterior-paints-stains/how-to-advice/interiors/painting-laminate-furniture#:~:text=Can%20you%20paint%20laminate%3F,coffee%20tables%2C%20bookshelves%20and%20dressers. Accessed 13 Mar. 2024.
1 Comment. Leave new
Great work on your project Brandon! I really like the color and think it really communicates the aesthetics. The shelf and drawer are a nice functional and aesthetic touch as well. Have you considered painting the inside of the drawer at all? I think adding supports would be a good idea and you could do that without compromising the aesthetic. I think this project turned out really well.