
Summary of Project Steps
My last post describes the inspiration, conceptual design, and final outcome of my Brutalist Desk Lamp project. This post will describe in detail the manufacturing process and steps that I took in order to execute my vision.
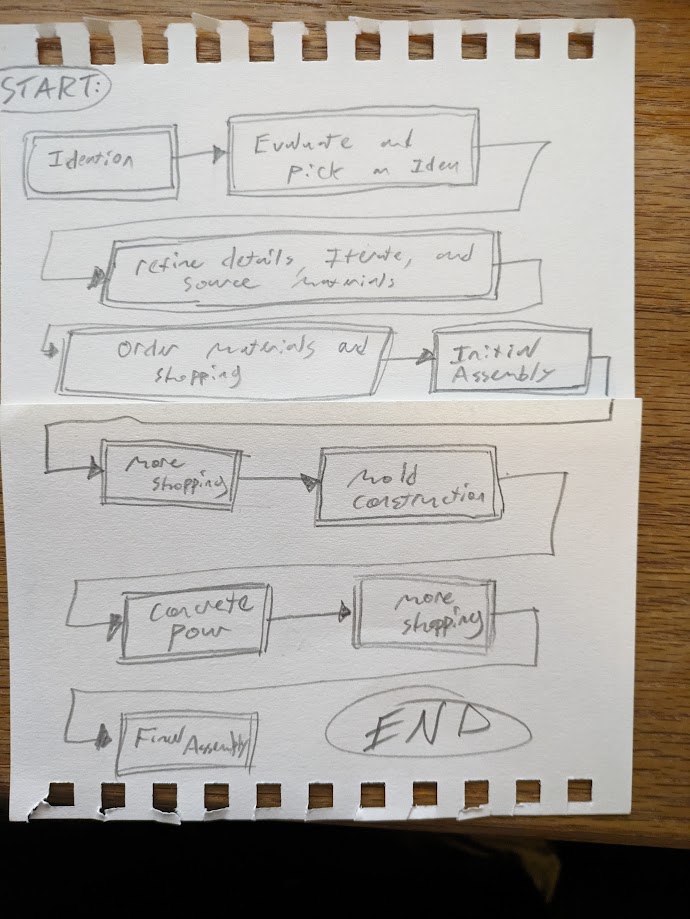
This is my timeline graphic, and it shows the actual order in which I completed my project. I began by brainstorming ideas, which I eventually narrowed down to two desk lamps with different aesthetics. I was stuck between a moon-lander style desk lamp and the brutalist design that I eventually chose. After I came to a decision based on my judgement of the manufacturability of these two designs, I began to refine my vision and browse on McMaster-Carr for parts that I would be able to use for my project. This allowed me to modify my design such that it could actually be produced using existing parts and assembly techniques. After ordering and receiving these parts, I began my initial assembly. This involved building the base of the tube structure that actually goes into the concrete casting. Then, I assembled my mold and prepared to pour the concrete. This required a trip to Home Depot to get all the wood and concrete needed for these steps. After pouring the concrete, I began final assembly and electrical wiring which required another trip to Home Depot. Then I found a solution to my lampshade problem which completes my project!
Fabrication Process:
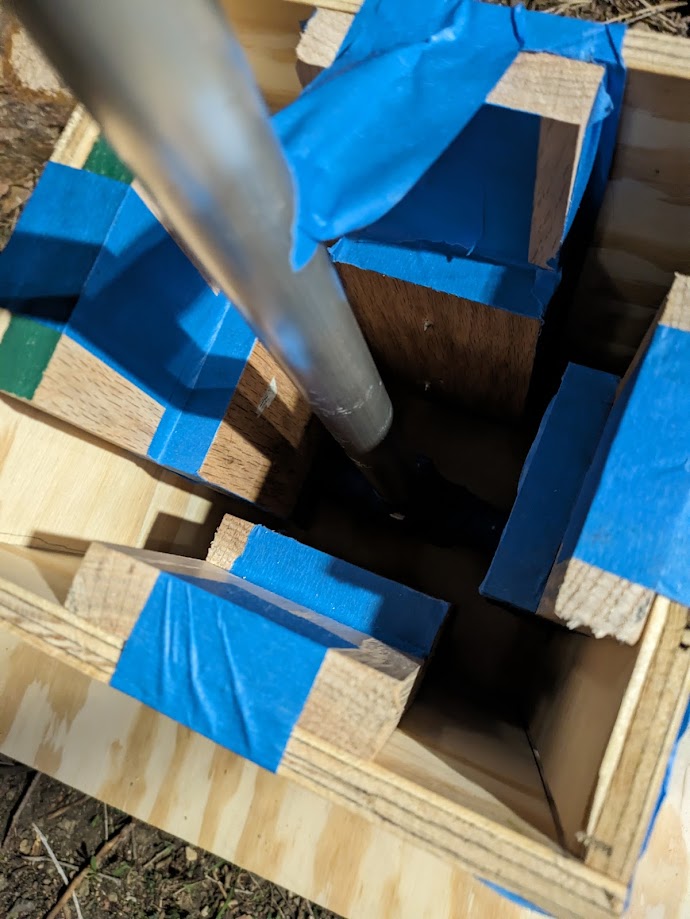
My initial assembly required me to cut some of my aluminum tubing to length using a hacksaw to construct the “T” shape that goes inside the concrete. This piece is used for structural stability as well as cable routing. The “T” fitting I got on McMaster-Carr has set screws that clamp onto the aluminum tubing. After making the mold, I adjusted the distances and masked with tape to make sure that the tube extends to the edge of the concrete.
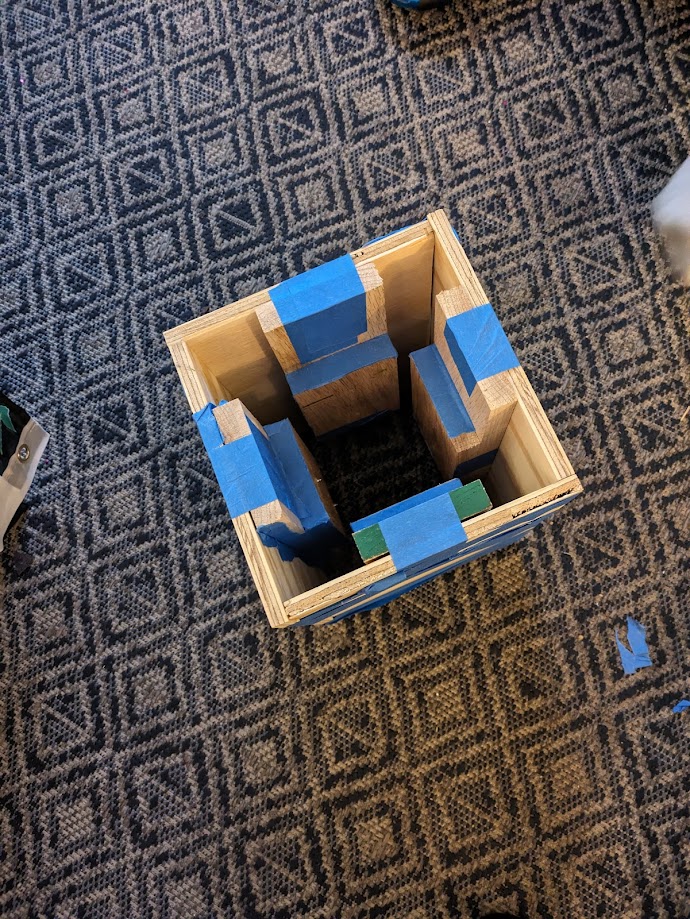
Assembling the mold itself began with cutting all of my wood to shape using my roomate’s circular saw. I used a ruler to measure all of my cuts and then used existing pieces as templates to make sure everything came out even. Then I attempted to screw everything together with wood screws but soon gave up in favor of masking tape because it was easier to assemble and would be easier to disassemble in the future.
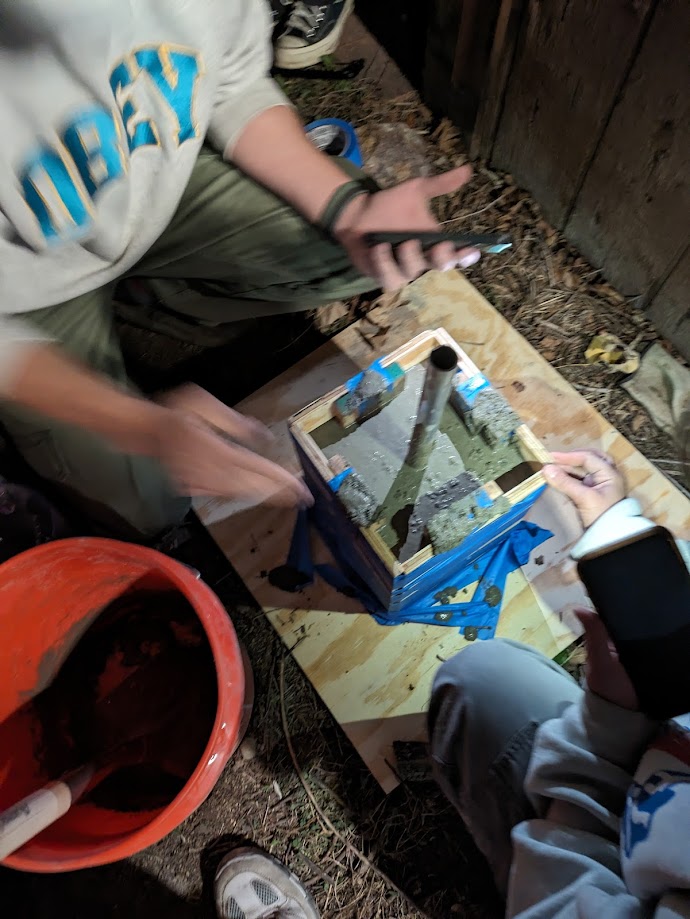
Next, I used a Home Depot bucket to mix up the concrete with water until it was just barely loose enough to pour. I also sprayed the mold with form release, which would hopefully make the mold pop right off. After a couple days, I tried to take the mold off but it ended up being extremely difficult even though the concrete broke. If it hadn’t cracked the way that it did, I think this mold would have been impossible to remove which was another blessing in disguise.
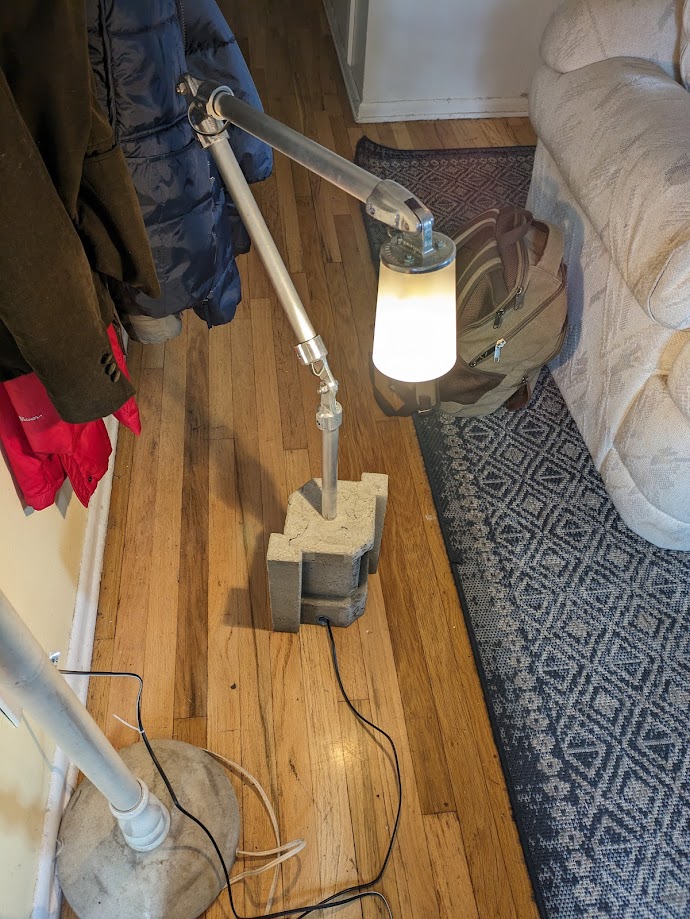
For final assembly, I used my roomate’s cordless drill to drill holes in the tube hinges to allow the wires to pass through the articulating arm. I then wired the lightbulb after attaching all of the tubes to the tube hinges. I then drilled the correct holes into the plastic cup lampshade that allowed it to mate with the tube hinge assembly and my project was complete. I also added a clicky switch from Home Depot so the lightbulb can be turned on and off and the project was complete.
Conclusion
Even with the concrete cracking, this project came out way better than I was thinking it would during the planning stage. It is a unique artifact that really captures the brutalist aesthetic I was going for and I am proud of how it came out.
3 Comments. Leave new
Alex this is great!
I am curious how much this lamp weighs?
I think it is so cool that you made your own concrete mould for the base! Do you plan on filling in the cracks with sealant? I think maybe it would even fit the aesthetic better if you left the cracks visible.
I am planning on leaving the cracks as is!