
The goal of my project was to create a visually interesting conversation piece that will illuminate a space. An industrial aesthetic would convey my personal interests in engineering. Since industrial styles can be very linear, with straight lines and uniformity. I also wanted this piece to be organic in the way that it incorporated curves and a sense of randomness. This all resulted in my industrial aesthetic lamp.
Fabrication Process:
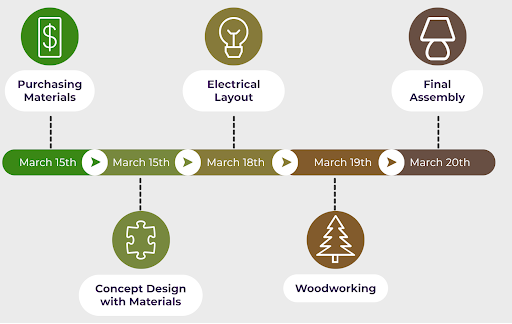
Like all projects, phase one starts with concepting and initial design sketches. Not wandering off trail, I created some design iterations on paper so I could visualize what I would actually need.
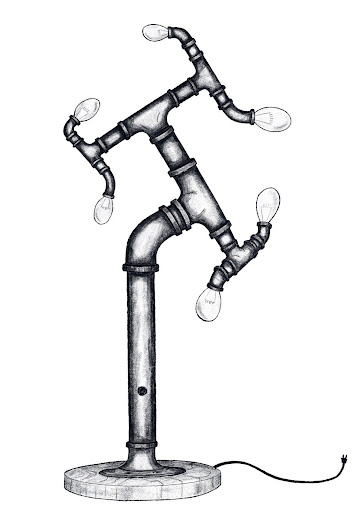
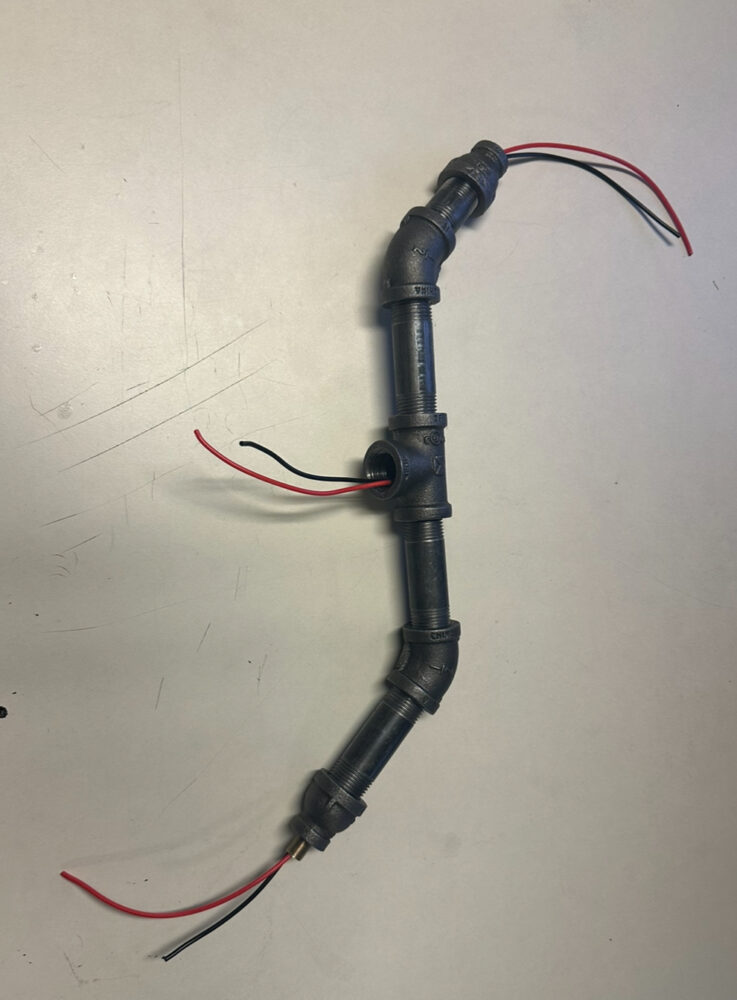
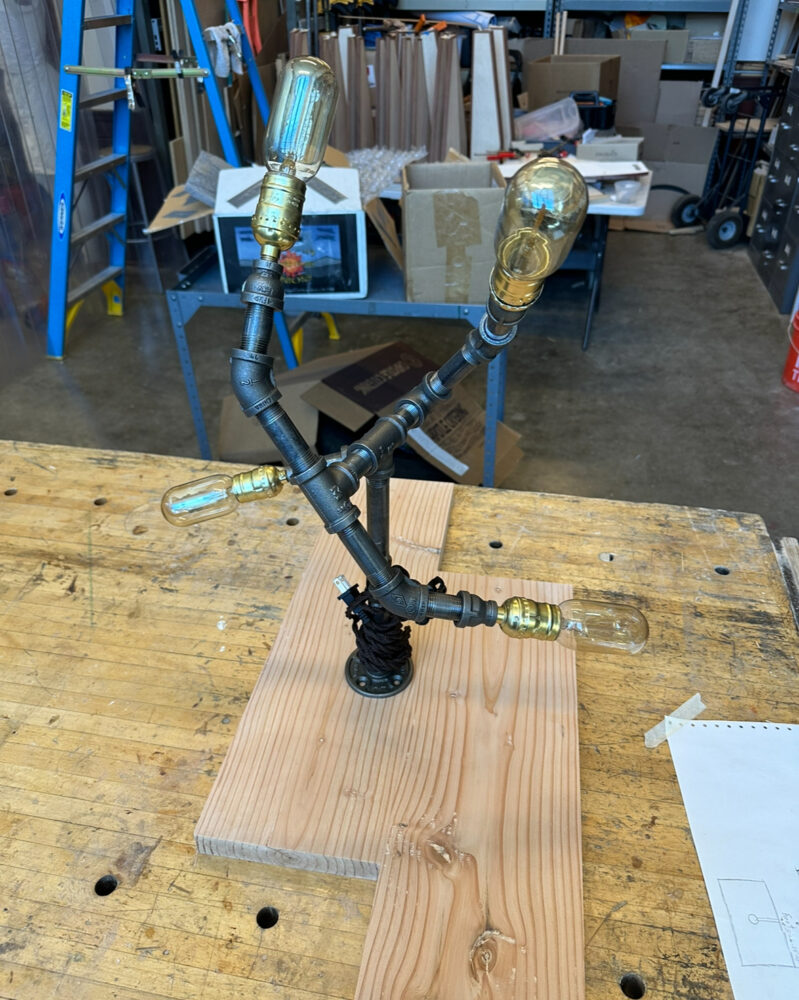
Once happy with a design, I purchased my materials, which in total came out to be around $60, most being the iron piping at Home Depot. With materials in hand, it put things into perspective and was a lot easier to concept different layouts for the piping. The images below is showing what I ended up with.
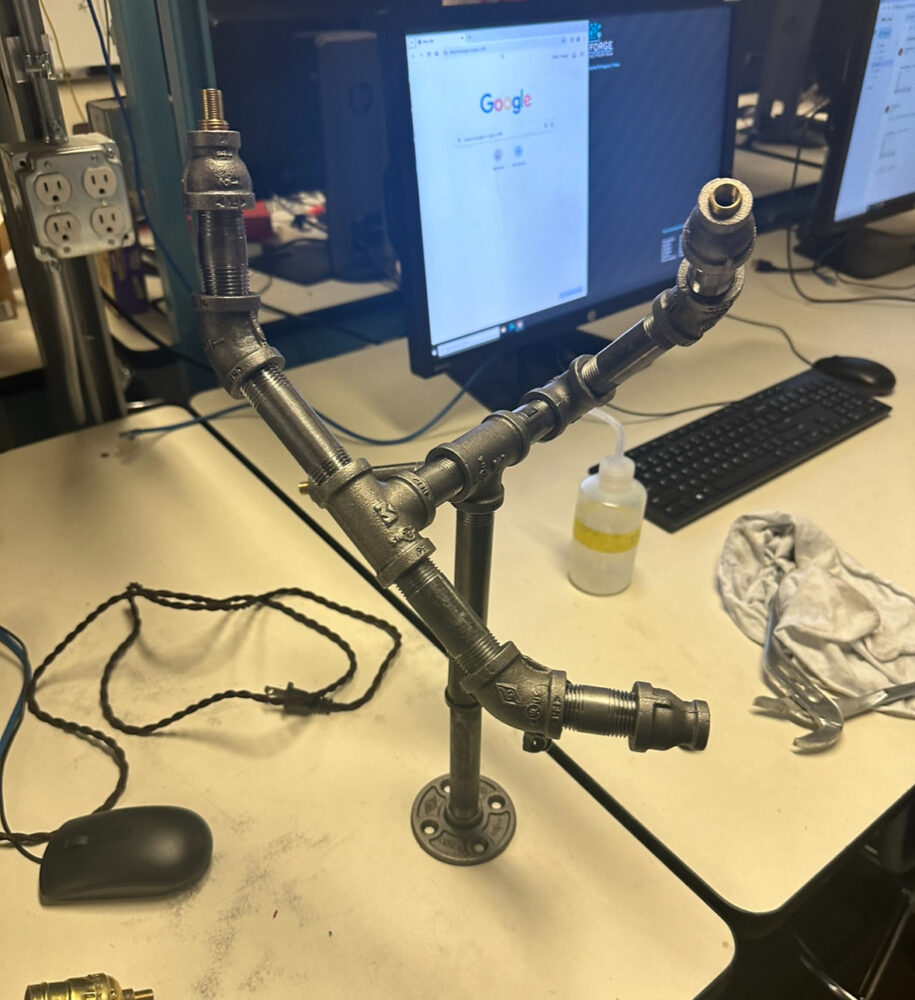
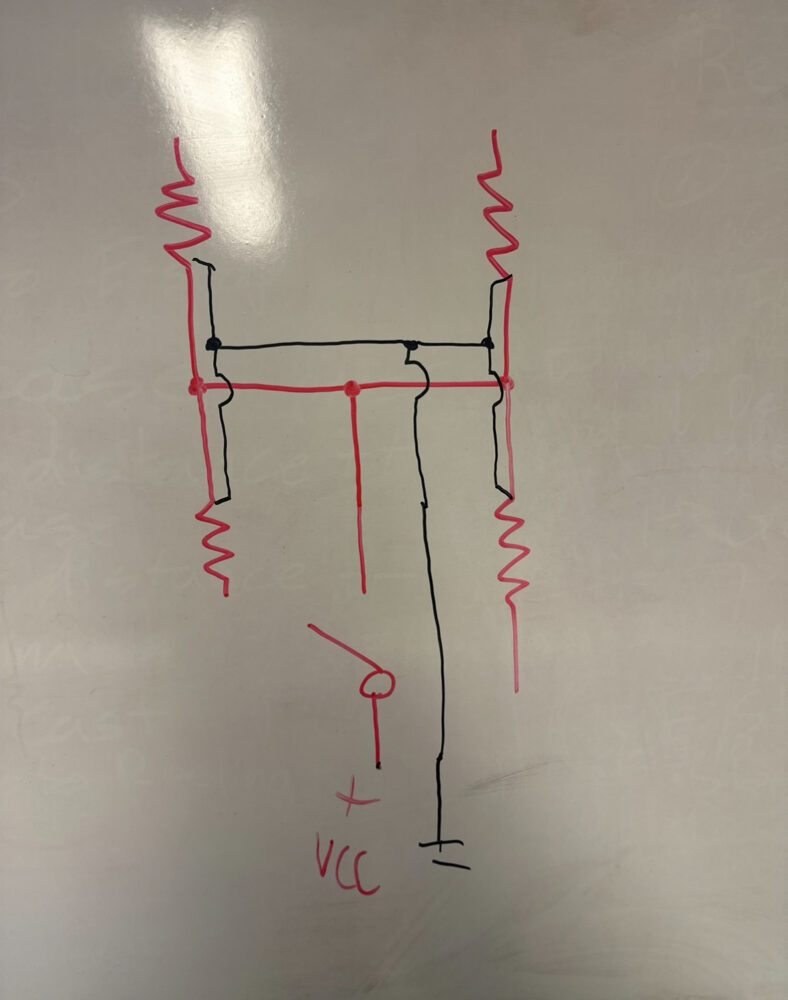
The electrical layout was probably the most difficult part of this project, since I have not done a ton of wiring myself. I knew I wanted to incorporate a parallel wiring setup for the lights instead of the easier series setup. This is because in a parallel system, if one bulb breaks, the others can still work fine unlike in a series circuit. I think it just adds another level of quality. To do this I had to create a wiring diagram so I could visualize how the wires would be layed out inside the pipes.
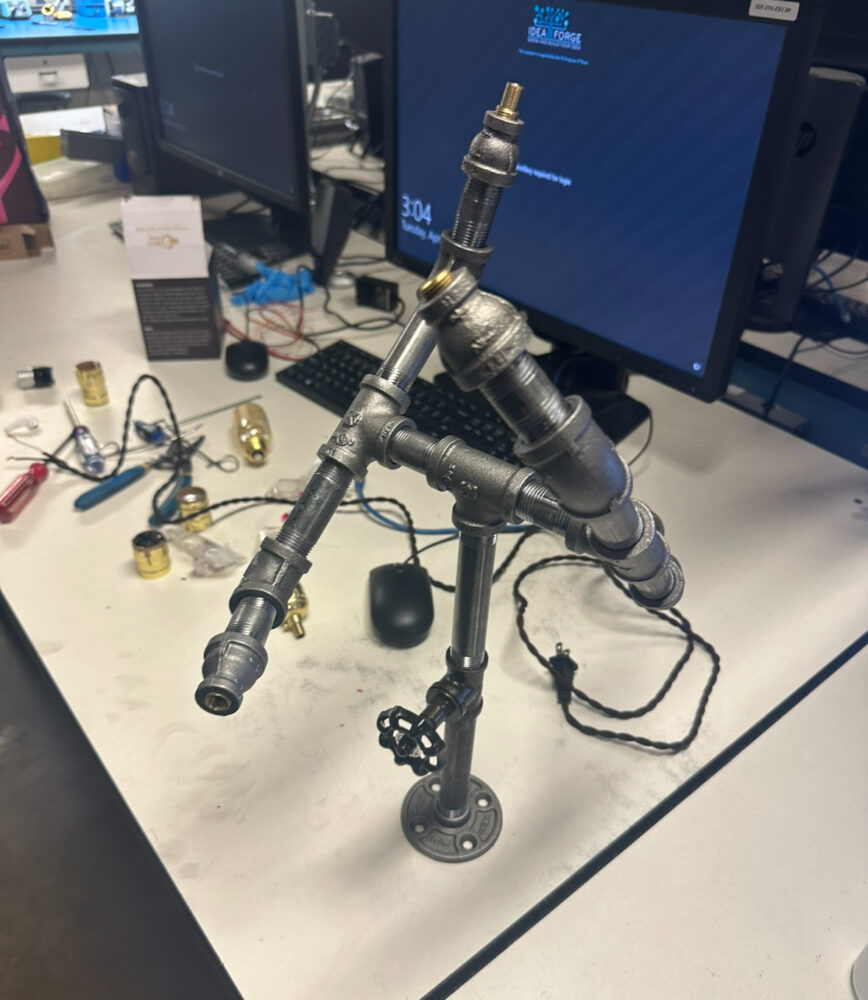
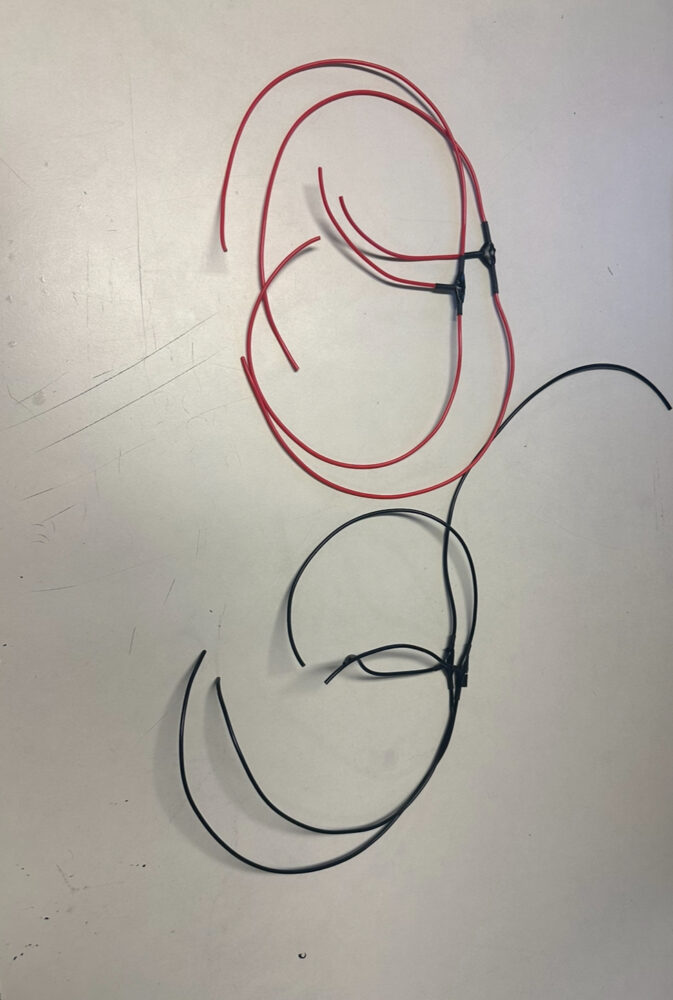
It took a long time to wire since I had to assemble the piping as I progressed from the bulbs to the switch. It took a lot of tries and troubleshooting since the solder wire joints would break when threading the pipes together.
![]()
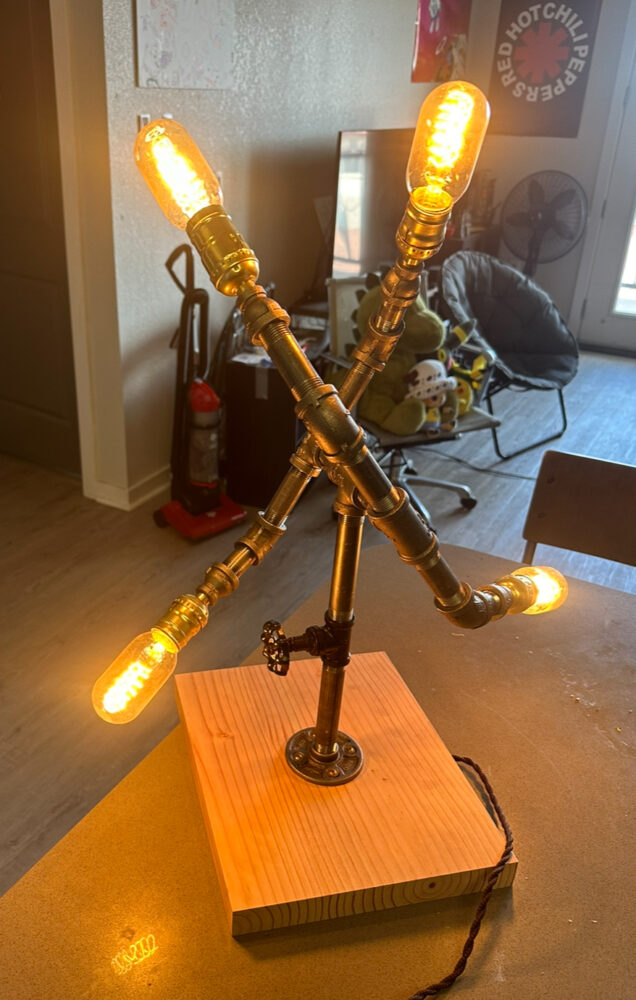
I was finally able to test the circuit after a couple hours of troubleshooting. Once the wiring was done, most of the assembly was together already, all that was left was the wooden base.
My woodworking phase took longer than expected but it just made sure it was done correctly. I went to the IdeaForge wood shop where Josh was able to help me create this base. We started by joining two wooden planks together with glue.
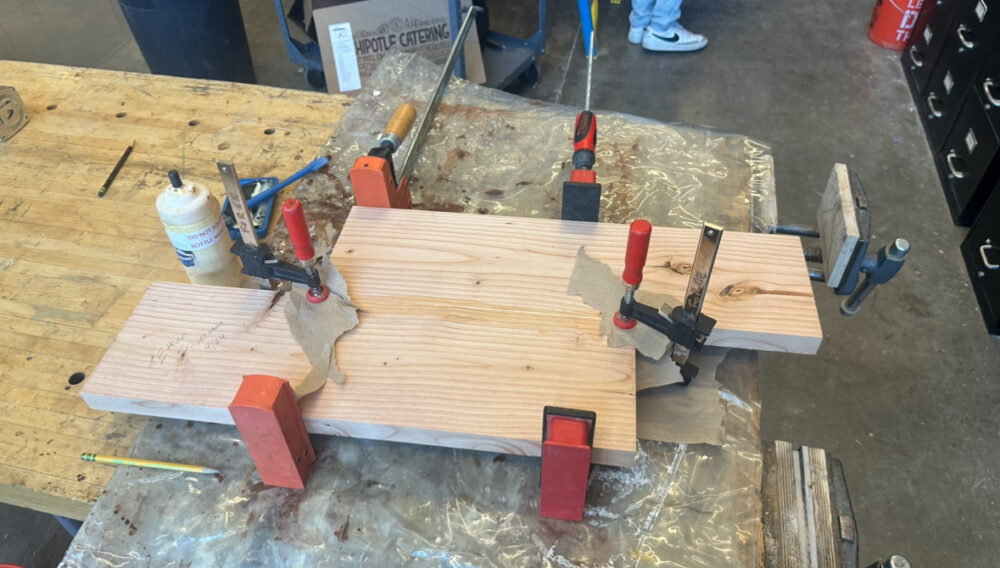
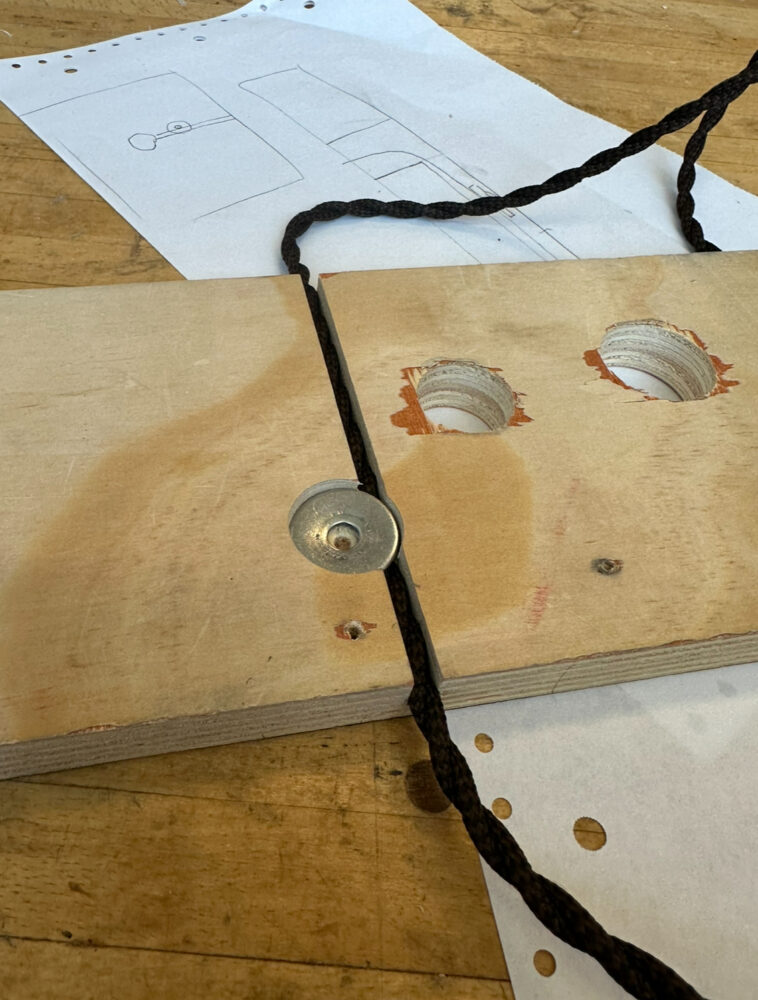
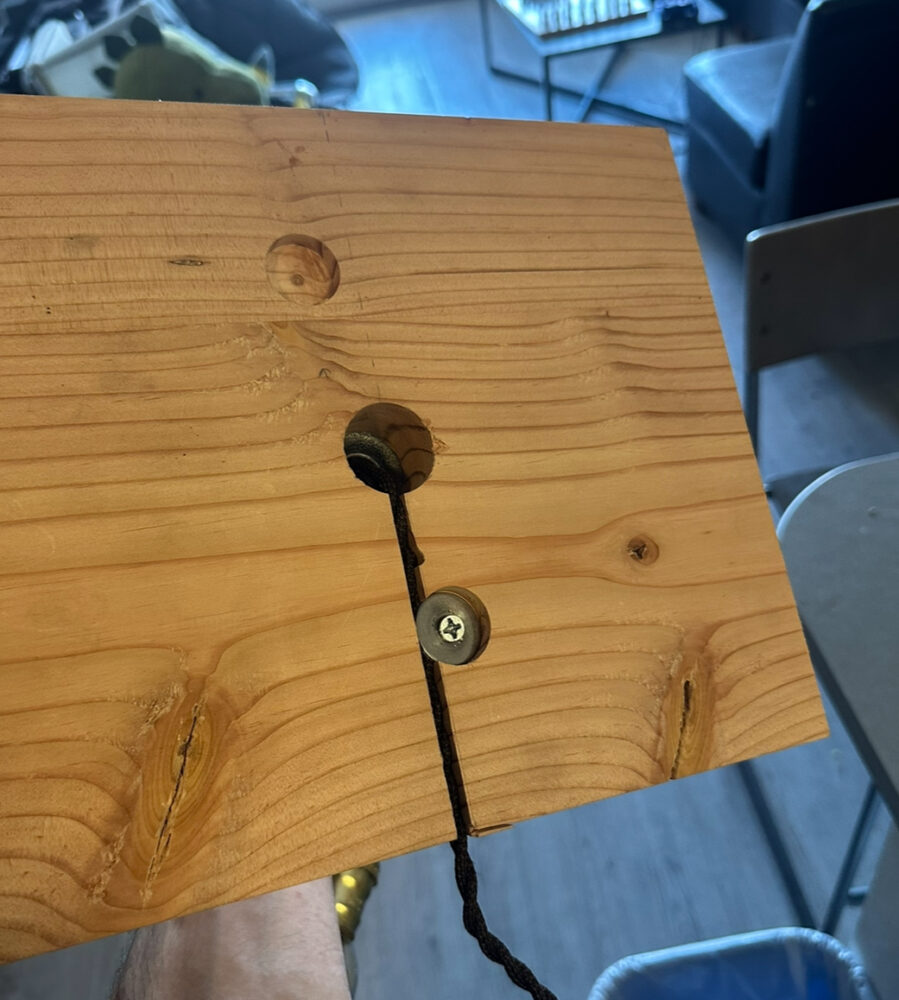
This would allow us to create a base wide and deep enough for the lamp to be stable. Next, I sanded the faces and located what part of the base we were to use for the final product. Once mapped out, I cut the plant to size (10” x 12”) using a table saw. To route the power cord through the baseplate, I cut a 1 ¼” diameter hole in the center of the base and with a router, created a snug channel for the power cord to string out the back of the base. I was worried that there was a risk of ruining the internal wiring by putting too much stress on the power cord so to fix this, I created a 1” diameter blind hole so I could screw down a washer that would clamp down on the power cord. This acts as a stress reliever so everything is in place. Once the base was complete, I mounted the lamp using its surface flange and 4 screws.
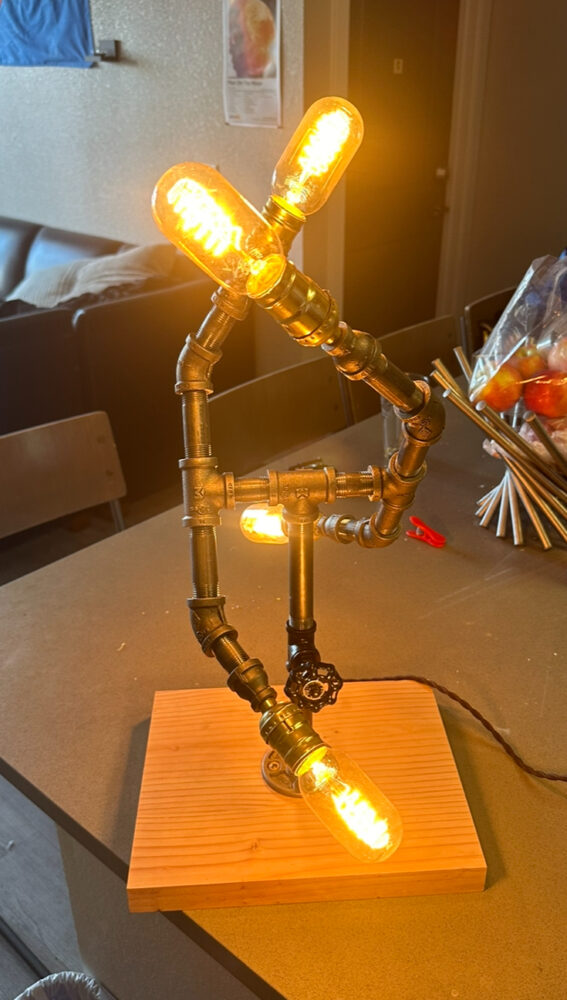
For the most part, my final product fits what I was conceptualizing earlier in the project. I think aesthetically, I would like to have had more arms branching off the assembly with lights, but to keep things more simple and cheaper, I went with what I have now. I also would like to stain my wood base a dark color to fit the industrial look. Now, my lamp will live in my room and my future plans are to replace the Edison bulbs with LED bulbs so that it won’t act like a space heater. I will also – like I mentioned previously – stain the wooden base to complete its aesthetic.

1 Comment. Leave new
[…] The electrical aspect was particularly challenging due to my limited experience with wiring, but it was also the most rewarding, as I successfully implemented a parallel wiring setup to ensure durability and functionality. The woodworking phase added a final touch of craftsmanship, grounding the lamp in a solid, handmade base. You can delve into the full process and see the lamp’s evolution in my project post https://www.aesdes.org/2024/05/01/final-report-industrial-style-lamp/. […]