
Things went quite wrong
Initially, my design was going to be simple. Really simple, and, quite honestly, too simple. Initially, I was going for something that held cups that looked like this:
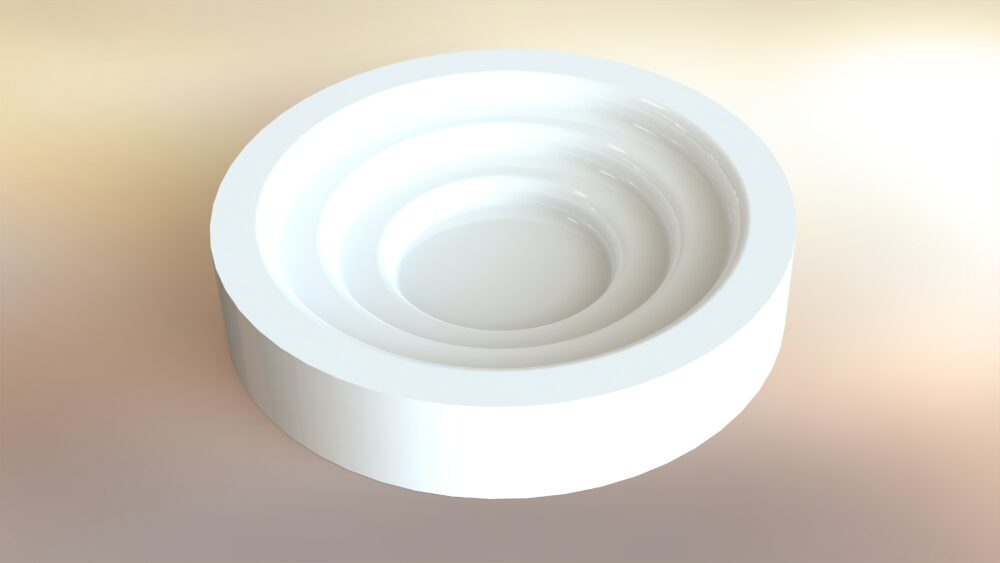
The original plan was to improve upon this design, adding room for the handles of various cups. While the design was pure (both in the color but in the fact that each dimension was a multiple of 5), it didn’t have a dynamic component. During my design review with my pod, I realized that I would need to go back to the drawing board. I was honestly a bit upset at myself for feeling like I had made things too simple. But then I took a step back and realized that one of the more difficult things about minimalism that I hadn’t really considered was how fine the line can be between something that is aesthetically pleasing and minimalist, and something that is too simple and is just crap. I had made the latter. And while that was frustrating, looking back on the experience, I think it was a good one. At any rate, I was back to the drawing board. This made my eventual schedule look significantly different than what I had planned:
Original plan
1 April: Print some prototypes and consider adding in flexible resin for a more streamlined up experience
8 April: Try seeing how a curved bottom might work. Could the bottom be filleted somehow to get rid of another curve? What would happen if it tilted with something inside of it? Can you put a cup in there blindfolded just by feel?
15 April-end: Extra time since something is going to go wrong, I’m going to want to change something, or something I haven’t thought of happens.
What actually happened
April 1 – April 8: Redesign the entire thing. From the ground up. Focusing on tactile feel and ergonomics. Incorporate a spring mechanism and maybe some kind of damping system.
April 8 – April 15: Take measurements of various cups and mugs, both filled and empty. Write some code to calculate what the spring dimensions should be, the spring constants, etc. Start modeling work in CAD.
April 15 – April 22: Get springs ordered and delivered, test fits and different colors
April 22 – April 29: Final assembly and minor tweaks
The redesign
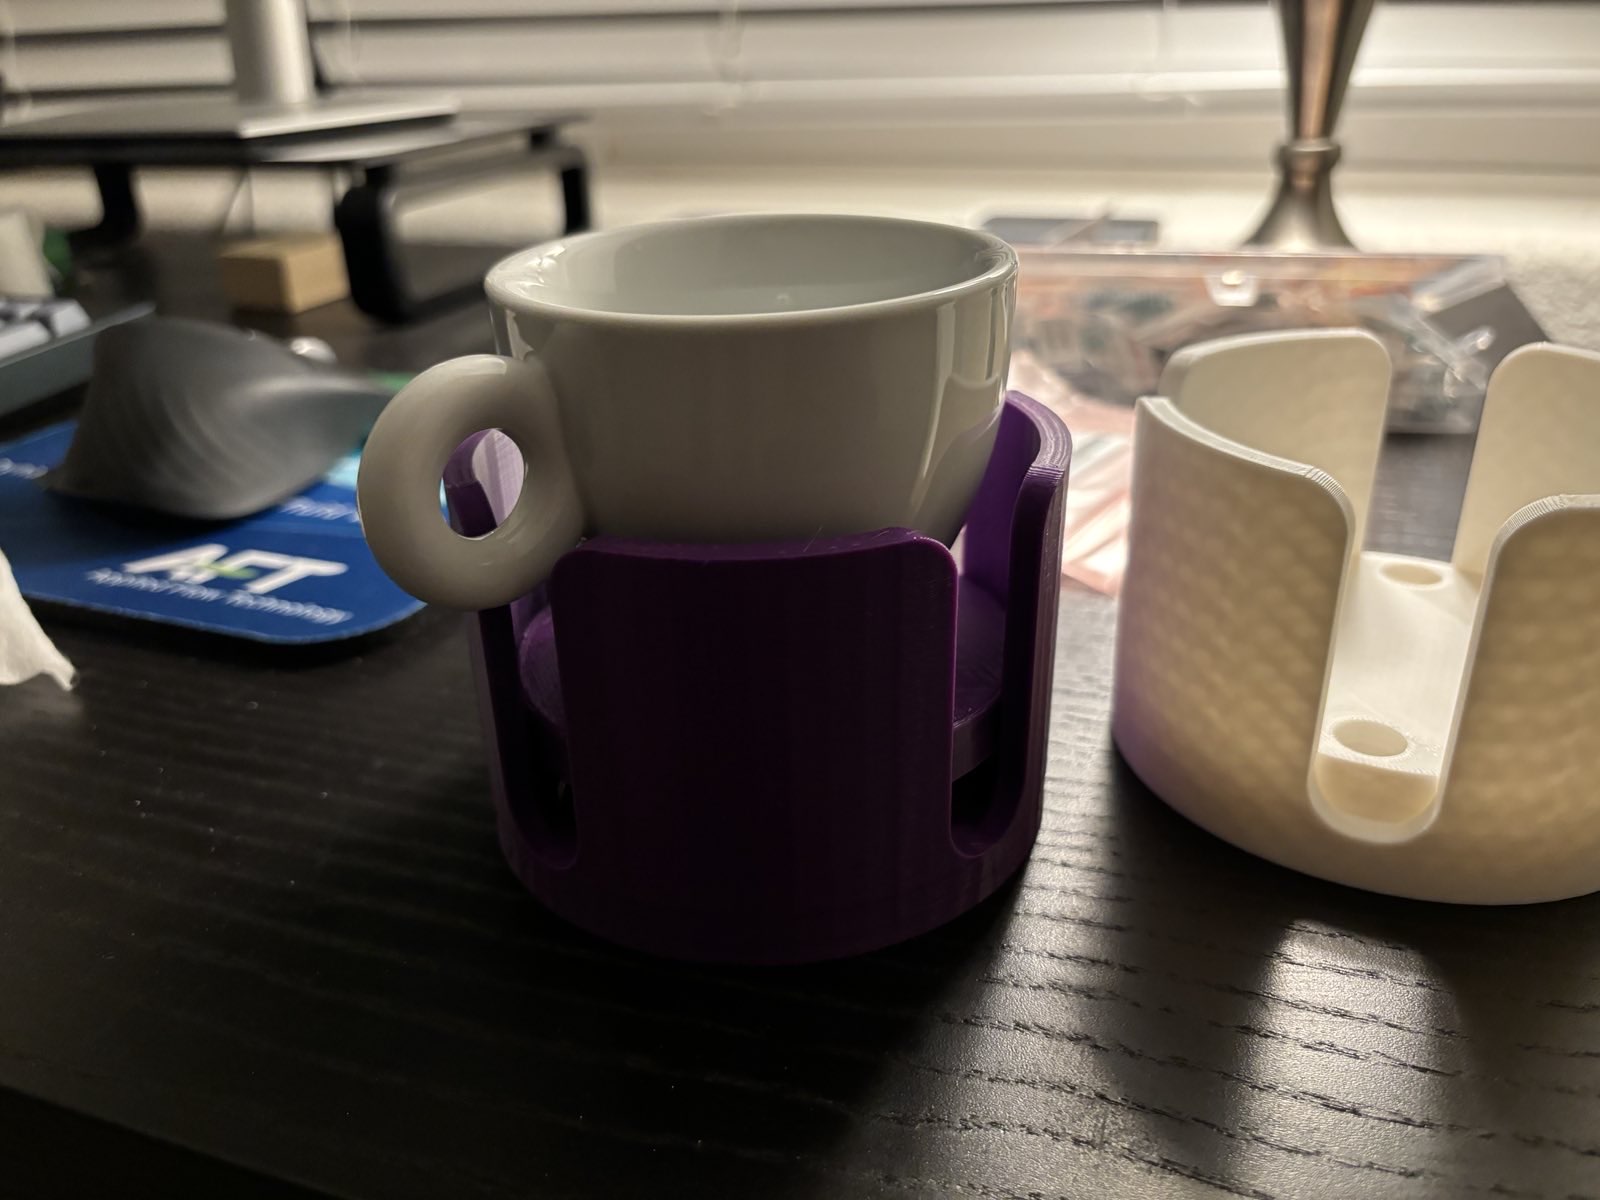
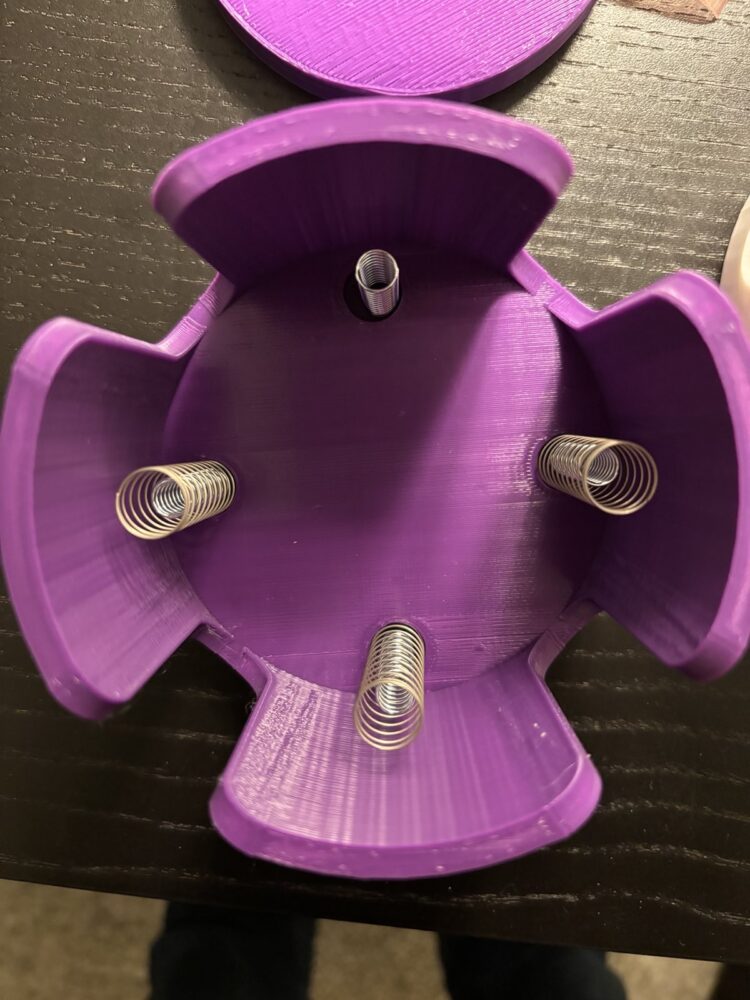
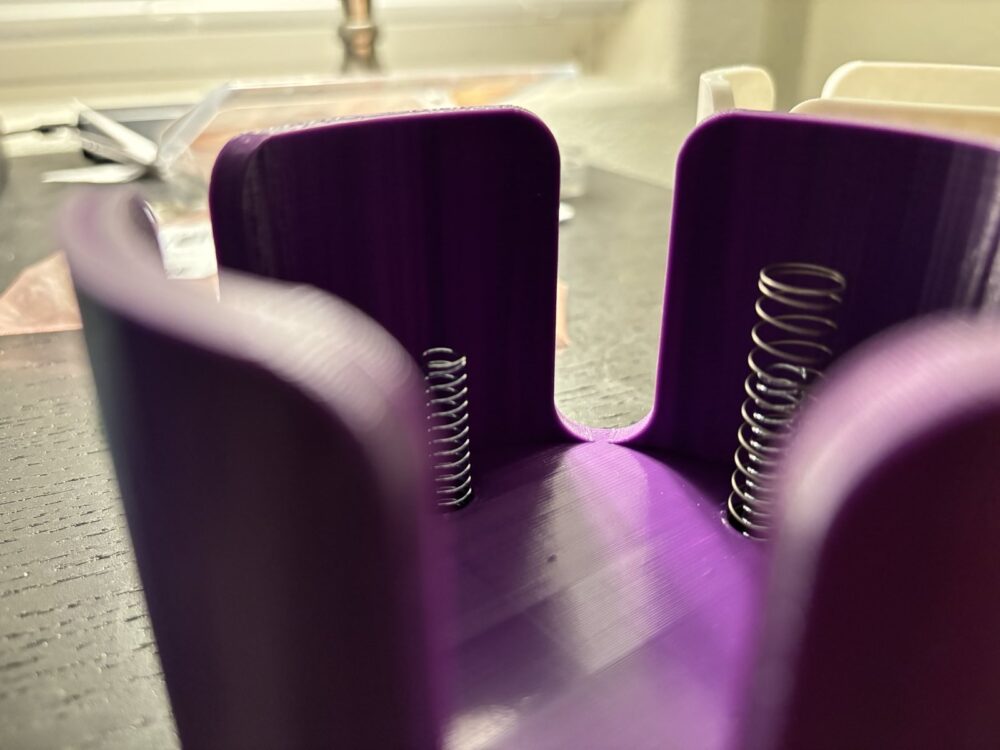
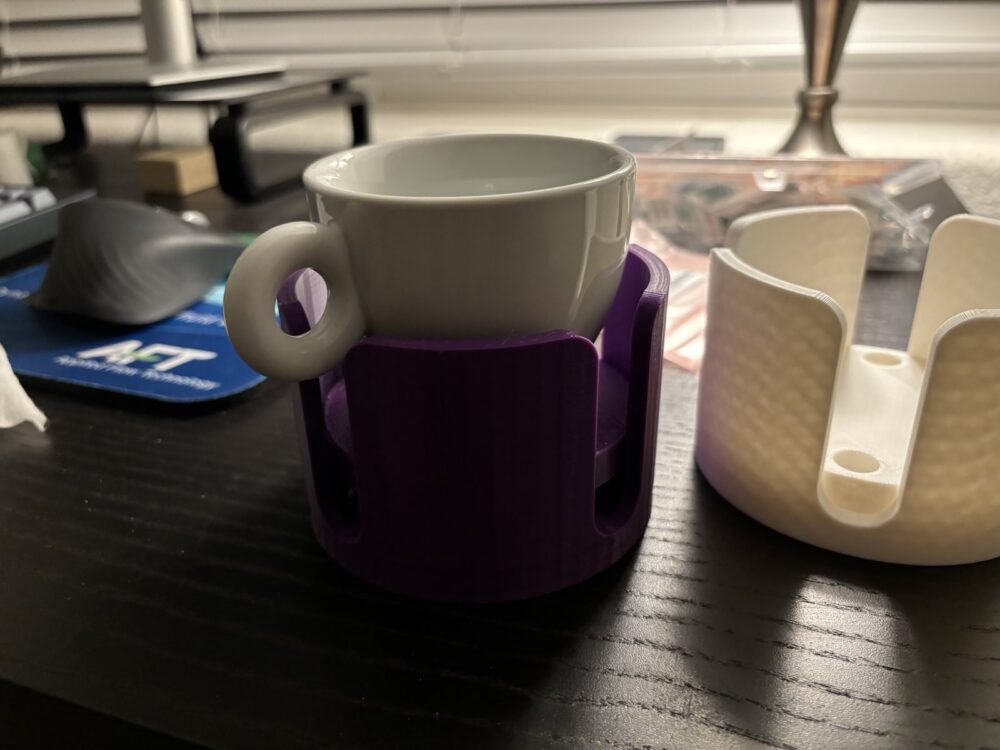
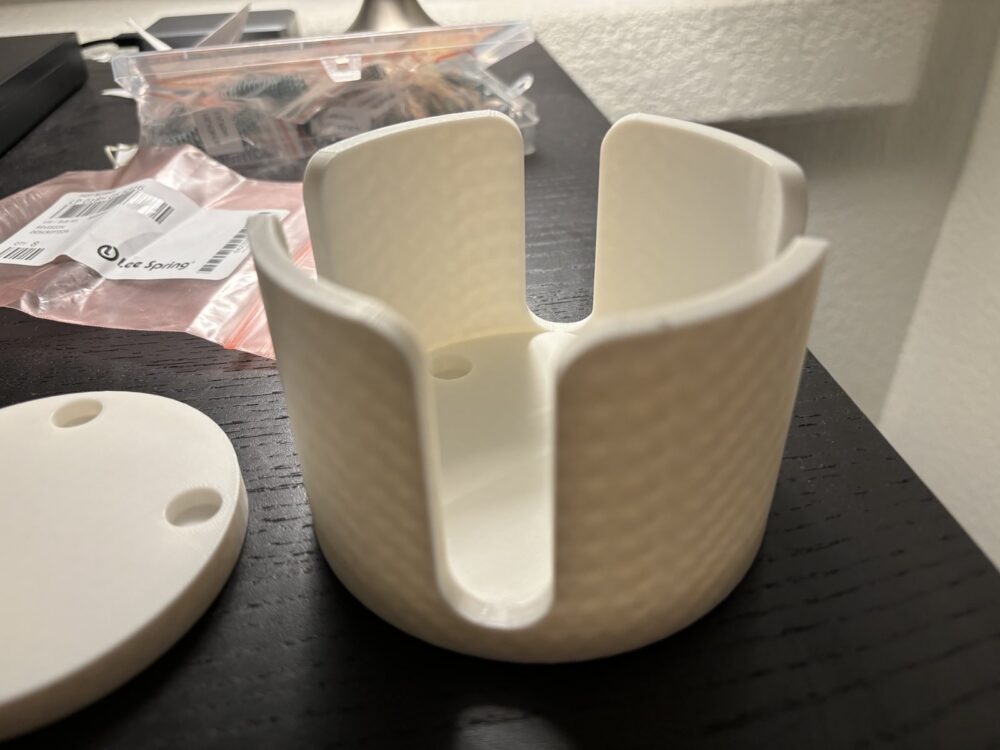
The next immediate step was obviously to redesign the part. From the feedback with my pod, I realized that I wanted to include some springs in my design so that the cup’s handle would slide into and out of little slots. Here’s what some of the renders of that looked like:
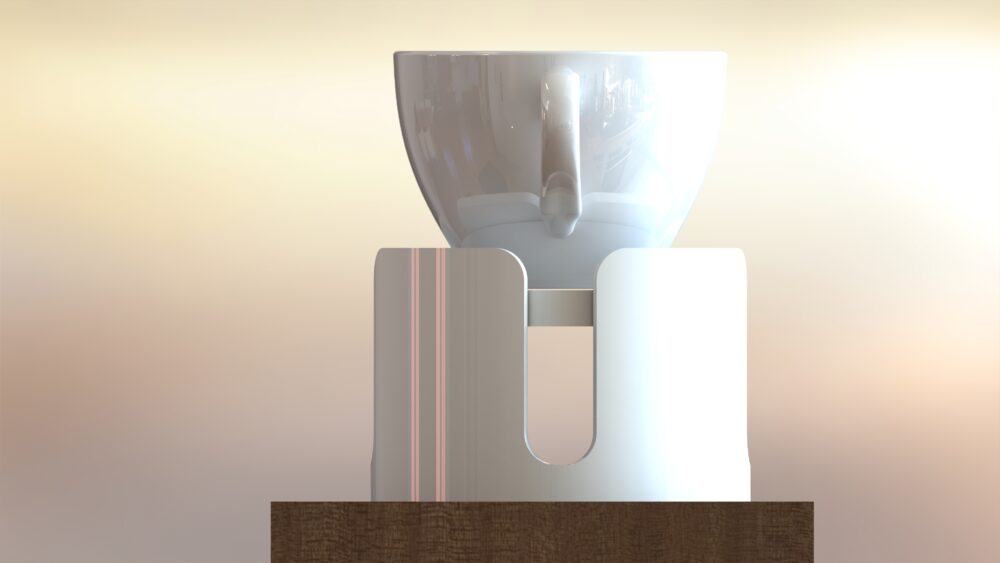
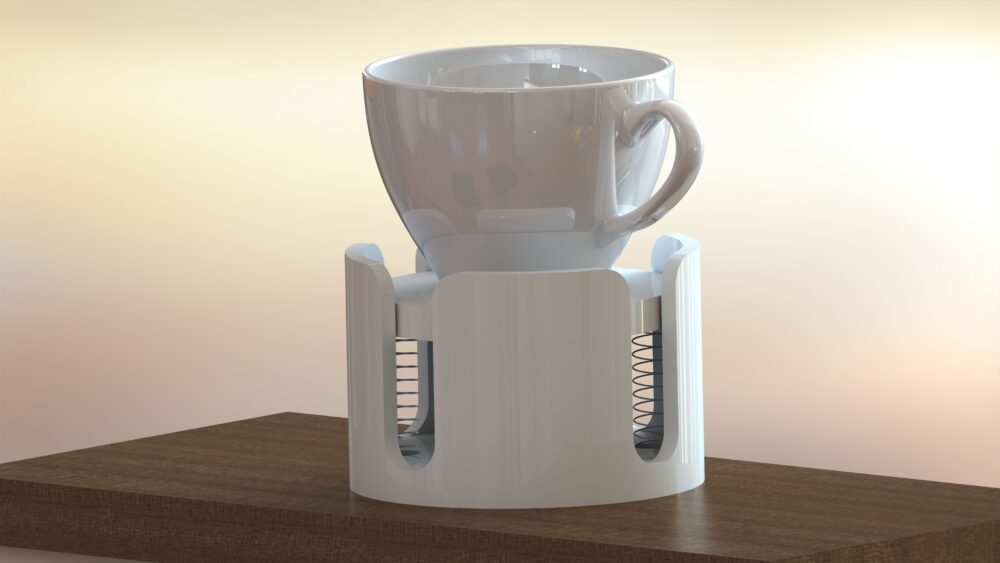
The curved/filleted edges on the top and bottom of the outer “shell” is so that I could place the mug in roughly the right spot and then feel the entrance to the slots without directly needing to look at the artifact itself. The white and brown colors were used to try and get a sense of the contrast between the two, since my desk is darker and the contrast in the peripheral vision is something that was also important for this design.
The springs
To get an idea of the spring specifications, I used a coffee scale to weigh some of my favorite mugs (especially the biggest/heaviest ones) to gain an understanding of the masses I was dealing with:

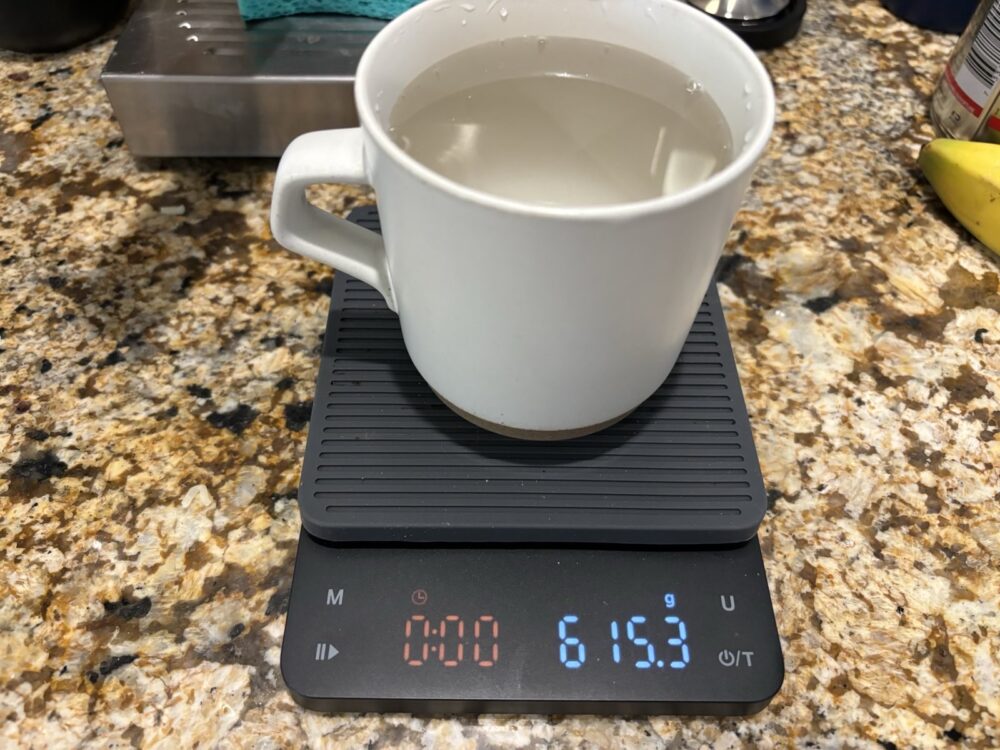
Once I had these masses, I made a free-body diagram with the masses and used some of the spring equations from Component Design to inform my desired spring dimensions and their respective spring constants.
Manufacturing
The shell and plate were both 3D printed to test fits and tolerances between parts. Incredibly, everything fit together well enough that I decided to keep the dimensions the same for the final version.
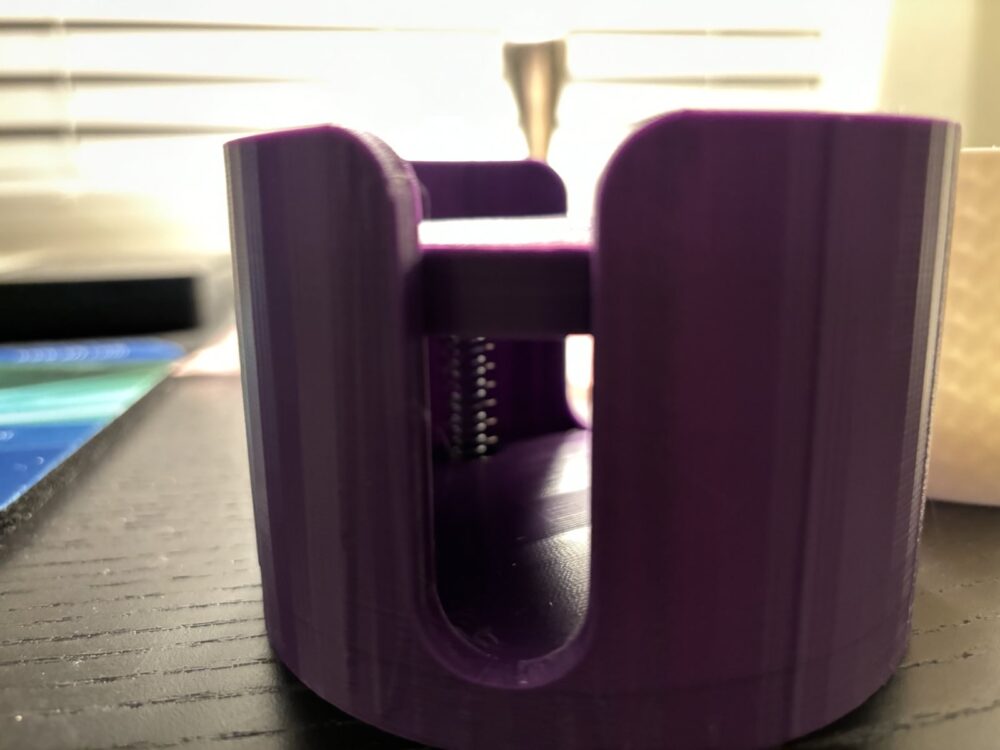
One thing I found was that while the springs I ordered fit the dimensions of the holes I provided, they were too weak. So I had some other (smaller) springs ordered that fit concentrically to provide more stiffness.
Takeaways
Overall, I would say the main takeaway from this project is that minimalism and ergonomics can be challenging if you become lazy or aren’t as focused as you should be. That’s not necessarily a bad thing as long as you learn from it, but it was not something I had expected to hit me as hard as it did. All of that being said, being in a class environment like this and able to recover from this mistake, and also feel comfortable taking the risk to make this mistake, was something I’m thankful for.
1 Comment. Leave new
[…] My final project is a cupholder/coaster that can hold cups of varying dimensions. It uses a spring mechanism to control the cup’s position and keep it aligned. You can read more about it here and here. […]