

Intro
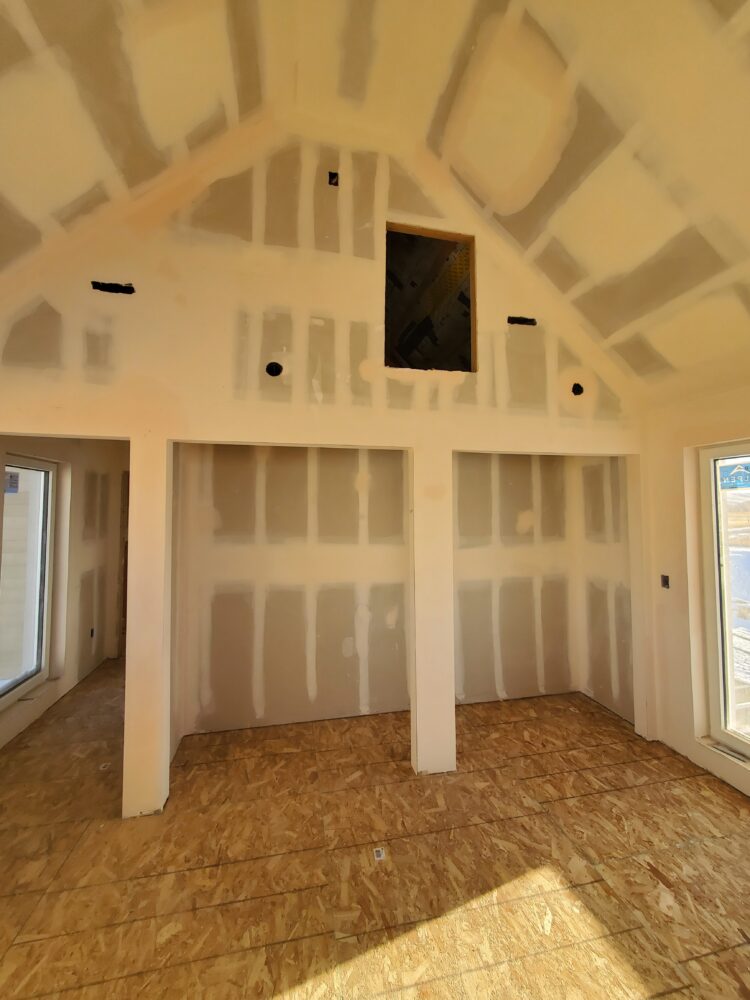
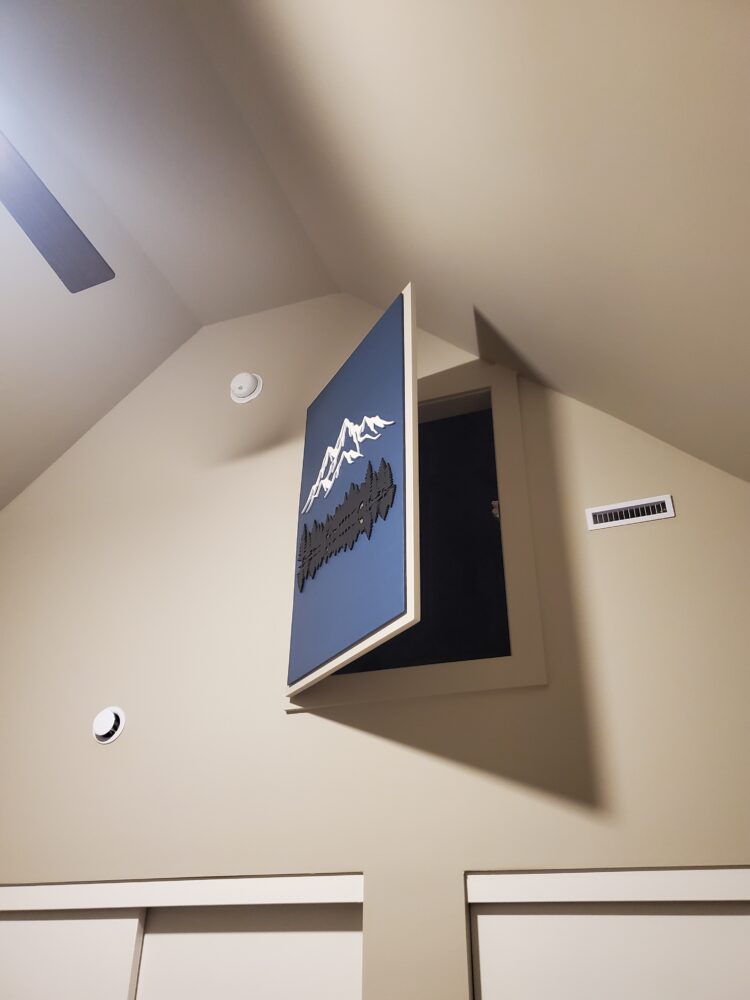
For my project I created a dynamic art piece for my parent’s new house. In their bedroom there used to be a hole in the wall that is an entrance to an unfinished loft. My mom has requested that I create a door to cover the opening that includes an art piece. This will make the room look much more finished and will add an artistic element to the space. It is therefore extremely important that the piece is aesthetically pleasing because who wants an ugly decoration in their bedroom!? Although I suppose anything is better than the gaping hole that was there originally.
Desired Aesthetic
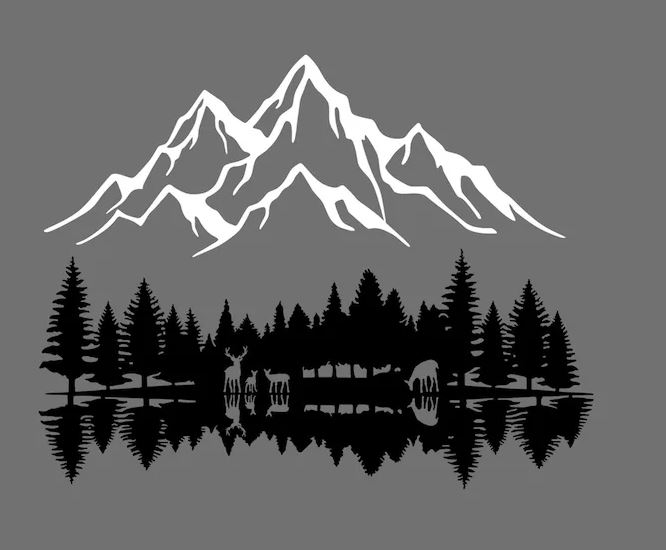
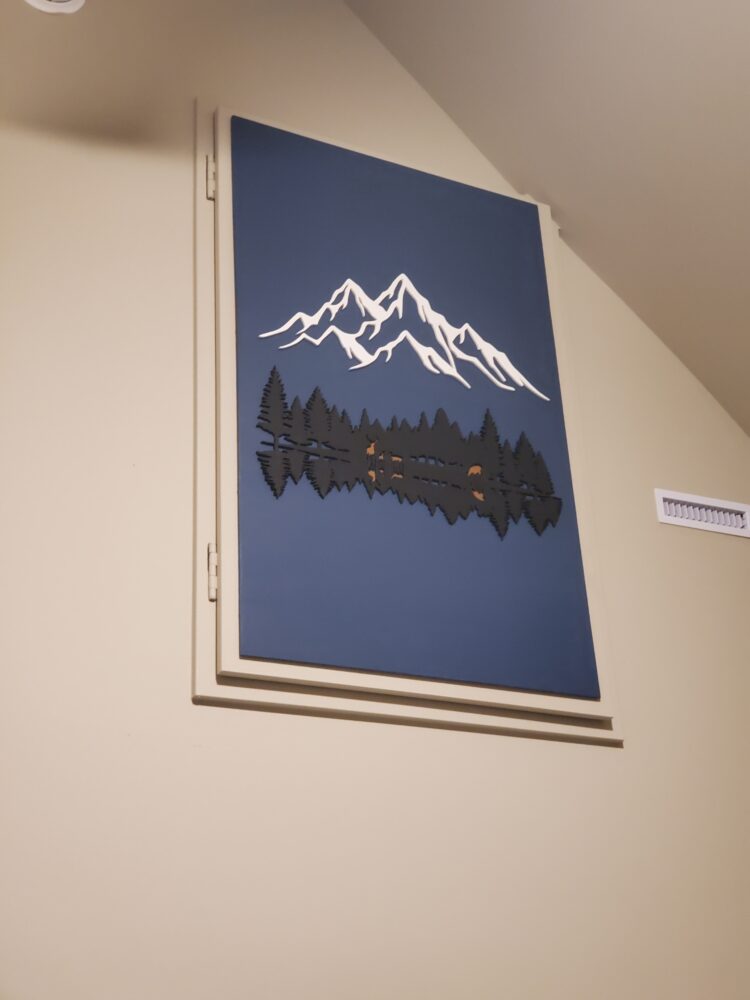
The aesthetic for this piece is naturecore. I am trying to capture the serene feeling of trees reflected in a lake with towering snowy peaks in the background. It is also important to the customer (my mom) that the color scheme of the piece goes well with the rest of the house. The color scheme primarily consists of blues and grays. In order to be consistent with this I painted the backboard blue, trees black, and mountains white. Black and white conveniently go with anything and match the colors that would exist in nature for the two elements. The black reflected trees give the illusion of a silhouette at dusk and the white mountains appear to be covered in snow. The whole scene not only matches the existing house color scheme but also highlights the naturecore aesthetic.
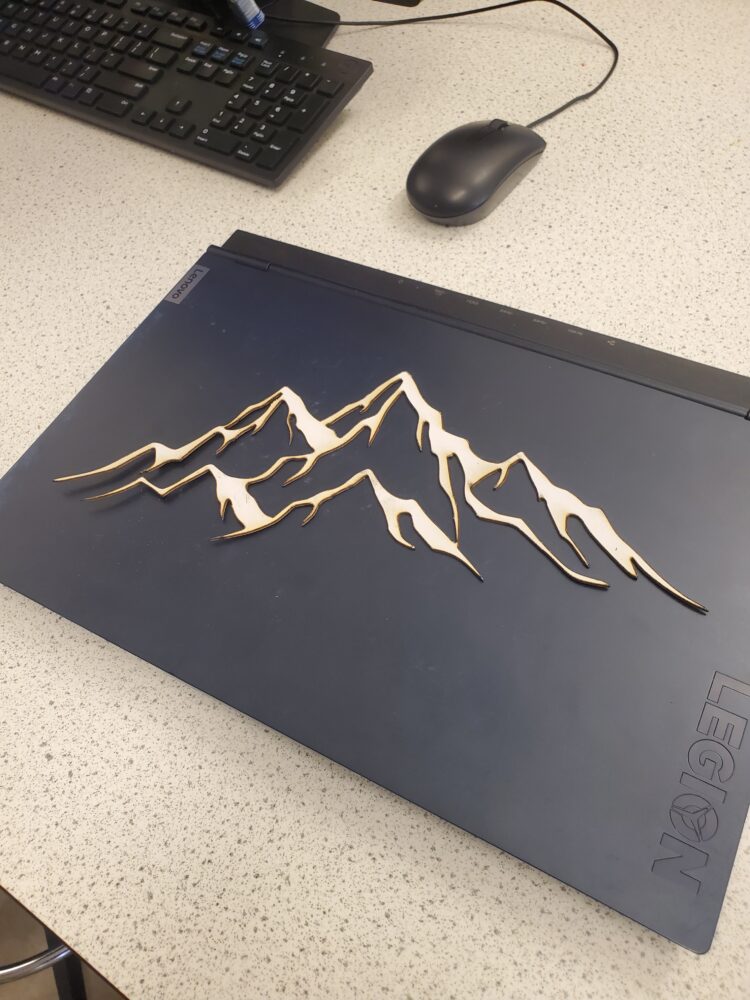
It could also be catagorized as minimalist because the whole thing is only 3 pieces! I wanted the pattern to be both simple and beautiful.
Inspiration
I have been inspired by several Etsy posts. I used an outline of the mountains and trees seen in these posts to create a dxf file to cut on the laser cutter. This is discussed further in the fabrication plan section below. These posts capture the natural aesthetic that I am hoping to capture in this piece. I wanted it to be calming and evoke a feeling of serenity for the viewer. This is especially important because my parents will be looking at it nearly every day so it’s gotta look good.
Initial Sketches
Below is an image of how I initially imagined the piece would be layed out. The final assembly fits the plan almost exactly which was cool to see. The only difference is the mountain and tree patterns are slightly smaller than I planned so that they could fit on the laser cutter bed without risk of burning anything that wasn’t the birch wood.
Cost
| Material | Cost | Vendor |
| ⅛” Birch Wood Sheets | $50 | Home Depot |
| Paint + Equipment | $60 | Home Depot |
| Fasteners | $20 | Home Depot |
| Total | $130 | NA |
Timeline

Prototyping
I prototyped the laser cutting process to ensure it would fit my application. I wanted to see if the laser cutters would be able to cut the intricate geometric shapes that constitute the tree and mountain patterns. The first step was to convert the image file into a dxf file that could be read by the laser cutting software, a program called CorelDraw. Using a free online converter and the SolidWorks dxf file editing software I was able to generate the necessary document that could be loaded onto the laser cutter. I then went in person to the ITLL and found a piece of cardstock that was in the scrap pile. Cardstock is a good test material because the settings used to cut all the way through the material in one pass has already been dialed in by the ITLL staff. The test piece turned out really well and all the features were clear and precise. This gave me confidence that the full scale wood pieces would be of similarly high quality.
Fabrication Process
- I first cut the birch wood sheet into three parts. This was the best way to optimize the width of the door frame while still allowing the cut pieces to fit in the laser cutter bed.
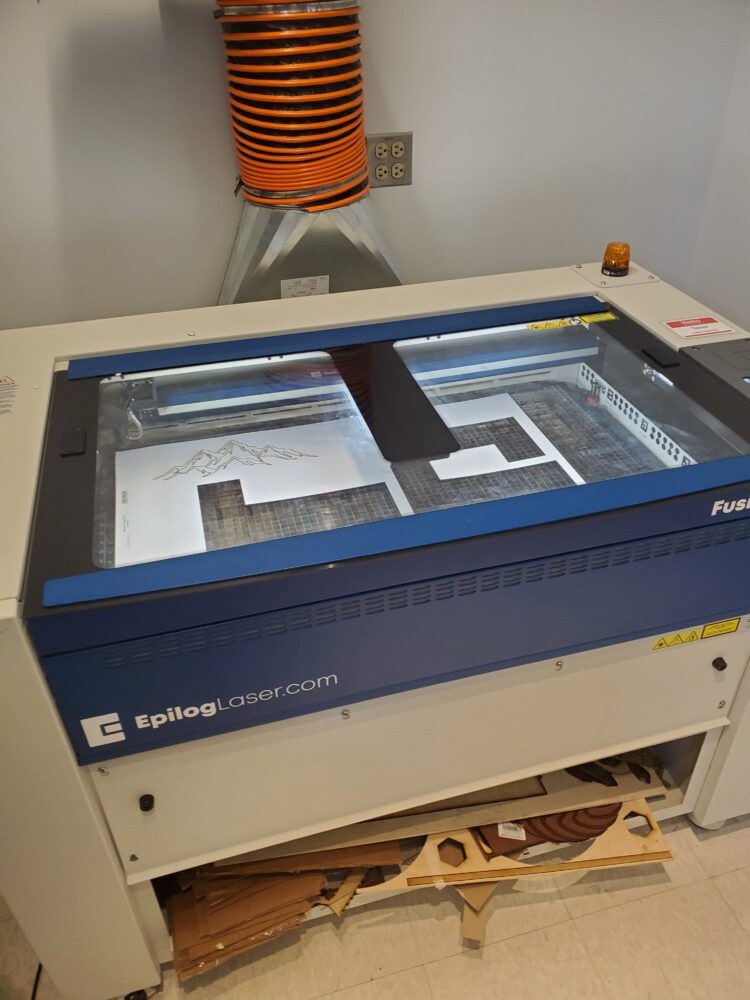
- Next I loaded each file onto the laser cutter and aligned the desired dimensions to the piece of wood in the bed and verified that the pattern fit using the integrated camera system. After visiting the ITLL to re-learn how to use the laser cutter machines I learned how to use all the software necessary to load the files, process and align the pattern, and export the path to the machine with the desired settings. It is important to use the correct settings for the material and thickness that I was cutting. Luckily, ⅛” birch plywood is a common material and the settings are already known and recorded on a sheet in the lab room.
- When the pieces came off the cutter there was minimal post-processing required. The machine is precise enough that support tabs were not needed.
- I cut the two back panels on the bandsaw to the appropriate sizes outlined in the sketch section.
- Next I painted the backboard, trees, and mountain patterns. This was the most time consuming part of the project because the trees had lots of intricate details and I wanted all the edges to be painted black as well. I did one coat of white primer on each piece as well as two coats of the final color.
- The alignment and centering of the trees and mountains was a little bit tricky and I made sure to mark the exact location prior to applying any glue. Once the pieces were aligned I glued the thinner backboard to the mountain and tree pieces.
- Finally I mounted the thinner backboard to the door board using command strips. I think a less permanent mounting solution is appropriate because I will need to take the art piece in for expo at the end of class.
References
2 Comments. Leave new
Hi Collin, I like how your final product turned out and I think you did a great job! I think that you chose your aesthetic very wisely, and you executed this project very well! It is cool how you tailored your project for a specific purpose and user. Do you have any more plans of adding/changing anything in the future?
Thanks Emilee! My mom has talked about moving it to the living room so more people can enjoy it and possibly adding a frame of some sort in the future.