
Introduction:
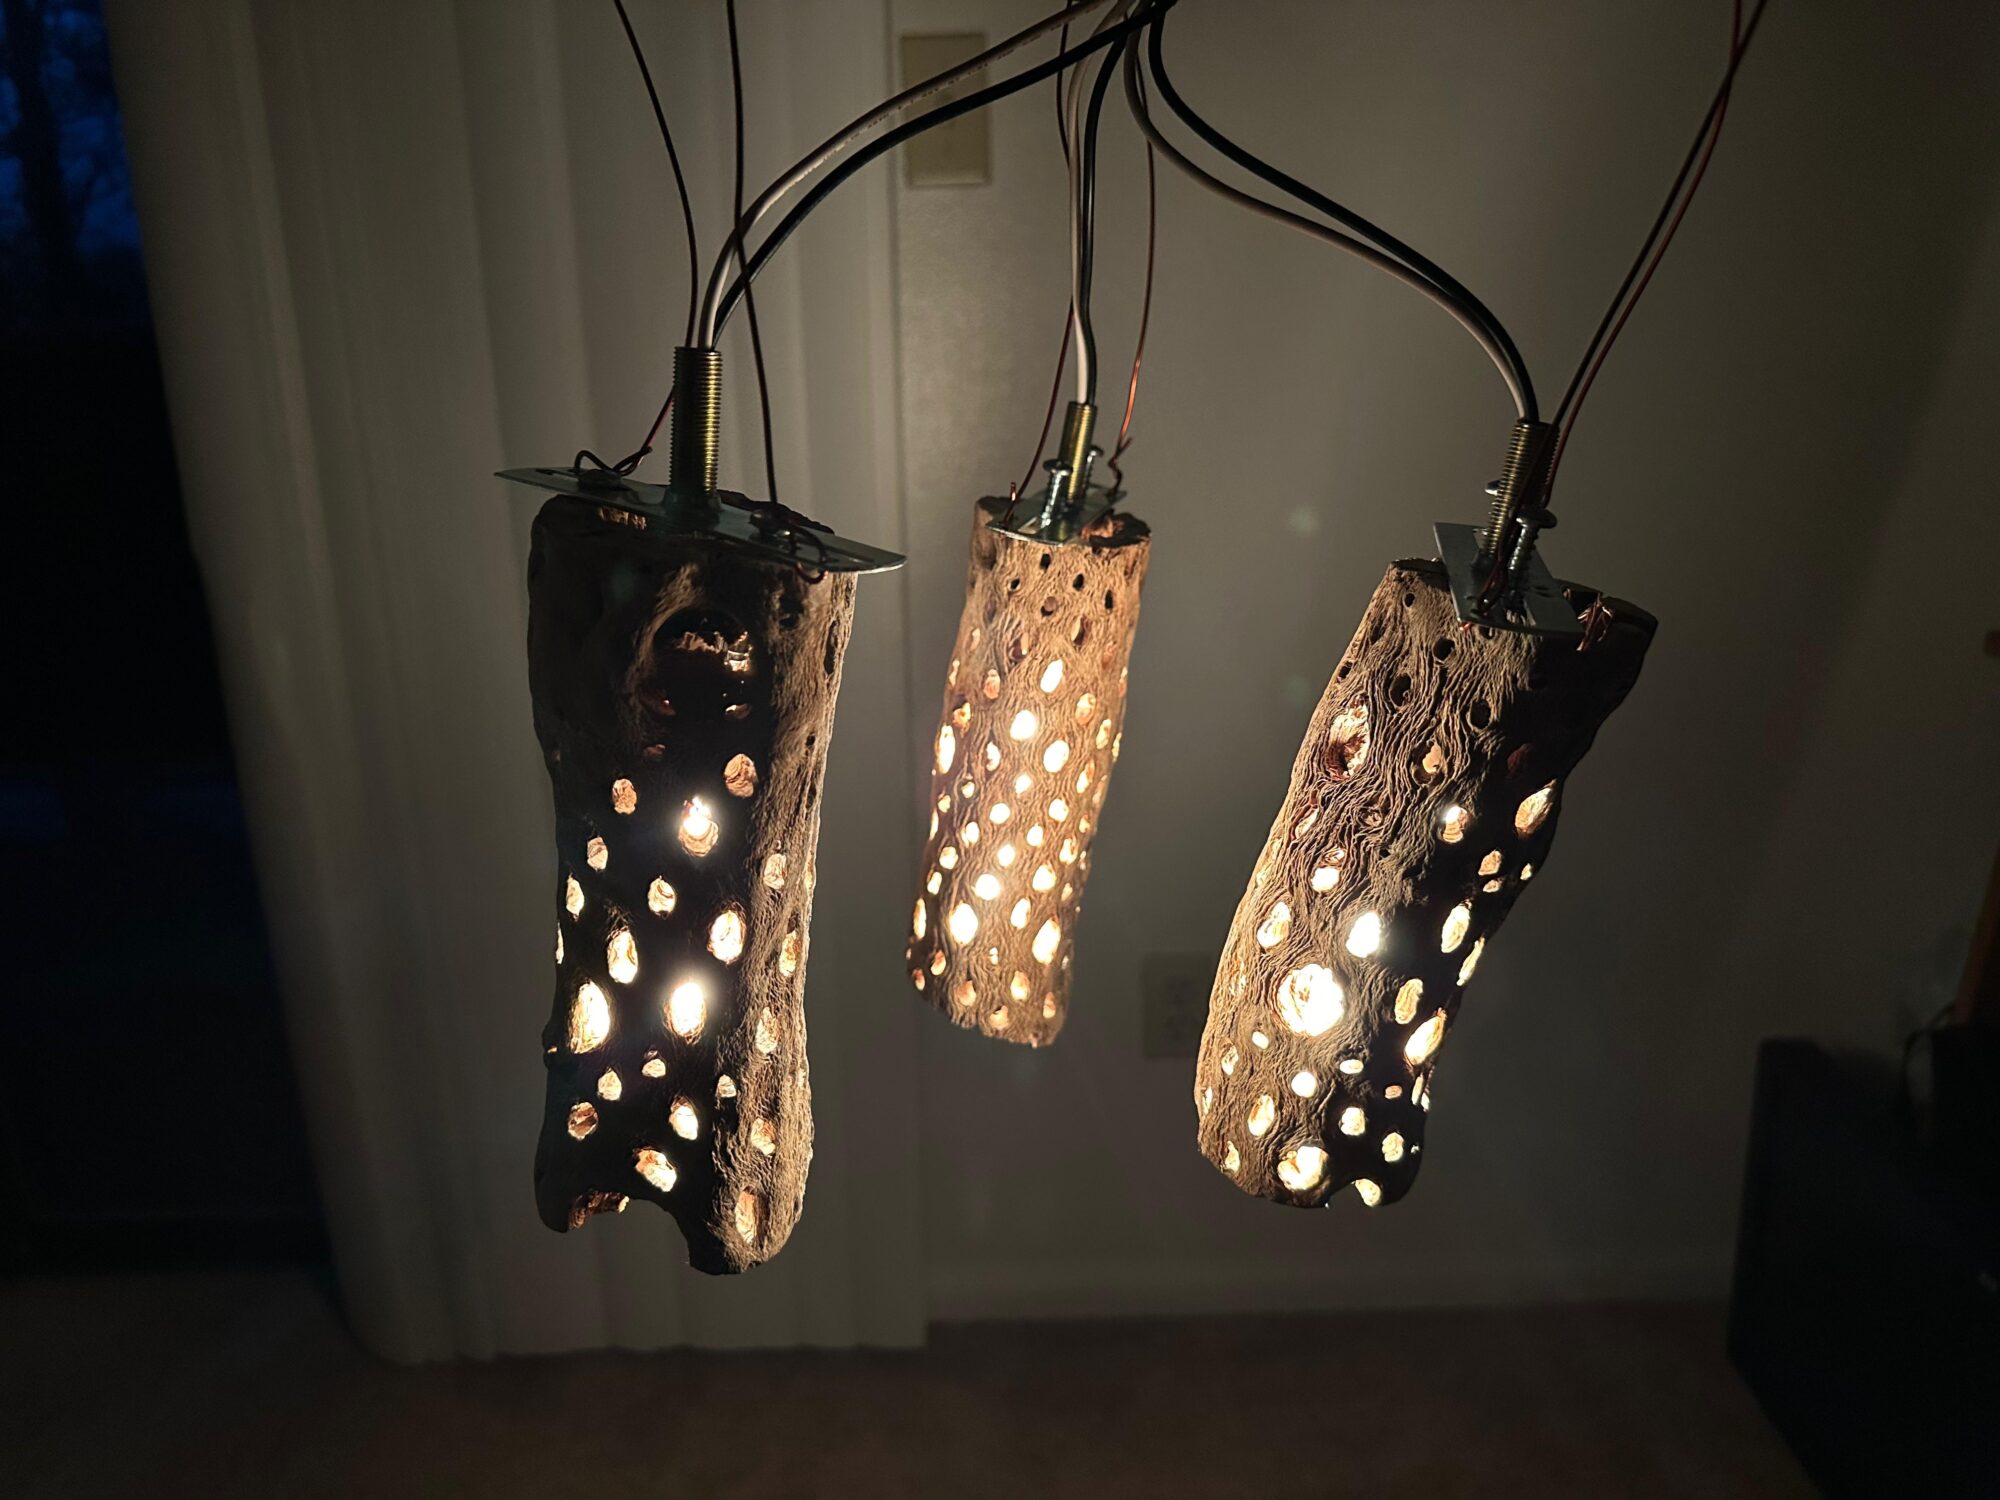
For my final project, I crafted a driftwood ceiling light to embody a rustic aesthetic. The concept was to channel light through a piece of driftwood, accentuating its natural irregularities and weathered texture. This vision was sparked by a decorative piece I admired at a beach resort. There, a candle was enclosed in a wooden box perforated with holes. The resulting light, filtering through the gaps in the box, created captivating patterns and a mesmerizing glow. My driftwood ceiling light sought to capture that same enchanting effect, showcasing the beauty of light interacting with organic materials.
In the process of making something similar for making household decorative lights, I used a driftwood log of 30 inches and cut them into pieces as shown in the images. 
Figure 1: Image of the driftwood log
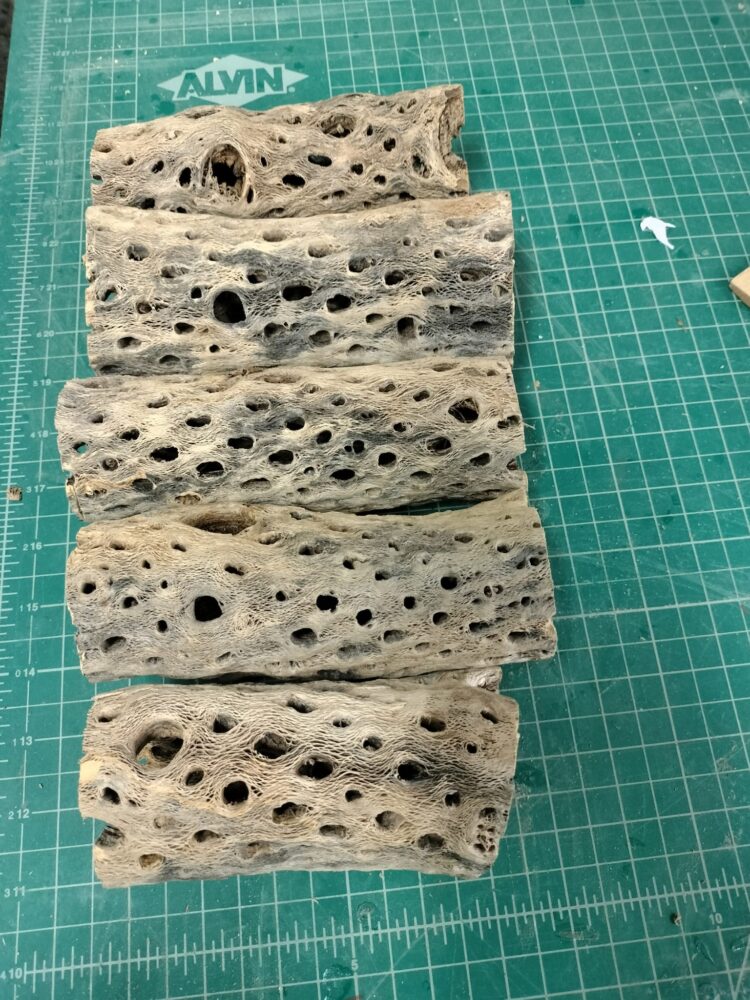
Figure 2: Pieces of driftwood log
The decision to use the driftwood pieces in this particular manner was influenced by the dimensions of the wooden log. Originally, I had envisioned using a larger log, which would have allowed me to cut it into small pieces along its length and diameter. These pieces would then be attached to a hollow, wheel-shaped frame to house a bulb inside. However, the actual log I had was smaller in diameter, which meant that to achieve a similar effect, I would have had to trim away most of the inner parts of the log to create small spools. This approach would not have captured the desired aesthetic as intended.
As a result, I revised my idea and decided to create three smaller driftwood lights, each with its own smaller bulb. This adjustment allowed me to work with the natural form of the driftwood more effectively, preserving its unique features and ensuring that the final pieces resonated with the rustic aesthetic I was aiming for.

Figure 3: Long 40W bulb
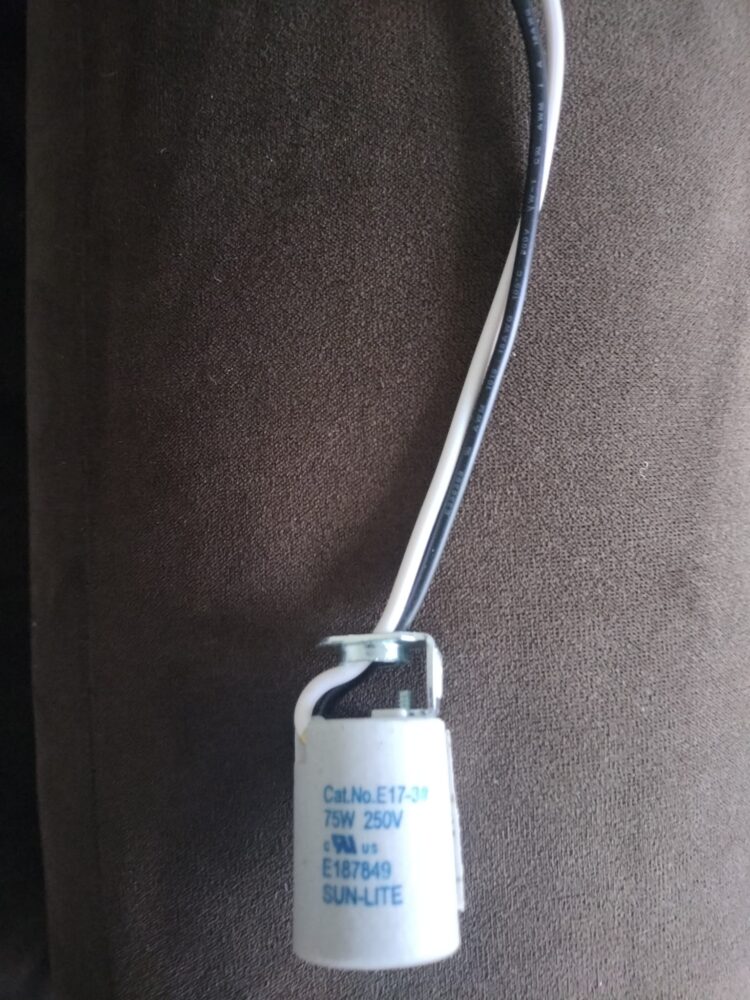
Figure 4: Socket
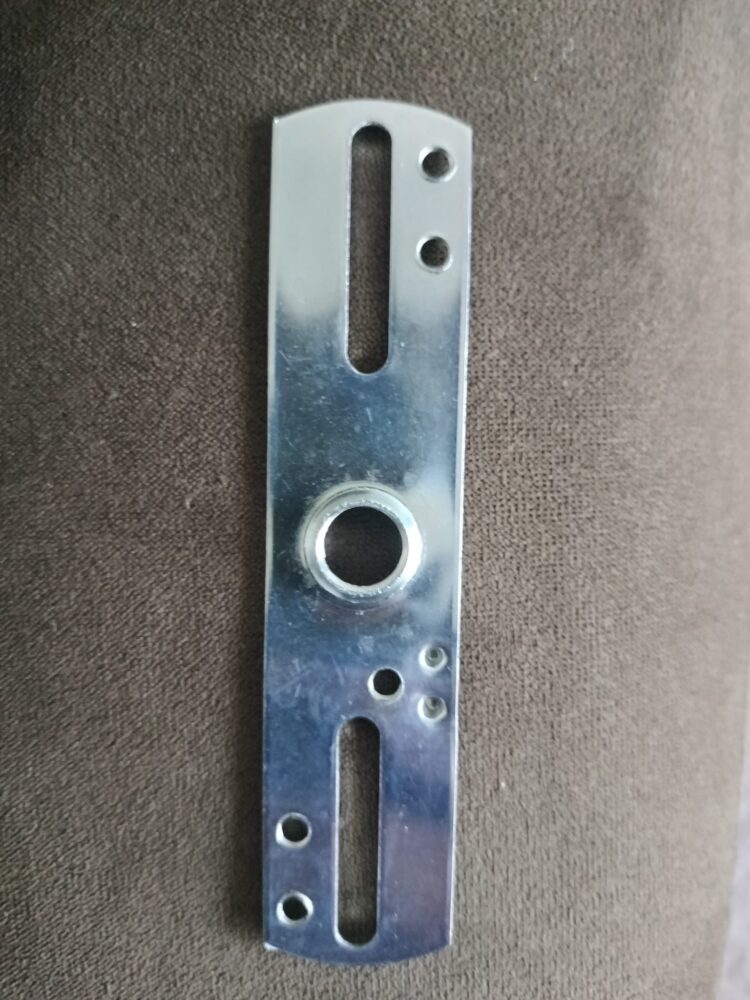
Figure 5: Bracket
In the process of creating the driftwood ceiling light, I began by cutting the driftwood log into small, manageable pieces. Once cut, I drilled holes into one side of each piece to accommodate the screws needed for assembly. Next, I prepared the bulbs by attaching them to sockets and brackets, which were then secured to the driftwood pieces using the screws.
To complete the project, I crafted three of these assemblies, each with its bulb, socket, bracket, and driftwood piece. These three units were then suspended from a sturdy metal ring using wires, allowing them to hang freely and create a visually striking display when illuminated. This method of suspension also added a sense of balance and symmetry to the overall design, enhancing the aesthetic appeal of the final installation.
2 Comments. Leave new
Hi Venkata, This is a really cool project! I really like how the holes in your driftwood add to the lighting aesthetic you were going for. Additionally, your use of the long light bulb was a really smart choice as it illuminates all the holes in the cylindrical wall of your drift wood.
Hey Venkata, I really like these lights that you made. It seems like the indirect light would illuminate a room in an interesting way. This might be mentioned in an earlier post, but I was wondering where you got the driftwood? Also, where do you plan on hanging these lights?