
Final Report Part 1: Minimalist Interchangable Photo Collage
By: Michael Gray
The Plan
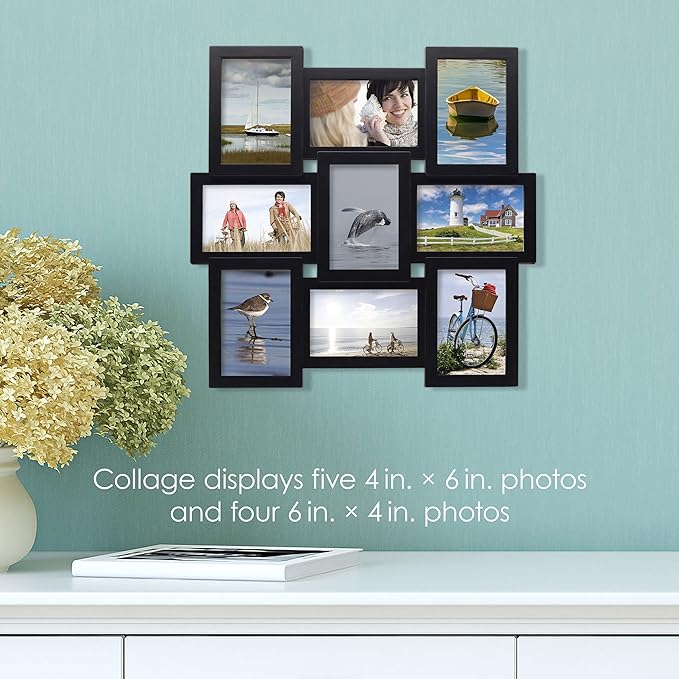
Growing up, I remember seeing a collage of school photos similar to the one below [1] in the home of a friend. I thought the idea of a collage featuring a centered photo, surrounded by supporting ones was fascinating, and I have desired to own one for myself ever since. However, I was not sure what kind of photos I would fill it with, as I was not interested in having my elementary and high school photos displayed on my bedroom wall.

Althogh I was not yet sure what kind of photos would go in the collage frame, I decided that in order to simplify the design and place slightly more emphasis on the supporting photos (surrounduing a central photo), I would design and manufacturing a nine-photo collage, similar to the one below [2].
In order to incorperate a moving/interactive component to the piece, I decided that the “mini frames” which make up the collage would be detachable. This would allow someone to switch around or entirely replace the images in the collage without needing to take apart the frames. The mini frames (colored squares in the drawing below) would have magnets mounted on to the back of them, and they would attach to an acrylic ‘backing’ (black outer square in the drawing), a flat sheet of acrylic that mounts to the wall, featuring magnets attached to itself as well.
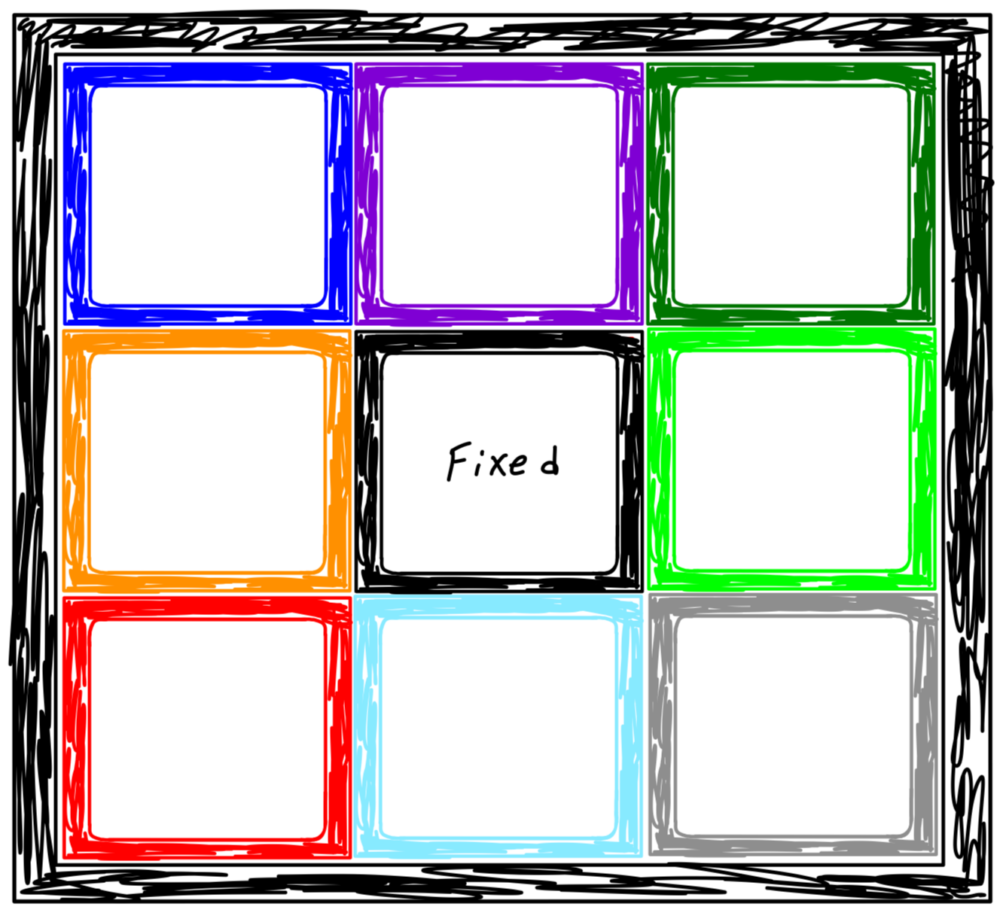
Although the sketch above is very colorful, I planned for this piece to be entirely white. This is in allignment with the aesthetic of minimalism, which focuses on minimal excess detail, and a sleek-looking, well-functioning piece. I chose this aesthetic, not because it is easy to achieve (it is not easy to make something look minimalistic, as I would learn later on in the project), but because I wanted this photo collage to fit well into any room of any home that I live in. I would incorperate minimalism into my design by using straight edges, sharp and direct corners, symmetrical shapes, and the color white.
I worked on this project in my final semester as a student, and as I reflected on my years as a college student, I realized that I wanted this piece to be about something that I took away from college. That was when it hit me. As a Christian, I have learned so much about God in my time in college. I would make this piece all about Him, with the center photo simply saying the word “God”, and the surrounding photos being pictures of things God is referred to metaphorically throughout the Bible [3].
The Design
As the photos had the largest lead time out of my materials and parts, I decided on which Biblical metaphors I would use relatively quickly. I ordered the photos seen below, and printed their corresponding Bible verse refrences on the backs of them as somewhat of an easter egg to my project.
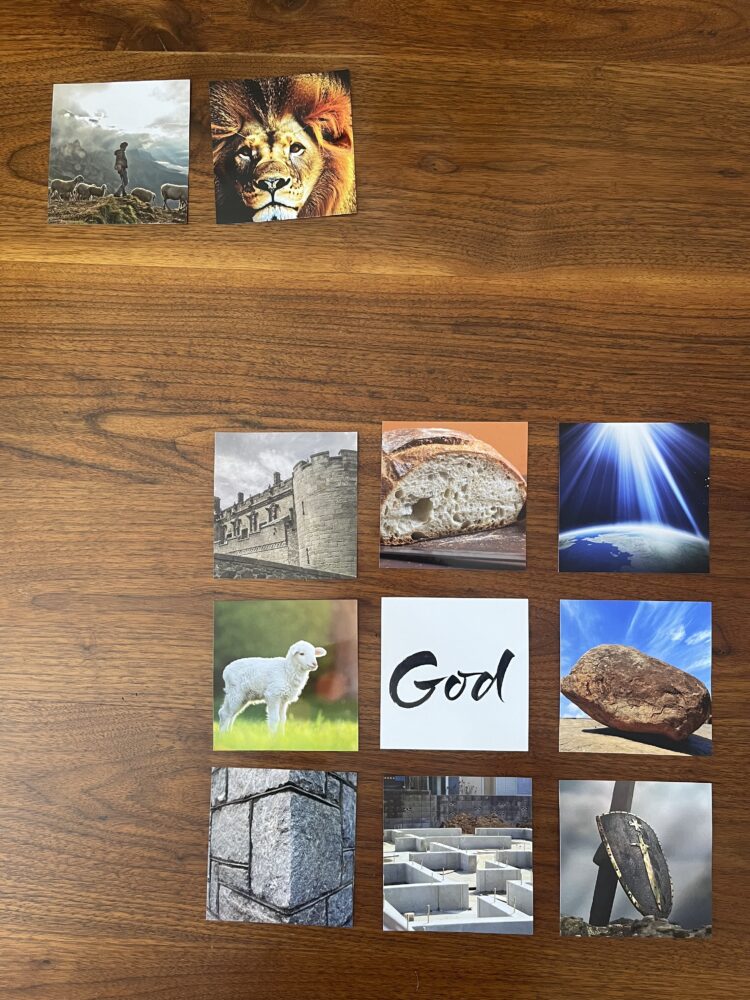
Shepherd (top left) – Psalm 23:1, John 10:11
Lion (next to previous) – Revelation 5:5
(Moving through the collage, left to right, top to bottom)
Fortress – Psalm 18:1, Psalm 91:2
Bread – John 6:35
Light – John 1:5, Psalm 27:1
Lamb – John 1:29, Revelation 5:6
God – Deuteronomy 7:9
Rock – Psalm 18:2
Cornerstone – Ephesians 2:20, Acts 4:11
Foundation – Matthew 7:24-27
Shield – Proverbs 30:5, Genesis 15:1, Psalm 18:1
As I ironed out the details of my design, I realized just how many parts were involved in this project. I wanted to have at least two extra mini frames (hence, the eleven photos that I purchased) so that photos could be swapped in and out of the piece, and not just moved around. Each mini frame assembly required a mini frame (the part that housed the magnets, and held the rest of the components), a piece of square acrylic (for the photo to rest on), a photo, and a cardboard back piece, to hold the photo inside the assembly. With eleven mini frames, that is forty four parts that I needed to order/manufacture, not including magnets or the large backing that the mini frames would attach to.
Below are photos of my computer aided designs (CAD) of each component, subassembly, and the overall assembly for my final project.
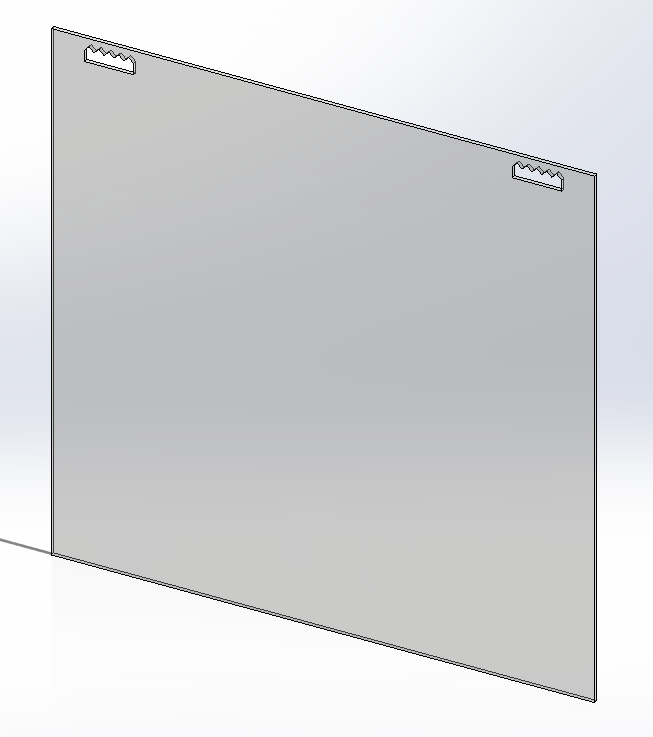
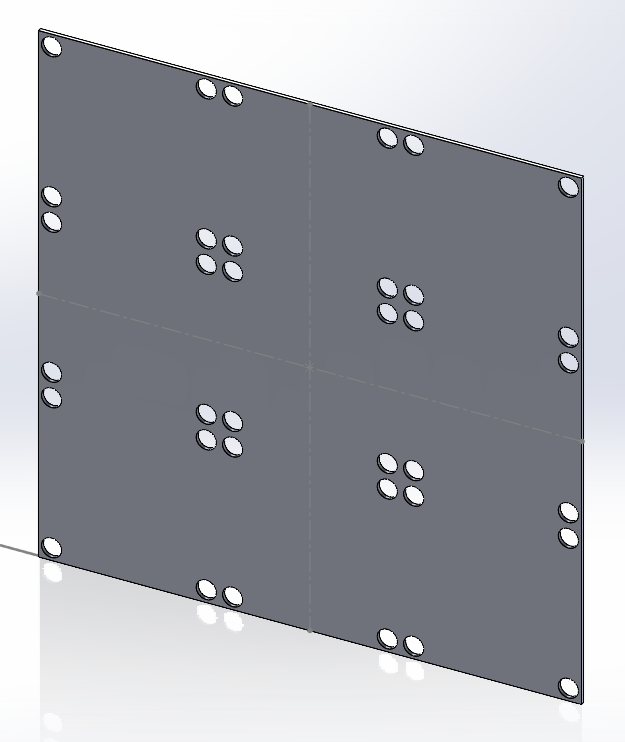
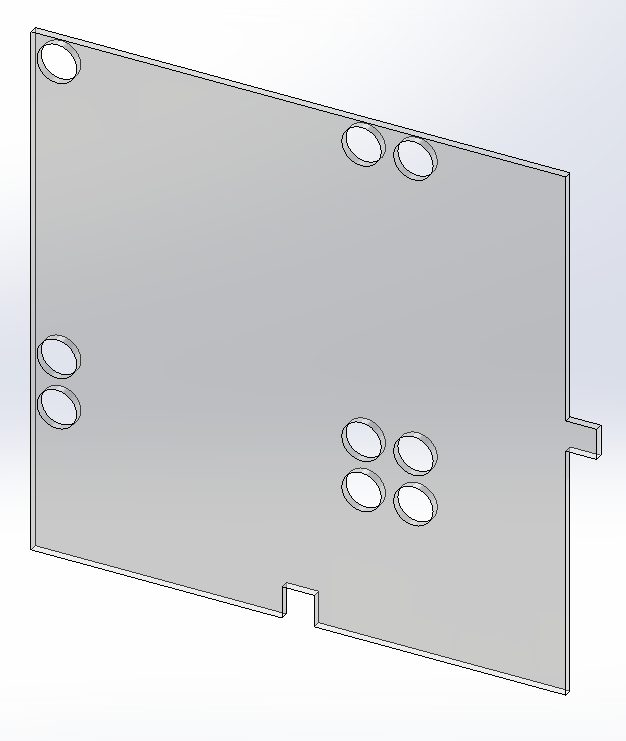
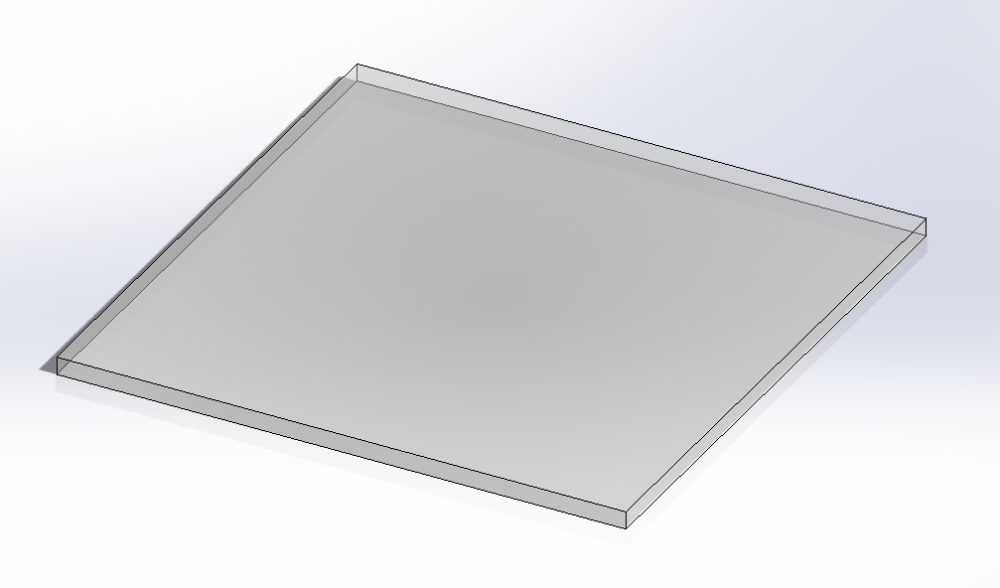
CAD of backing lower piece, backing upper piece (single), and backing upper pieces assembled. Notice the holes in the upper pieces. After the upper pieces are glued to the lower piece, the magnets will be fit and glued into each of the holes.
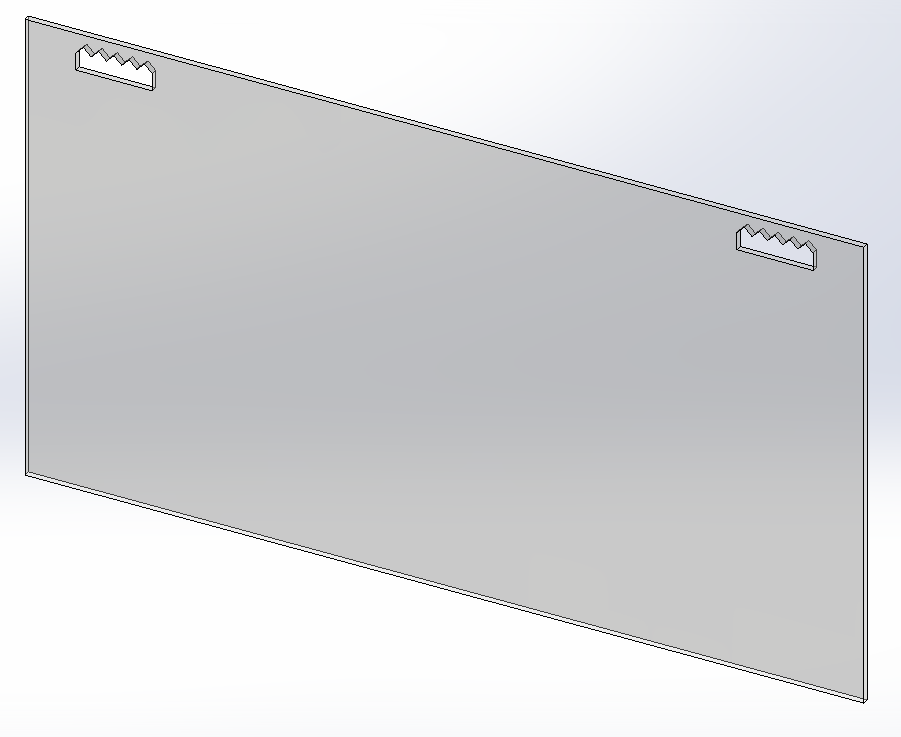
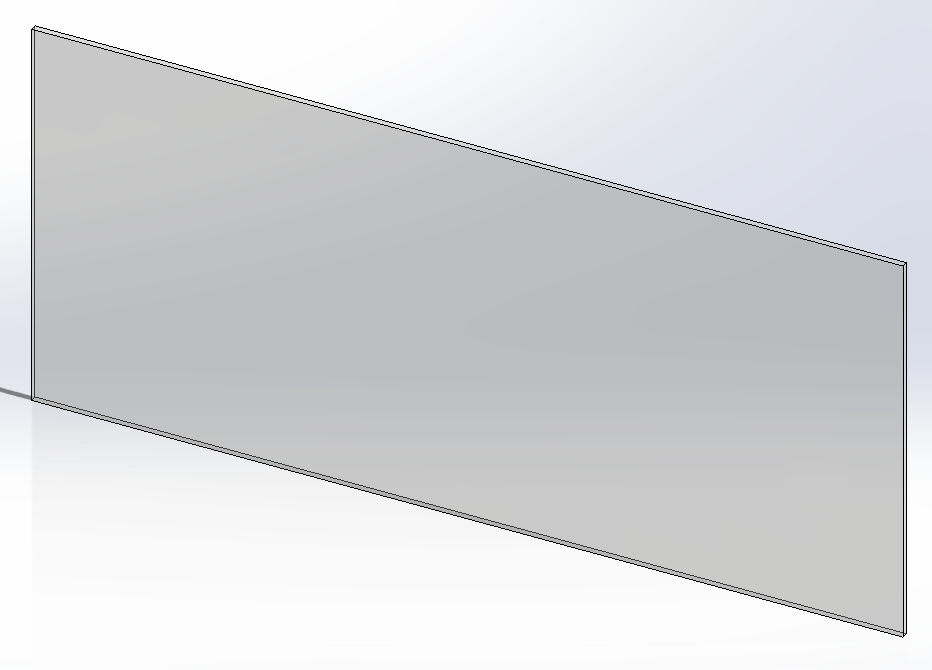
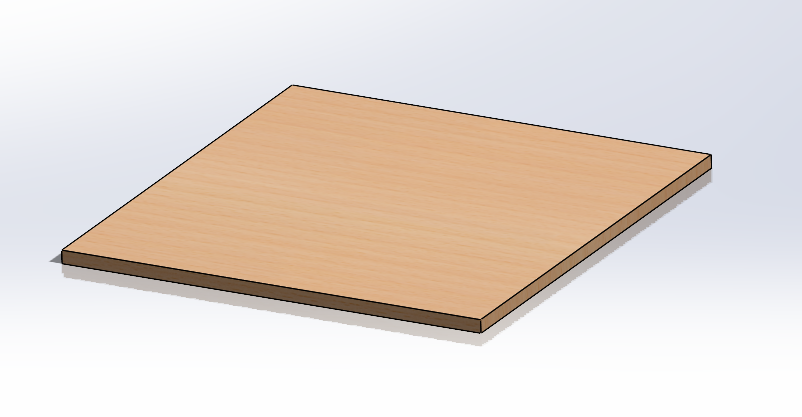
The backings were originally designed to be laser cut as two pieces: the back (left image) and the front (left middle image) which would be glued together to create the backing assembly. However, these parts could not be laser cut from the 12″x18″ acrylic sheets offered at the ITLL because they were too small. For this reason, I split the back into two pieces (middle and middle right images), and the front into four identical pieces (right image) which would fit together to form the back and front of the acrylic backing.
CAD of cardboard (to hold in the photo), photo, and acrylic which are all part of the mini-frame assembly.
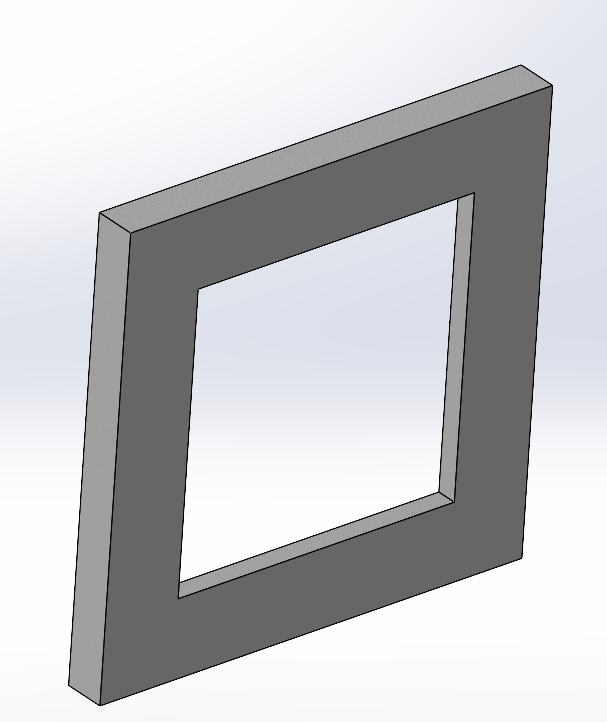
CAD of front and rear isometric views of mini-frame.
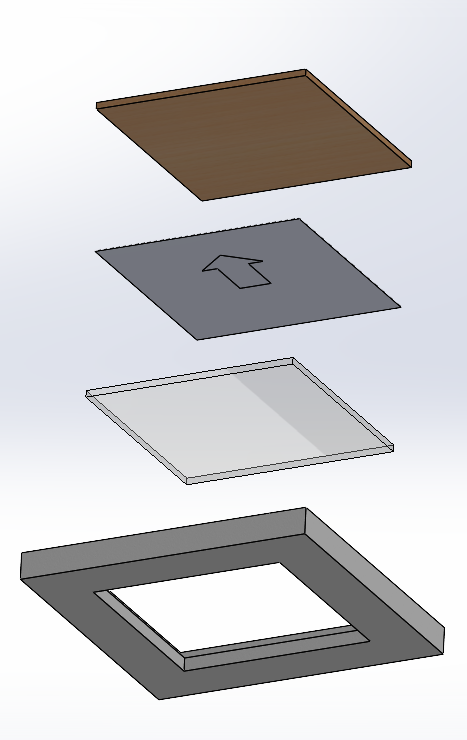

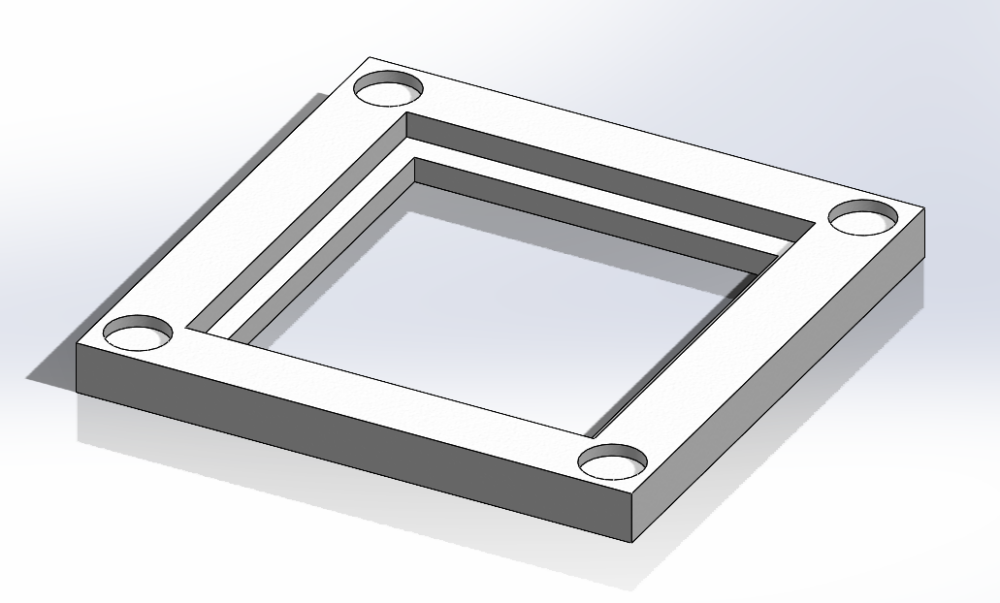
Mini frame assembly exploded views, including (bottom to top) mini frame, acrylic, photo, and cardboard.
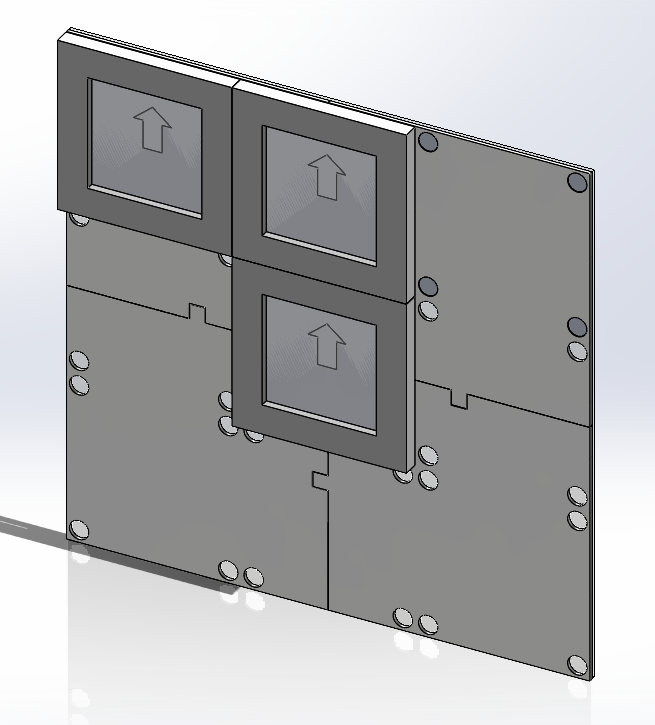
Final assembly CAD (featuring only 3 mini frames to show all components).
Refrences:
2 Comments. Leave new
I appreciate how much though you put into choosing corresponding verses for each of the images you picked. The design is also very clever with the use of magnets. I think there is a lot you could do with this idea aside from just displaying pictures. If you have ever seen the game “Tsuro” you could do something similar to that, or even tic tac toe.
Hi Michael,
I really like all the images your provided. There are a few components and seeing them was very helpful. The process and deign seems very thought out. The personal connection to the design and process is also great to see. Great progress!