

Final Report Part 2: Minimalist Interchangable Photo Collage
By: Michael Gray
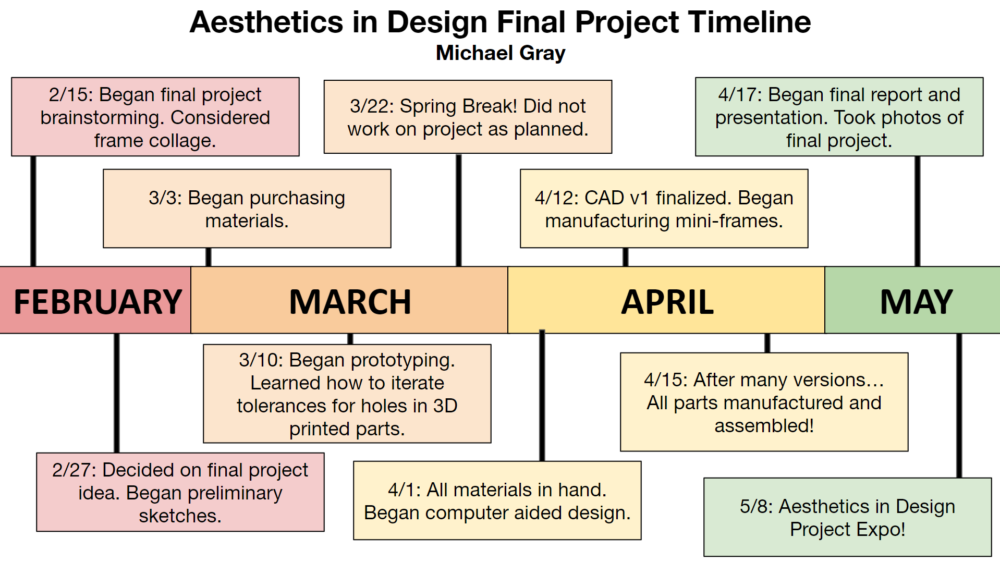
Above is the design and fabrication timeline for my final project.
Fabrication
There were many steps to the fabrication of my project. I will cover these steps chronologically.
Mini Frames
I began by fabricating the mini-frames, as this is the part of my project with the most interactive features. I would then measure the mini frames after they were 3D printed, and design the rest of the parts acound them. I 3D printed my first mini frame using the free-to-use Prusa Mk 4 3D printers in the ITLL. This part had a 15% infill, and took about 5.5 hours to print, and is made out of white PLA plastic (the most common 3D printing material due to its strength and ease-of-use). I noticed surface defects on both the front and back of the frame. The defects on the front of the plate were due to the ITLL’s heavy-use 3D printers collecting dirt and other residue. The surface defects on the back of the part were due to the low infill % that I used, resulting in the top layers having bumps and dips with little support beneath them.
Mini frame v1
Although the back of the mini-frames would not be seen by anyone observing this piece when it is on a wall, I decided to increase the infill % for all future prints.
After iterating the 3D printer settings, and eventually using higher quality 3D printers in the Idea Forge at cost, I was able to successfully print eleven mini frames.


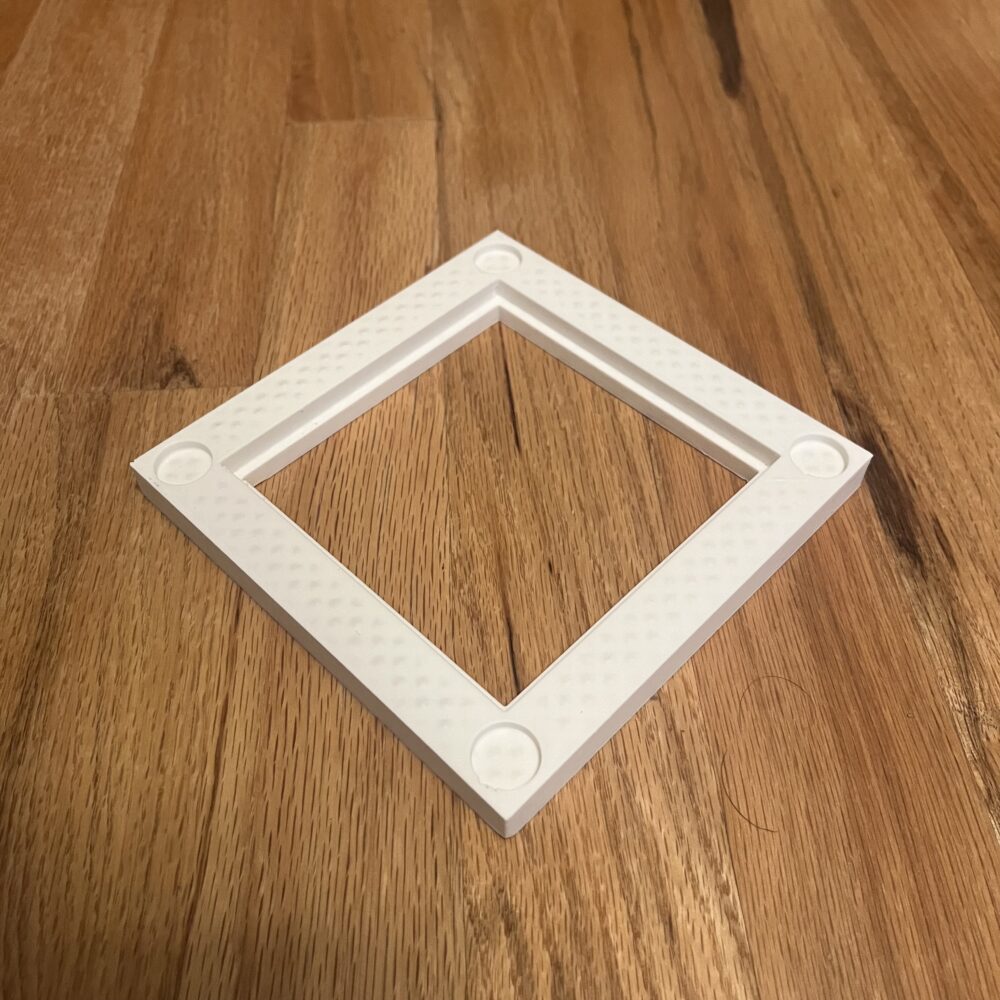
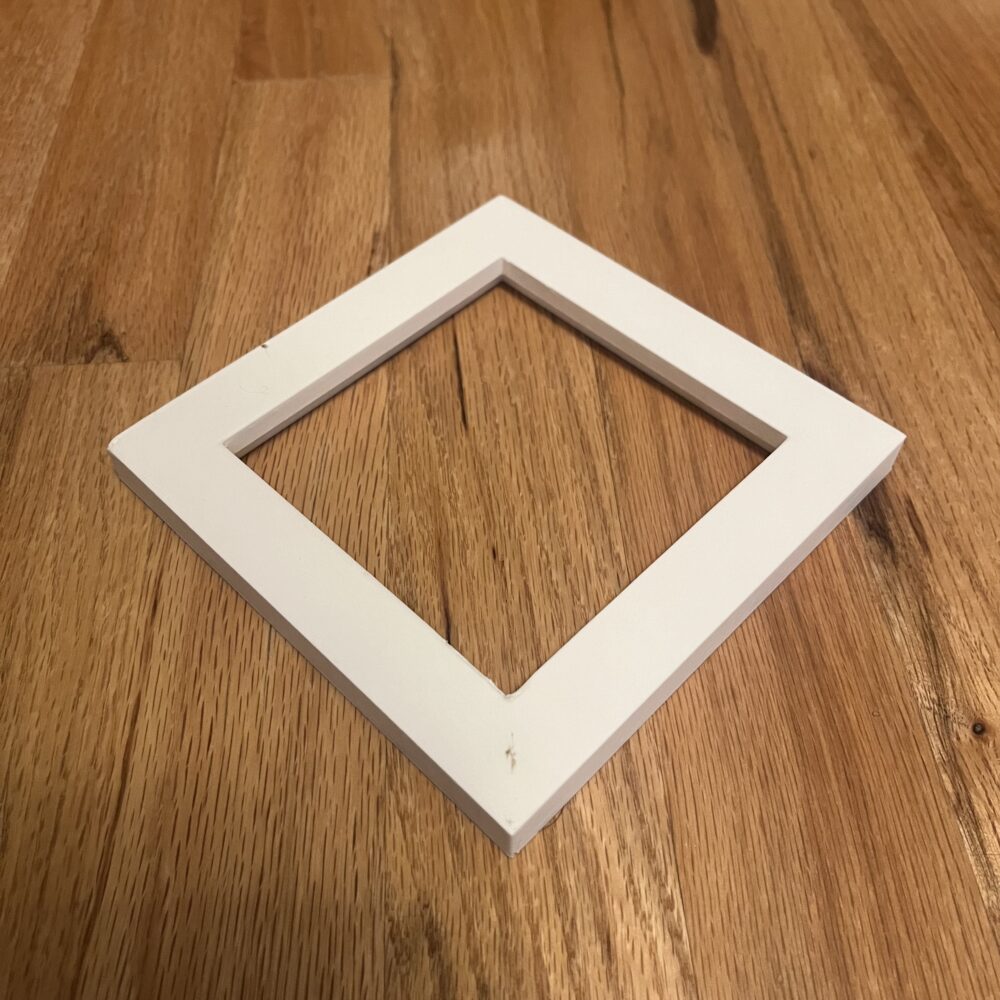
Mini frame v3 (final version)
Mini Frame Assembly Pieces
Next, I manufactured the acrylic and cardboard squares which would interact with the mini frames and photos. In order to make these parts, I exported the upper faces of the Solidworks parts I had designed as a DXF file. This file could then be imported into CorelDraw, a laser cutting software. I was able to then place the material (acrylic or cardboard) into the ITLL’s laser cutter, and cut out the desired shape to extreme precision. With the level of precision possible through laser cutting, I was able to cut the acrylic pieces large enough so they would not fall through the opening of the mini-frame, but small enough so they could easily slip in and out just like the plastic or glass in a traditional picture frame would. Similairly, I was able to press fit the cardboard pieces into the backs of the mini-frames, holding the entire mini-frame assembly together, but still allowing all of the parts to be removed if necessary. I was also able to use the laser cutter’s engraving ability to engrave an arrow onto each of the cardboard pieces. This is to show the orientation that the cardboard is designed to fit into the mini frame with. Because the mini frame openings are actually slight rectangles, the cardboard pieces are as well.

Cardboard backings and acrylic squares.
![]()
![]()
Mini frame assembly from the back without and with cardboard backing. Picture is resting on the acrylic.
Frame Backing, Adhesive, and Final Assembly
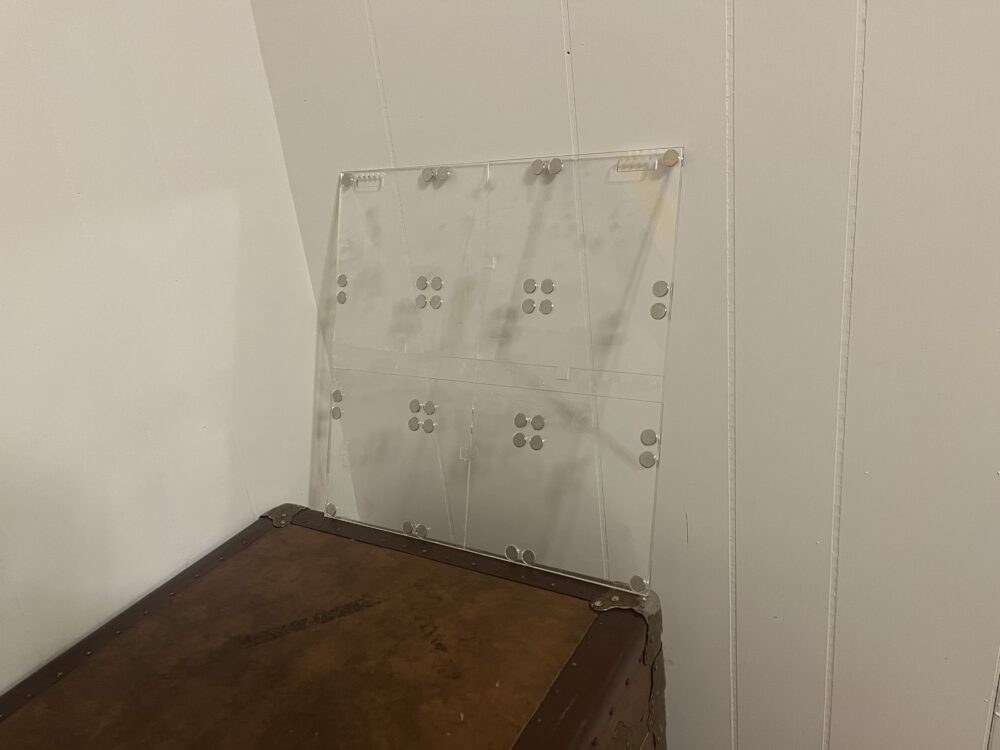
Finally, I laser cut the pieces to make the frame backing. These were the largest pieces that I manufactured. Using the same method as the acrylic squares, I laser cut the bottom portions of the backing (these parts featured no holes, and are the very back of the overall project assembly) and then the top portions (four equivalent pieces, each featuring 9 holes for magnets. The bottom was assembled, and then the top, with all of the pieces fitting together very nicely. Finally, I used gorilla adhesive to glue all of the acrylic together, and finally, I glued every magnet into the acrylic pieces and mini-frames, ensuring that the magnetic poles were lined up so that all mini-frames could attach to all of the backing magnets.
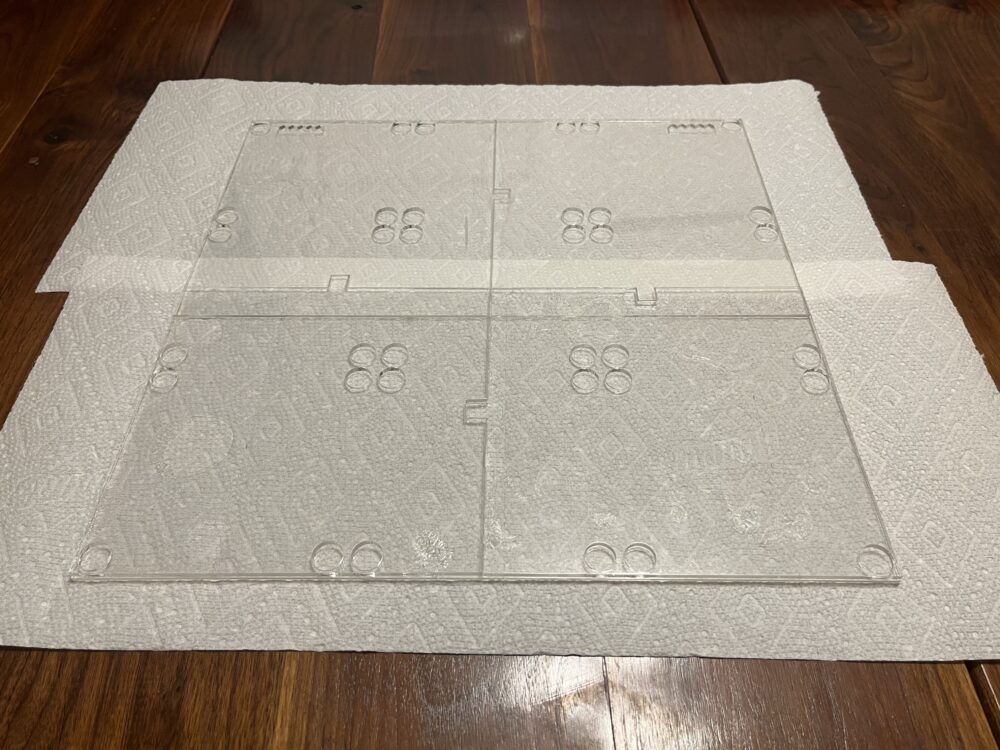
Backing acrylic: assembled.
Magnets were then glued to the backing.
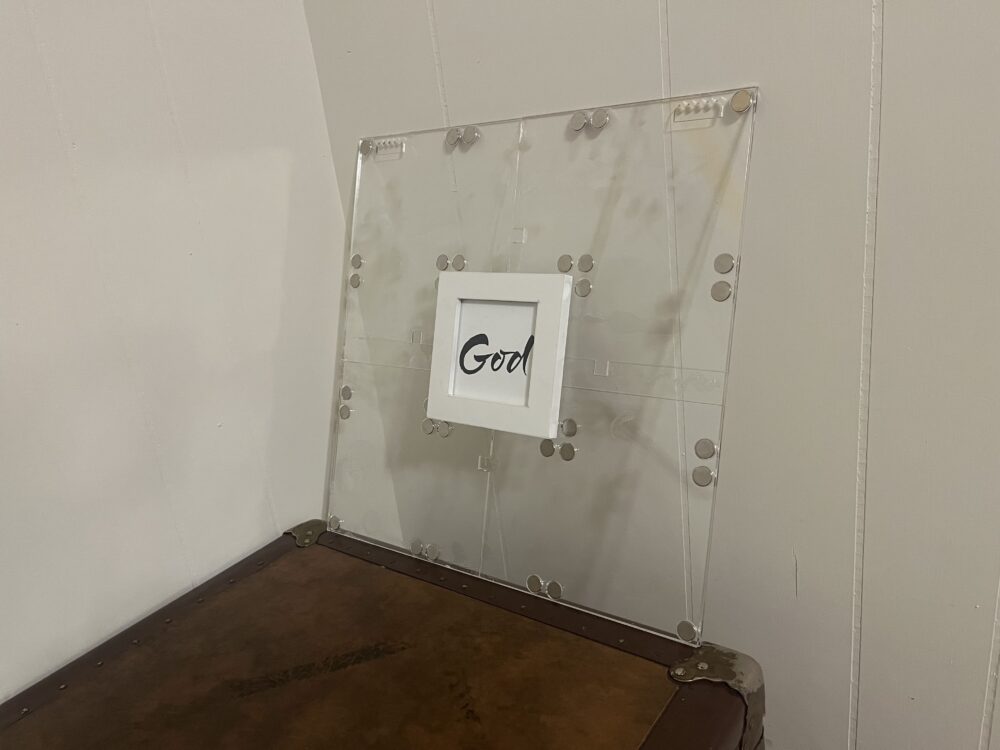
First time magnetically mounting a mini frame to the backing.
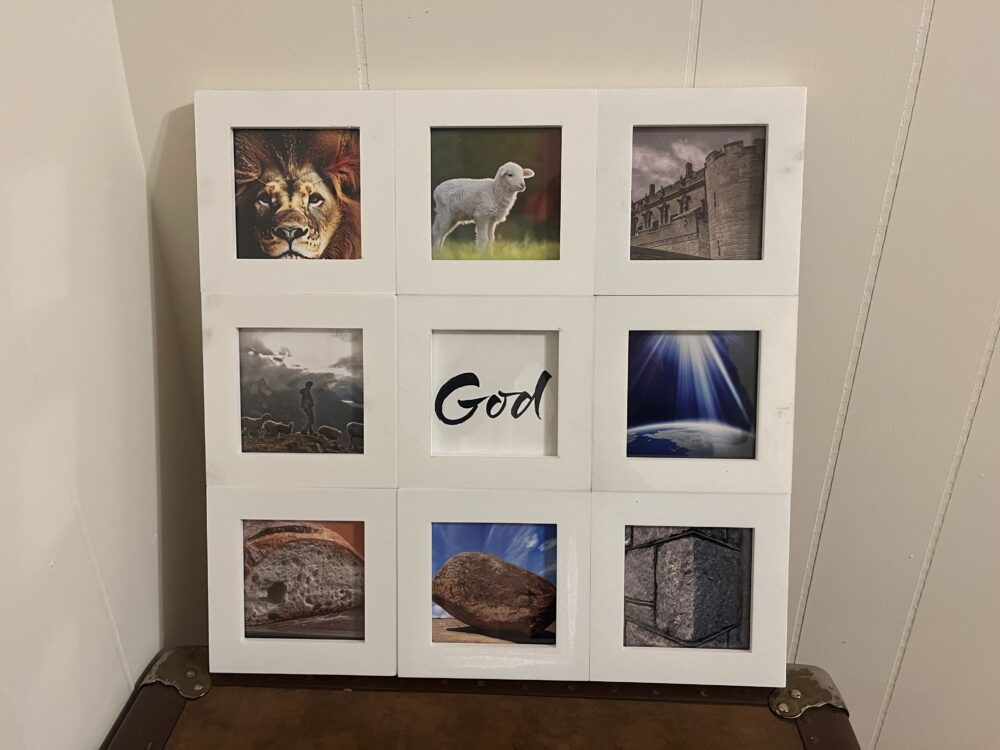
The Minimalist Interchangable Photo Collage: fully fabricated and assembled.
Conclusion
In conclusion, I am extatic with how this project turned out. From the aesthetics to the functionality, the end result of this project is exactly how I hoped it would turn out. I successfully overcame 3D printer issues to create clean, white, frames that all fit together very well, and look great. If I could do this project over again, I would use even higher quality 3D printers to minimize the number of mini frame iterations that I would go through, and to make the surfaces look even more clean. Additionally, I would reduce the thickness of the frames to emphasize the photos, encouraging the minimalistic aesthetic which encourages ‘not paying attention to the aesthetic’.
Finally, I would like to give a special thank you to Professor Hertzberg, who has crafted a wonderful class in every way. I had a blast learning about the importance and the history of aesthetics in design this semester. To any students currently or planning on studying at CU Boulder, I highly reccomend that you pursue this course.
2 Comments. Leave new
Hi Michael ,
Your post effectively outlines the process of designing and fabricating a Minimalist Interchangeable Photo Collage, detailing each stage from 3D printing to final magnetic assembly. It would be helpful to discuss how your aesthetic goals influenced specific design choices and any potential improvements for future projects based on your experiences.
Love the final product Michael! Looks great! I really like the aesthetic that is provided by both the form and color of the components you chose. I think the white, clear, and metal all fits together very nicely with the basic geometrical form. One question I had; is your design expandable? Could you add more segments? Do you plan on adding more?