
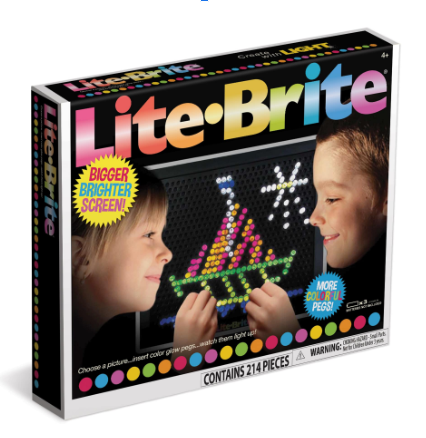
As discussed in the Design preview the initial vision of my project came from the lite brite which I often used as a toy as a kid to make art. I wanted my design to have a black background much like the lite brite with a nice wood to contrast it.
I started the project being indecisive about different aesthetics, i wanted something Industrial, Minimalistic, and Neo-Tokyo. Even with these ambitious goals, another requirement I had was that it had to be something useful to me and wouldn’t end up in the corner of my closet at the end of the semester. In the end, I came up with an idea that can incorporate many different aesthetics into one. That being a Programmable LED Display.
I could put an animation on it, a clock, a photo, or maybe even show notifications on my phone. It allows me to express my creativity and change the aesthetic of the project to whatever I want it to be. I could put an animation on it, a clock, a photo, or maybe even show notifications on my phone. It allows me to express my creativity and change the aesthetic of the project to whatever I want it to be.
This display isn’t just about looks, it is about expressing my creativity. It’s my way of adding some flair to my space without cluttering it with stuff that’ll end up in storage after I graduate. I didn’t just want something pretty, I needed it to be functional, not just a dust collector by the end of the semester.
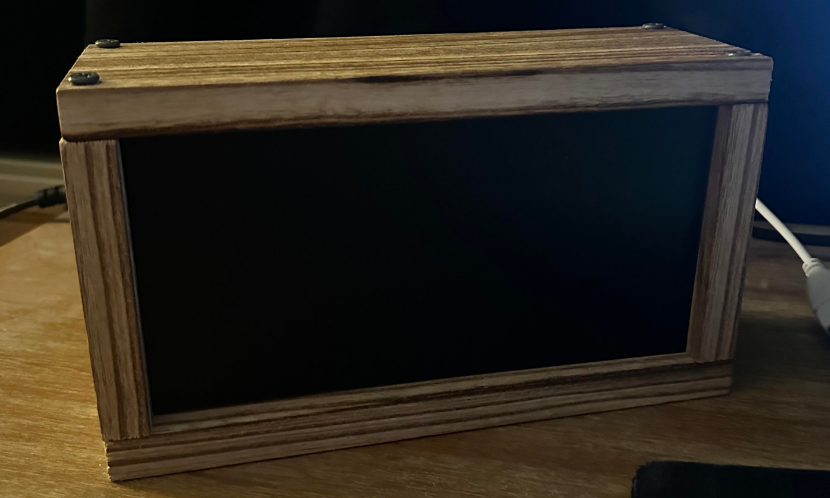
As of now, I have completed the frame and the LED Matix.
- Wooden frame: for the frame I used the wood shop in the ITL to cut the wood into 2 pieces of 8.75in x 2.95 in and 2 pieces of 3.75in x 2.95 in. I then used screws to assemble the frame being careful about splitting the wood by using pilot holes. After this, I press-fit the led matrix into the frame. Unfortunately, I did split the wood in one of the back corners it is however not noticeable and I plan on replacing this piece of wood later.
- LED Matrix: Following Pat in the idea forge advice, I bought a kit from Adafruit for the matrix. This kit included everything I needed to make the matrix itself but did not include things like the Raspberry Pi or some of the cables I needed.
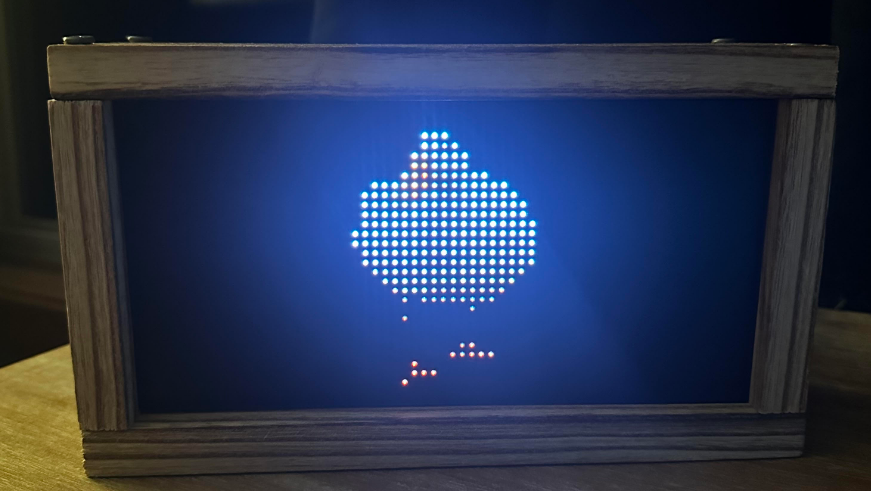
With the matrix and the frame assembled all this leaves is the code itself. The code as it is now is nearly complete. Thanks to Henner Zeller on GitHub I was able to understand and make a code that works for animations and pictures. I plan on looking into making notifications and a clock work too. (https://github.com/hzeller/rpi-rgb-led-matrix)
2 Comments. Leave new
Hey Matt, I think this project looks great! I like the fact that you can change what’s on the screen to change the aesthetic. I think this was a great addition to the project. I was wondering how big the LED screen was? I know you mentioned the frame size but does the screen take up all the room too?
HI Matthew,
This project turned out great, and I really like how there is a lot of contrast between the lit LEDs, and the dark space behind it. Is it difficult to code these LEDs to show certain images, and do you have any dynamic designs or images that move?